
Our self-built kitchen in the camper has everything you need in a kitchen: Cooker, sink, fridge and running water. Let’s check out the details of planning and building the kitchen cabinets!
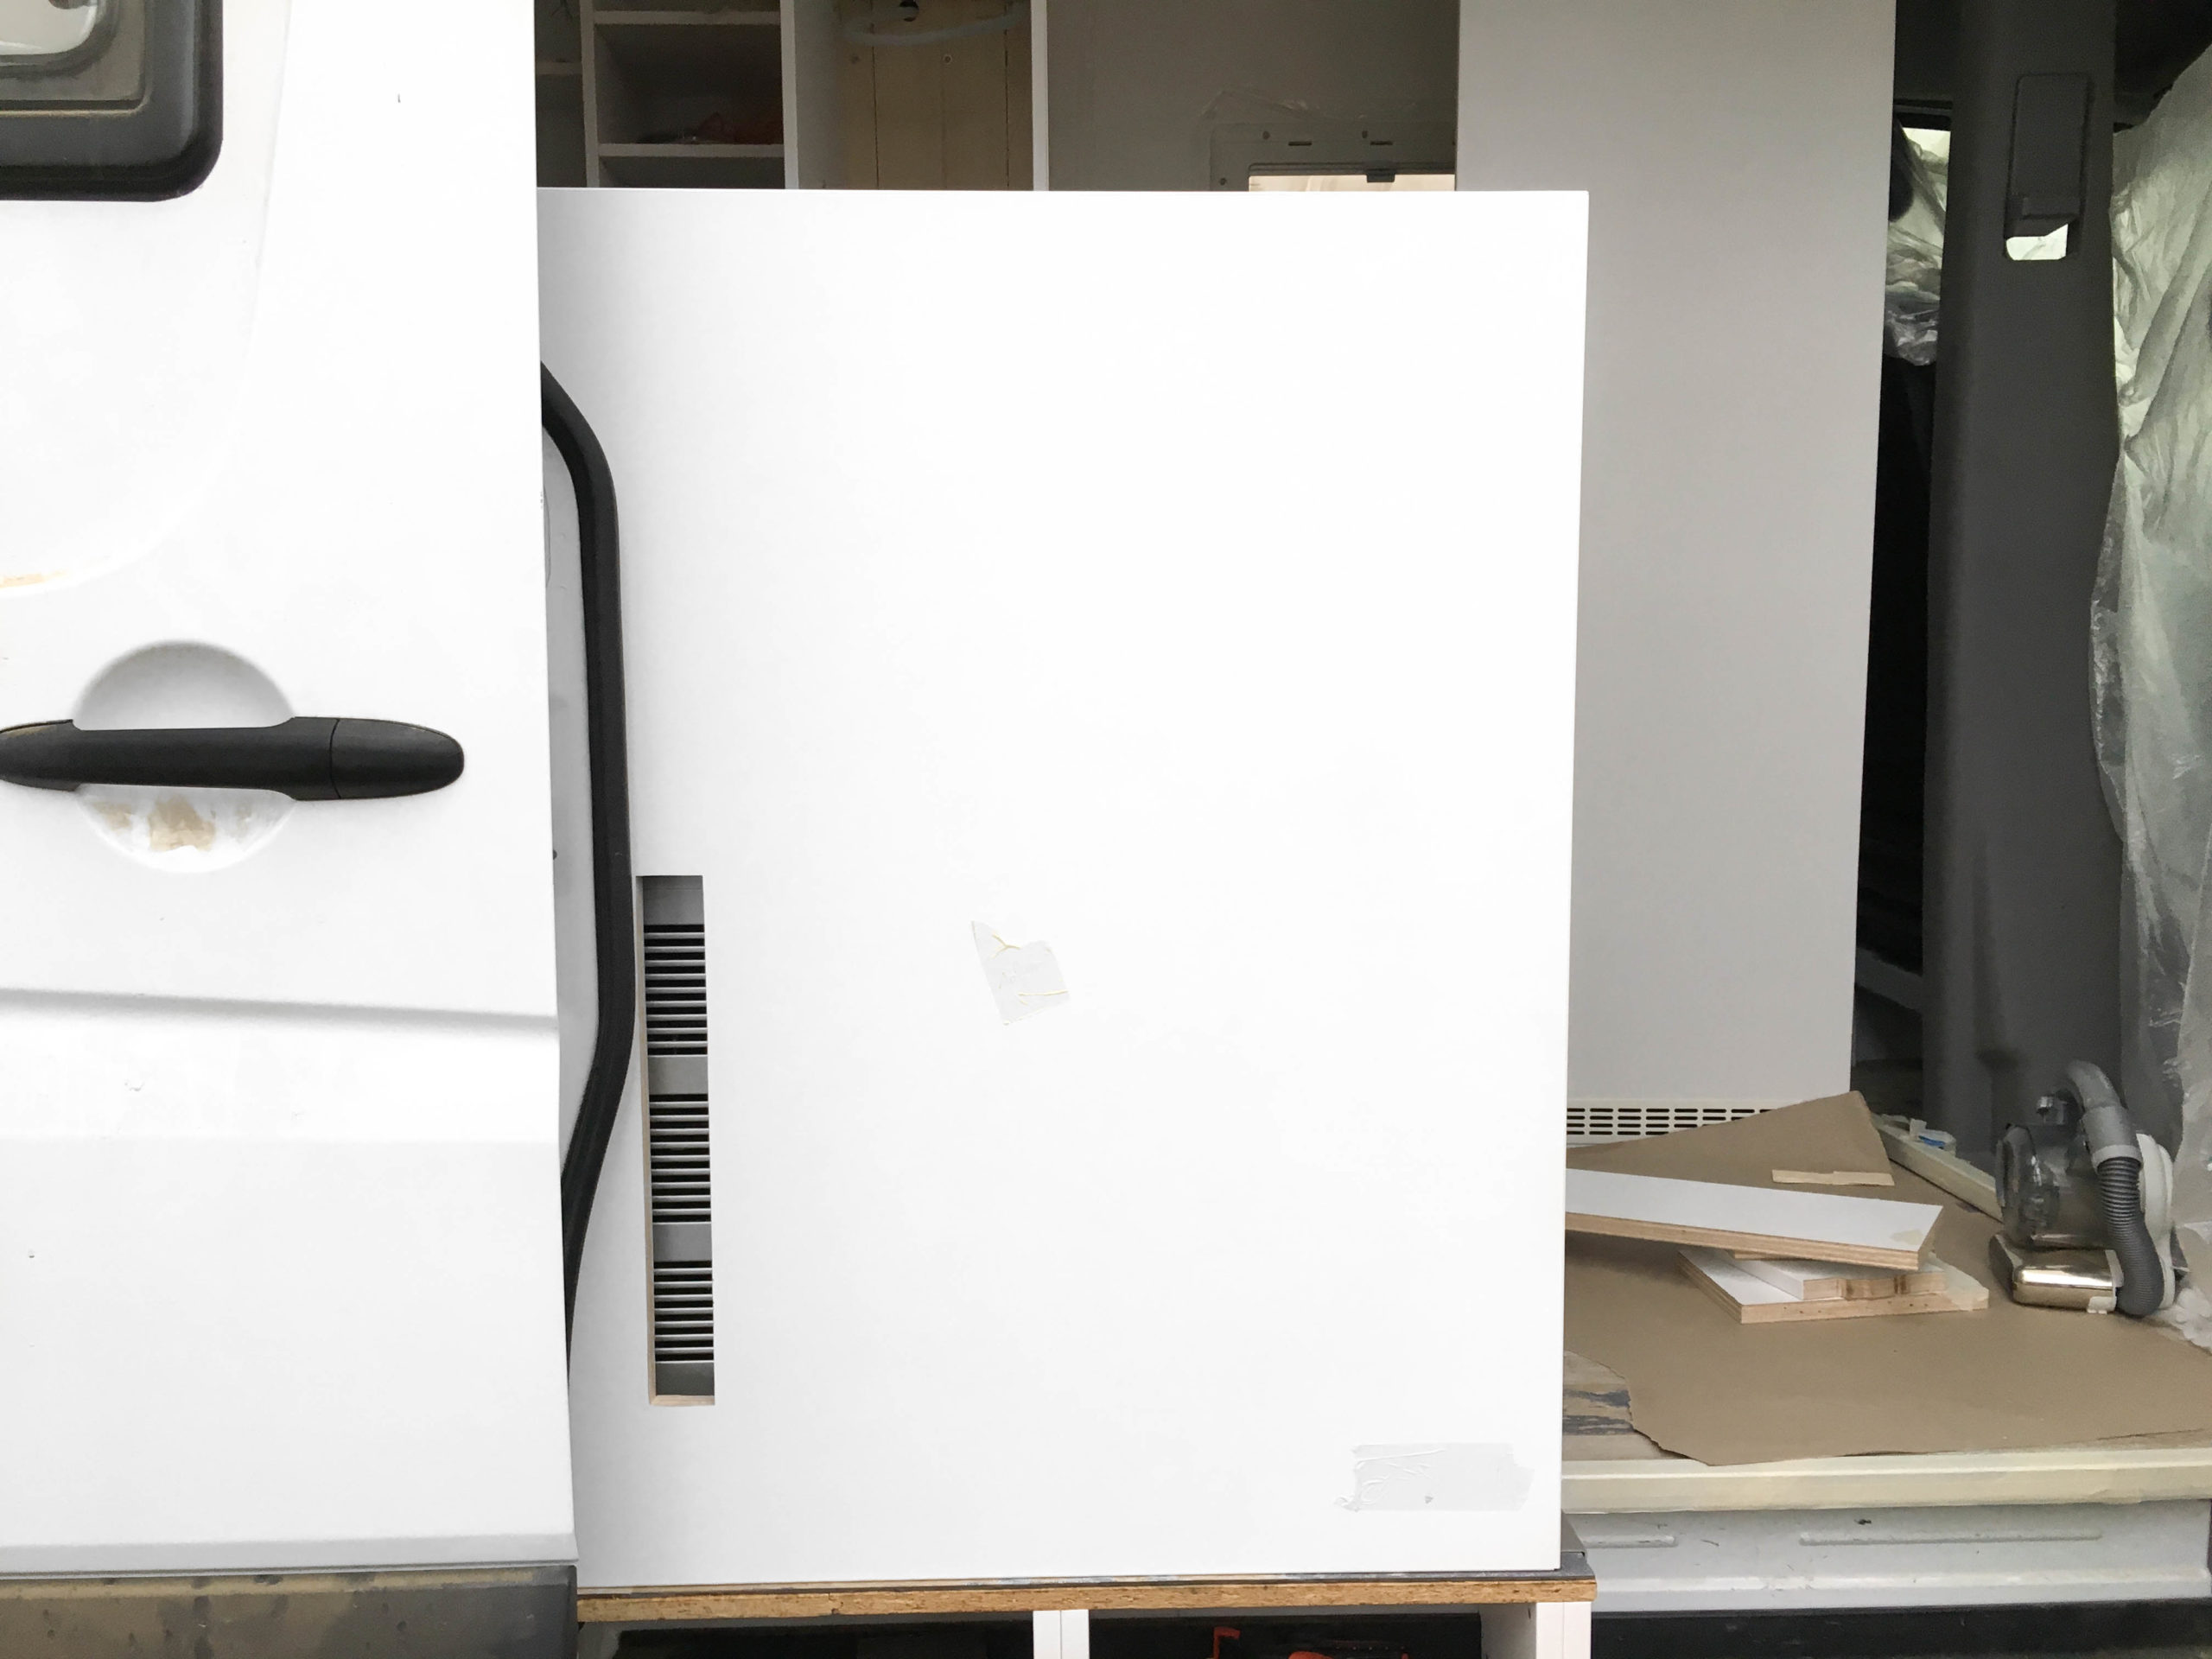
The base of our camper kitchen is a kitchen block which is made of white HPL coated Banova plywood.
Banova is a very light plywood which unfortunately our lumber yard removed from their range. So instead of using 15 mm plates, which we also used for the cabinets and the bathroom, we had to use 18 mm plates. Just like for the doors of the cabinets we used doors made of 15 mm poplar plywood with the same white HPL coating.
The kitchen block is made of two cabinets, a big cabinet and a small cabinet. In total the block measures 126,0 x 47,0 x 97,5 cm. We built it according to the measures of the fridge.
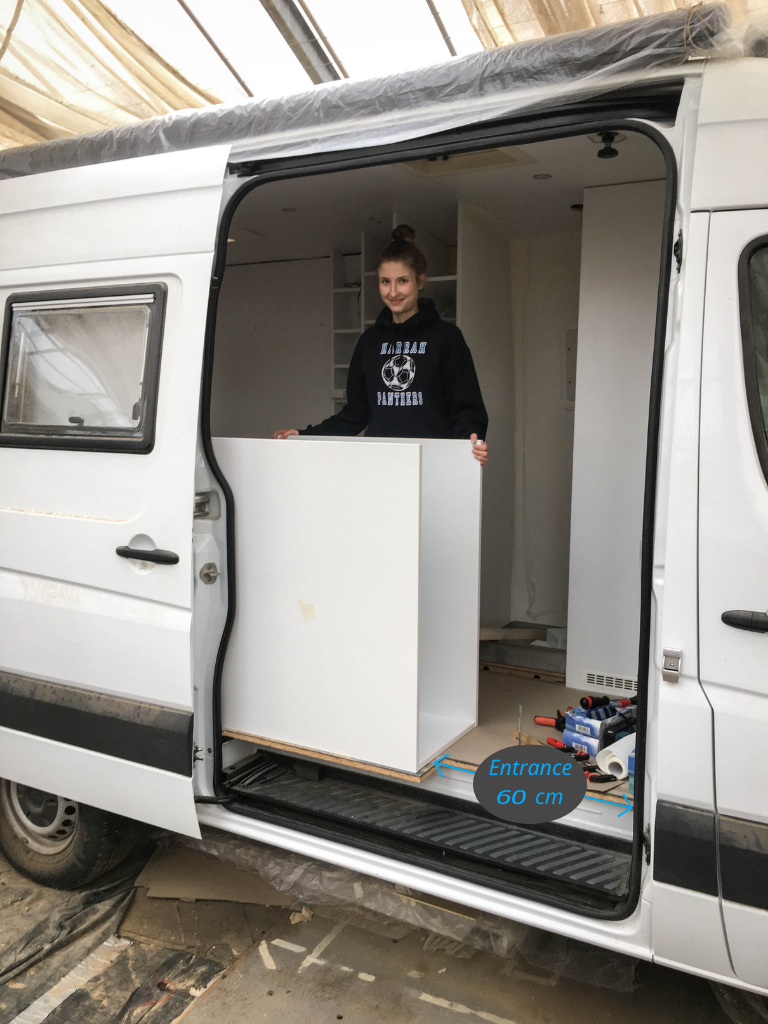
Besides the width of the kitchen block, the length was also predetermined by the fridge. We planned this when we built in the new floor base panel: The kitchen block is located in the entrance area and reaches from the right bench in the back over the entrance step. When cutting the OSB-3 panel to size, we already had to take into account the measurements of the fridge or rather the planned drawer over the step. This narrows the the entrance area by the pullout for the fridge so it’s now 60 cm wide.
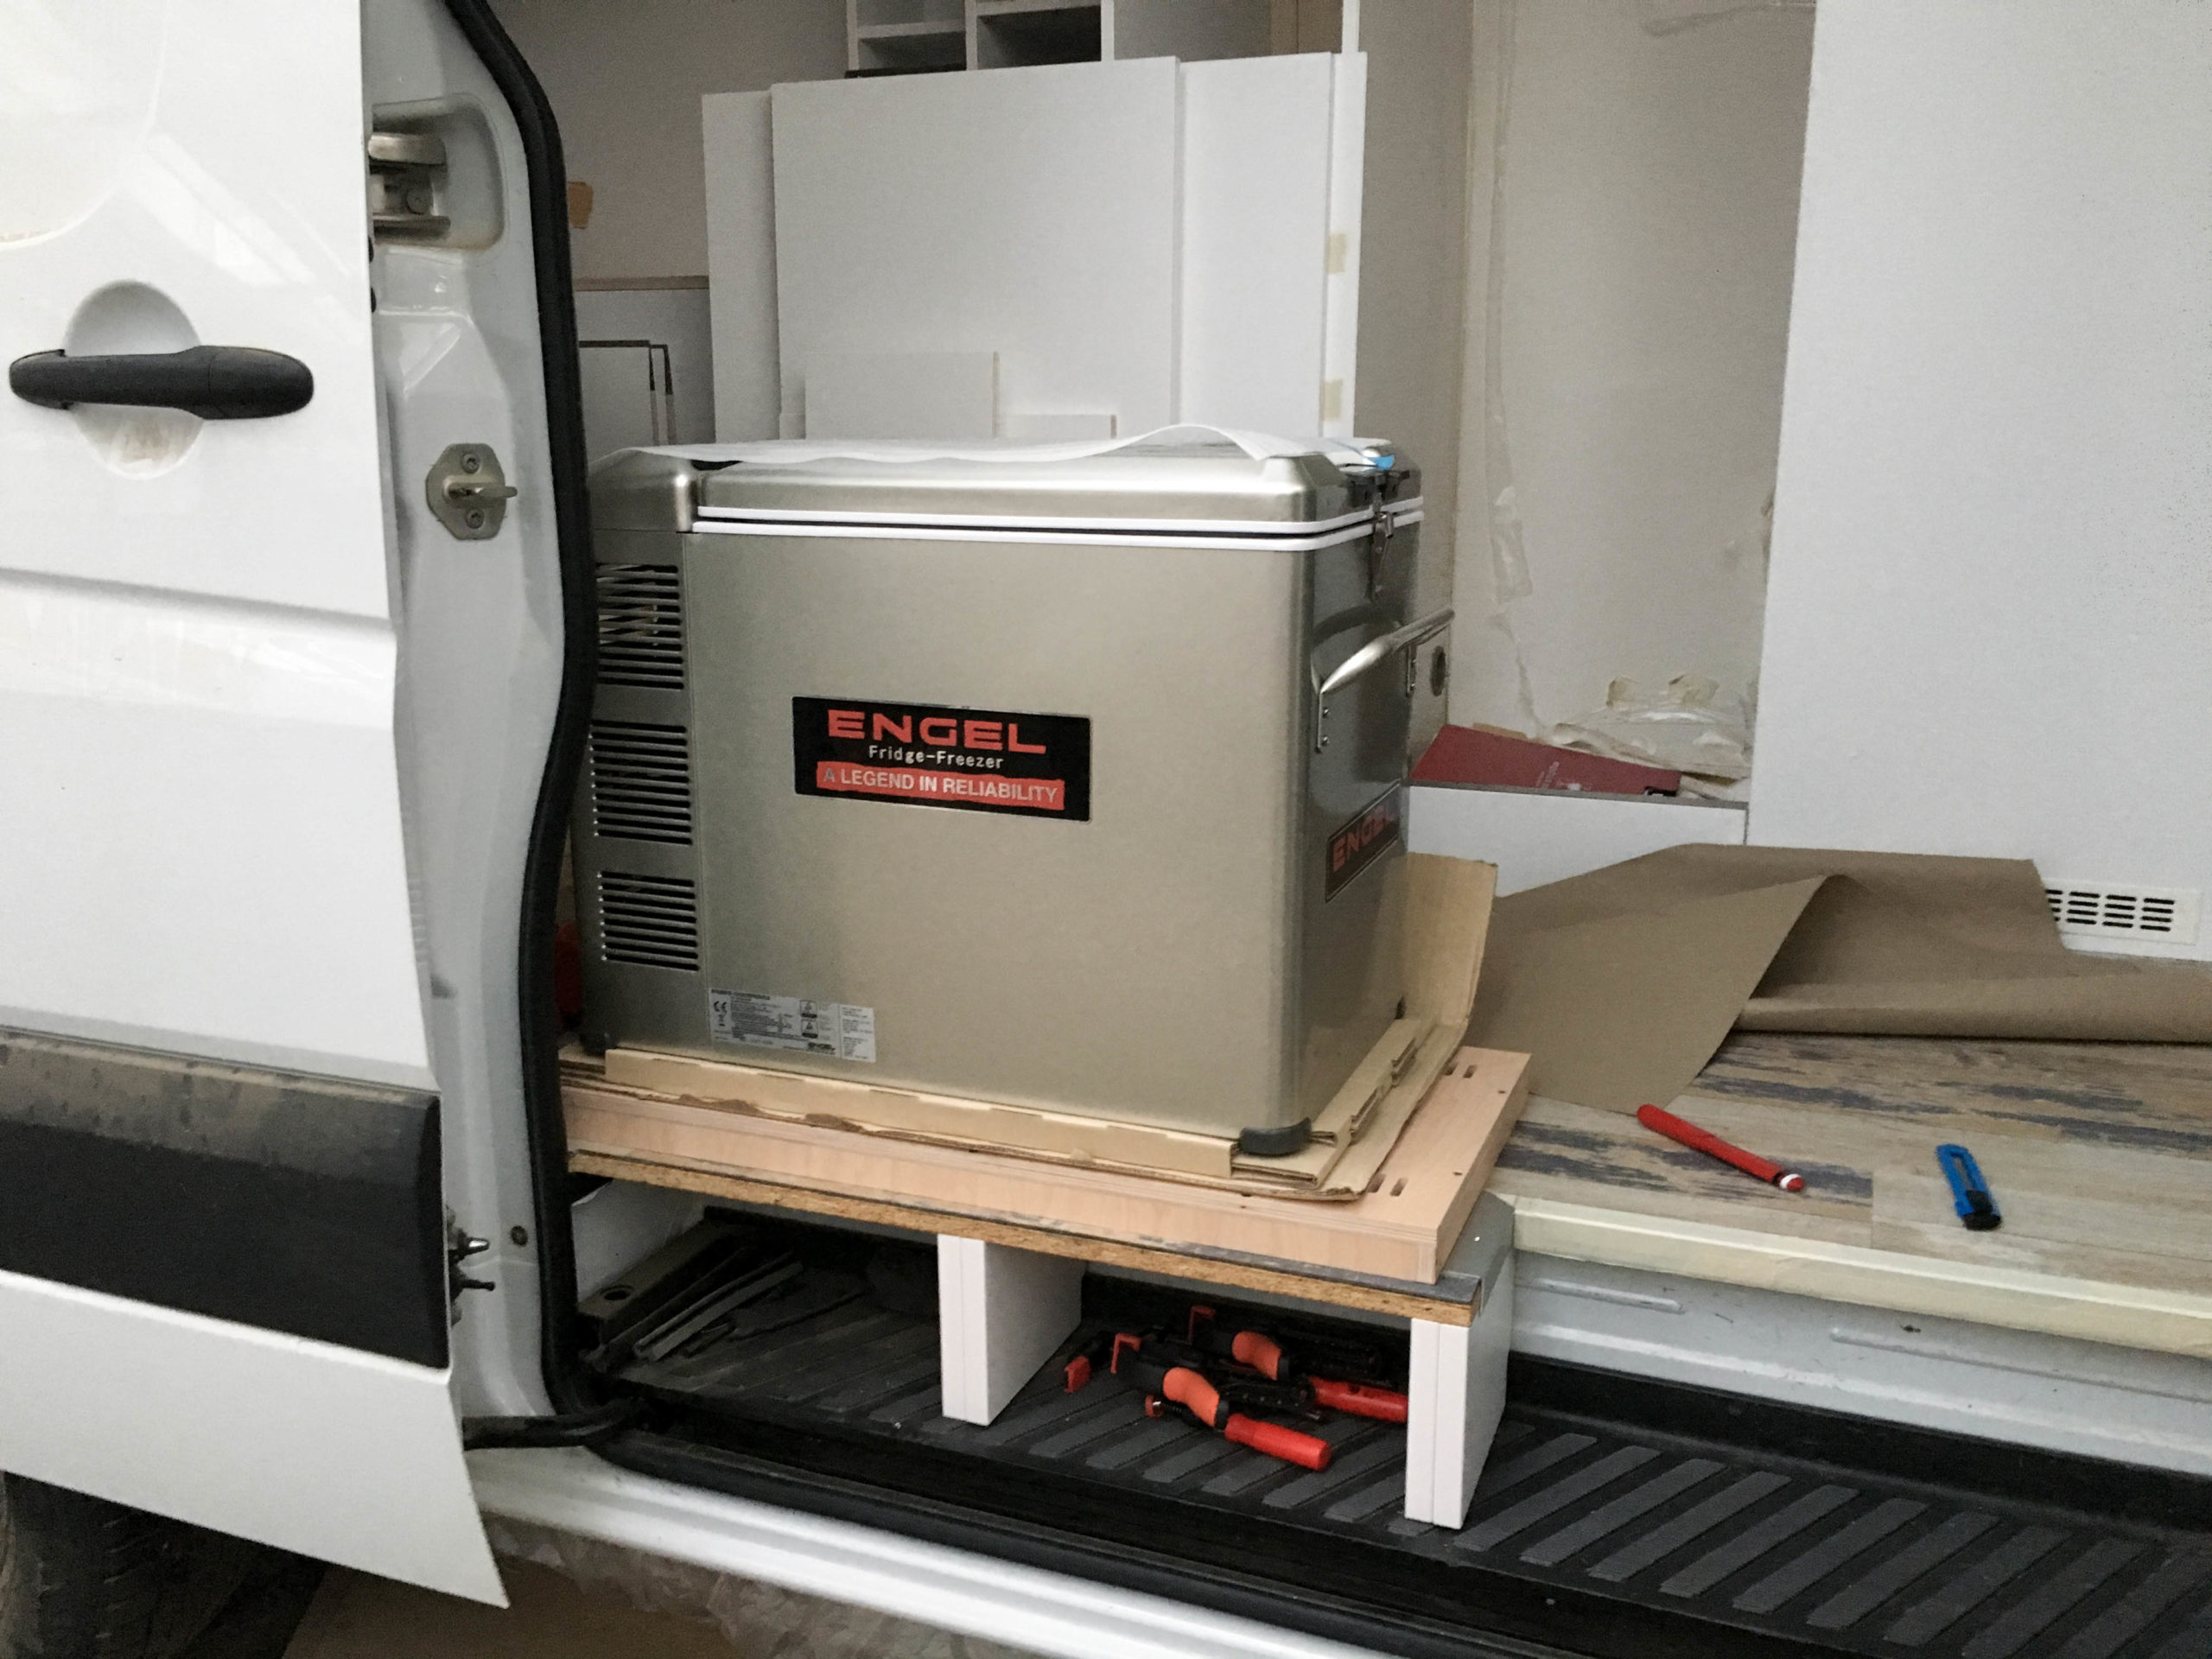
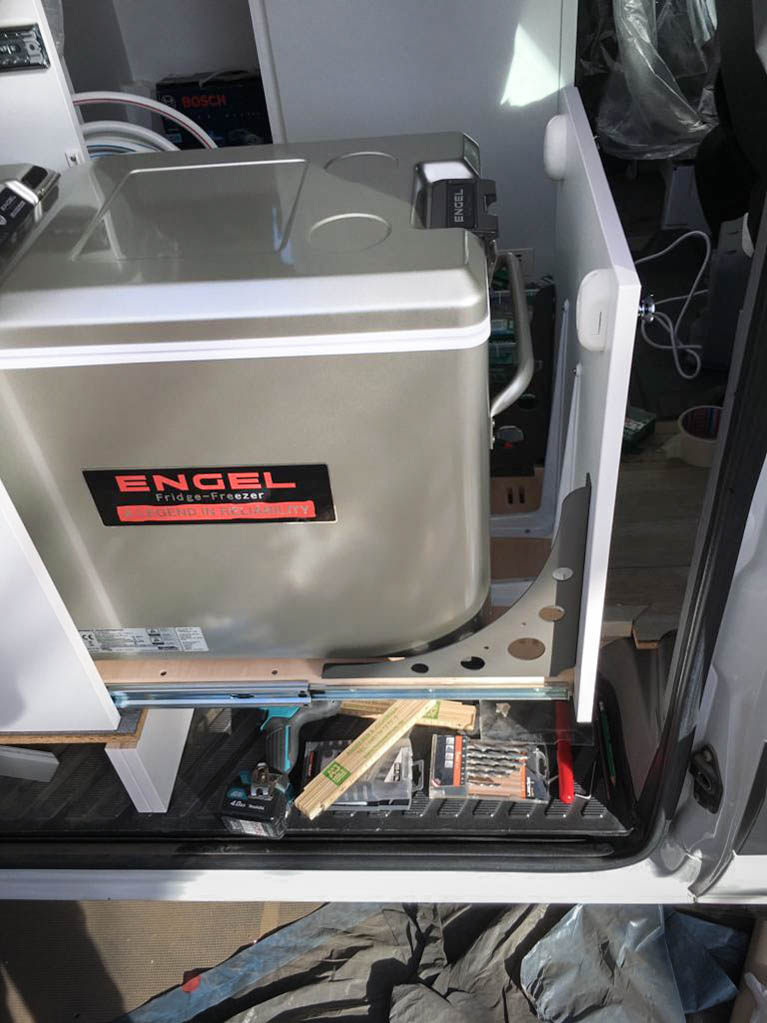
We built a drawer for the Engel T45G-P compressor-cooler which has a capacity of 40 liters. Because you can open the box on the top, it can be reached from the inside as well as from the outside. This is great to fill or rearrange it or take something out, for example when you’re sitting under the awning you can easily reach into the fridge for a cold drink 😉
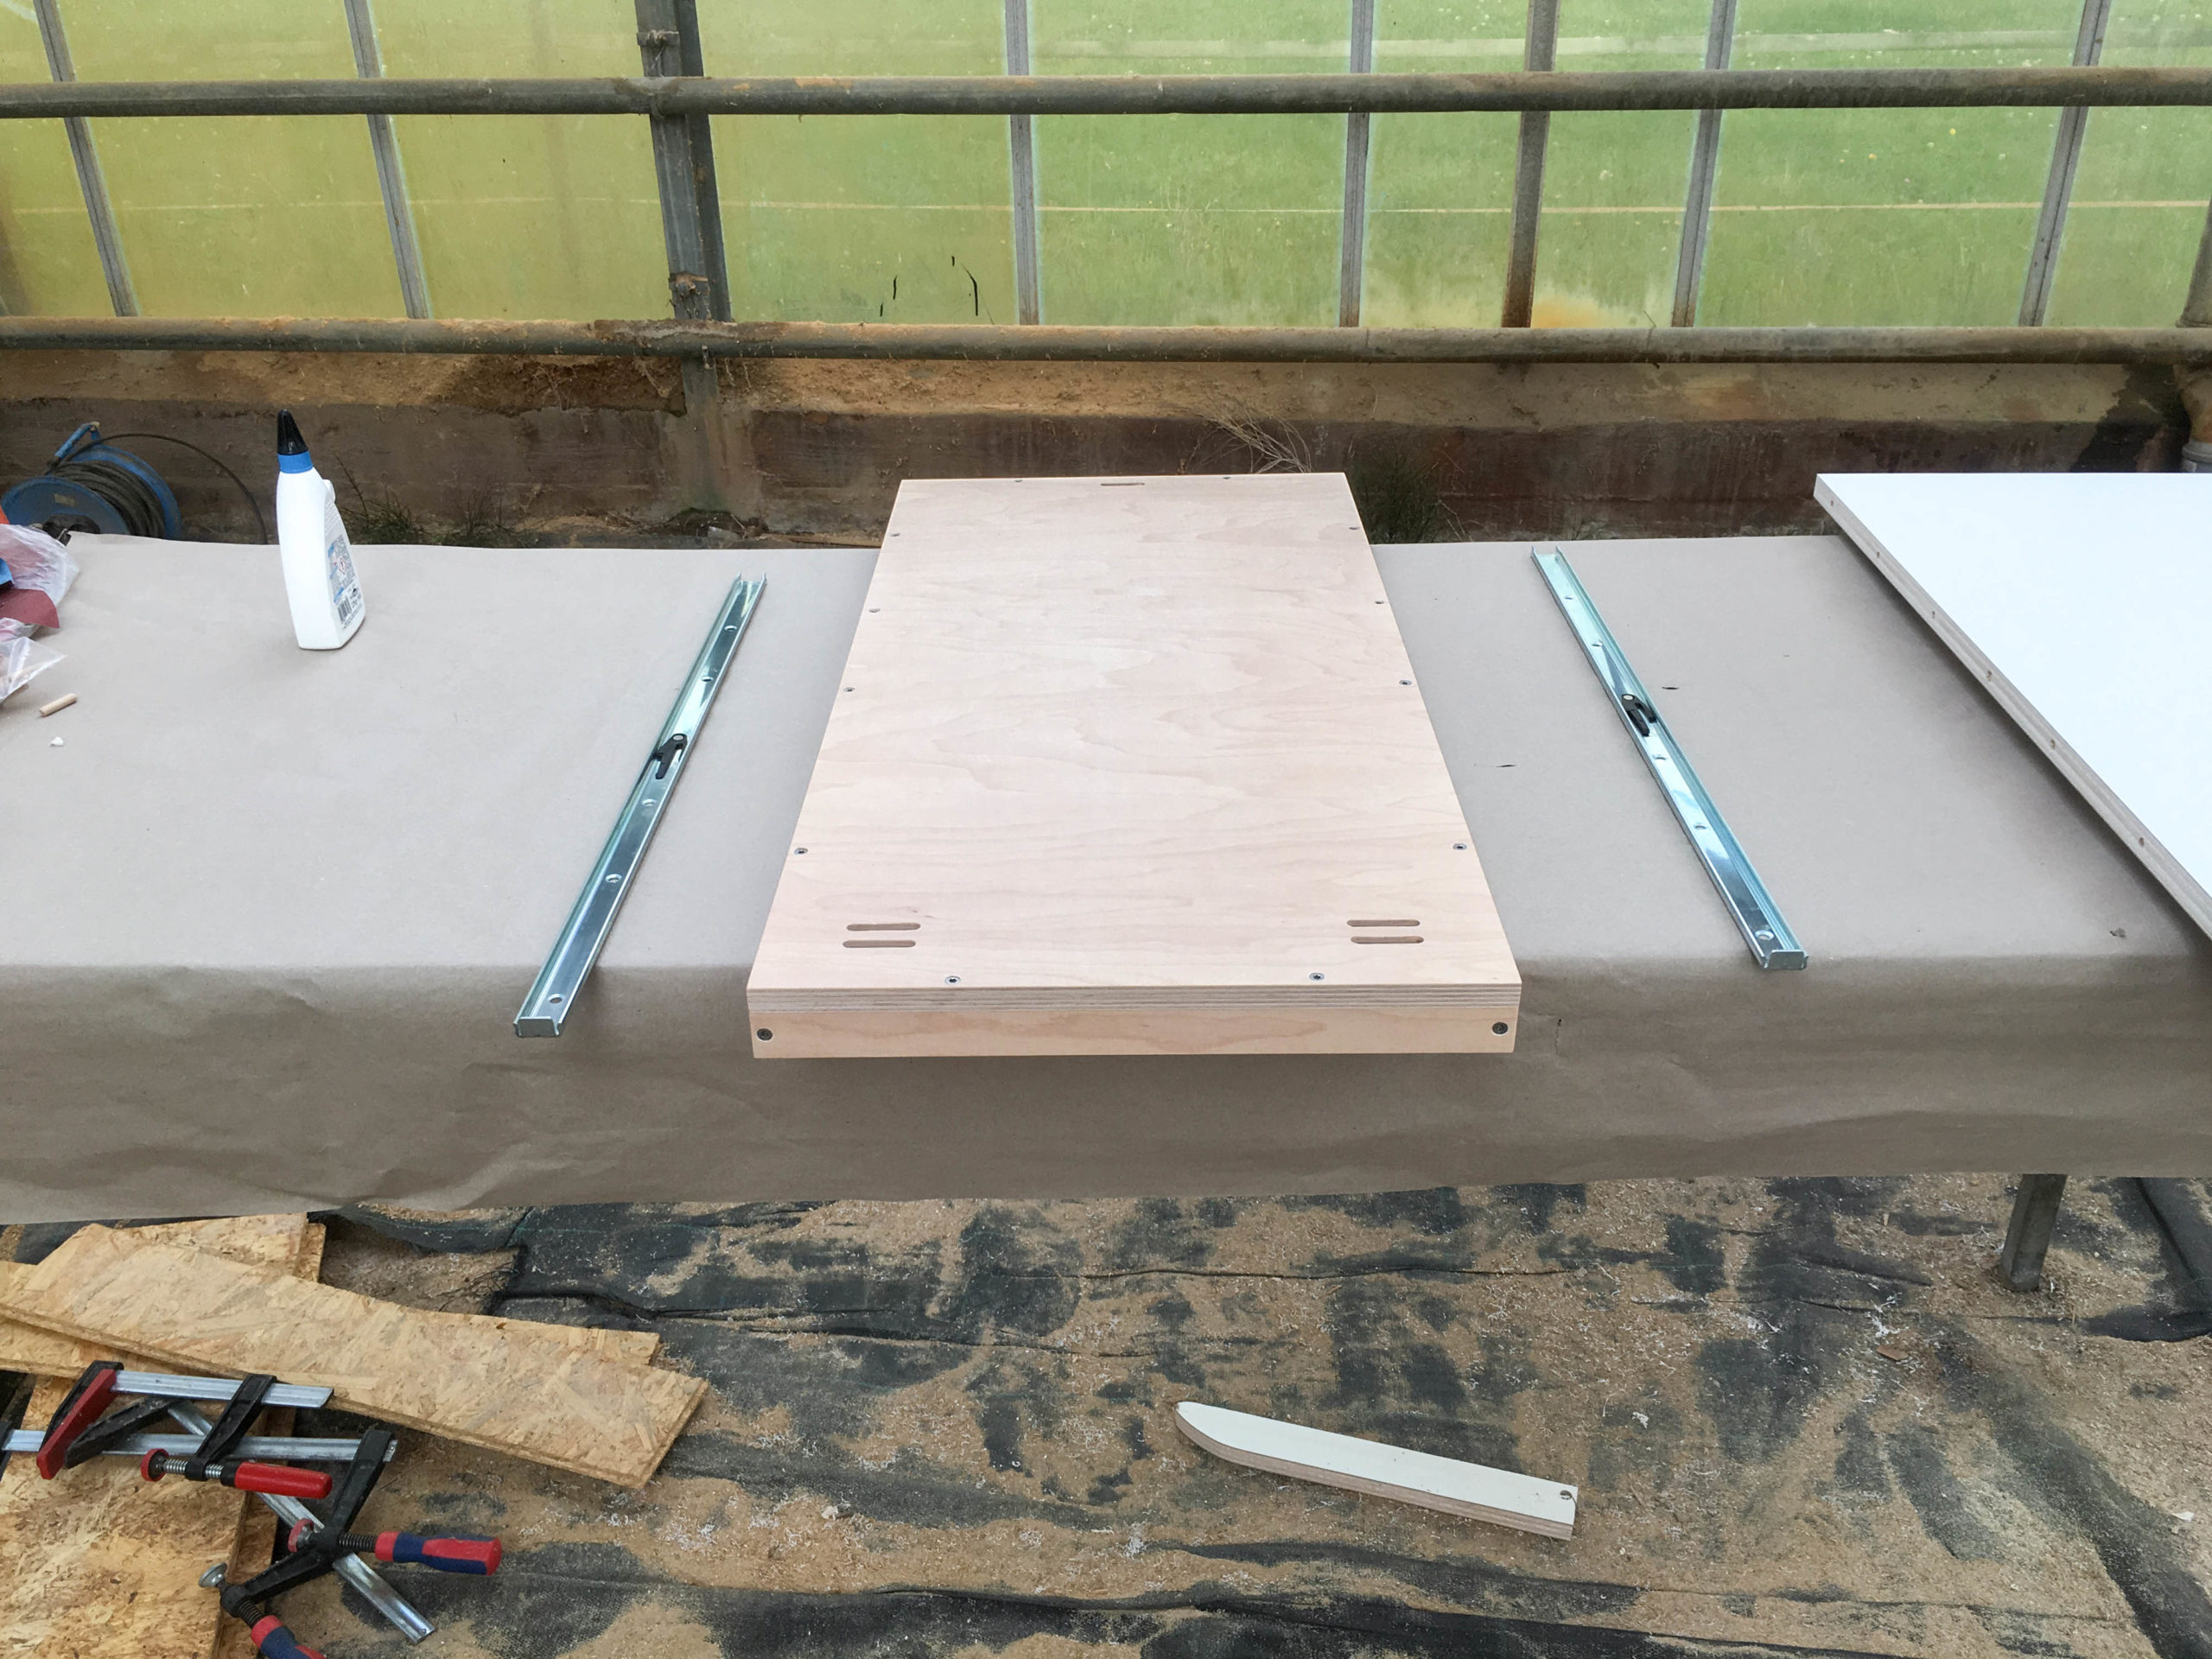
The drawer for the 22 kg heavy fridge has to be solid. That’s why we used multiplex wood for the drawer which we screwed and glued together, then we installed heavy duty slides with a soft close system. Unfortunately all available slides were wider than our desired width of the kitchen block.
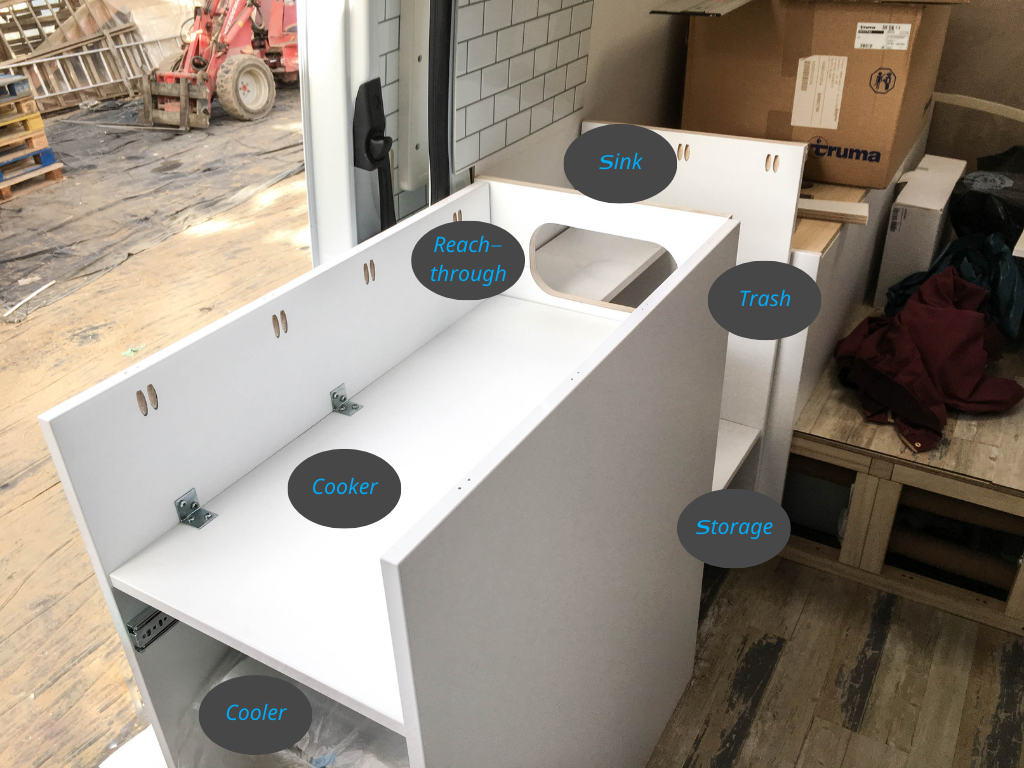
The big kitchen cabinet
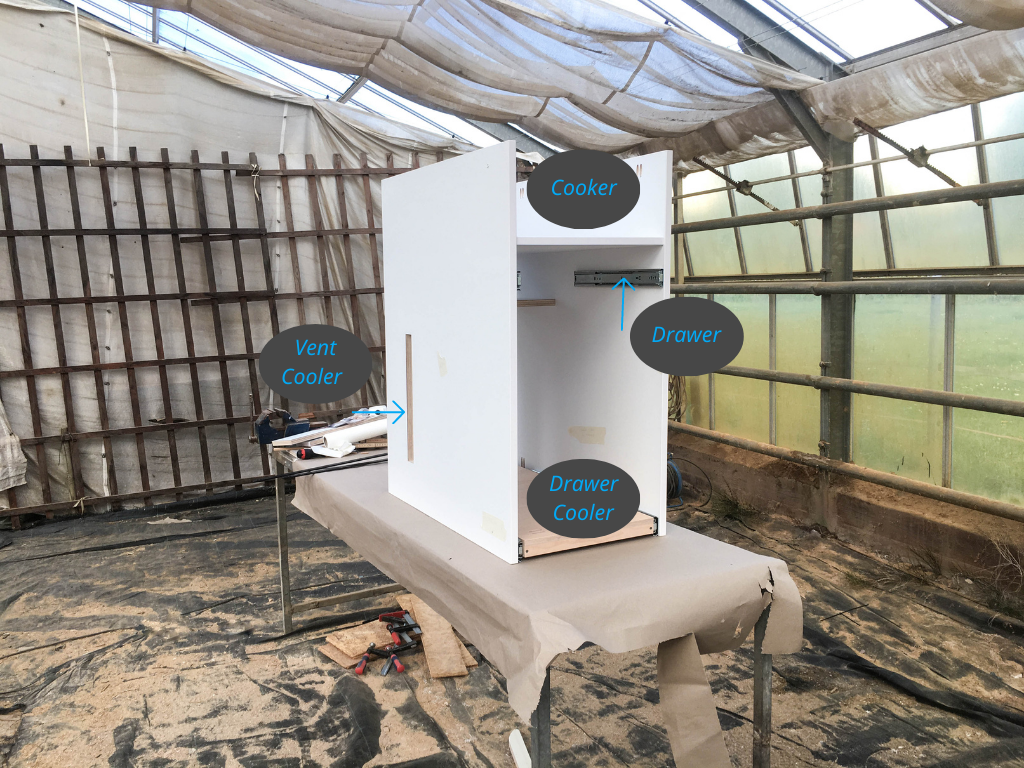
As already mentioned, the main element of the big kitchen cabinet is the cooler. But there were more elements to consider while planning and building:
- Multiplex-drawer & heavy duty slides for the fridge
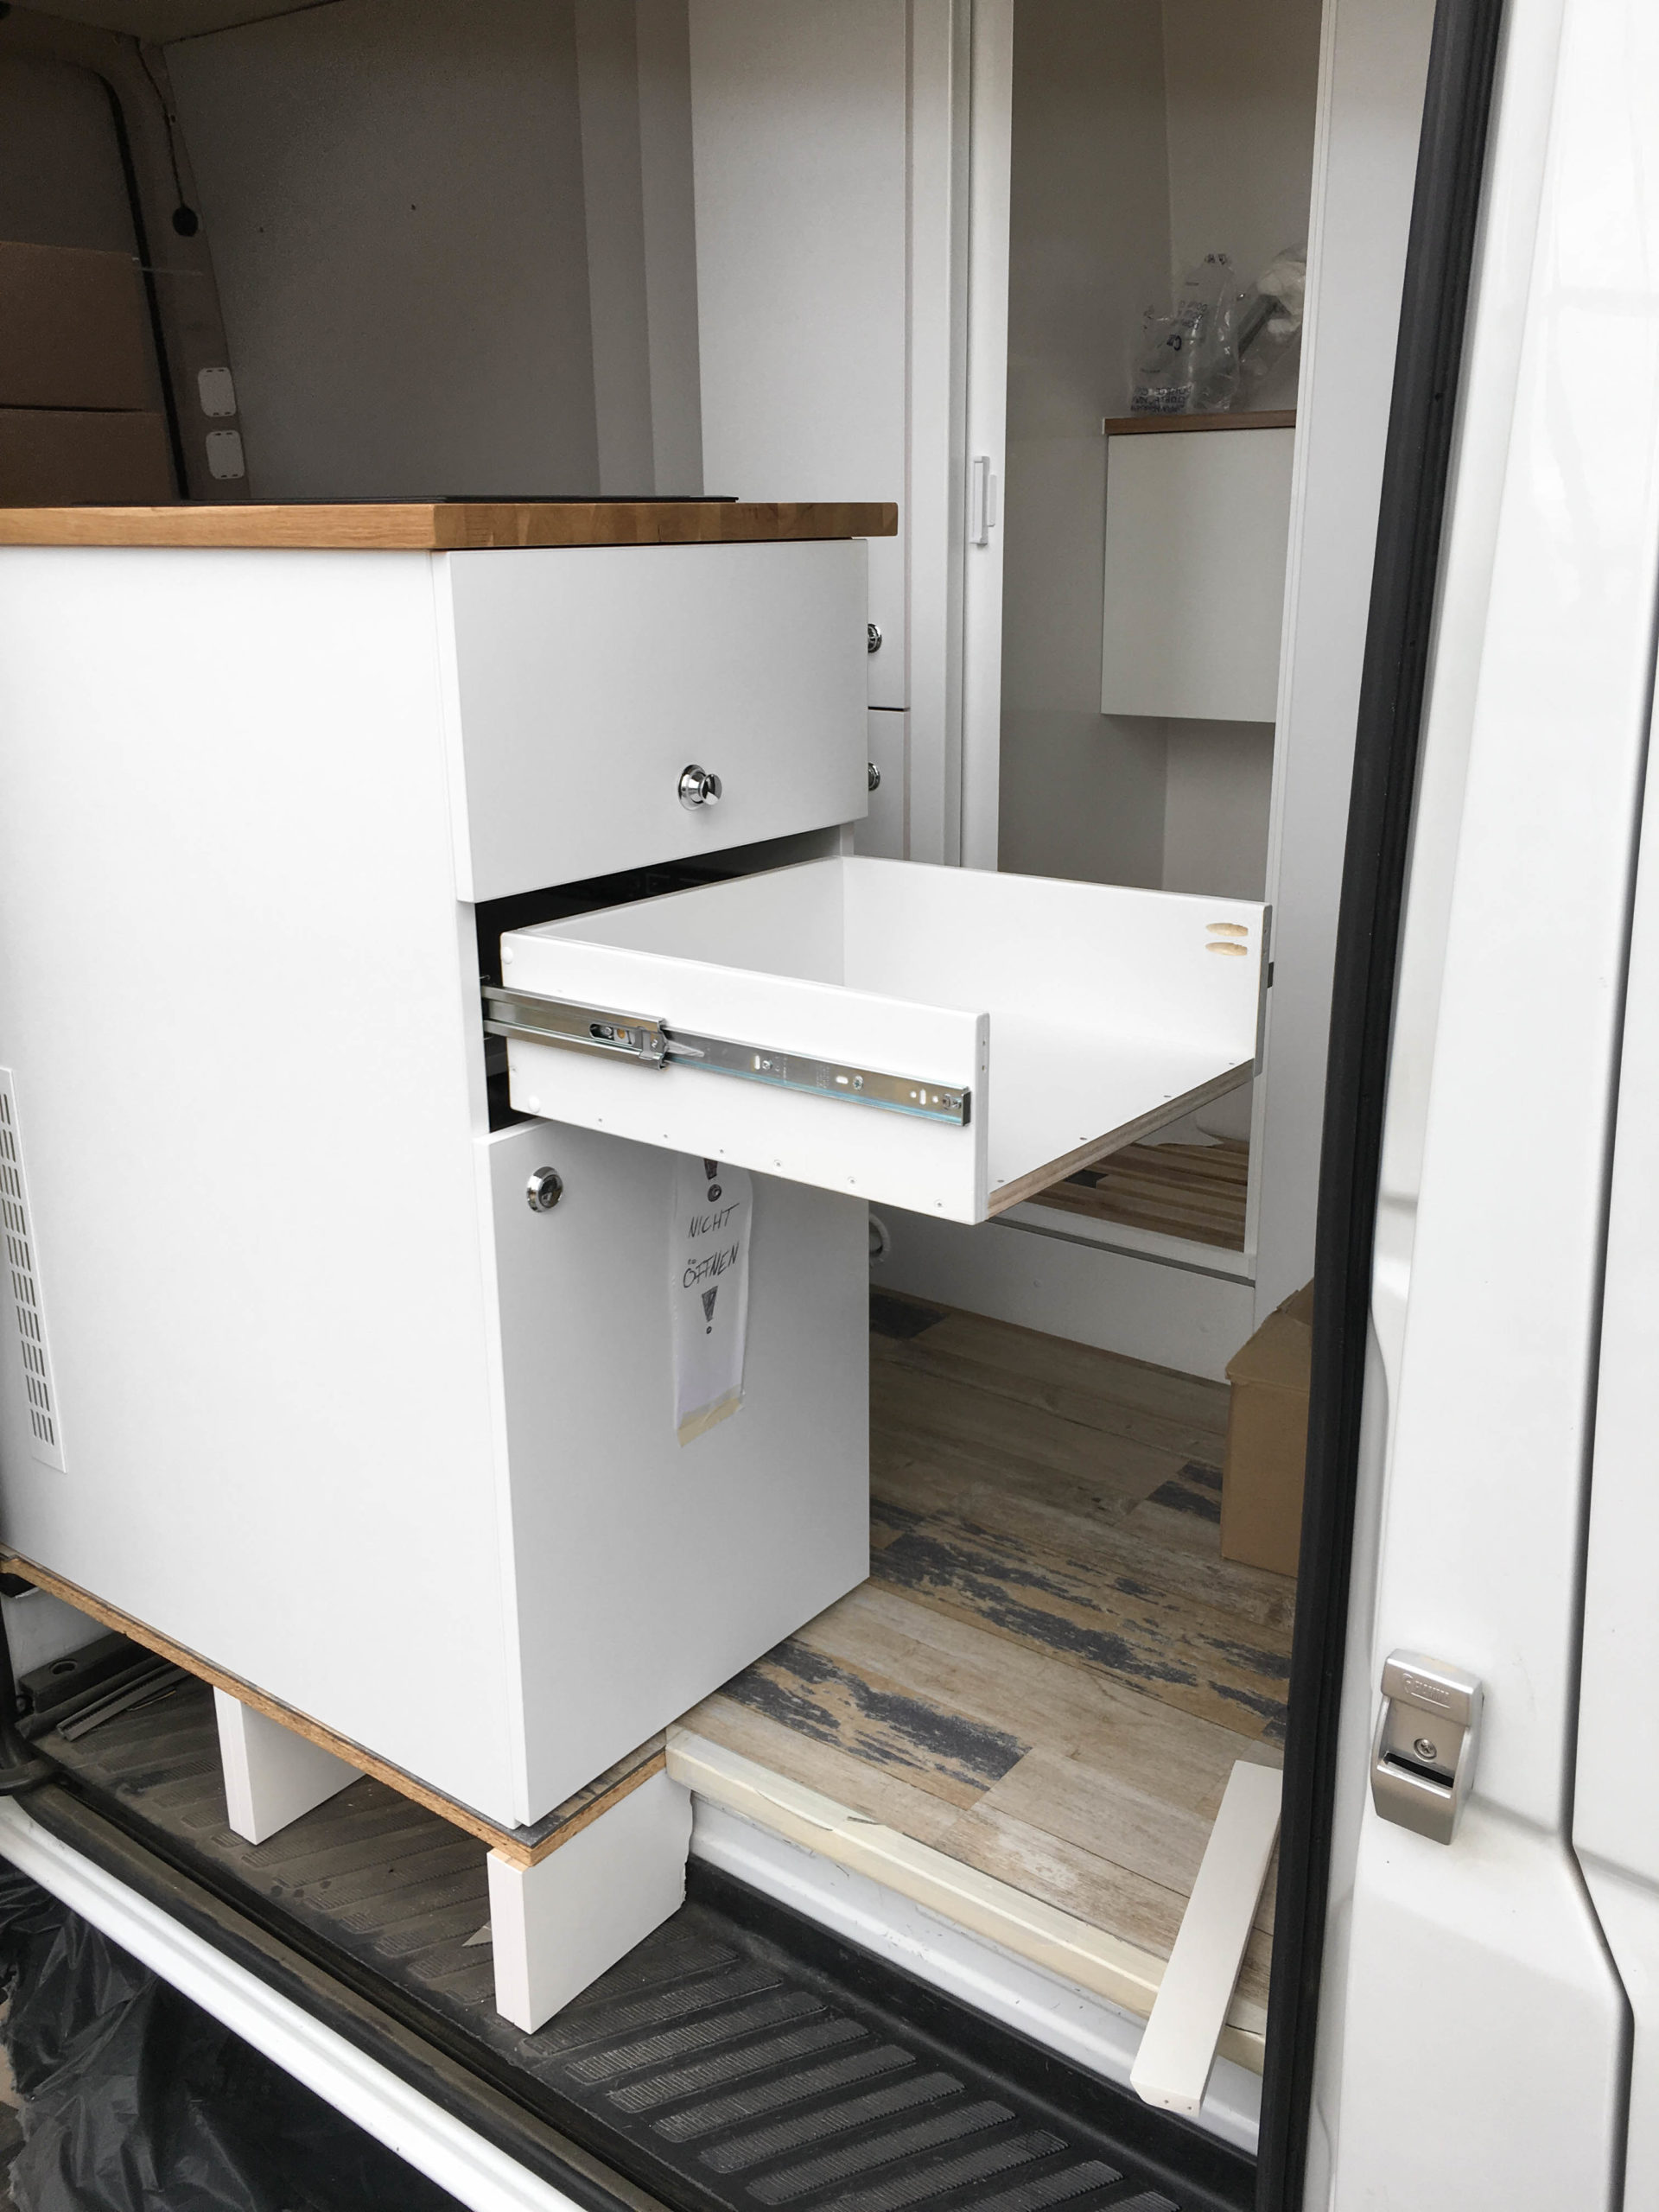
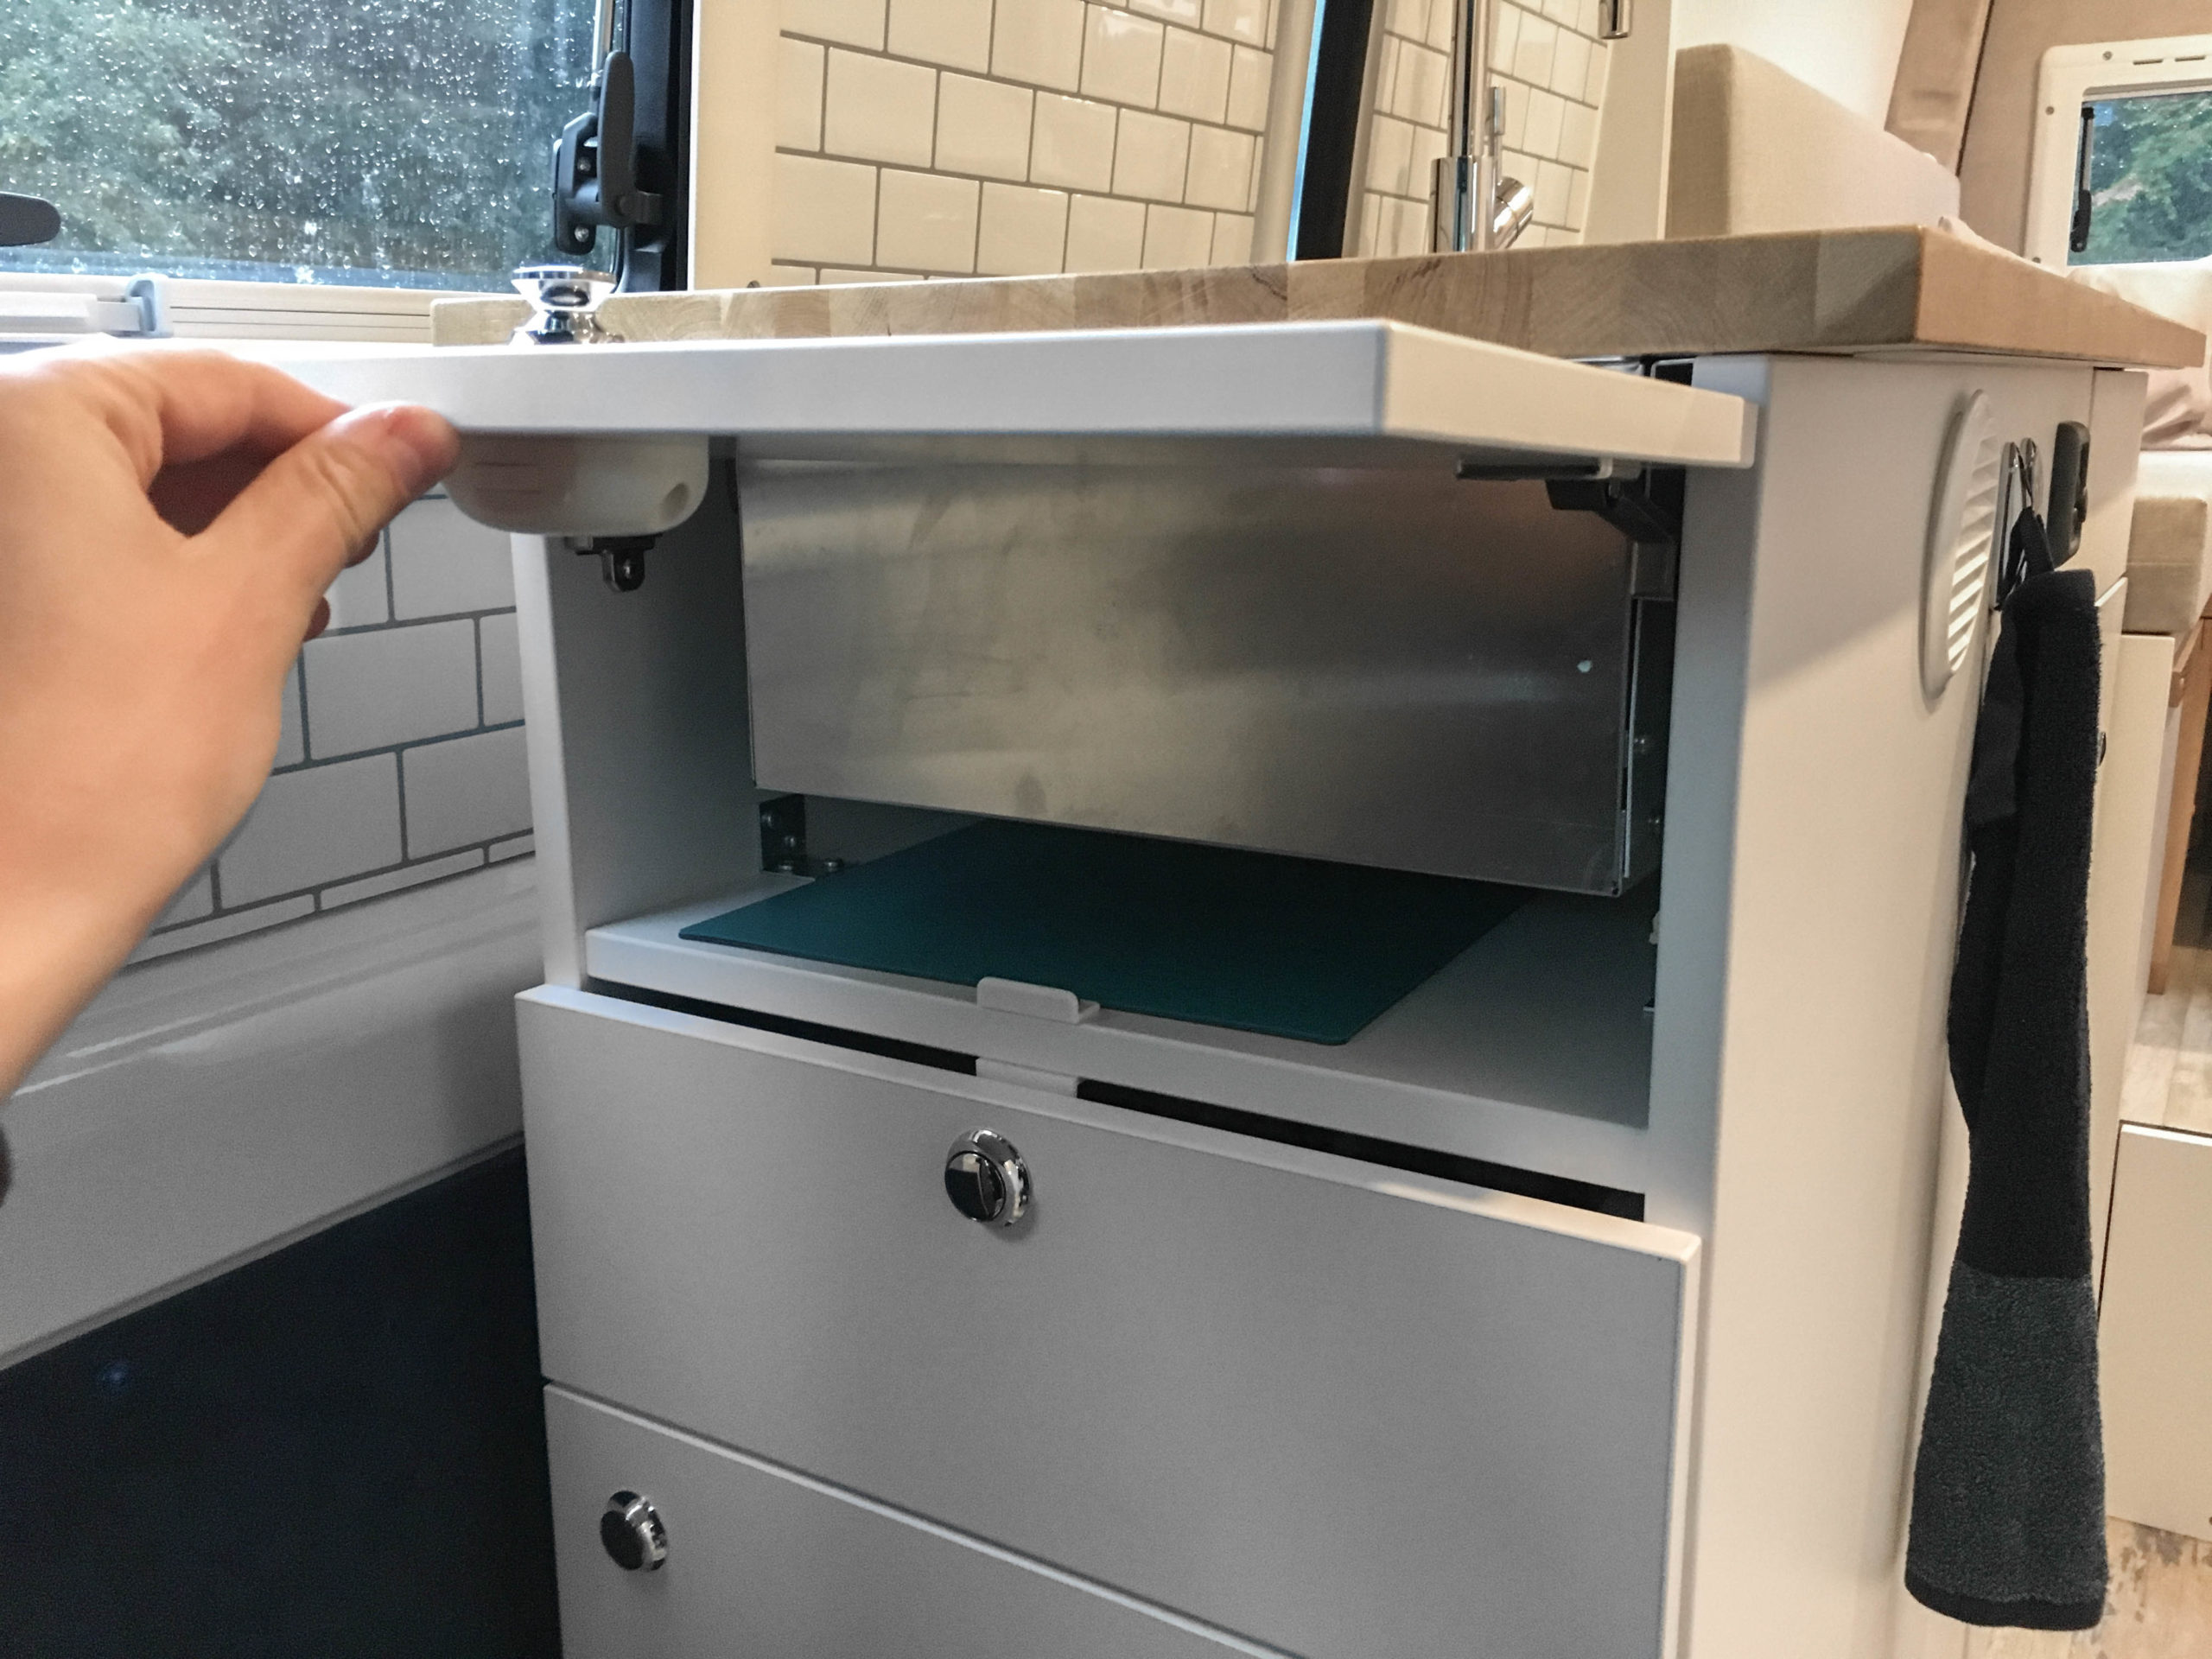
- Drawer and slides above the fridge
- Shelving (the height was already predetermined by the measures of the case of the Diesel cooker) incl. glued wooden dowels for a stable and „invisible“ mounting
- Cutout in the shelving for extendable hose of the faucet
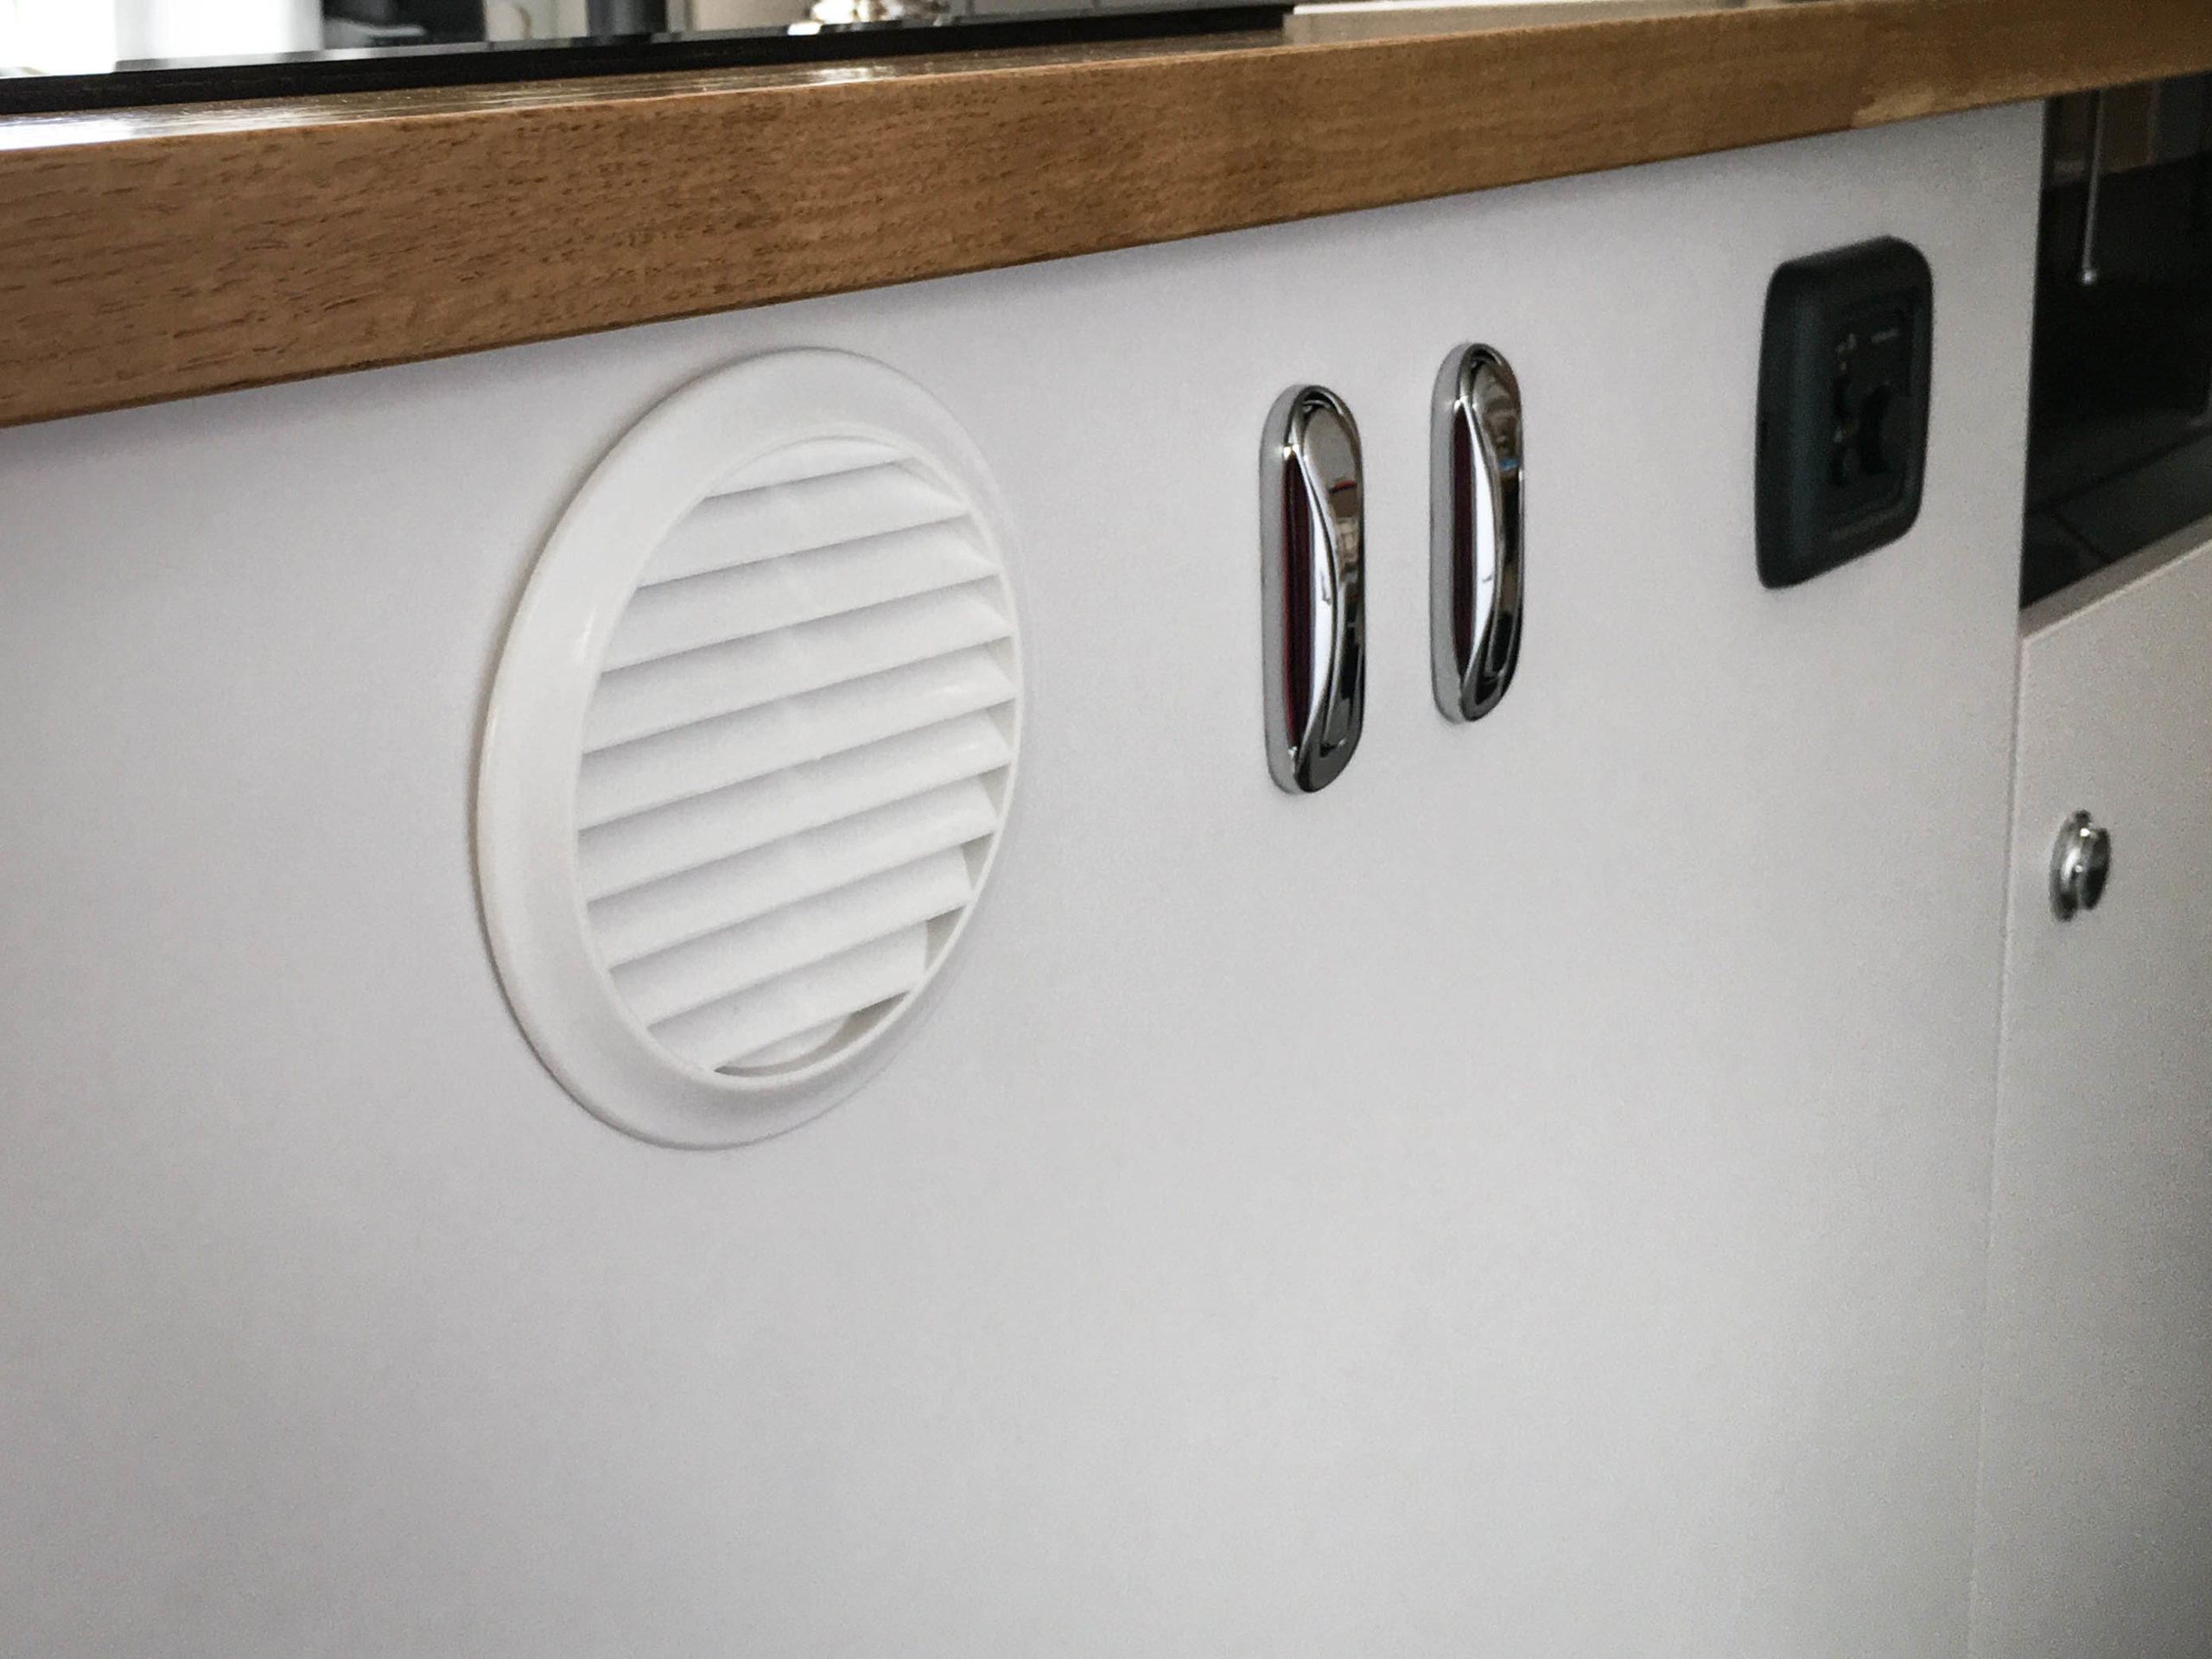
- Cutout for the ventilation of the cooler and Diesel cooker
- Cutout for the operating panel of the Diesel cooker
- Pocket holes with the Kreg Jig to mount the countertop (top) as well as to mount the cabinet to the floor (bottom)

We assembled the cabinet outside, glued and screwed it together with stainless steel angles and then carried it inside.
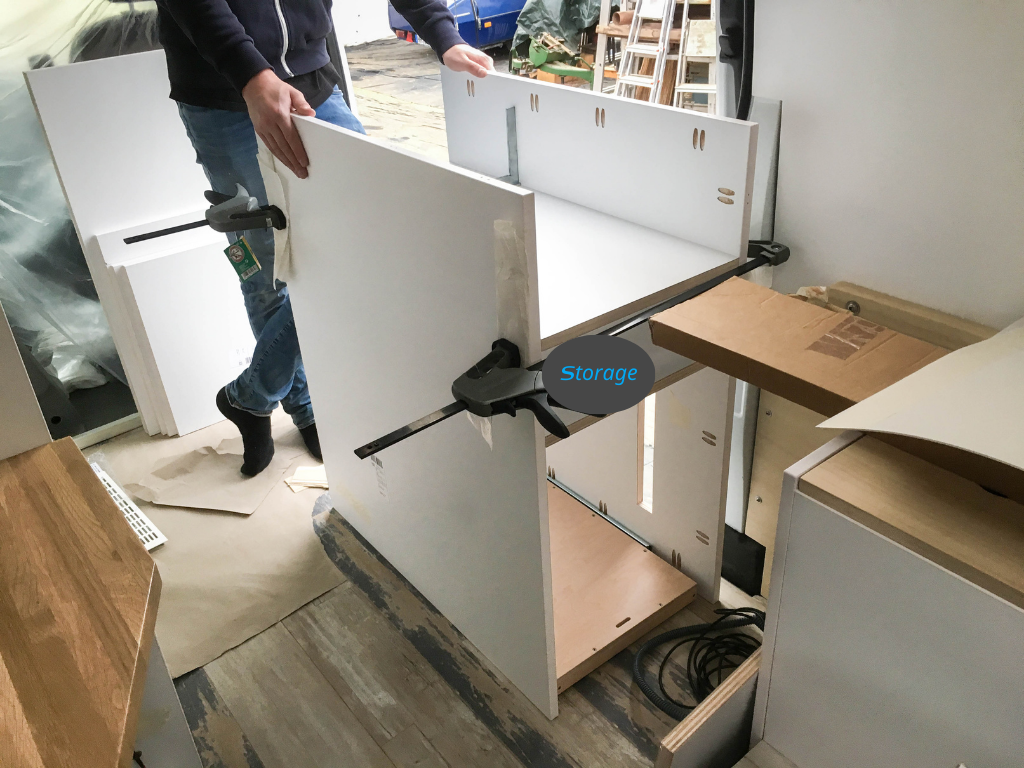
The ventilation of the fridge is exactly where the cutout is.
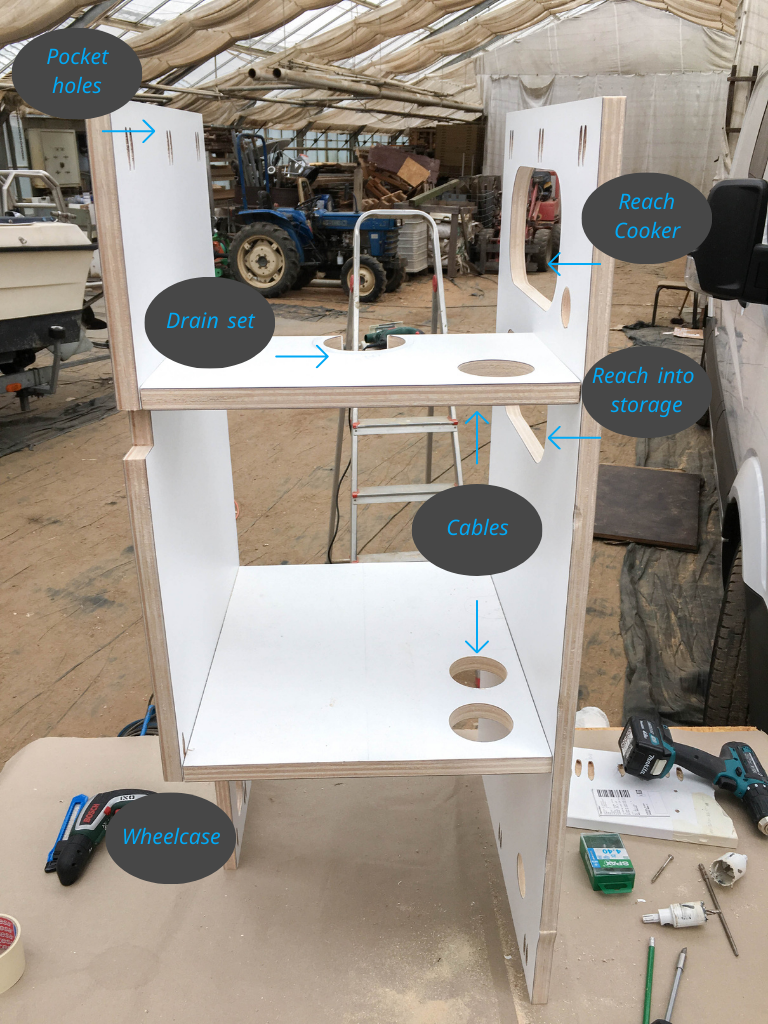
The small kitchen cabinet
When it came to planning and building the small cabinet we again had to consider various elements and details.
- Adjusting the plates to the curve of the vehicle
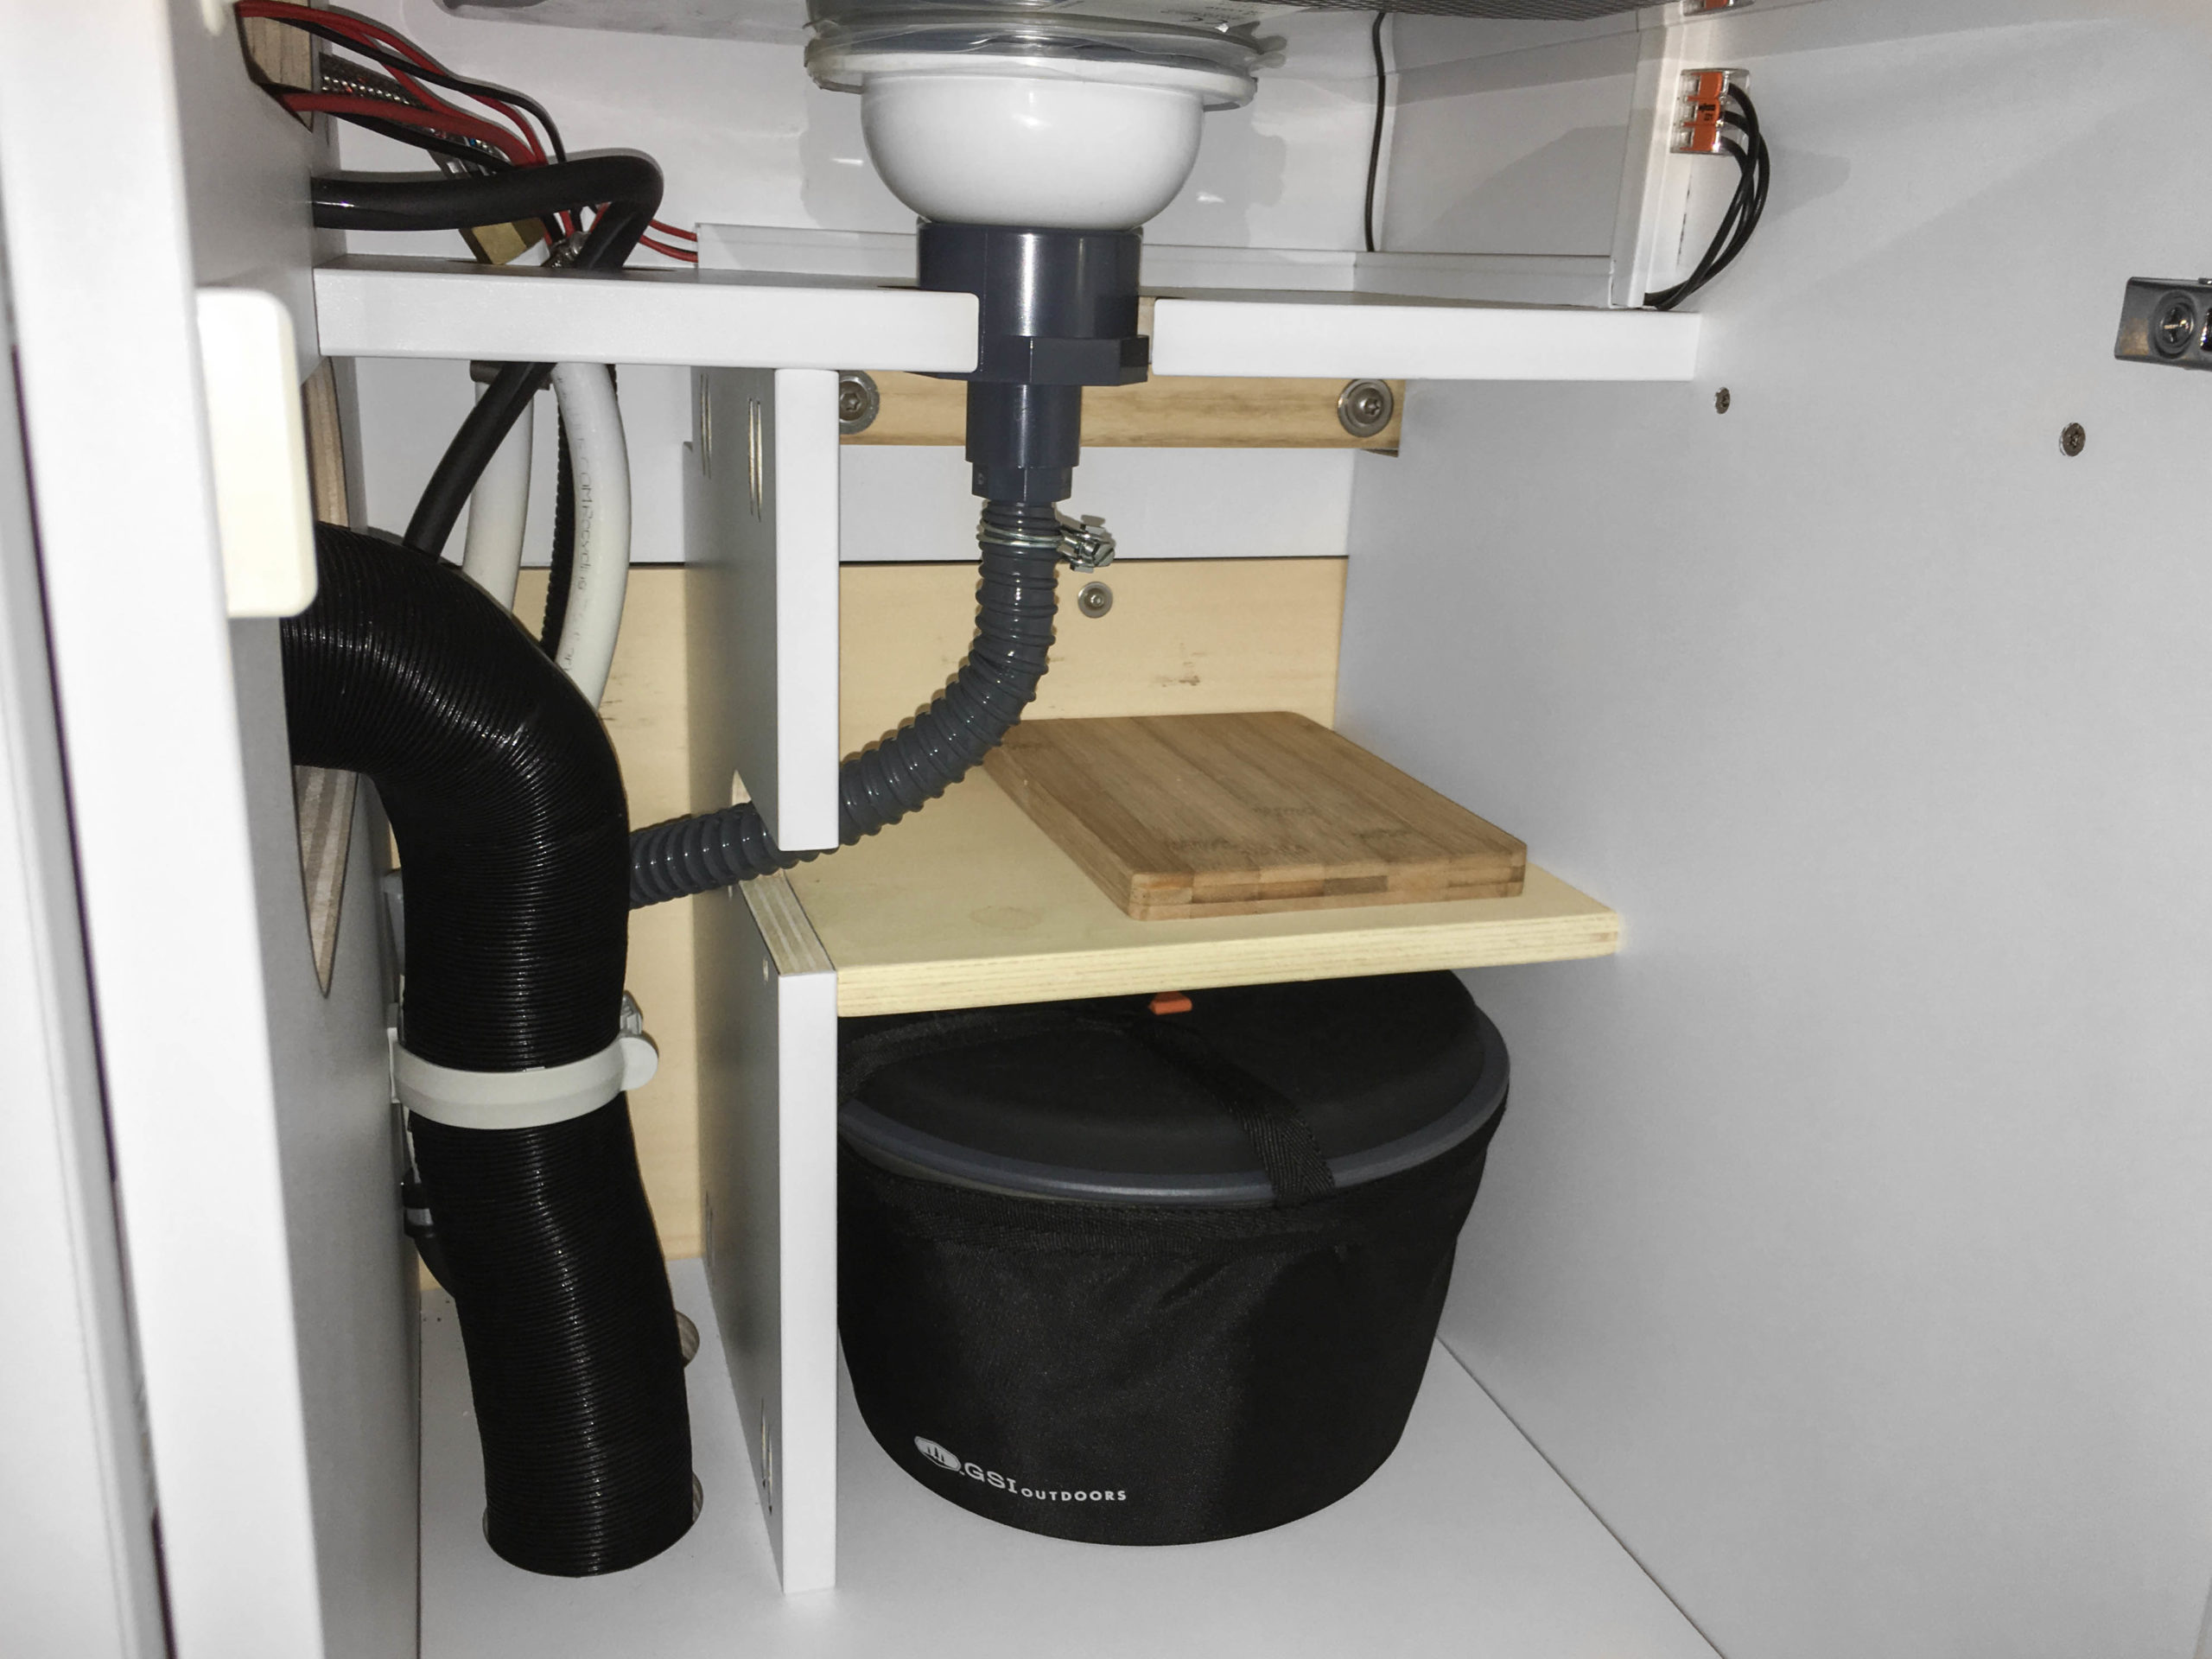
- Shelving (the measures were already predetermined by the depth of the sink as well as the trashcan)
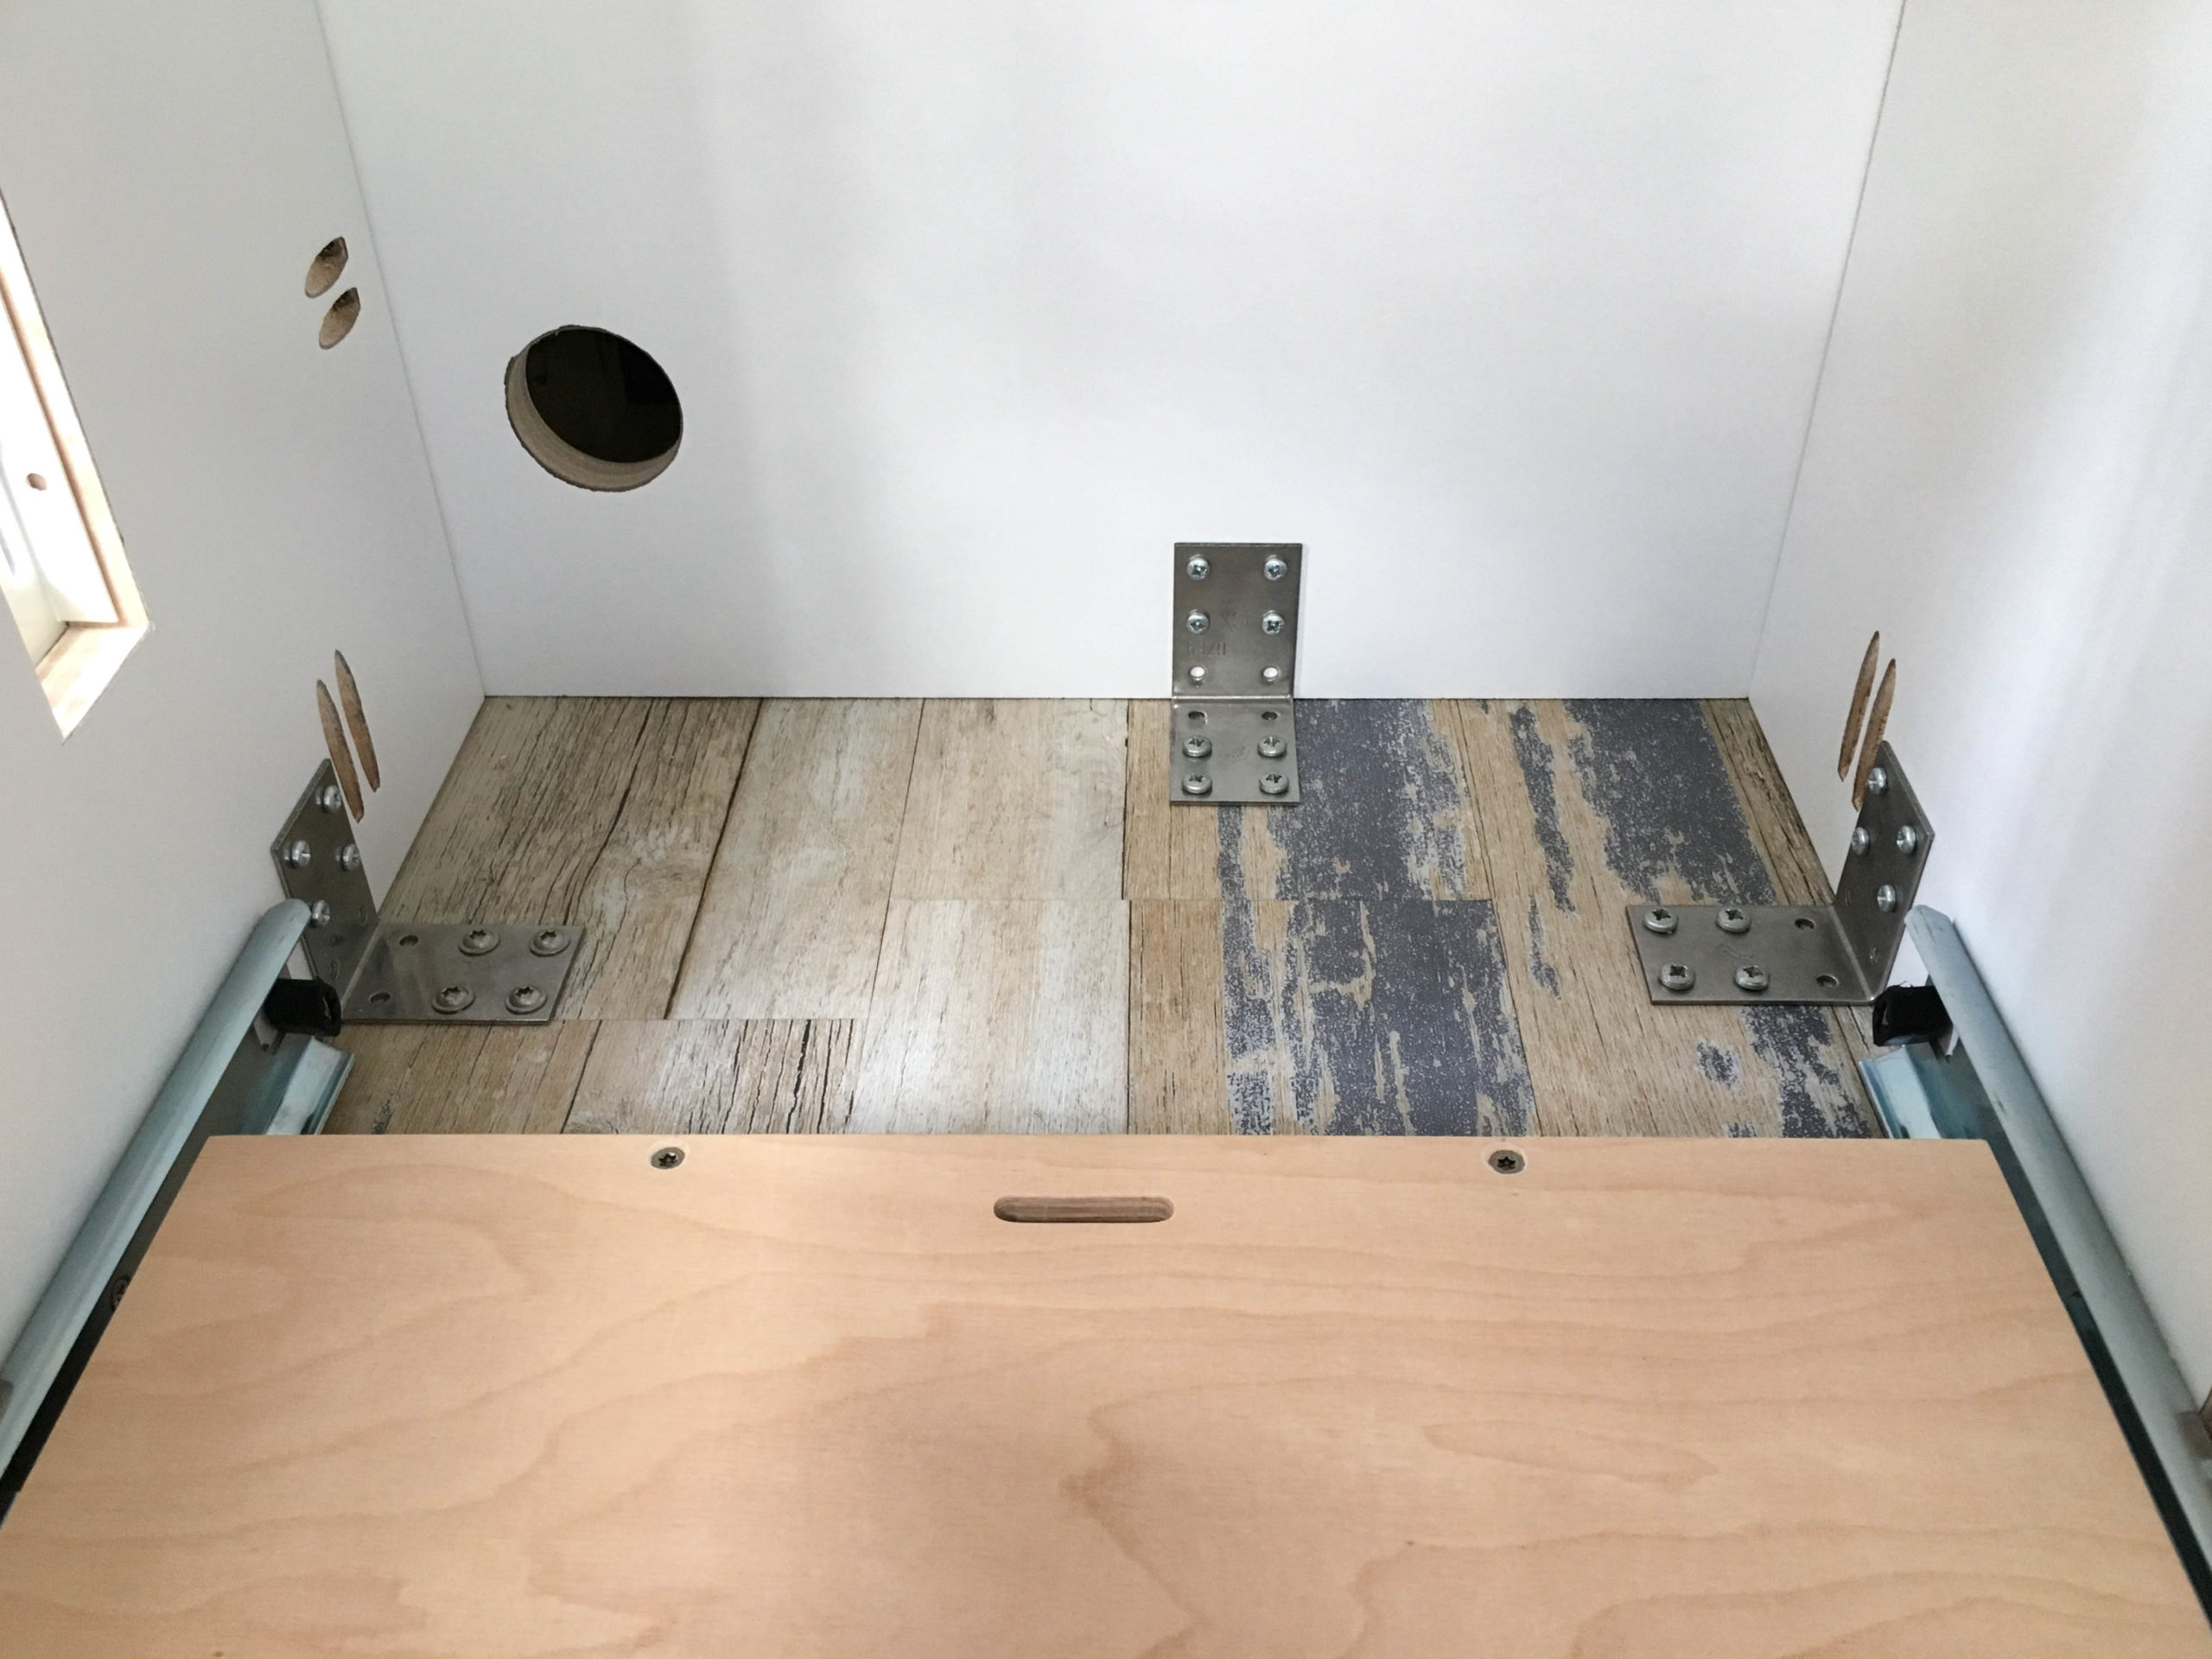
- Cutouts with the holesaw for (waste-) water hoses, drain set of the sink, cables for the cooker and cooler
- Cutout for the wheelcase
- Reach-through into the big cabinet
- Pocket holes with the Kreg Jig to mount the countertop (top) as well as to mount the cabinet to the floor (bottom)
The finished kitchen block
We connected both cabinets with stainless steel angles and the pocket holes.
In the front, we then made cutouts for fresh air supply for the Diesel cooker similar to the one for the cooler, as well as for the operating panel of the cooker and we added two hooks for towels.
As already mentioned, we made pocket holes for the mounting to the floor. But because the kitchen is made of heavy elements like the countertop and the Diesel cooker and we have to rely on it, we added an additional screw connection for more stability by adding angles. These as well as the screws from the pocket holes are screwed into the wooden slats below the OSB3-plate.
To finish off the kitchen build we built the small drawer and added the doors made of 15 mm poplar plywood coated with white HPL.
For the doors, compartments and drawers to stay closed while driving, we added push-lockers. The ones we chose are for doors as thick as 15-16 mm and have a drilling diameter of 26 mm. With the additional handle you can easily open the „heavy“ drawer with the cooler without pulling the locks.
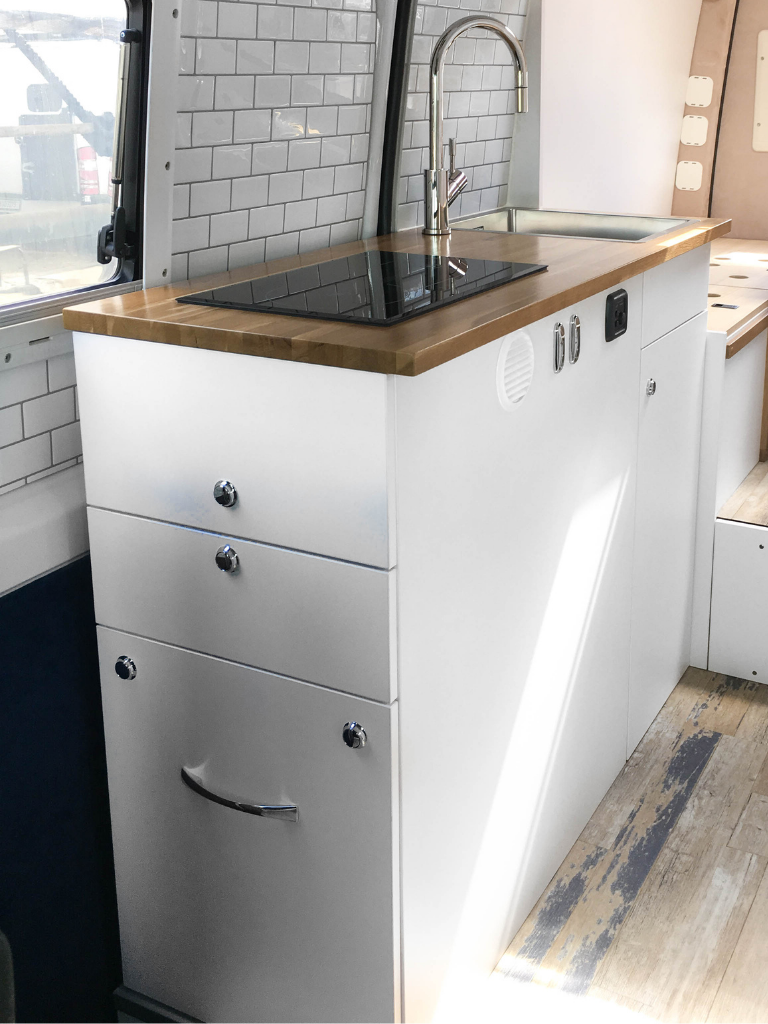
Because of the high weight of the cooler, instead of installing one centered lock we installed two each right and left. Additional metal brackets stabilize the drawer while pulling it out, so the force is transferred from the handle to the angles downwards.
Storage
Even though lots of space is taken up by the fridge, we have enough storage room in the kitchen for pots and pans.
We built the compartments below the sink for the set of pots as well as for the Omina-oven according to the individual measurements so nothing rattles!
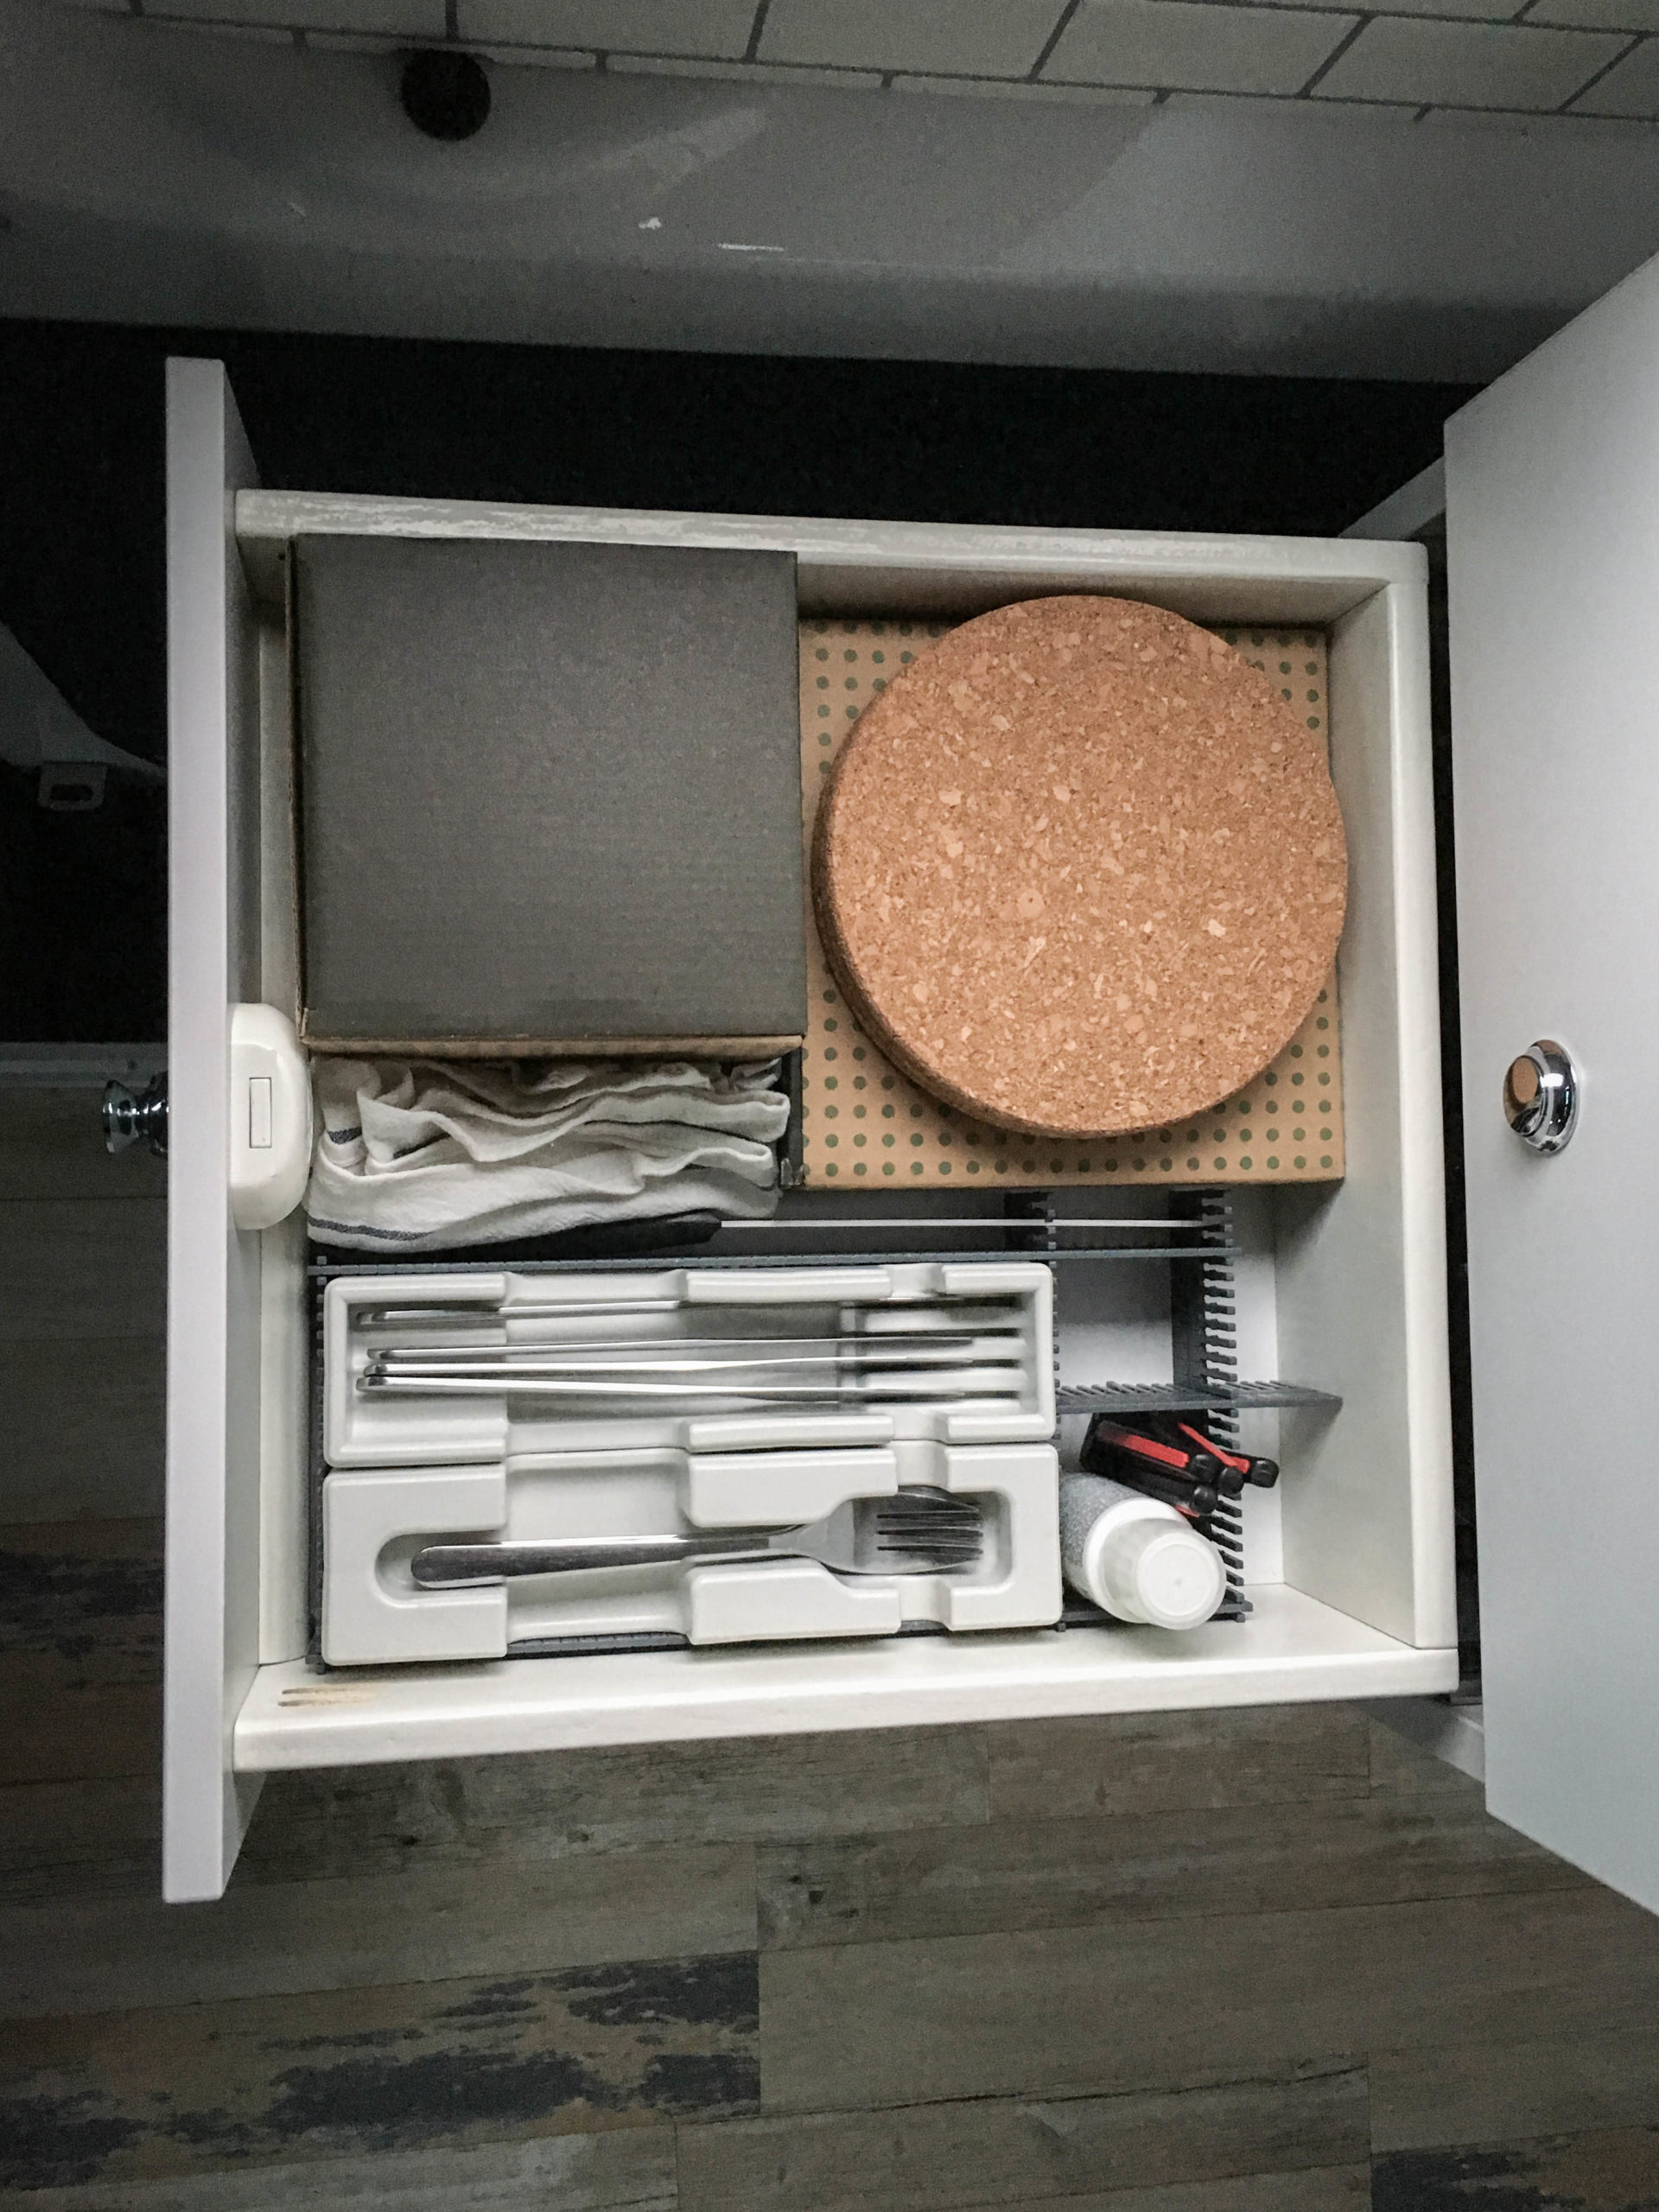
Cutlery, plates and bowls are stored in the drawer over the fridge.
We need every room possible for storage so we built everything so you can reach everywhere, for example under the cooker to store small or little things.
Read more about your DIY kitchen in the Camper here!