
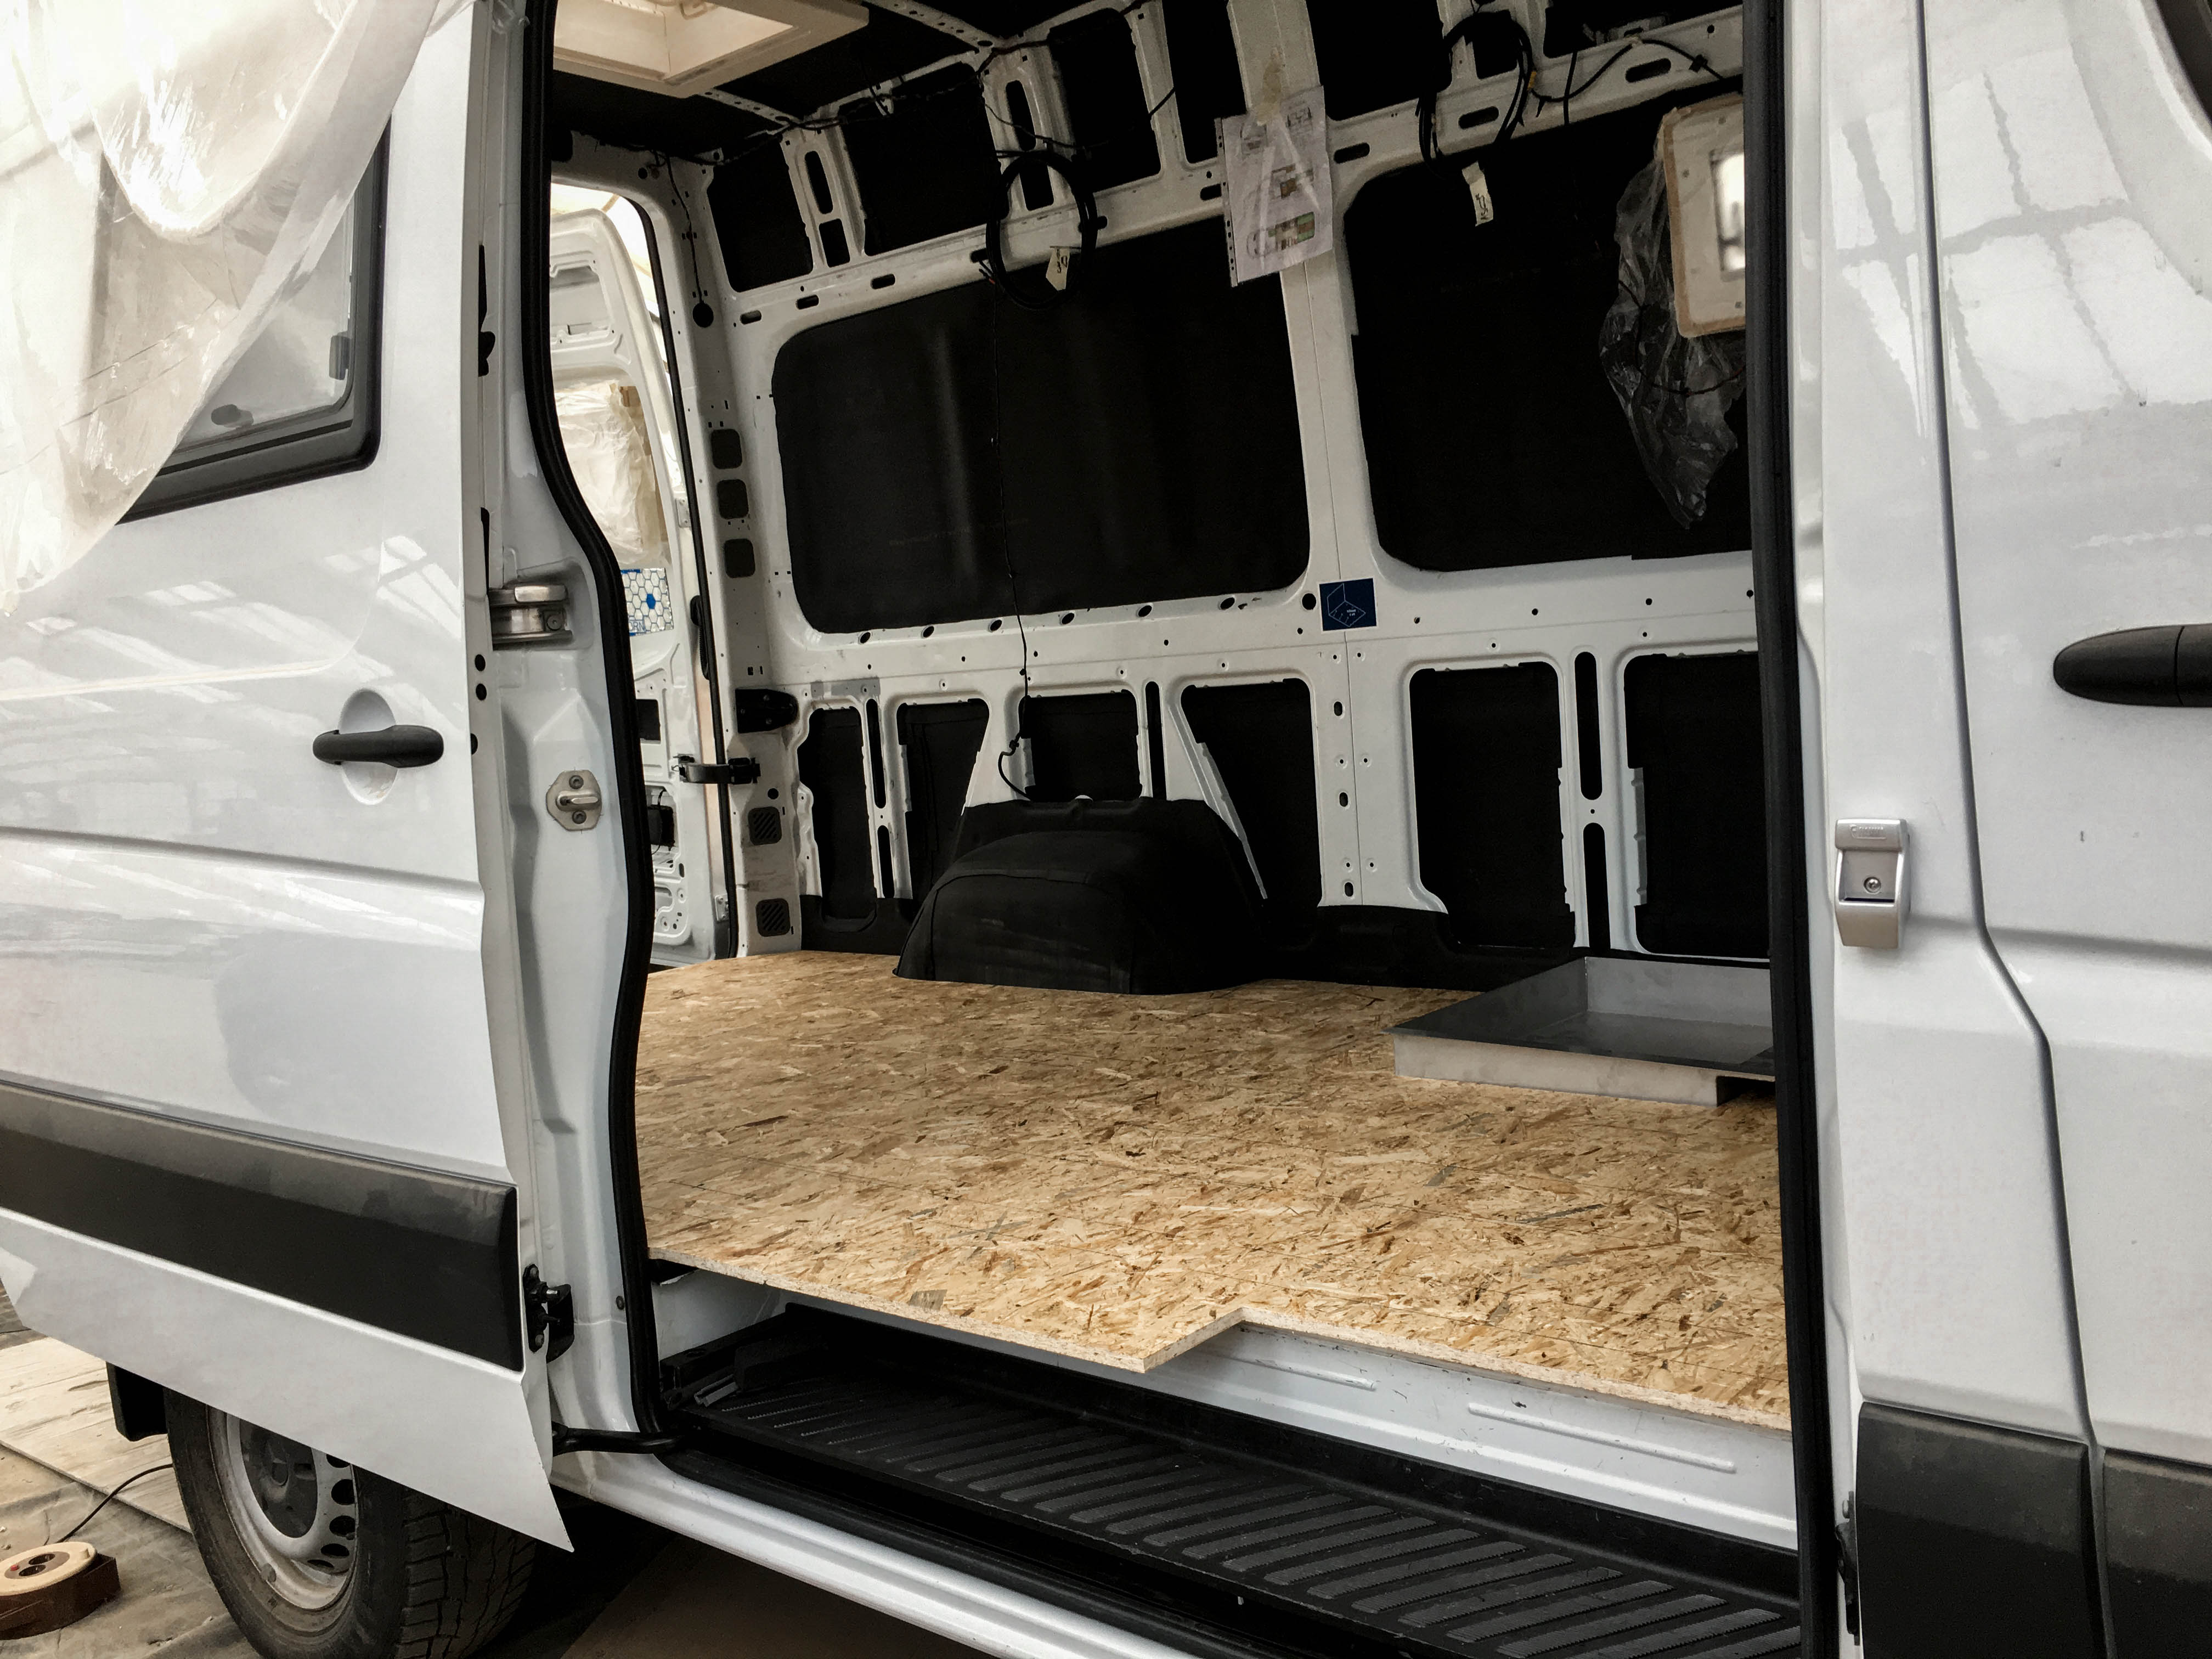
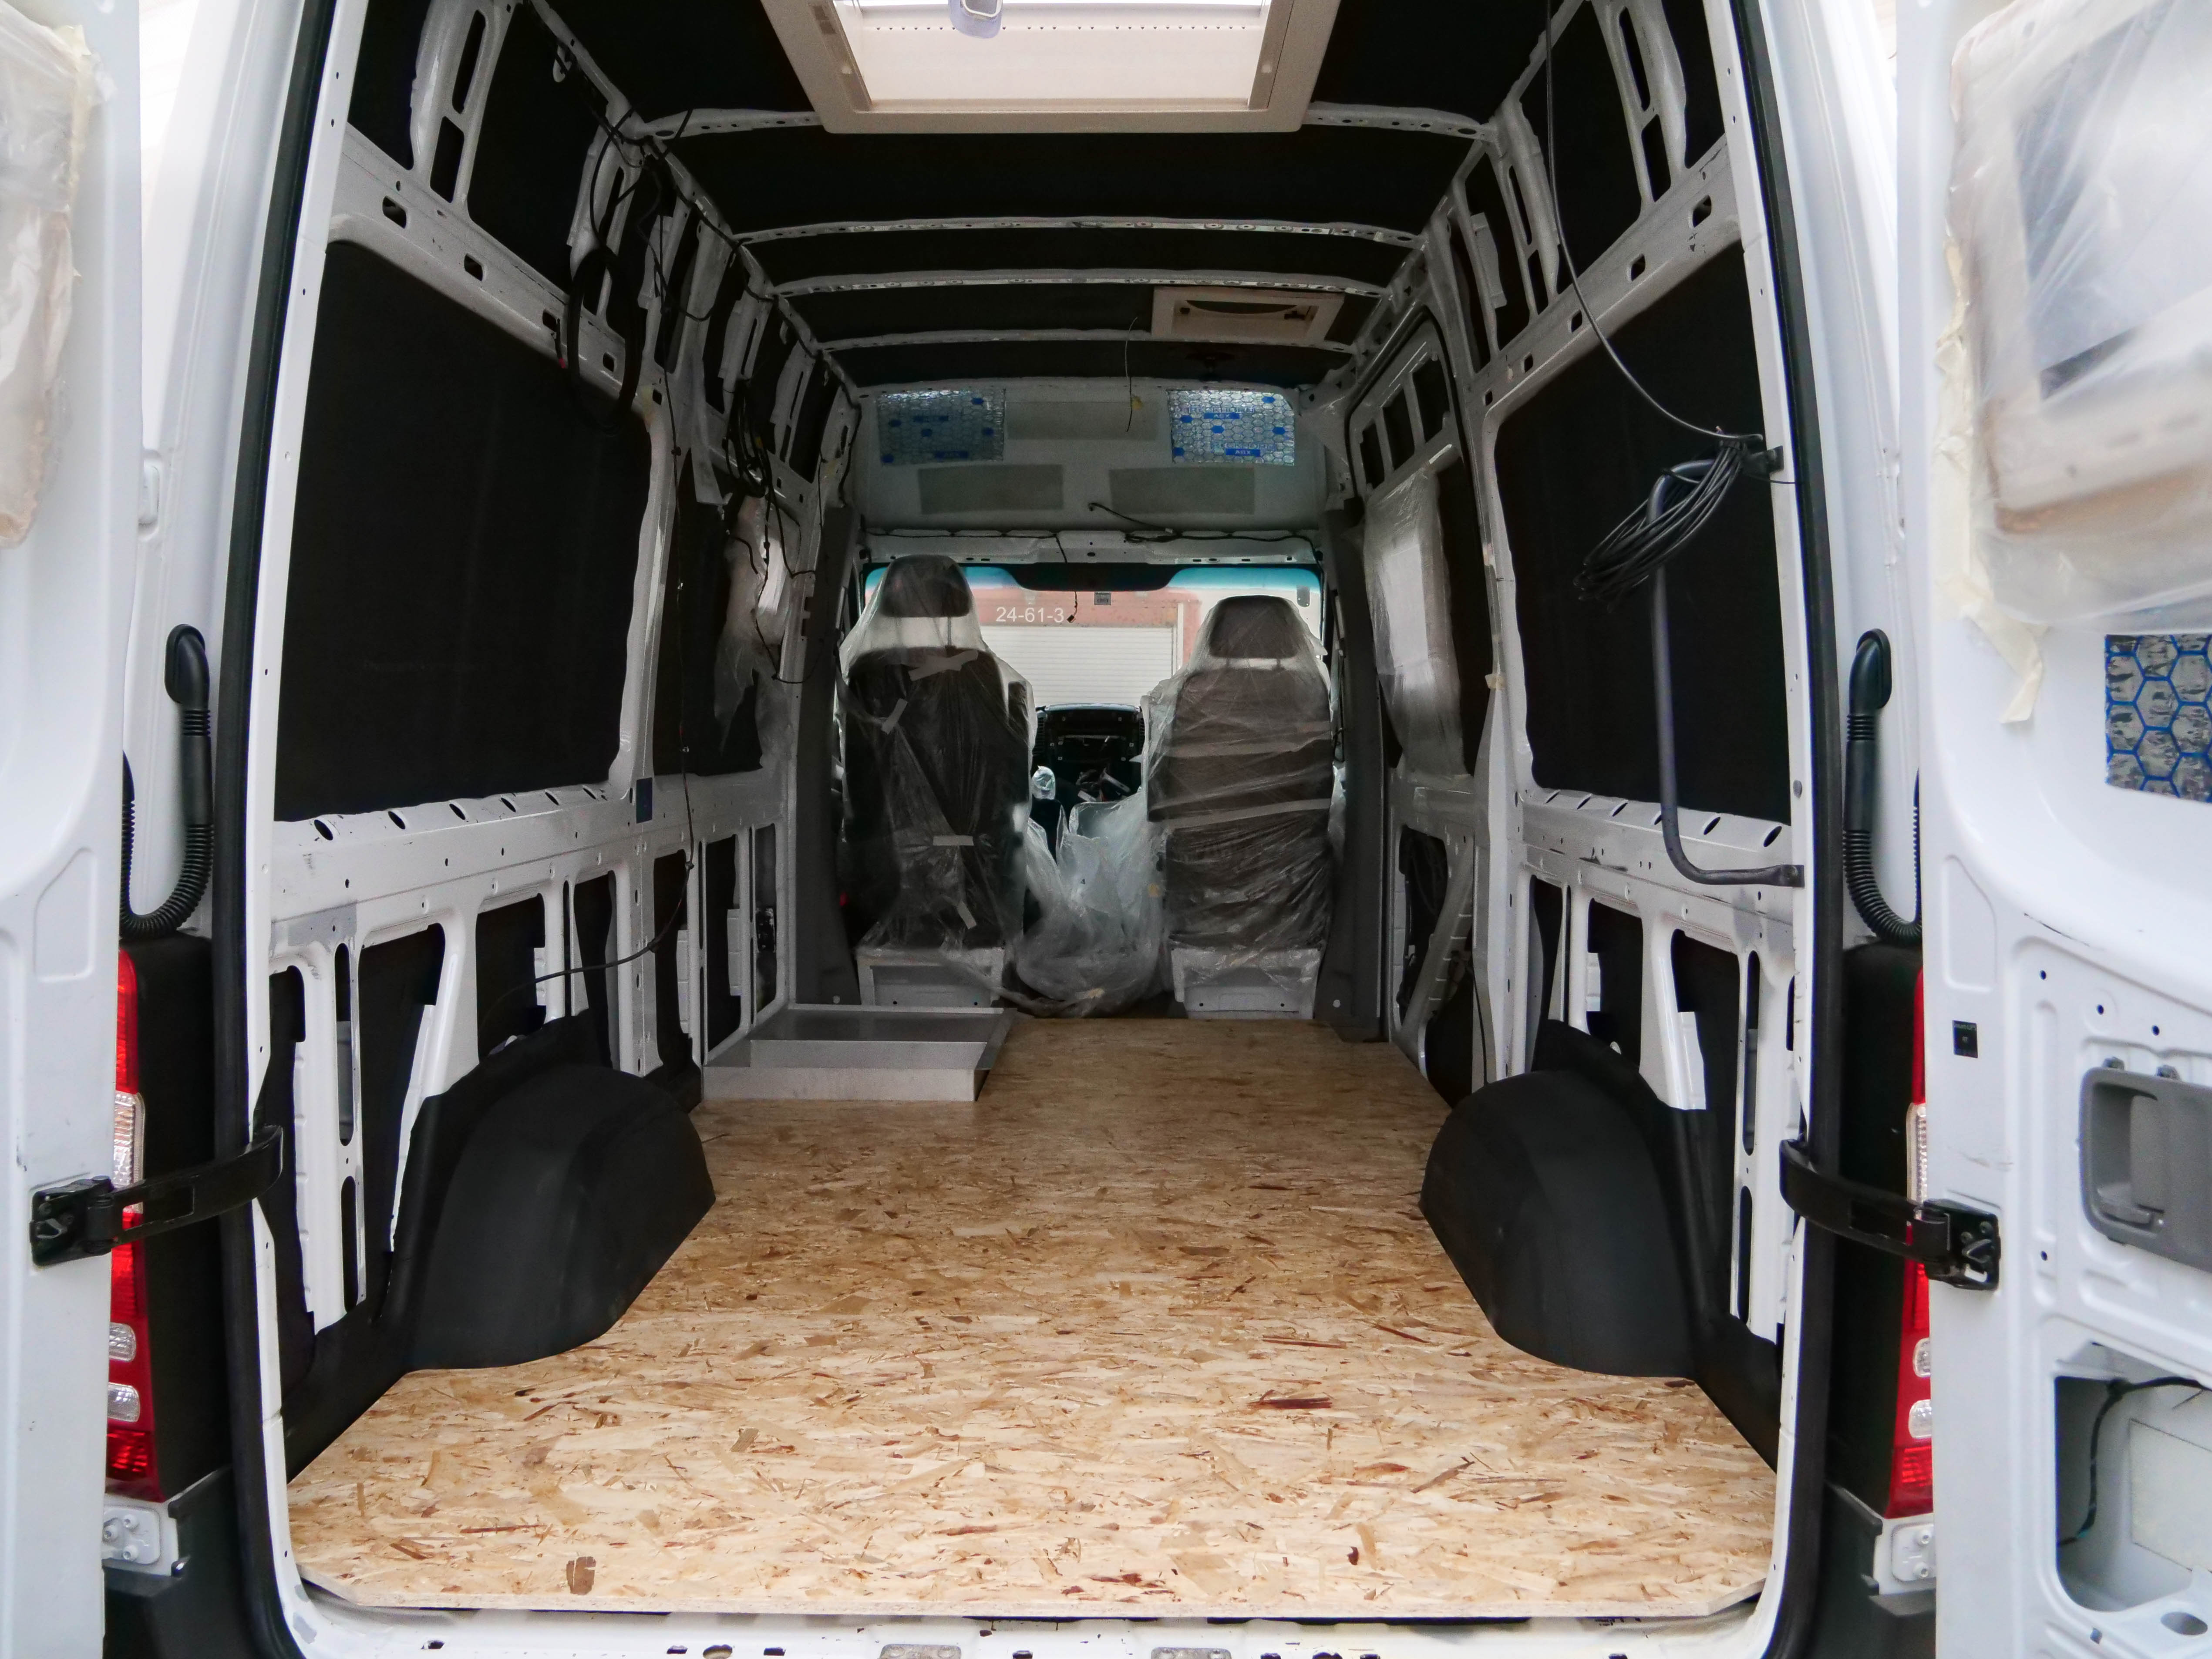
The new OSB3-panel is the base of the Sprinter-vanbuild, because all of the furniture will be built on top of it. It’s the base of the whole interior build and it’s now put into the vehicle!
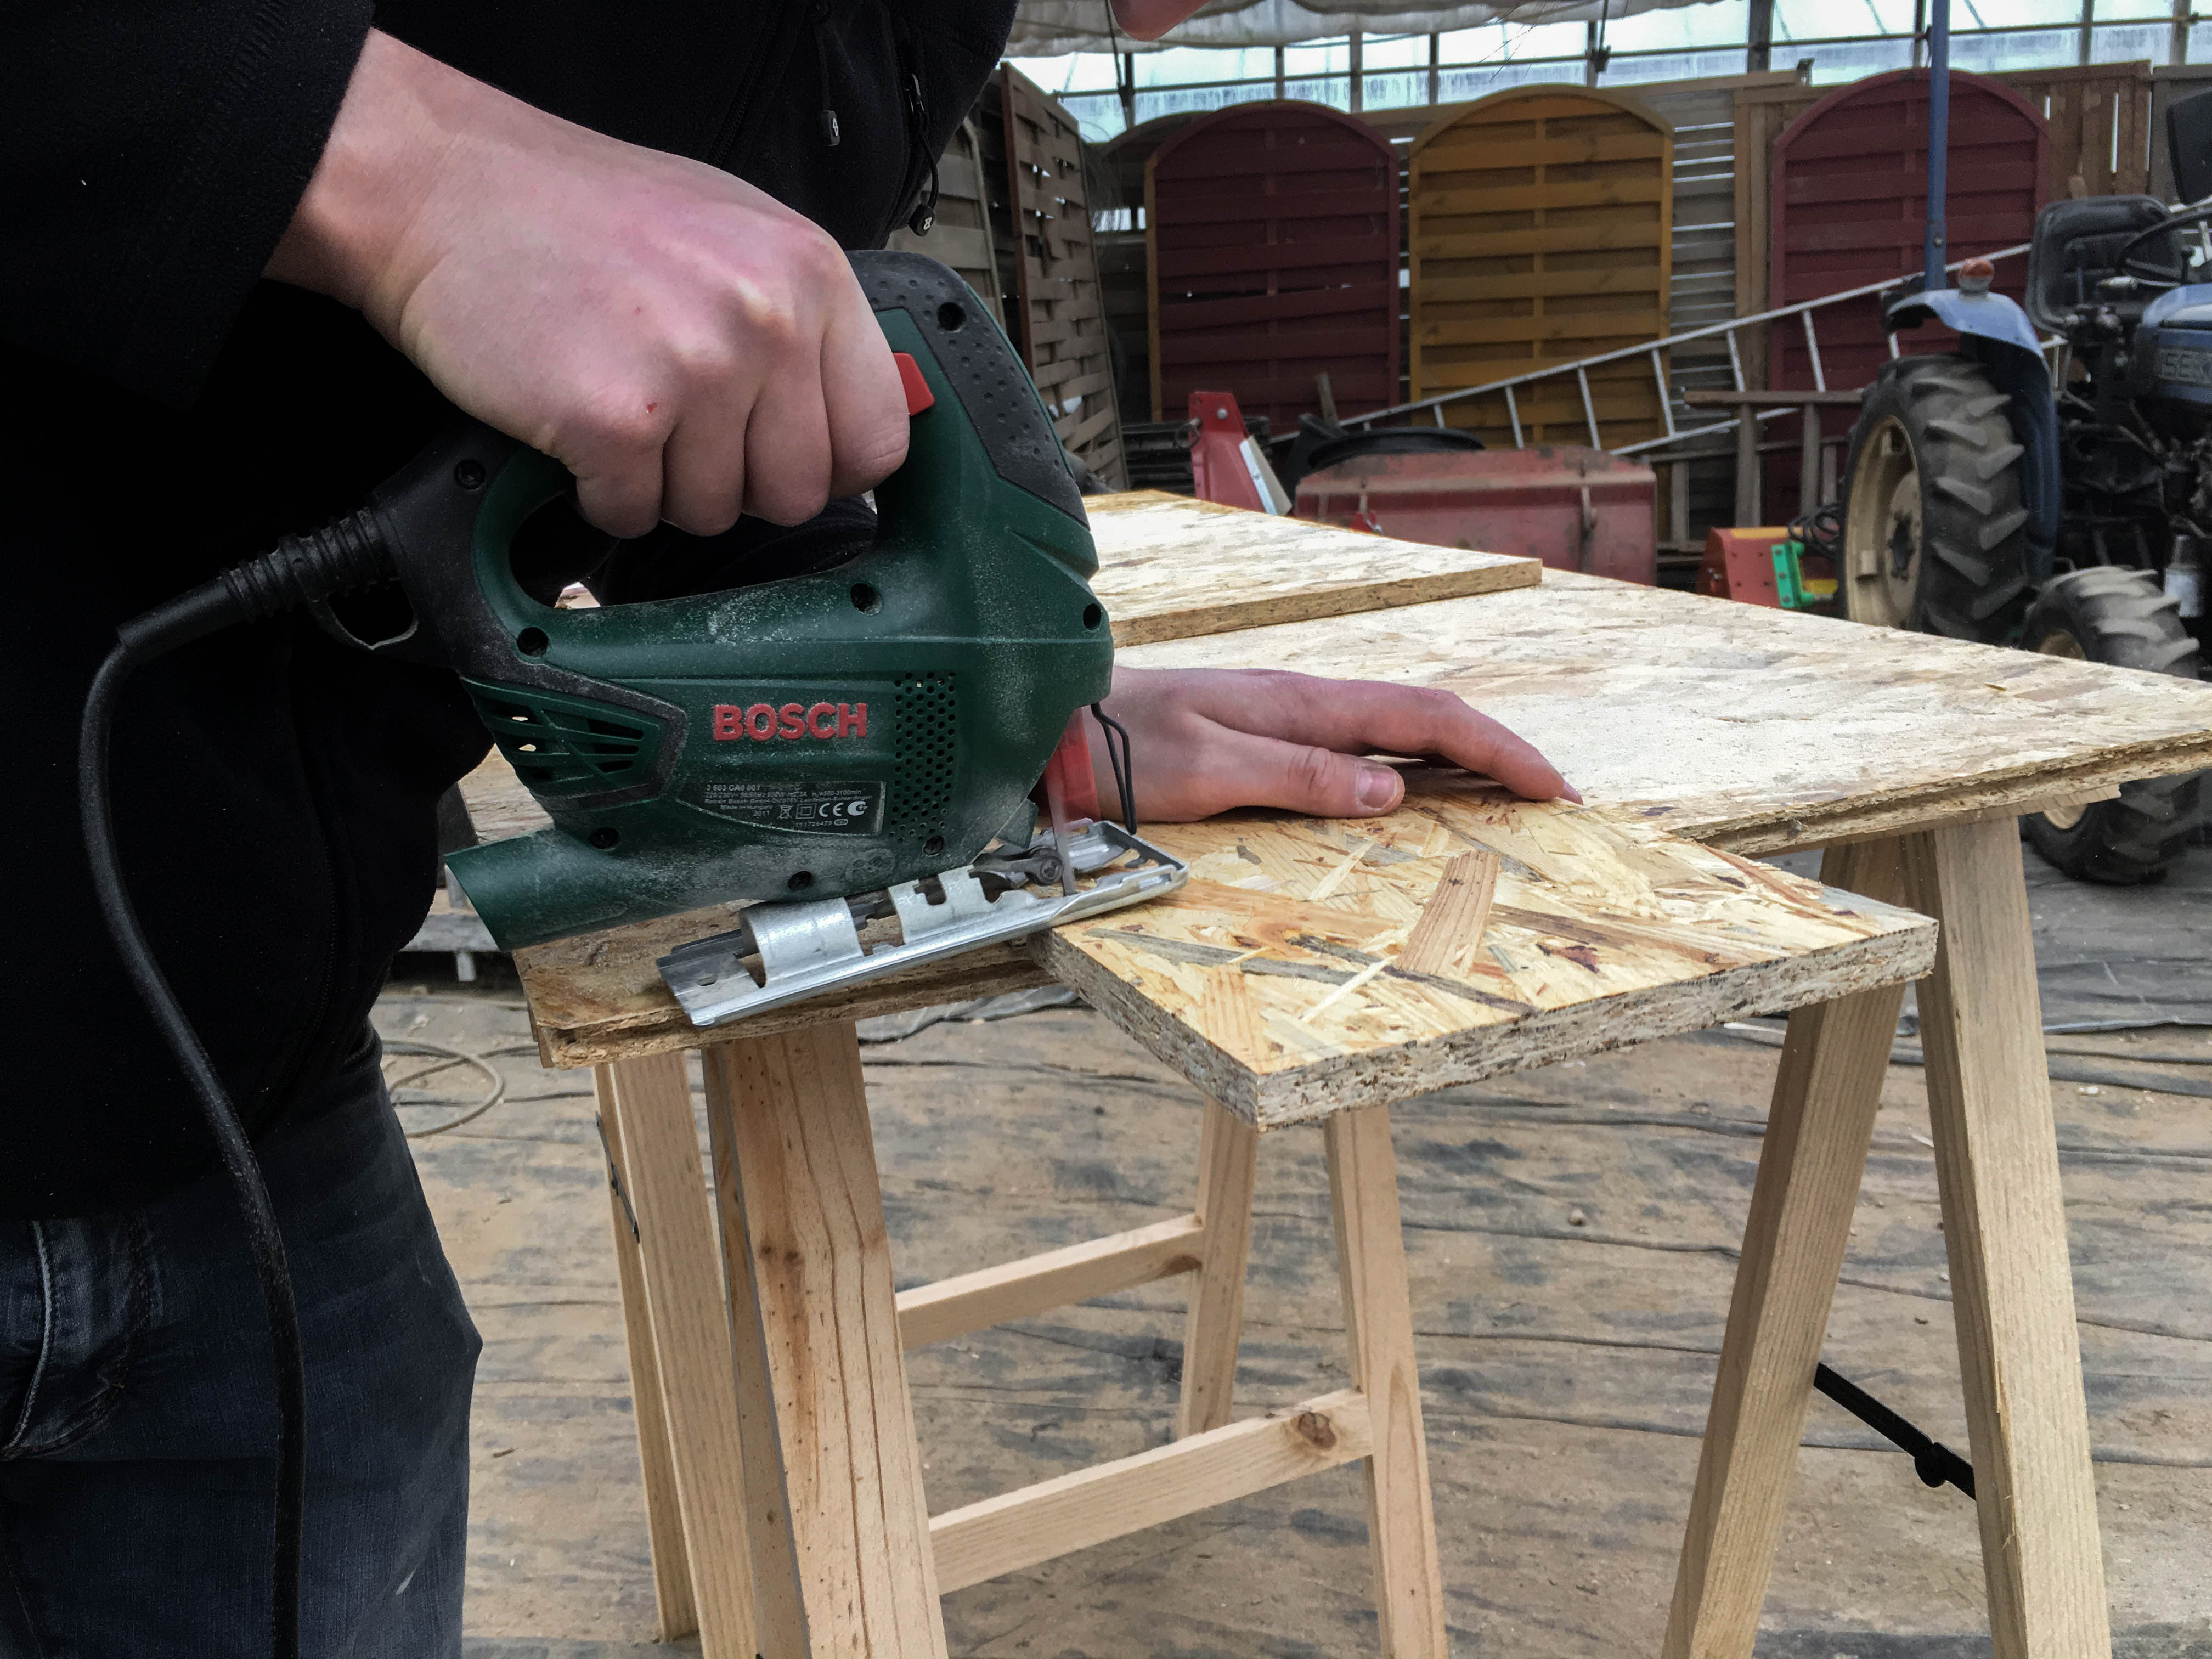
We already told you about removing the old floor panel and the small surprises we found below as well as the sub-construction of wooden slats. After the whole topic concerning insulation we presented the different kinds of wood types that can be used for the new floor panel and which one we chose. Now it’s time to saw, sand an install the new OSB3-floor panel!
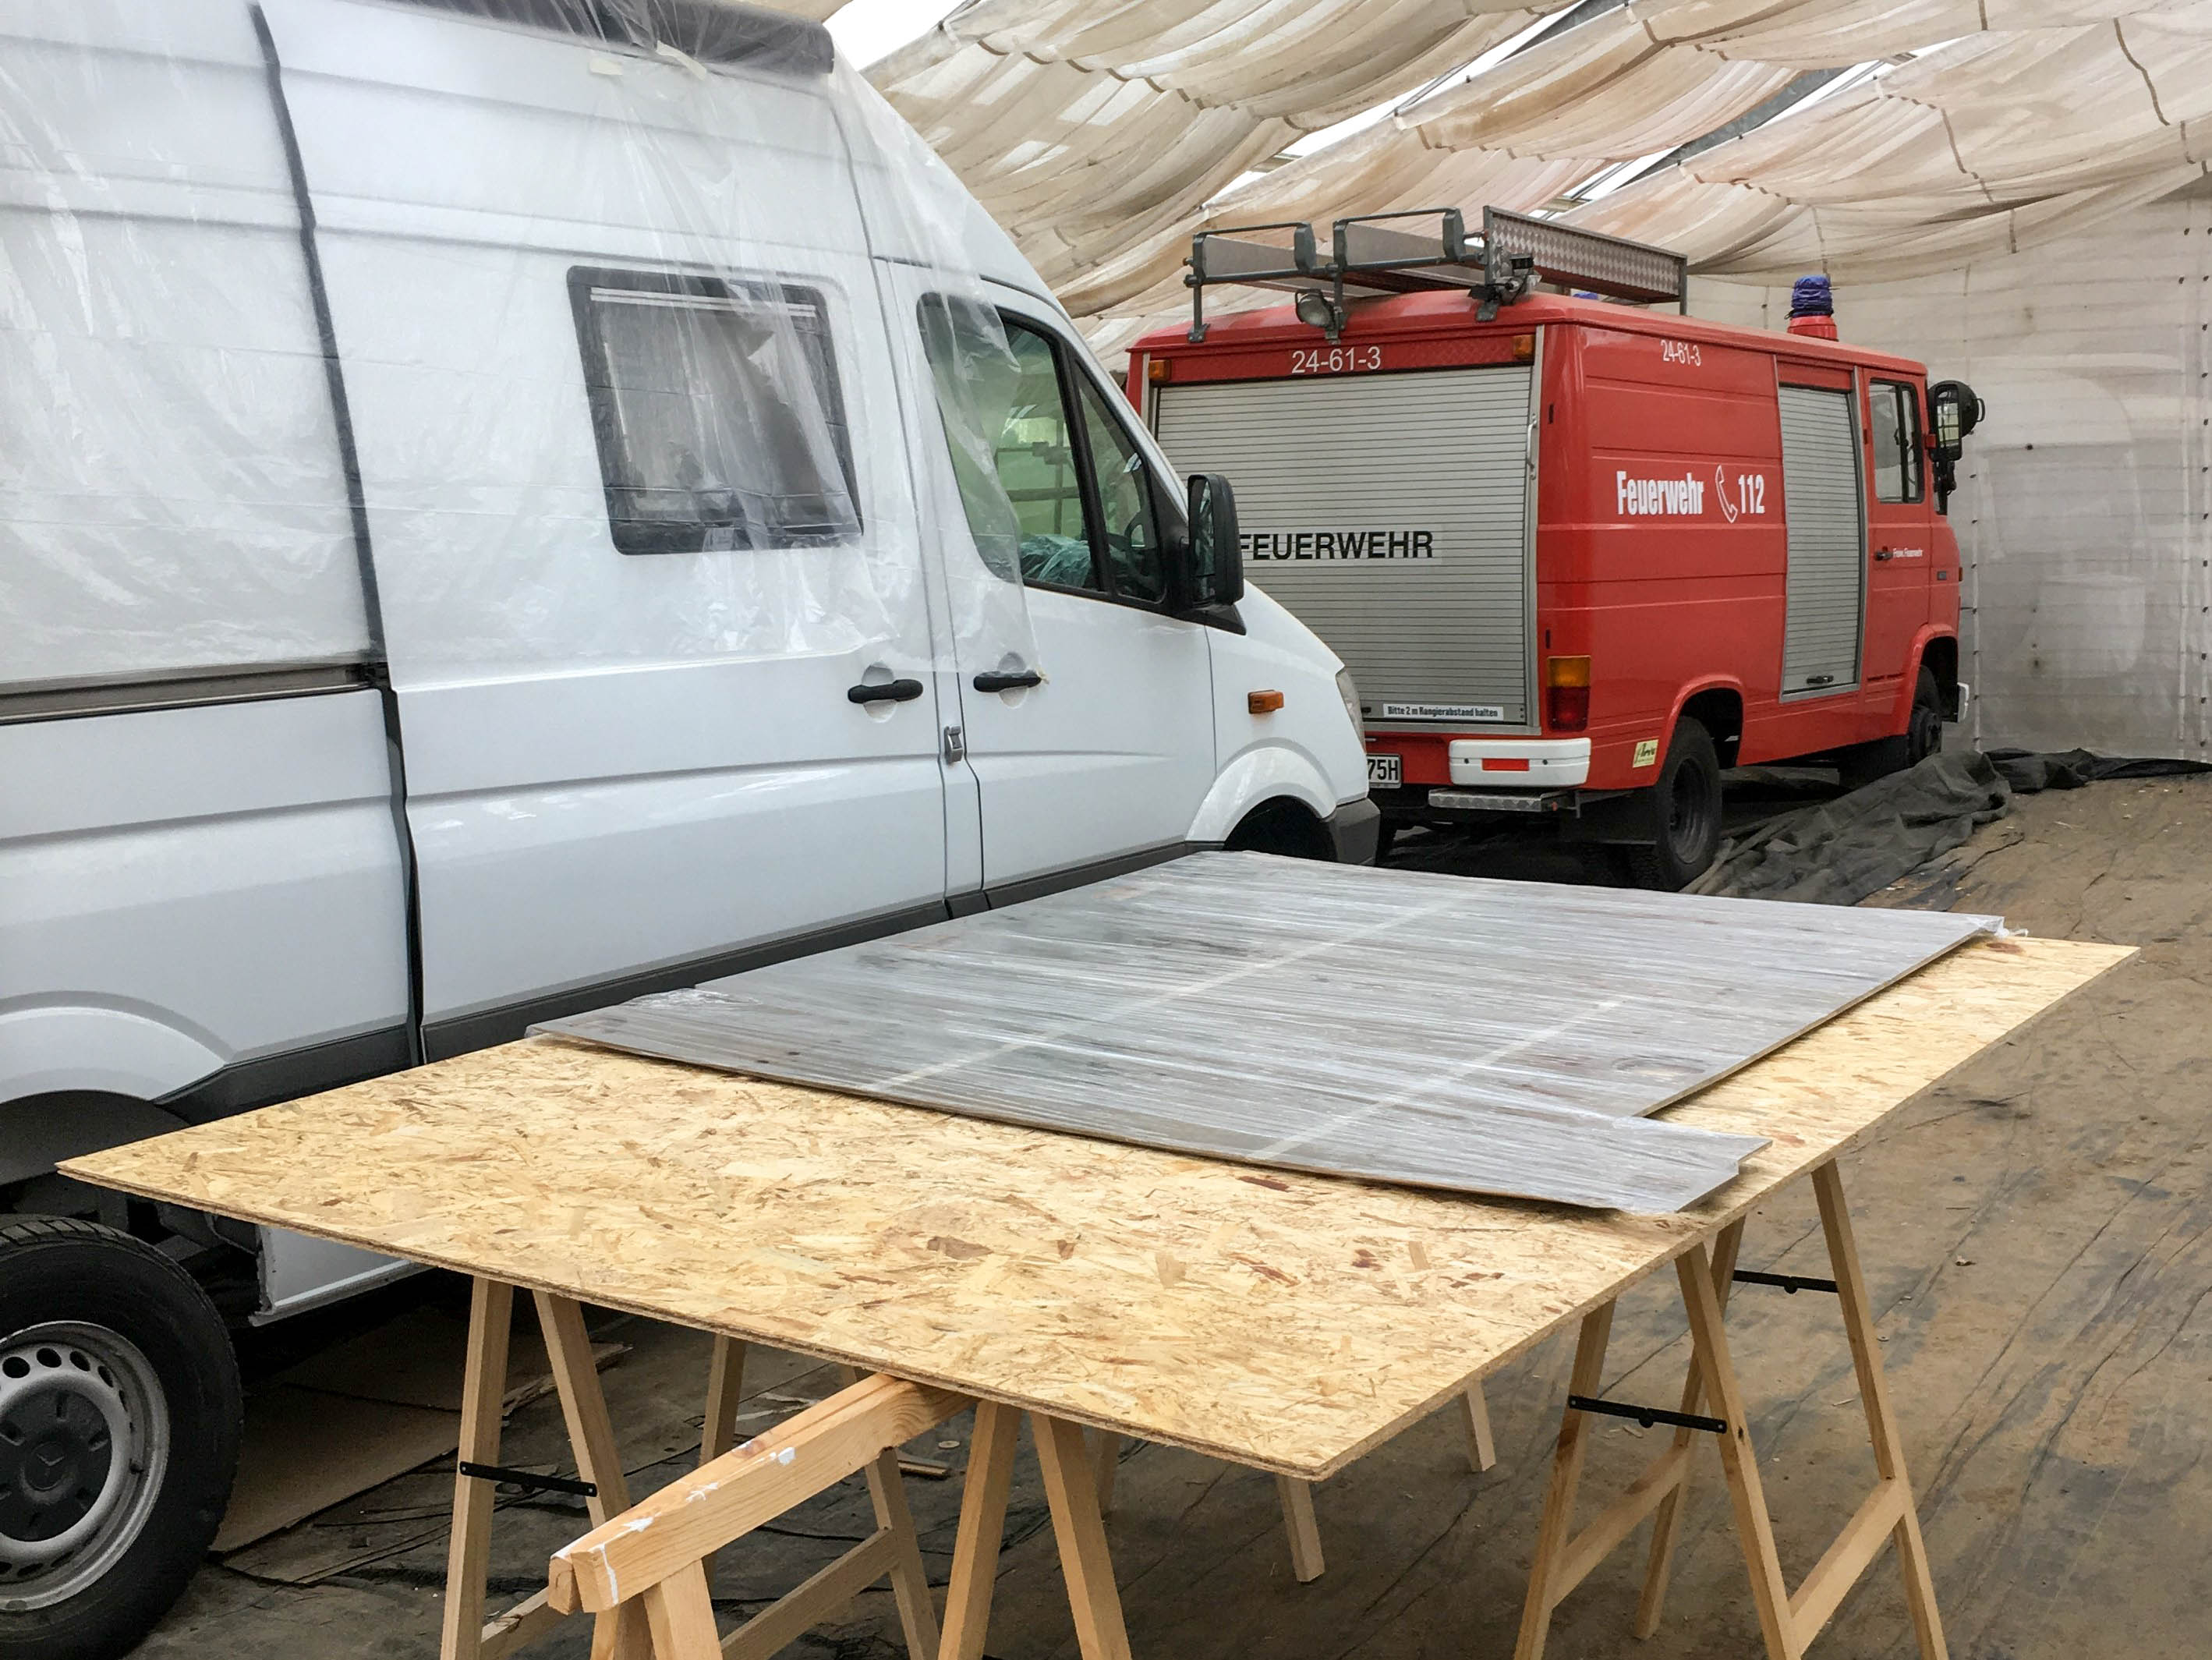
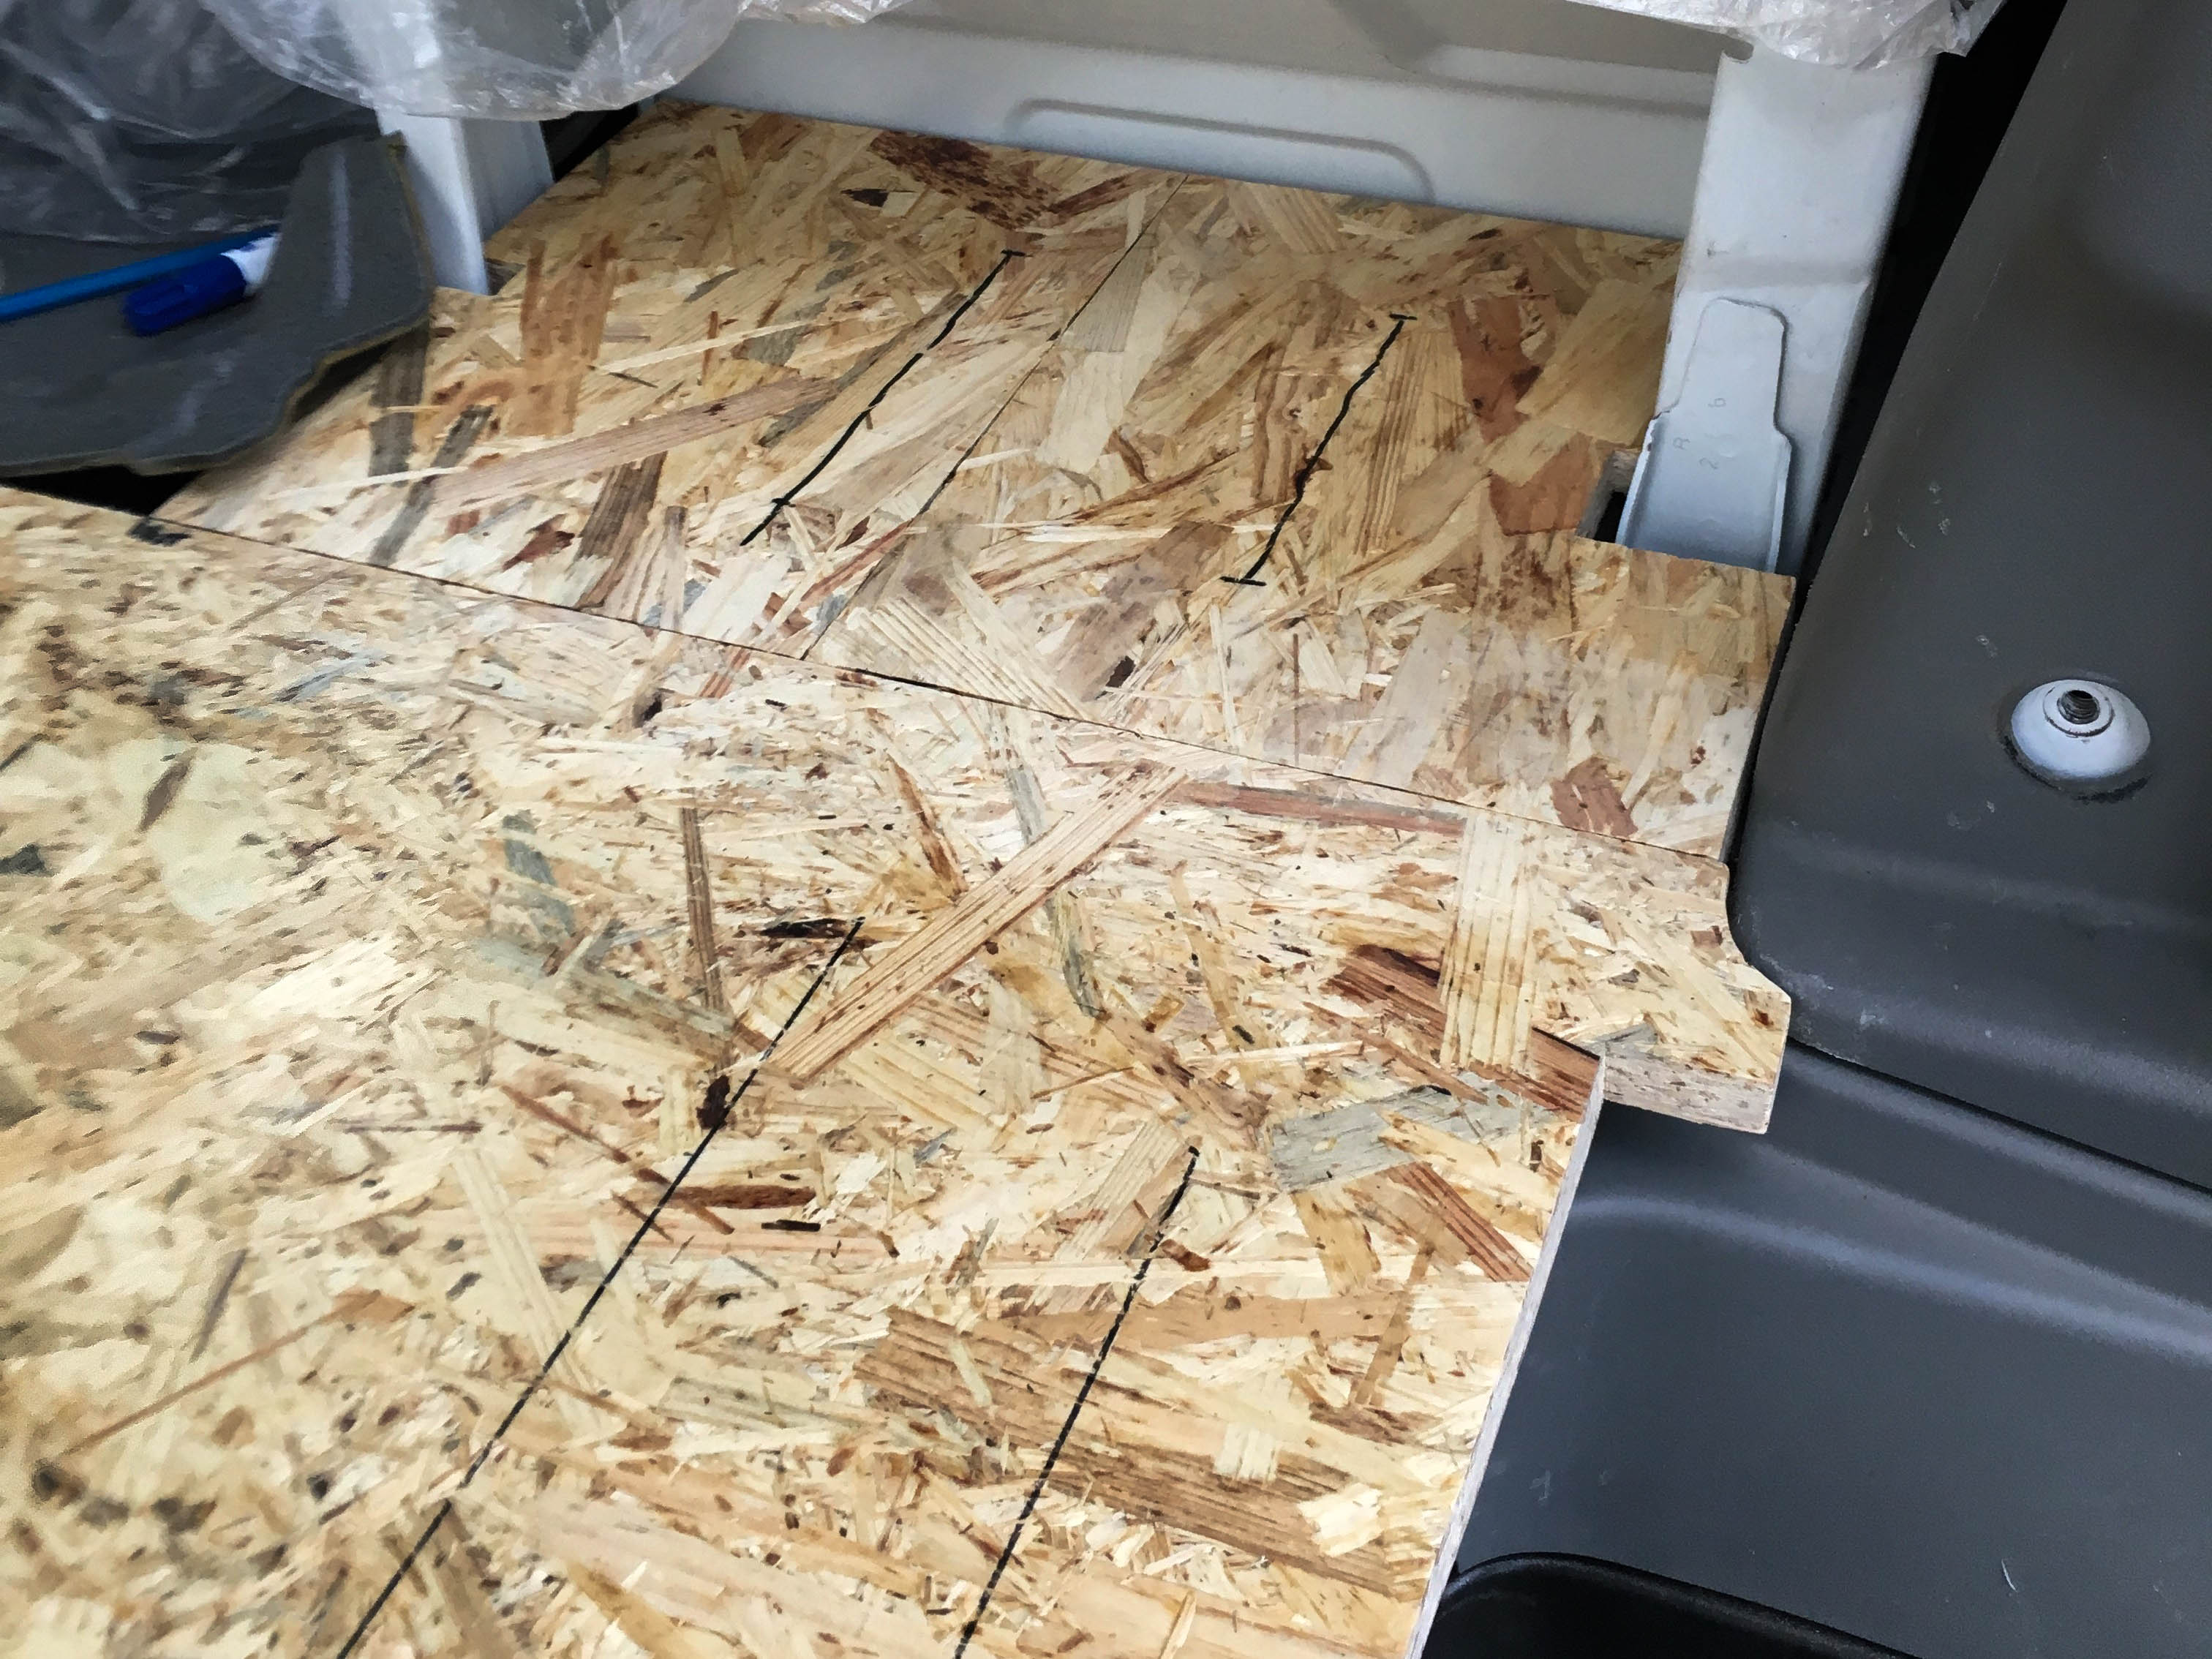
We kept it for quite a while, our old floor panel – now it’s finally time for it to shine again, as a template for the new floor panel! The old (grey) floor panel is made of two pieces whereas our new floor panel is made of three OSB3-plates with a tongue and groove connection – but this is no problem, as you can see in the pictures 😉

By using the original Sprinter-plate we could just copy the outline and simply had to take into account the size of the insulation on the walls and wheel case.
![]()
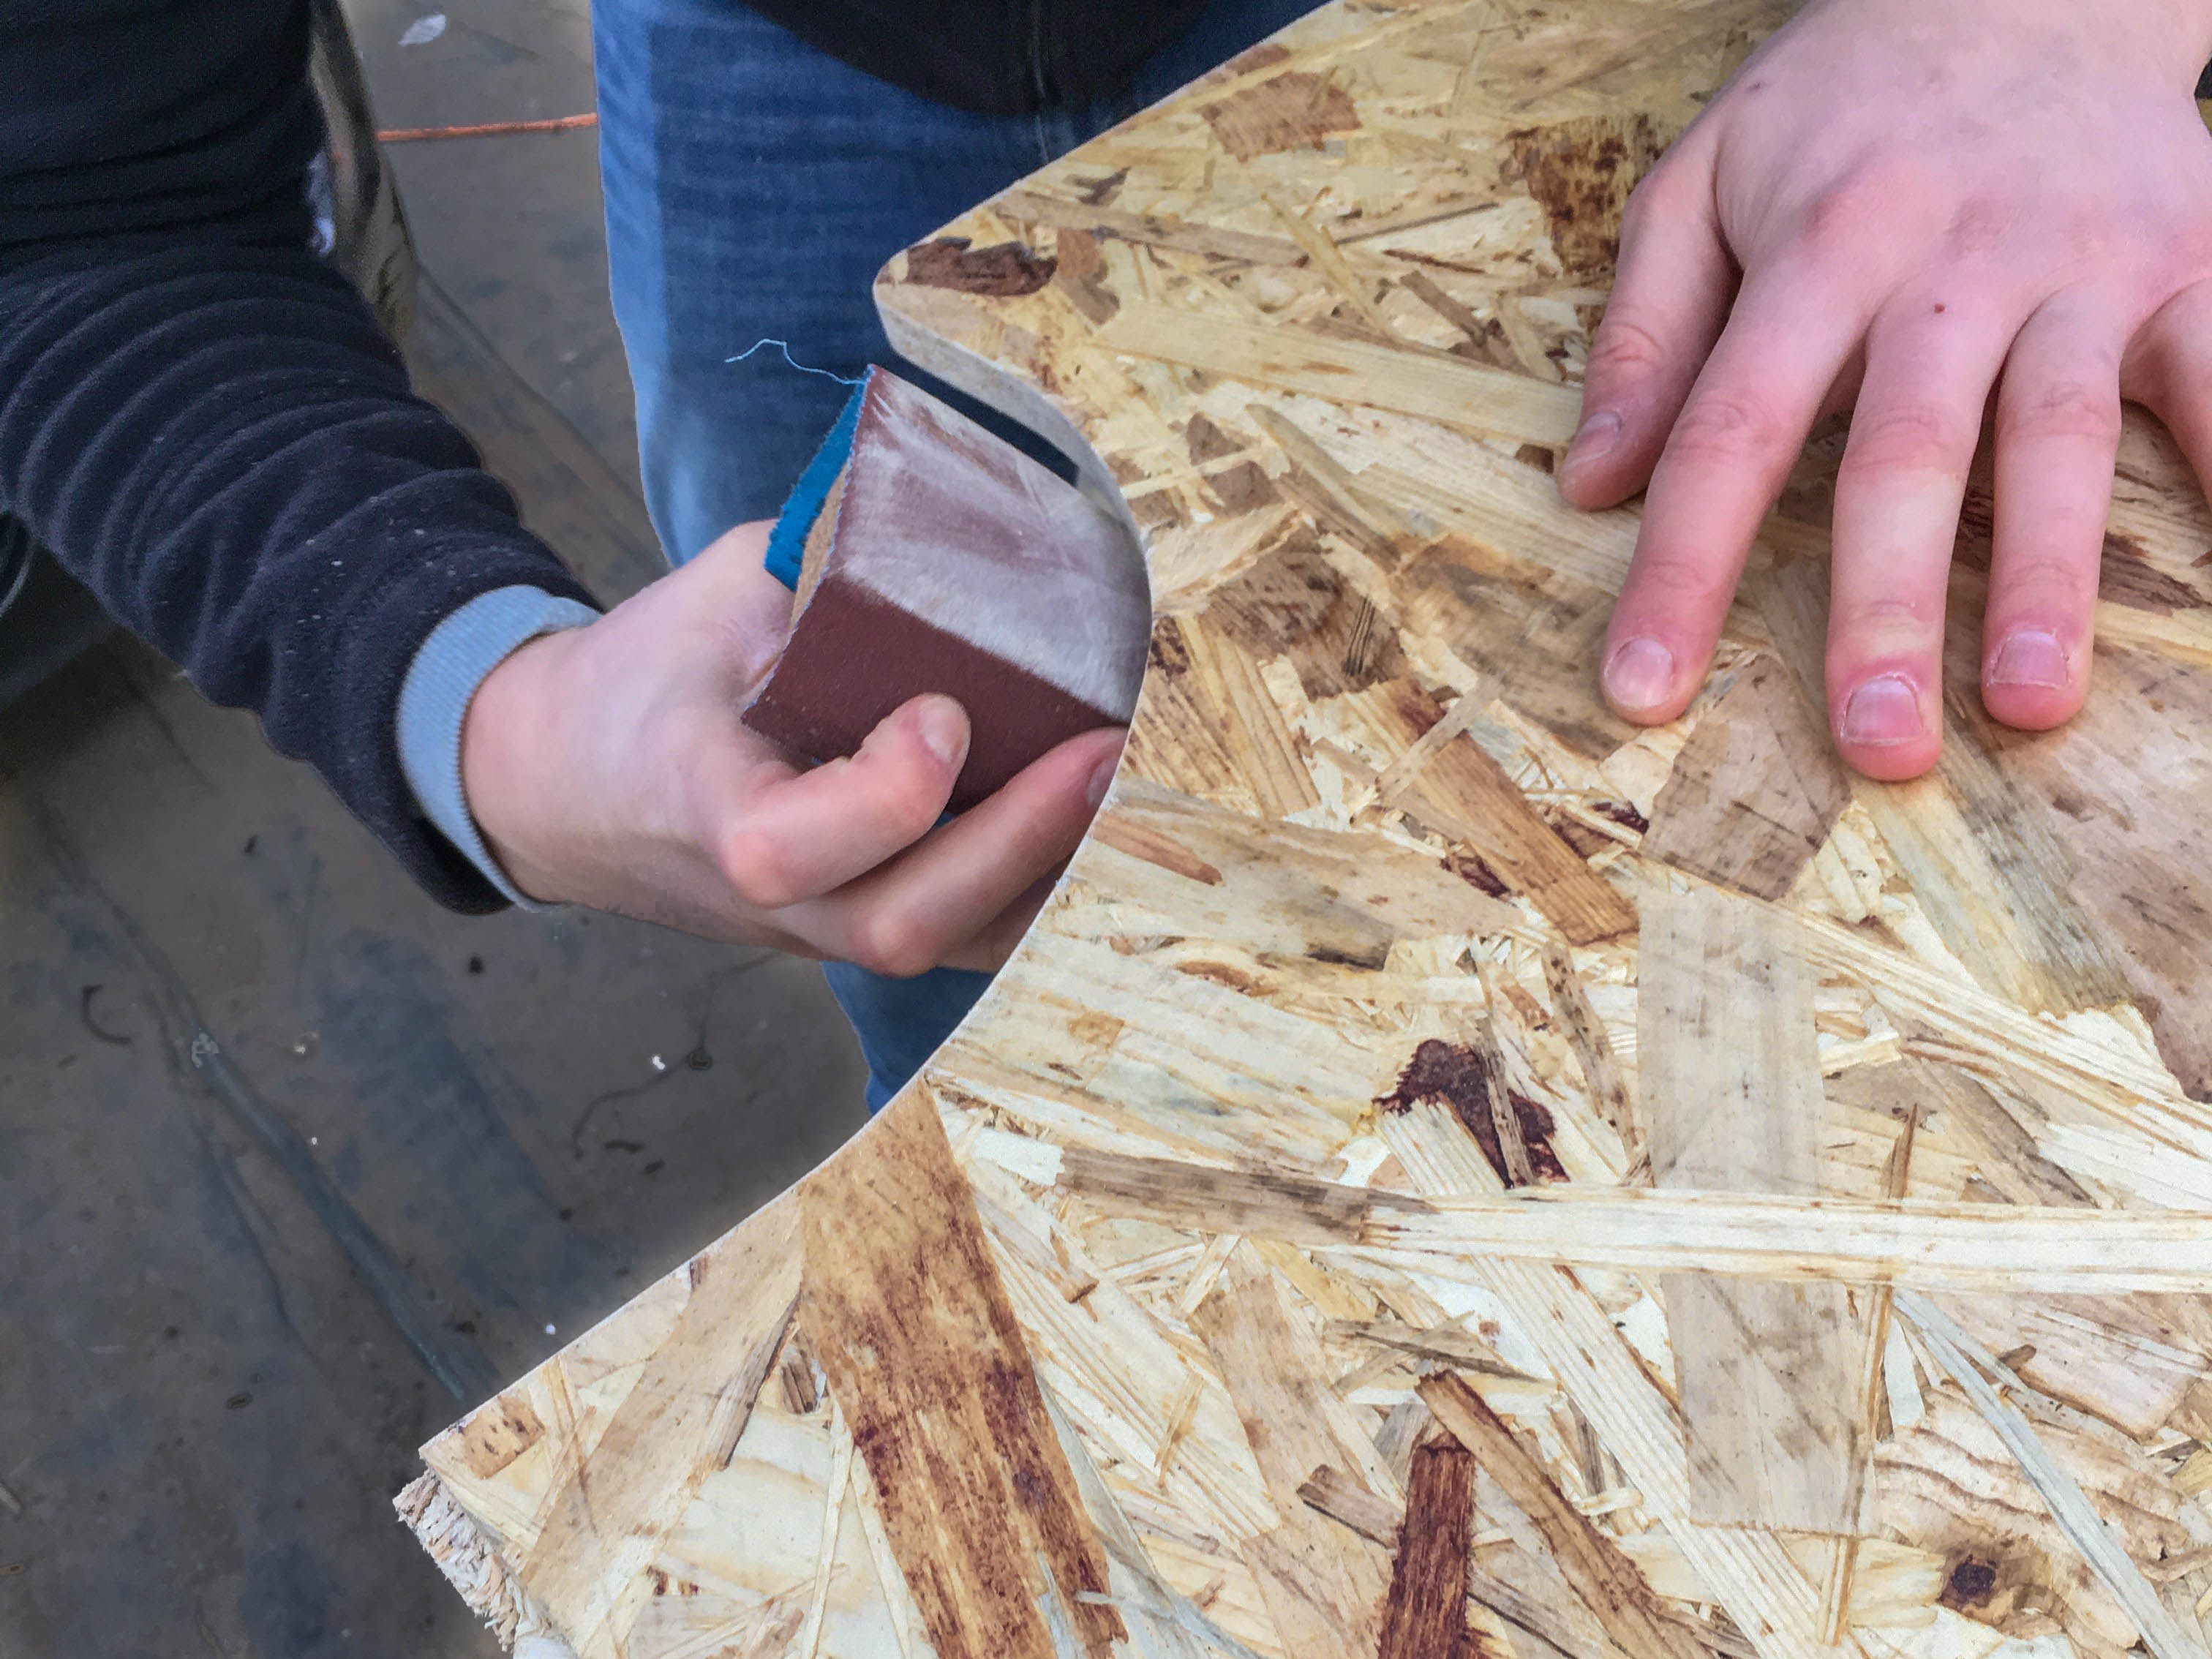
After sawing and sanding the pieces we had three fitting plates!
For the front plate we took into account our shower tray and cut a fitting inlet.
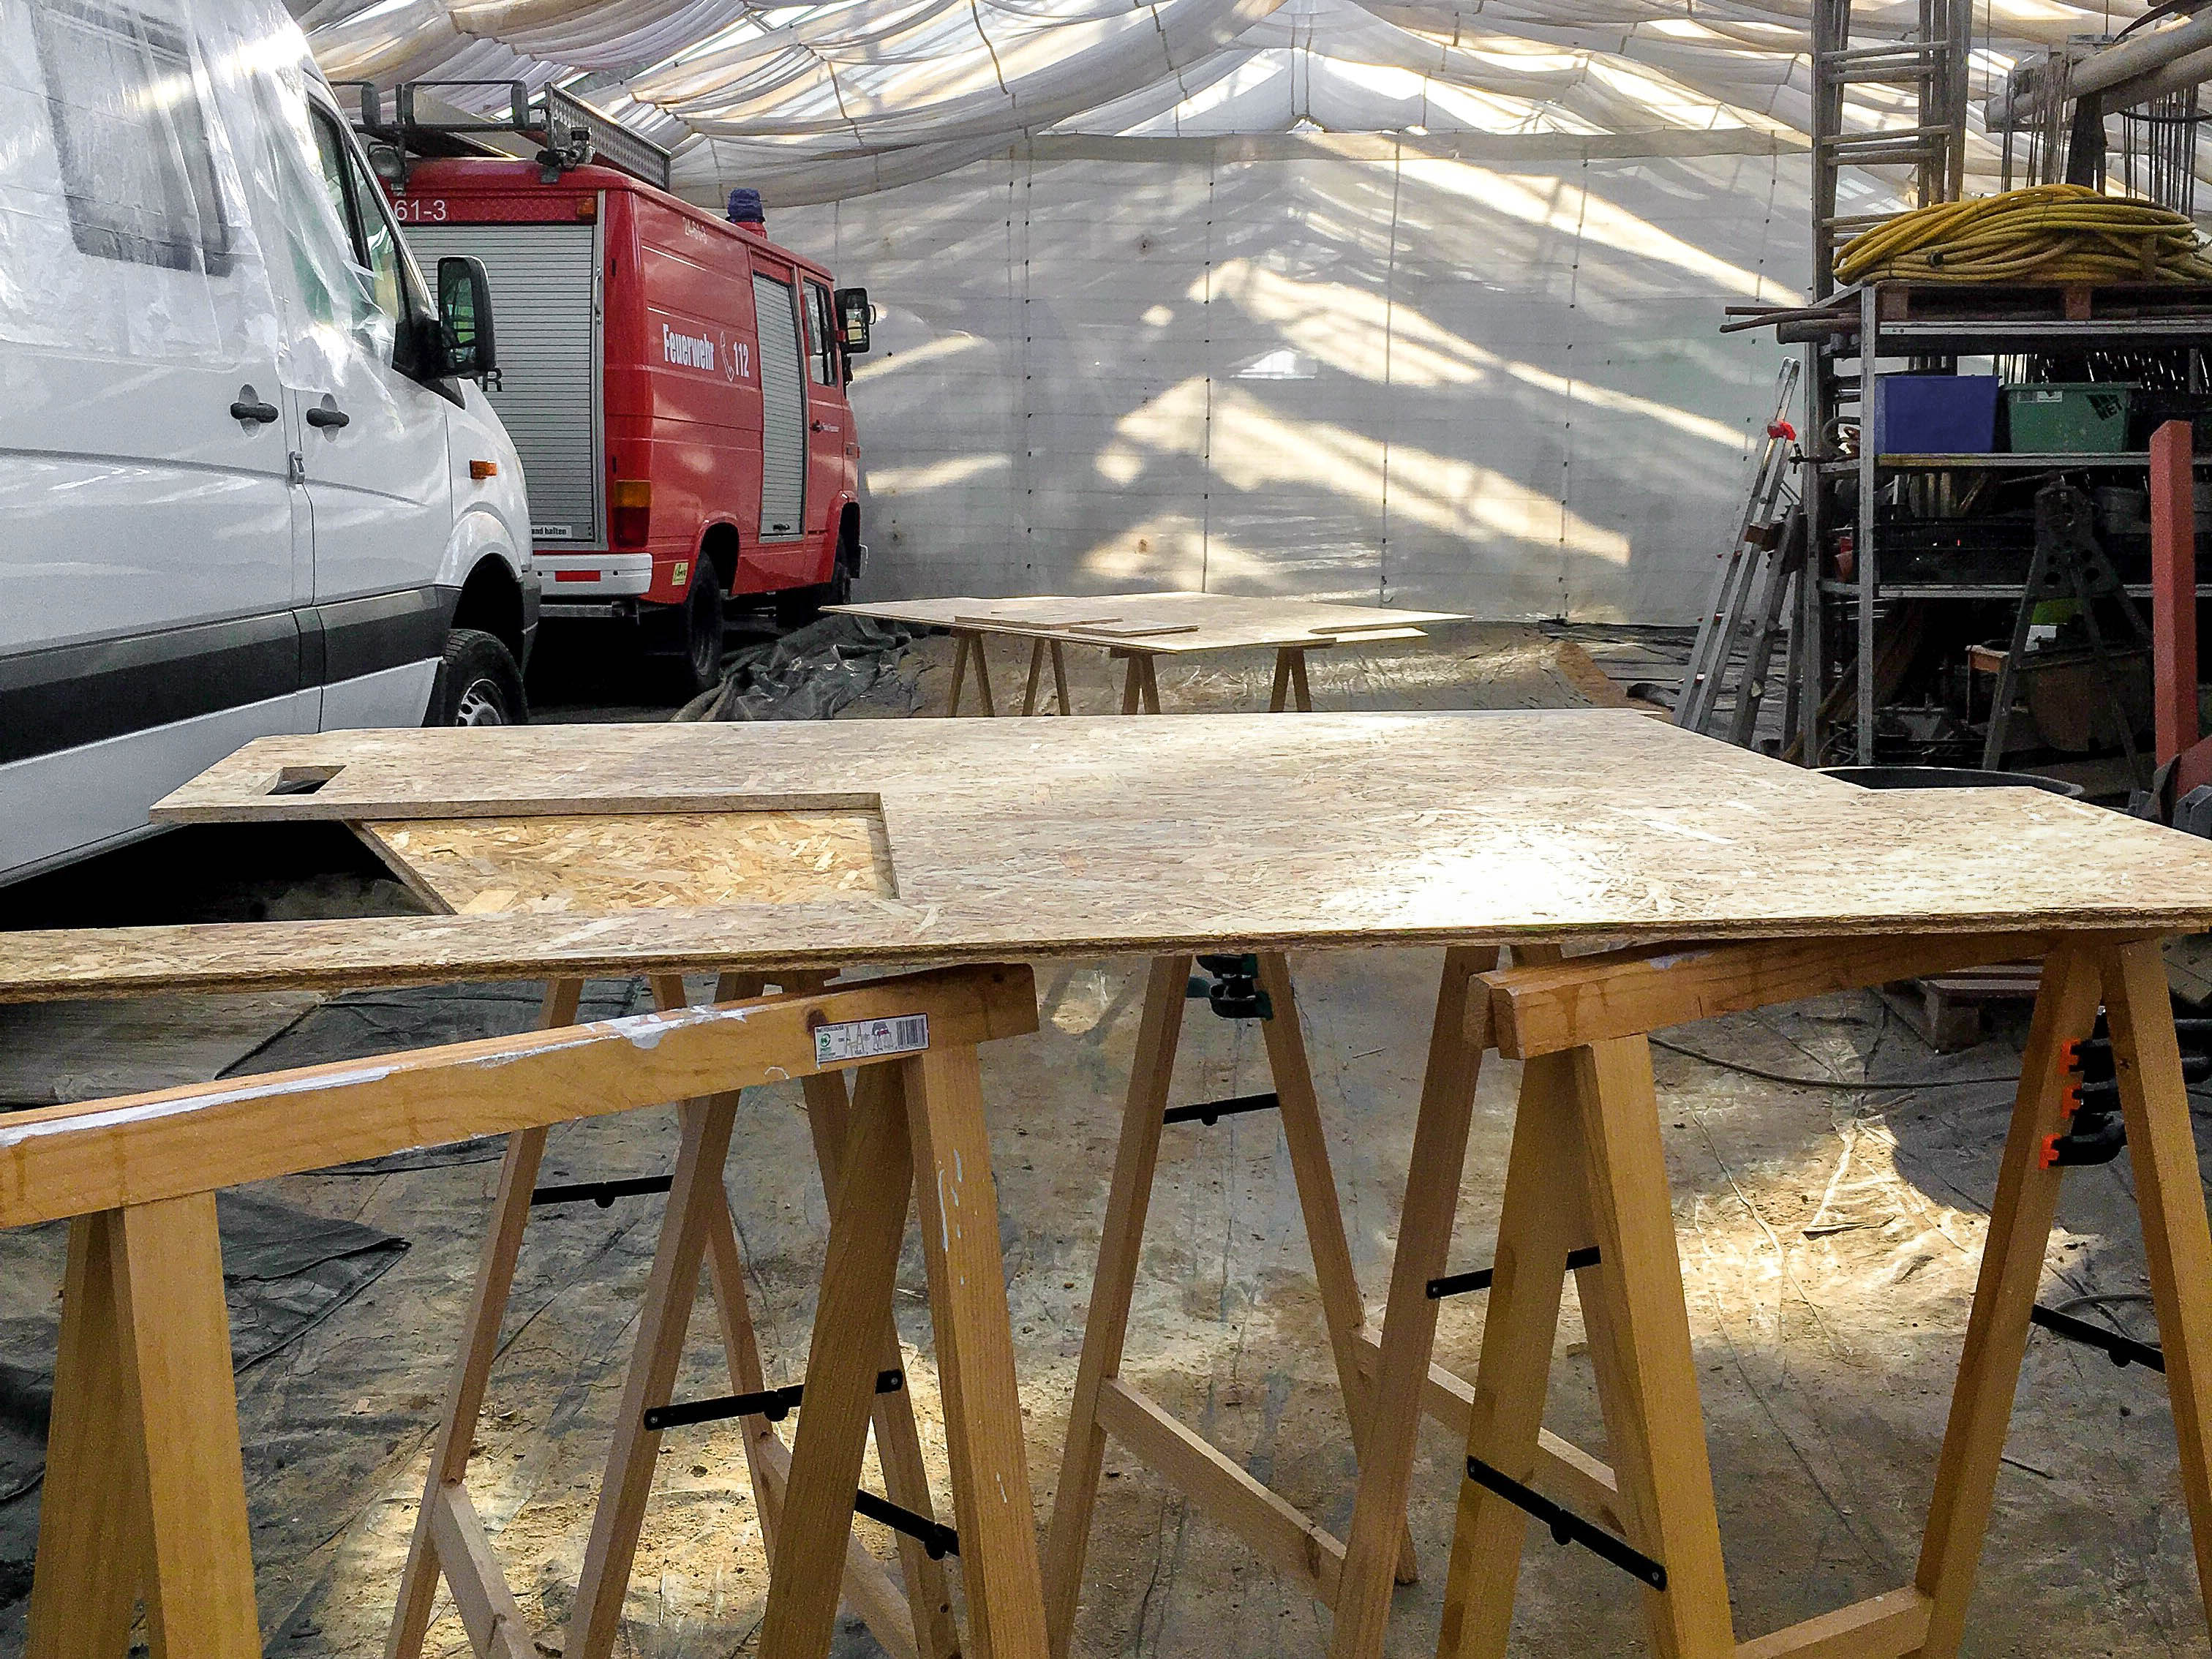
Then finally we could install the plates! When carrying them inside though, no matter if you go through the side or back doors, always hold them sideways to not bump into anything 😉
For the areas under the seats we built some fitting small pieces and also connected them with a tongue and groove connection.
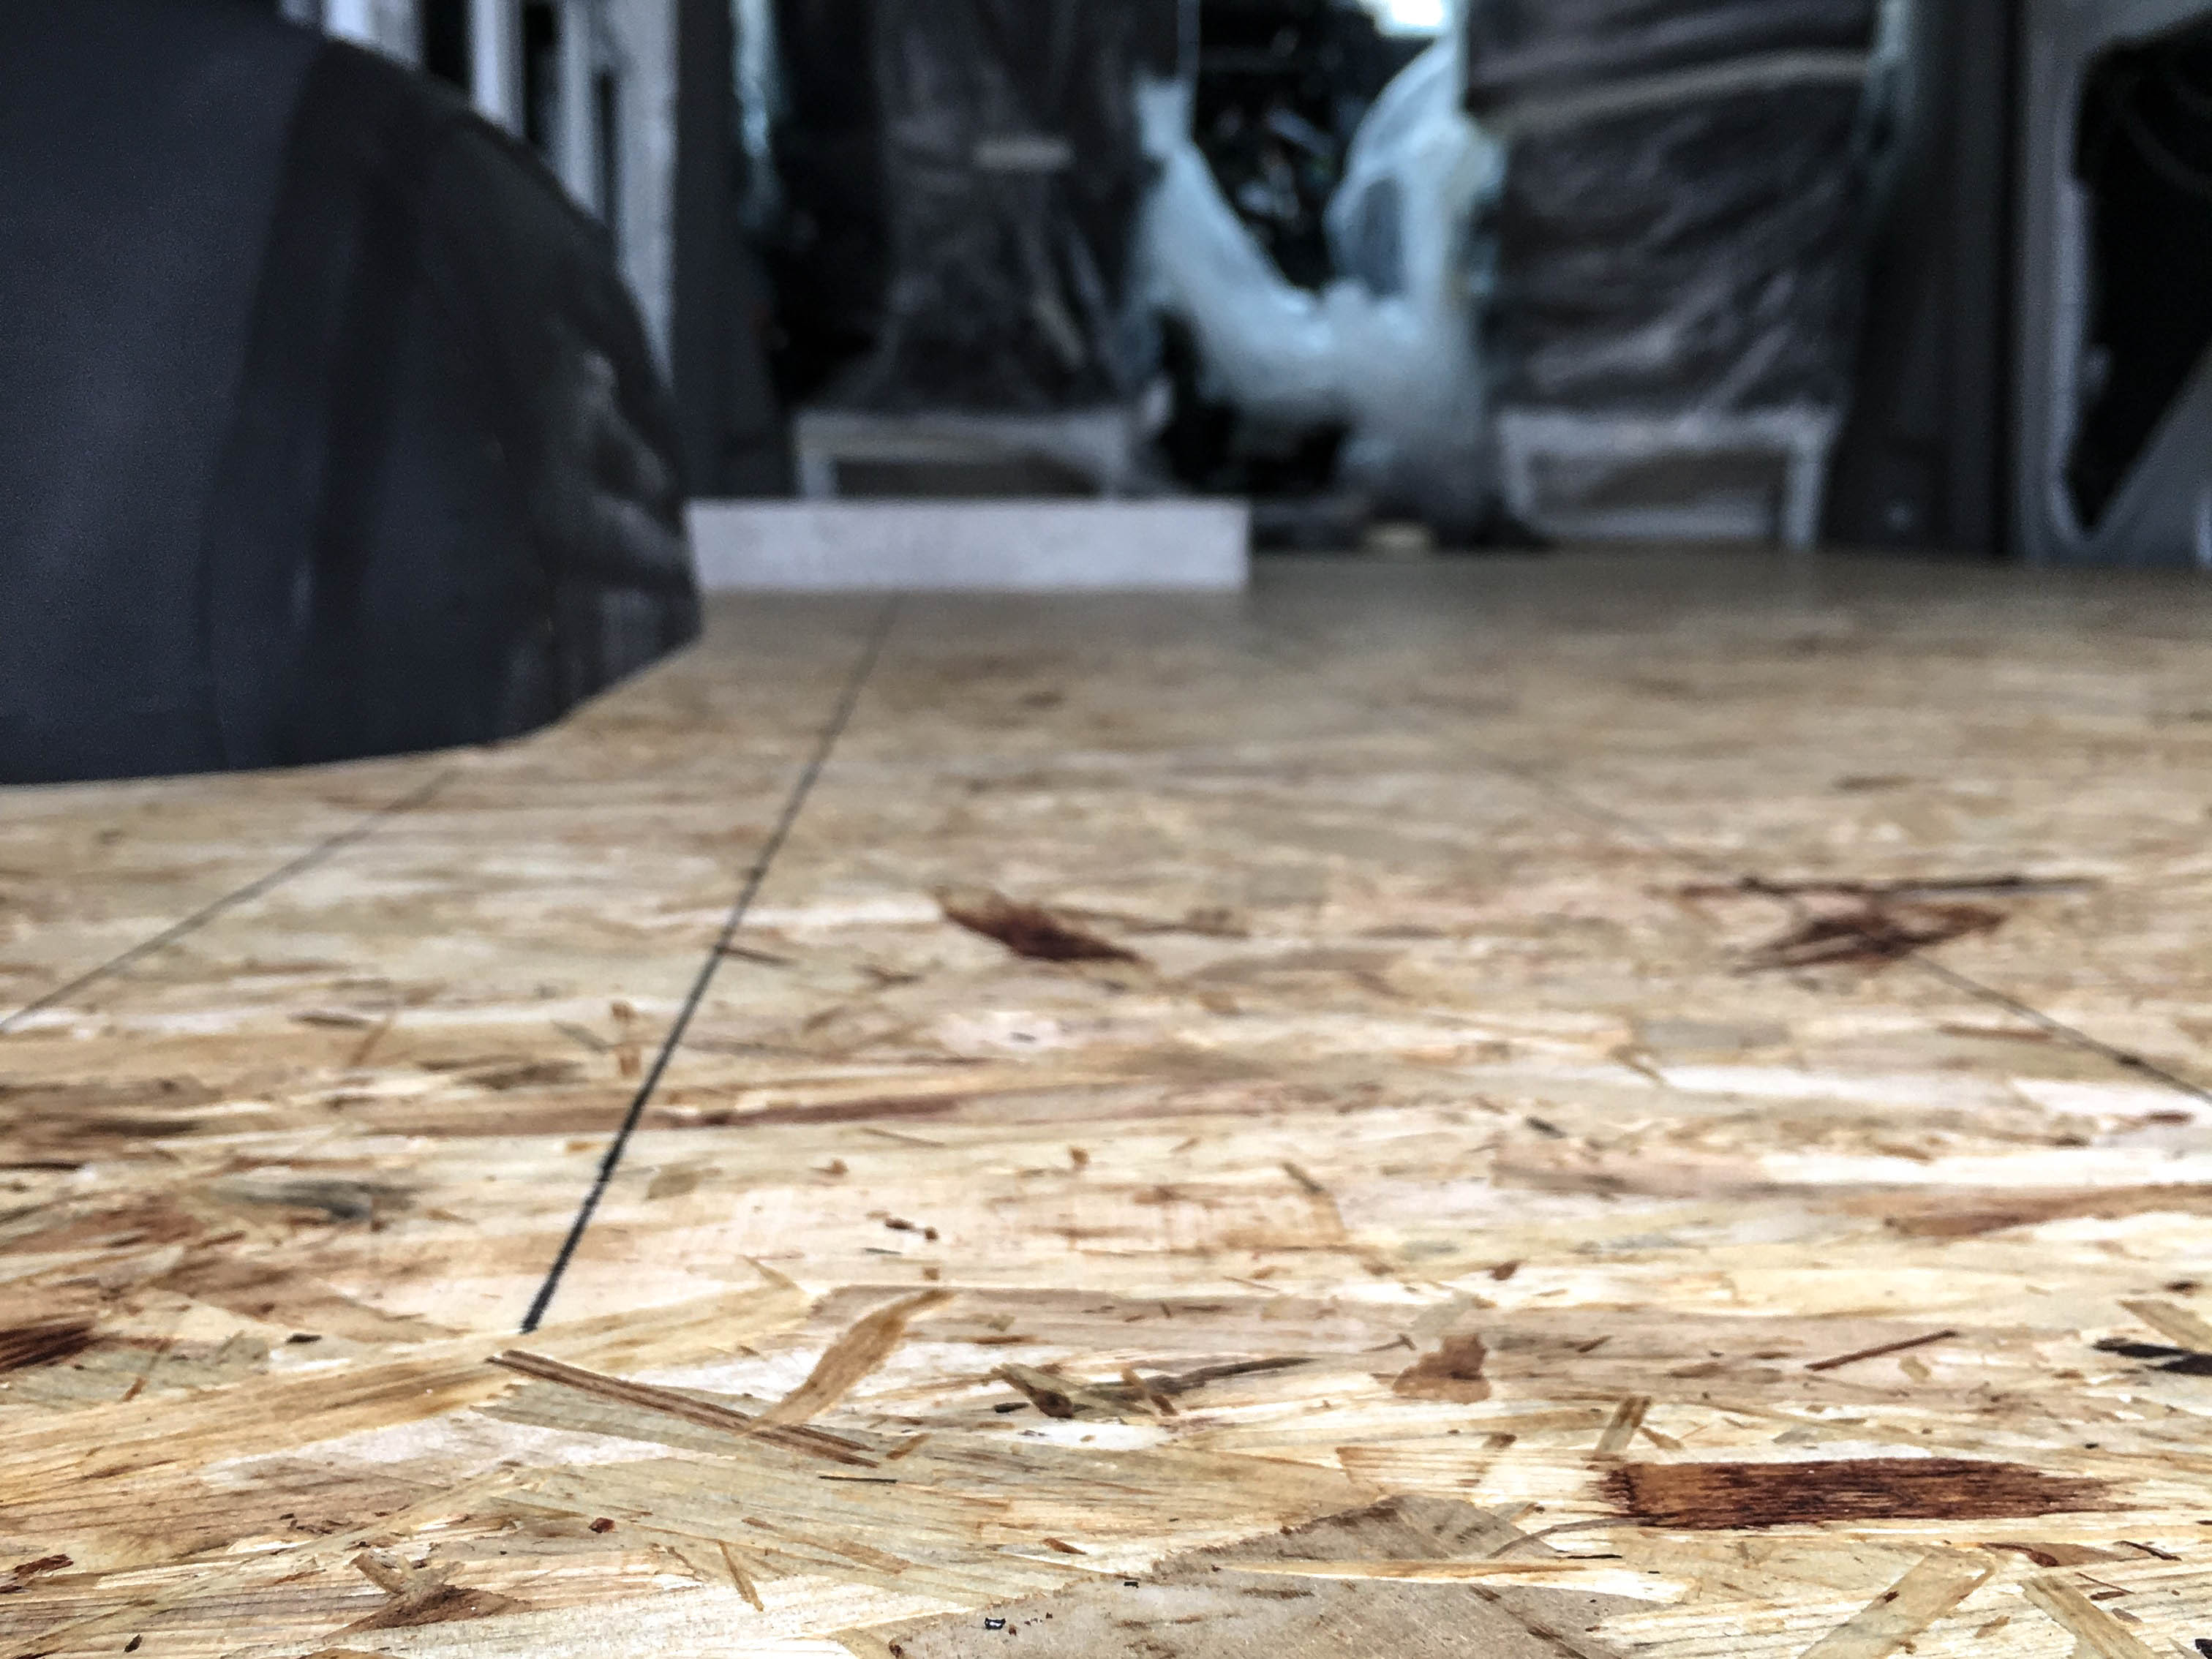
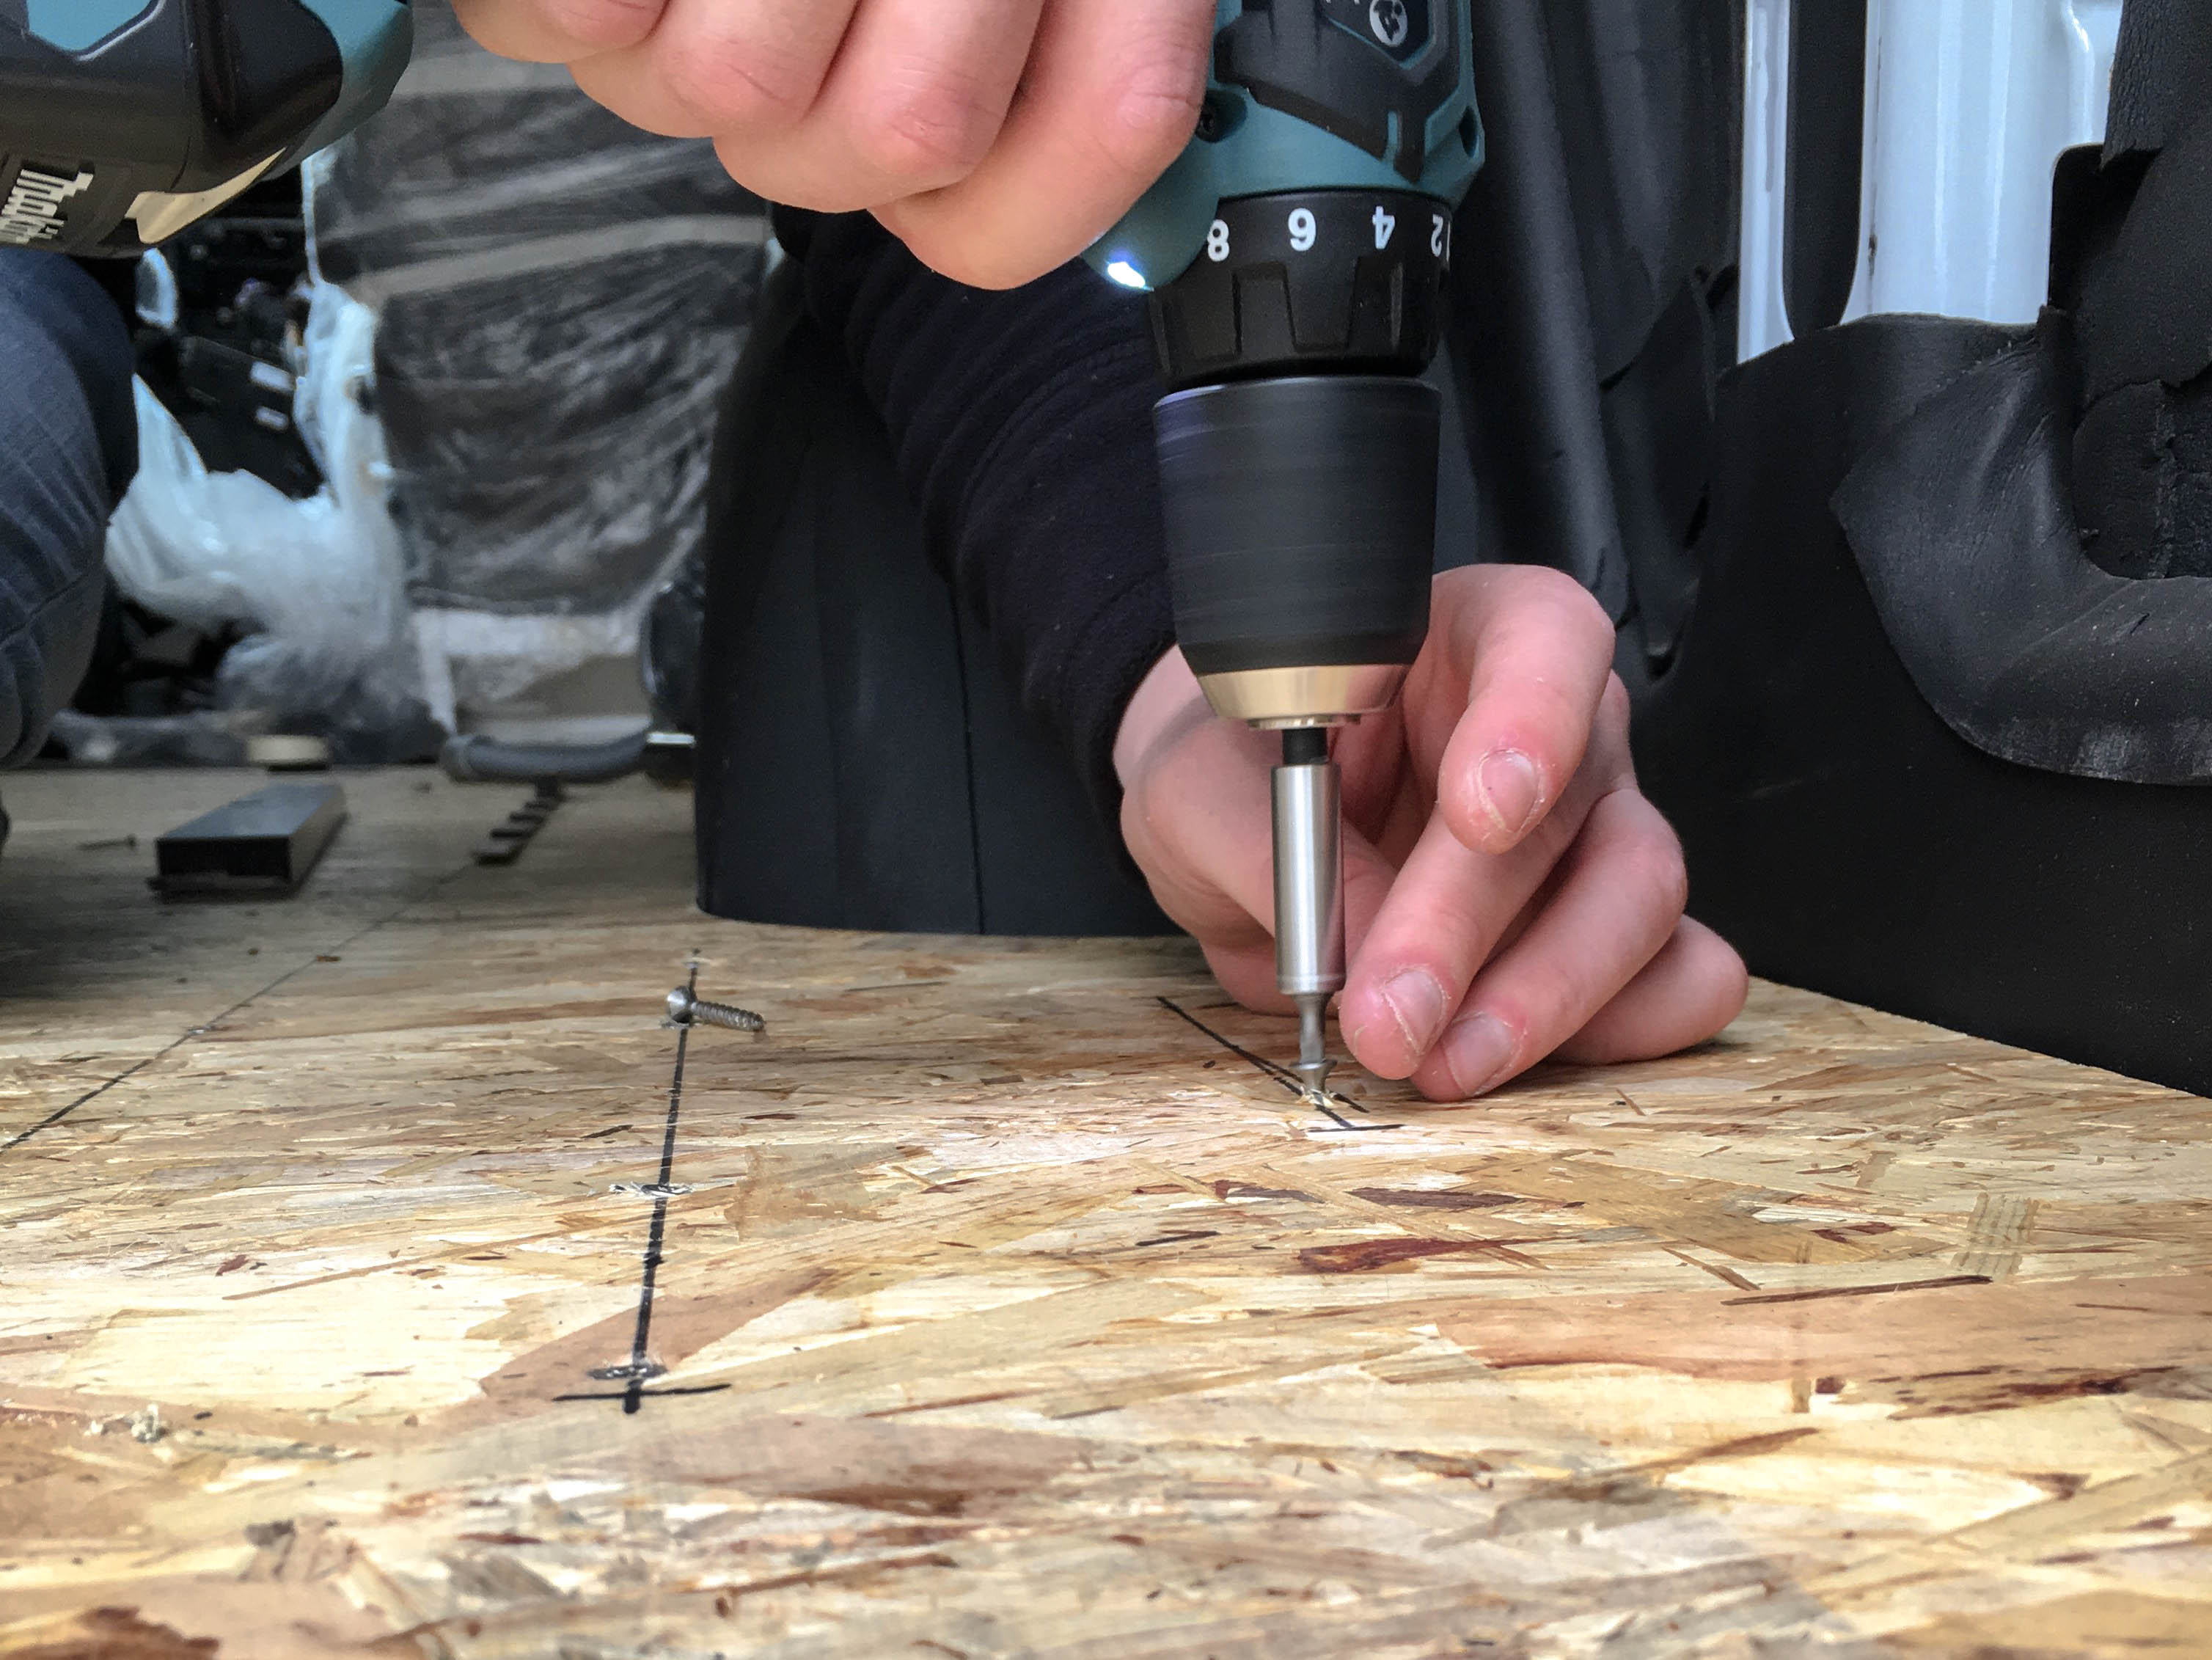
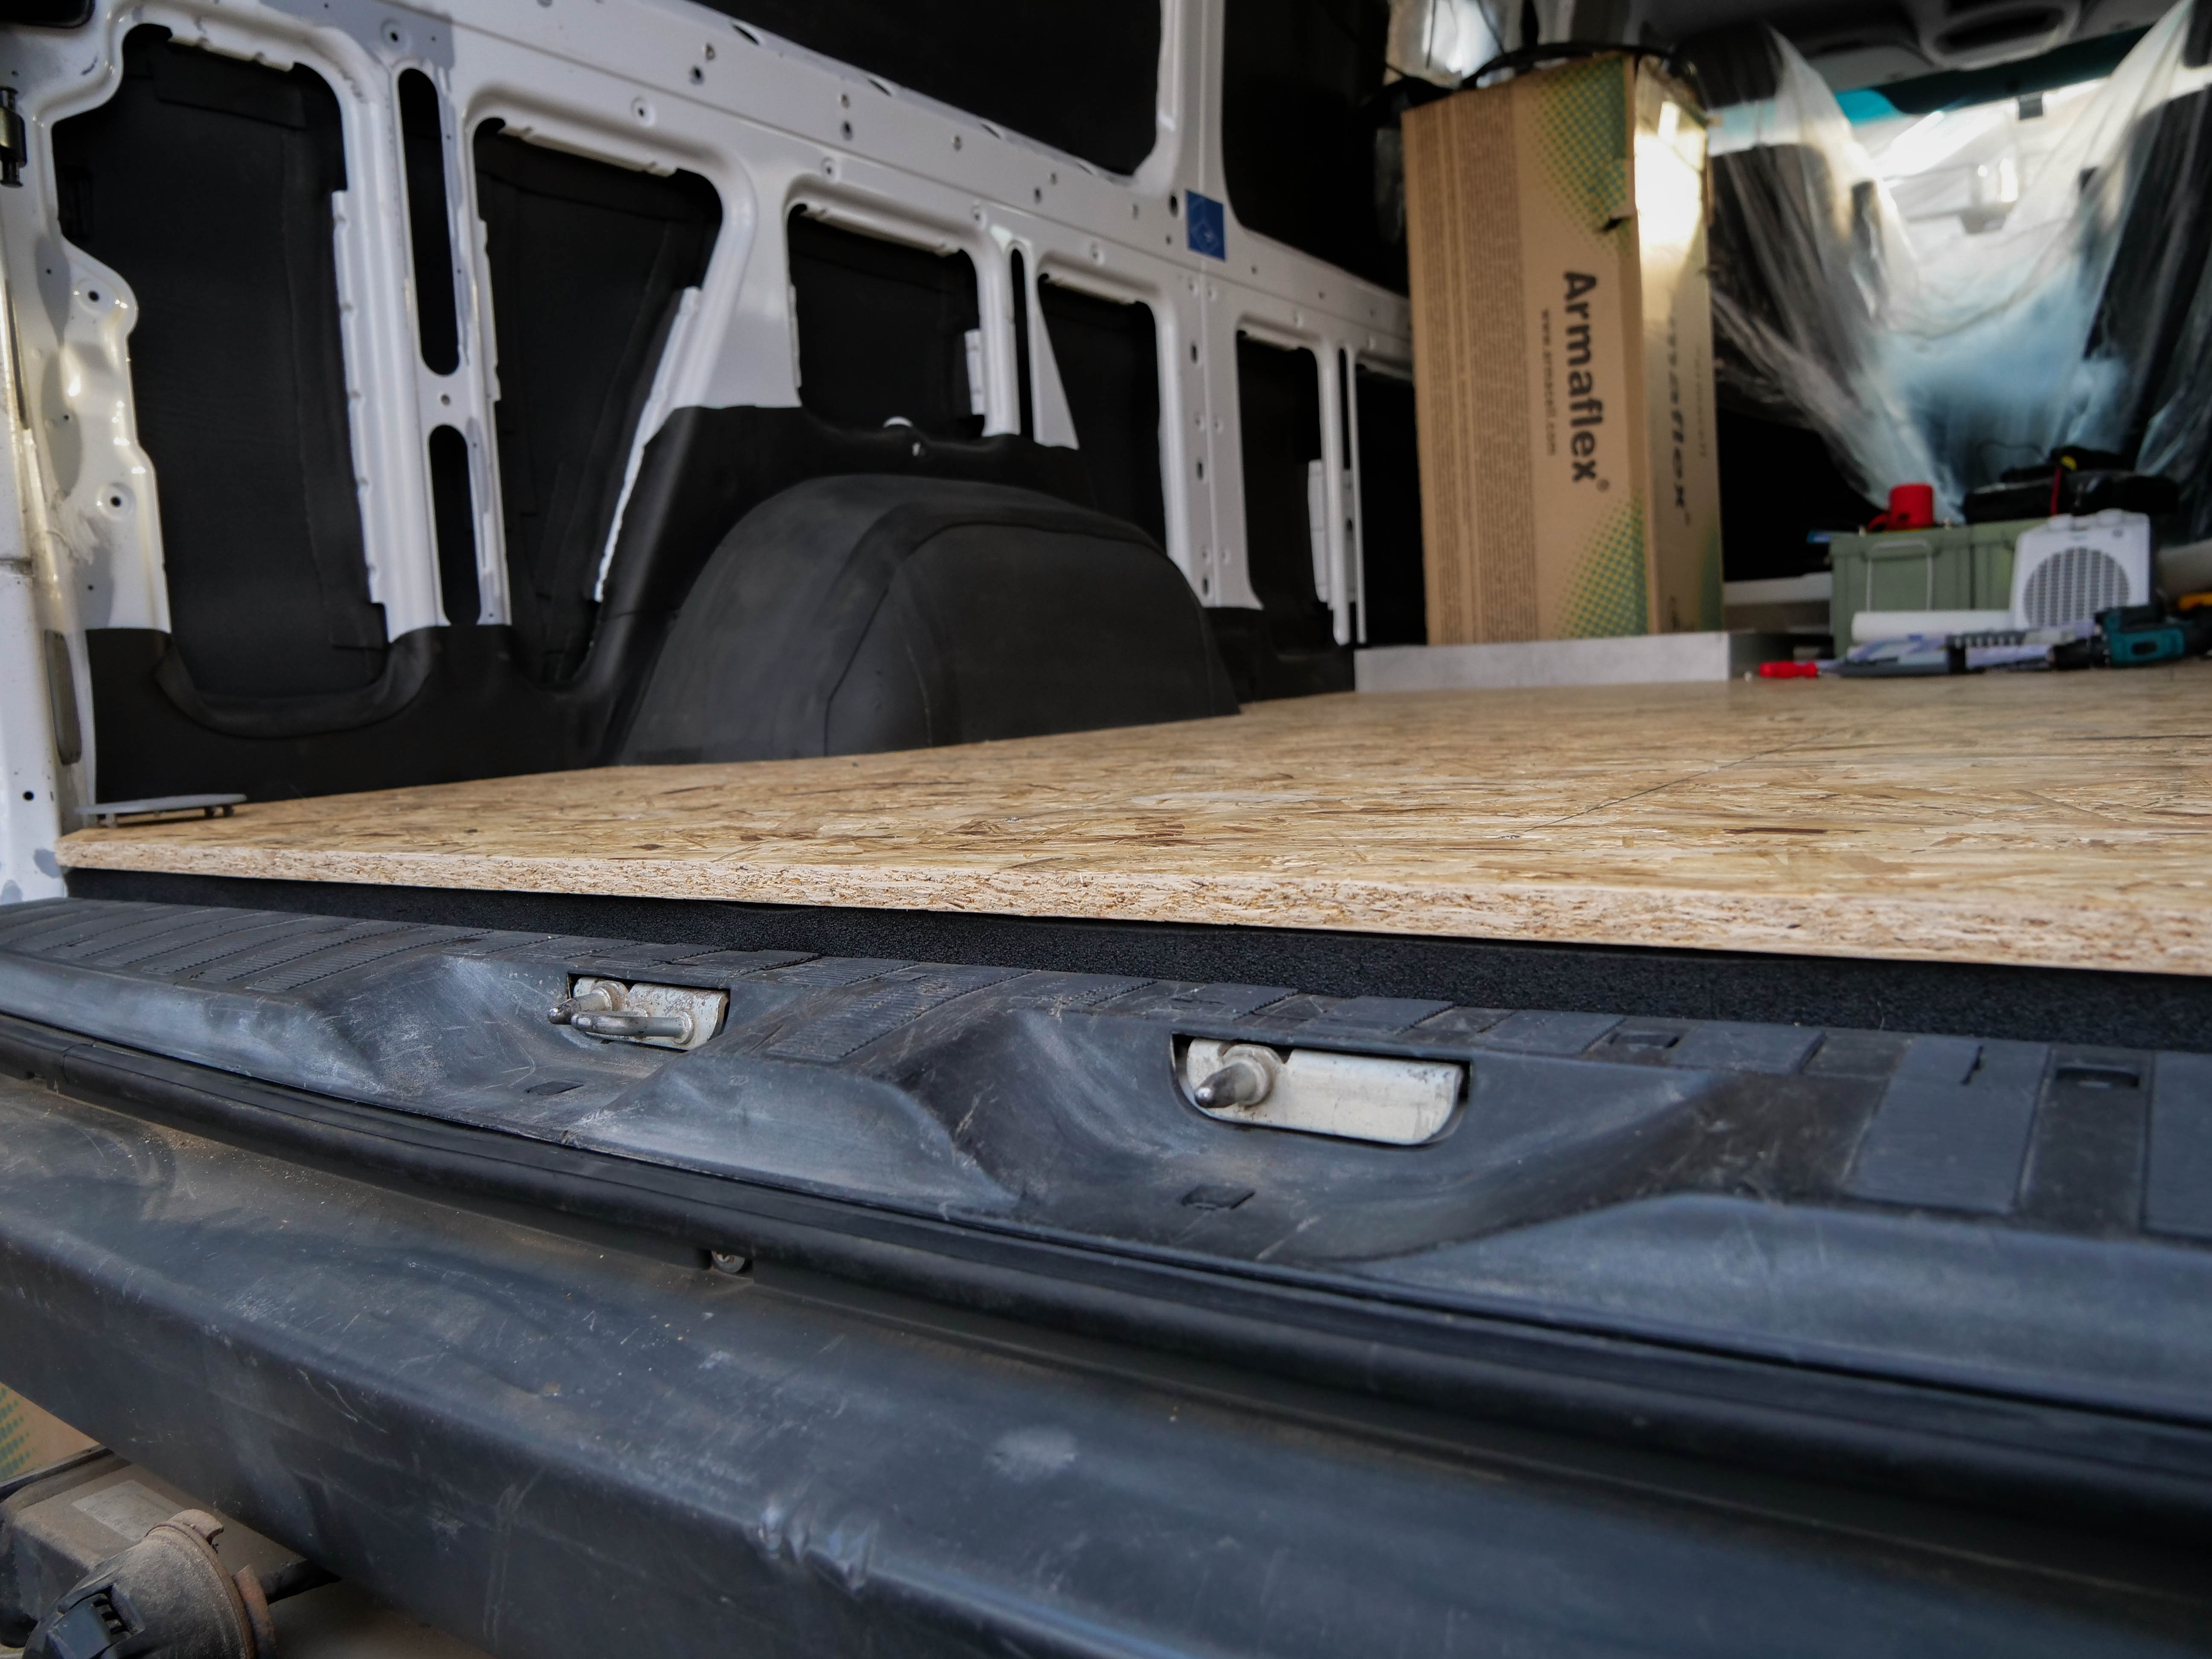
To fasten the plates as well the future furniture we marked the location of the spruce slats on the floor panel, to have more stability with the build.
Afterwards, the plate was screwed into these slats. When picking out screws you have to take into consideration the thickness of the plate (in our case 15 mm) and the slats (ours are 17 mm) and that is why we used 25 mm screws.
This is another big step forward and up next is our „real“ floor covering! 😉
Read about removing our old floor panel and what we found below as well as the sub-construction of wooden-slats. Then we presented the different kinds of wood types that can be used for the new floor panel and which one we chose. Up next we lay the final flooring.