
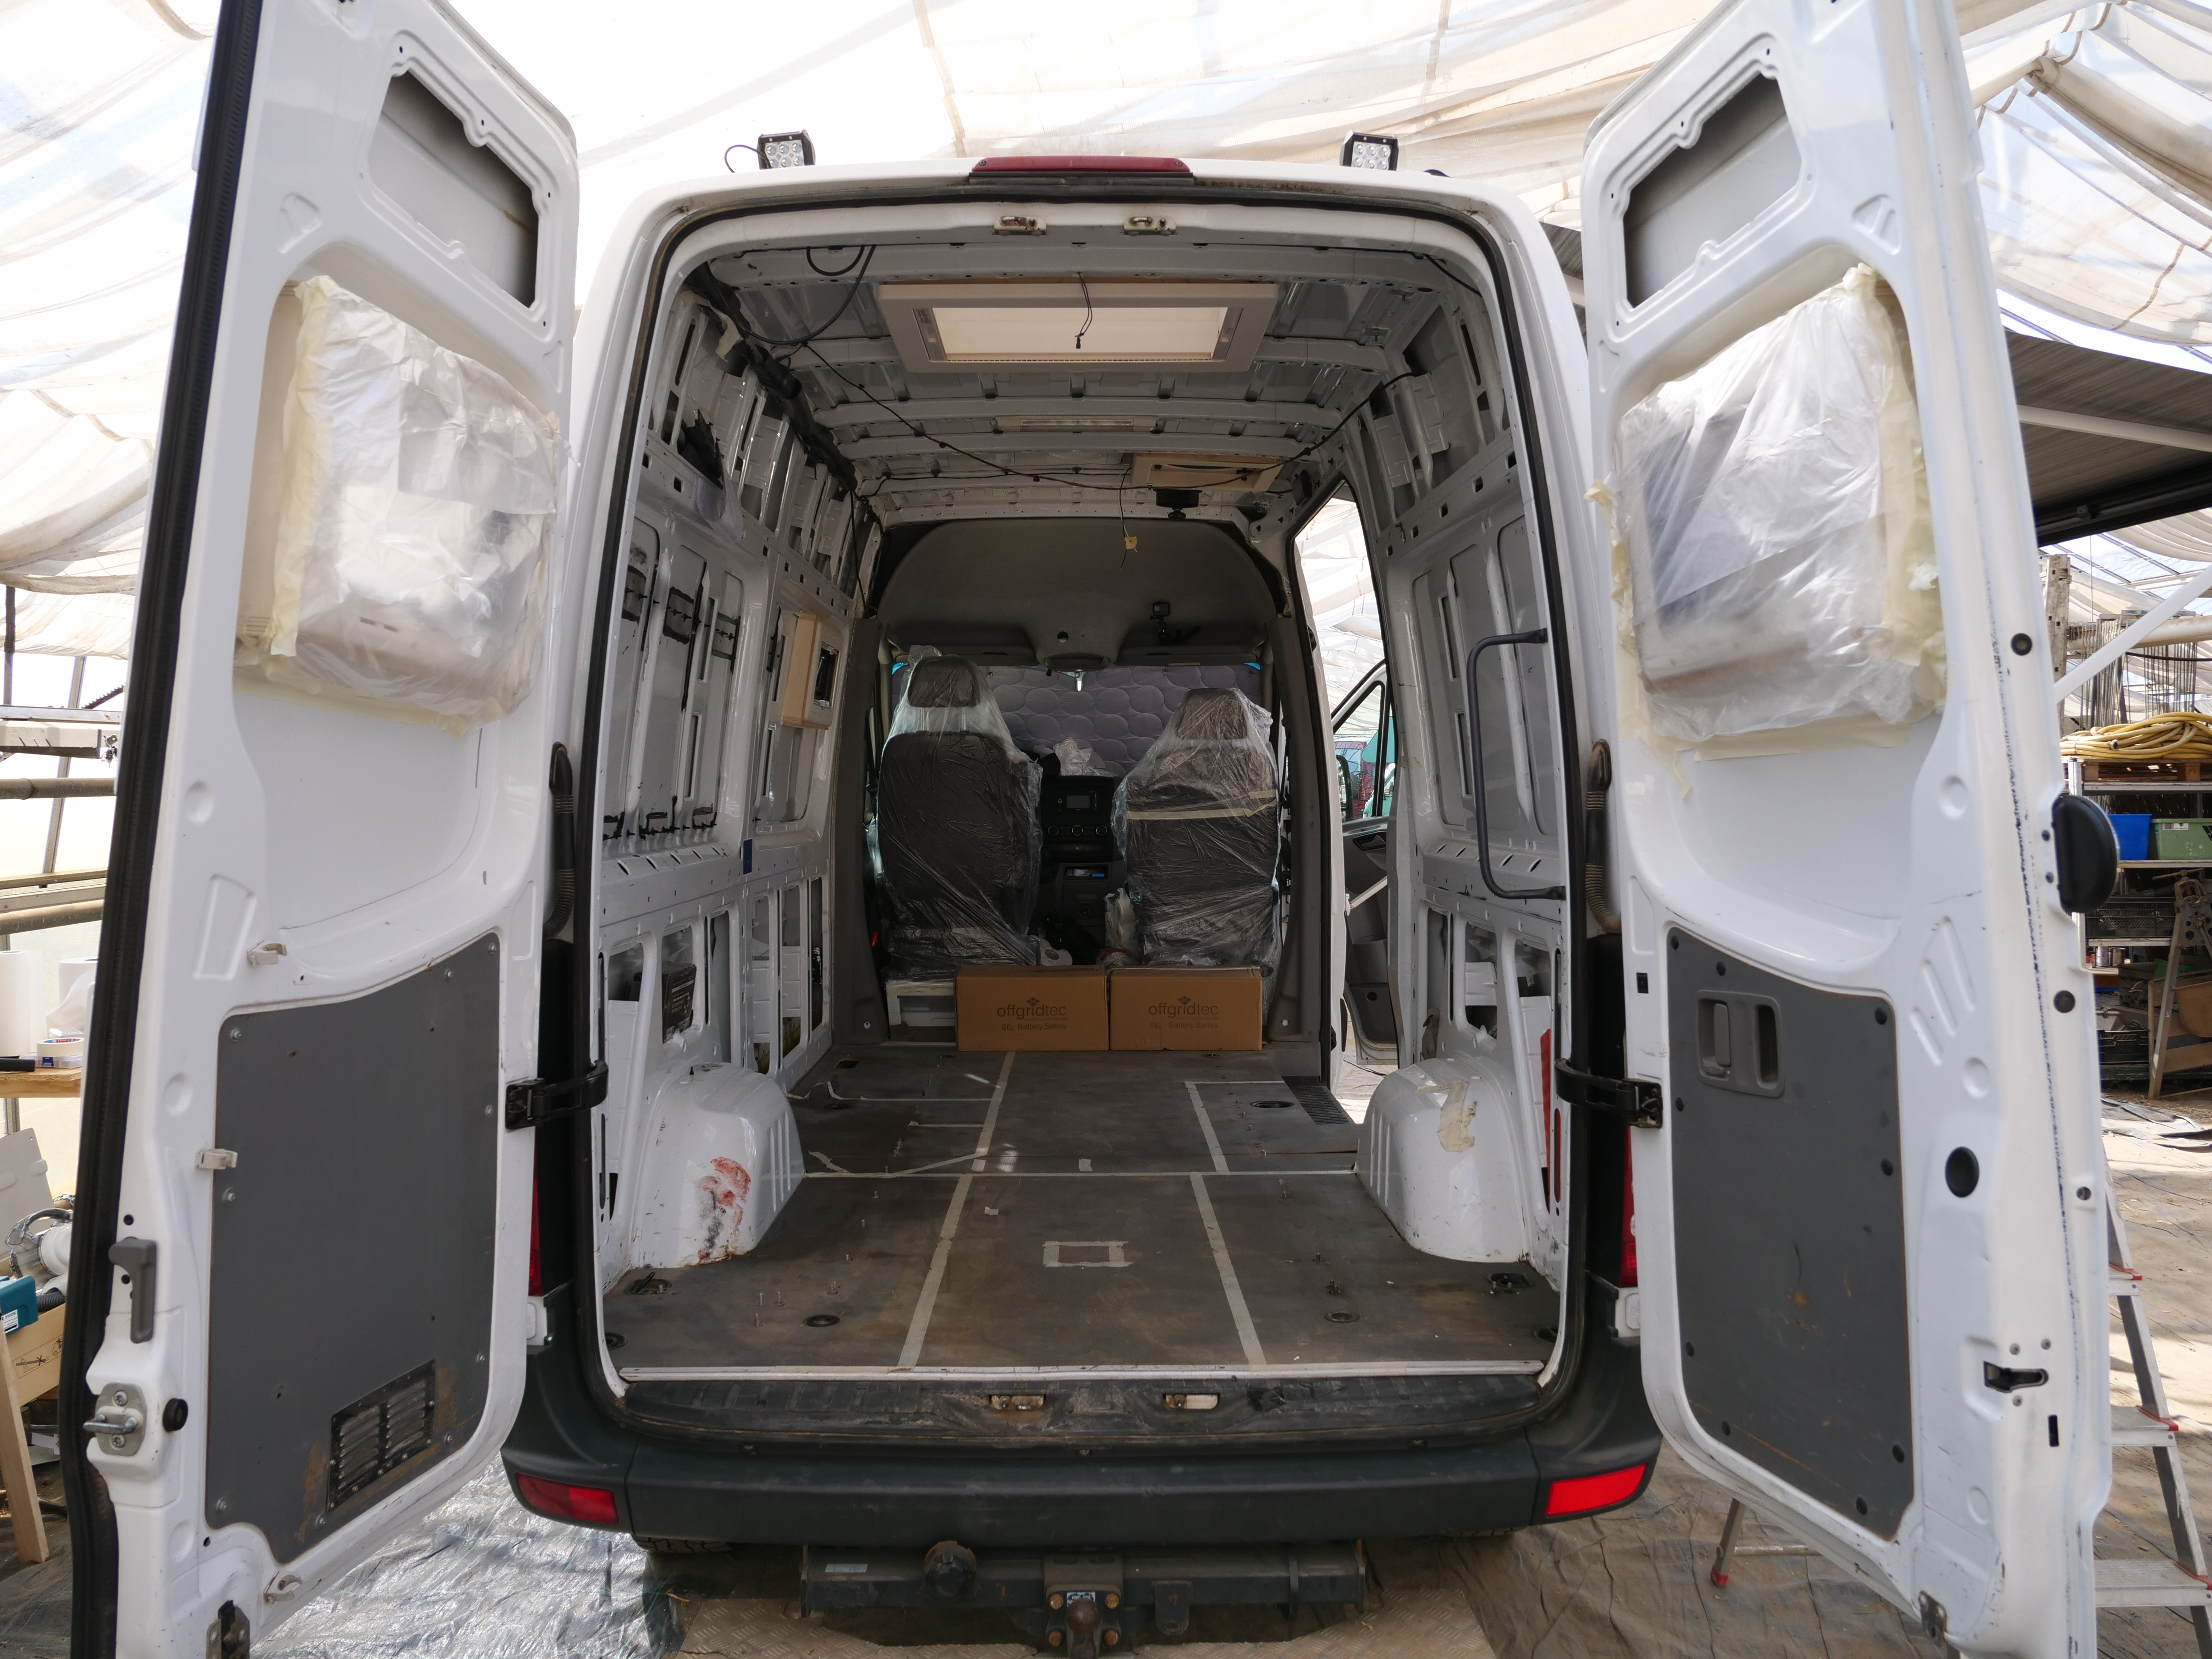
It sure is a small surprise to find out what’s beneath the original floor plate. Close your eyes and hope for the best? Rather not, because the floor is the base of the future interior build of the Sprinter, so the old floor panel has to go.
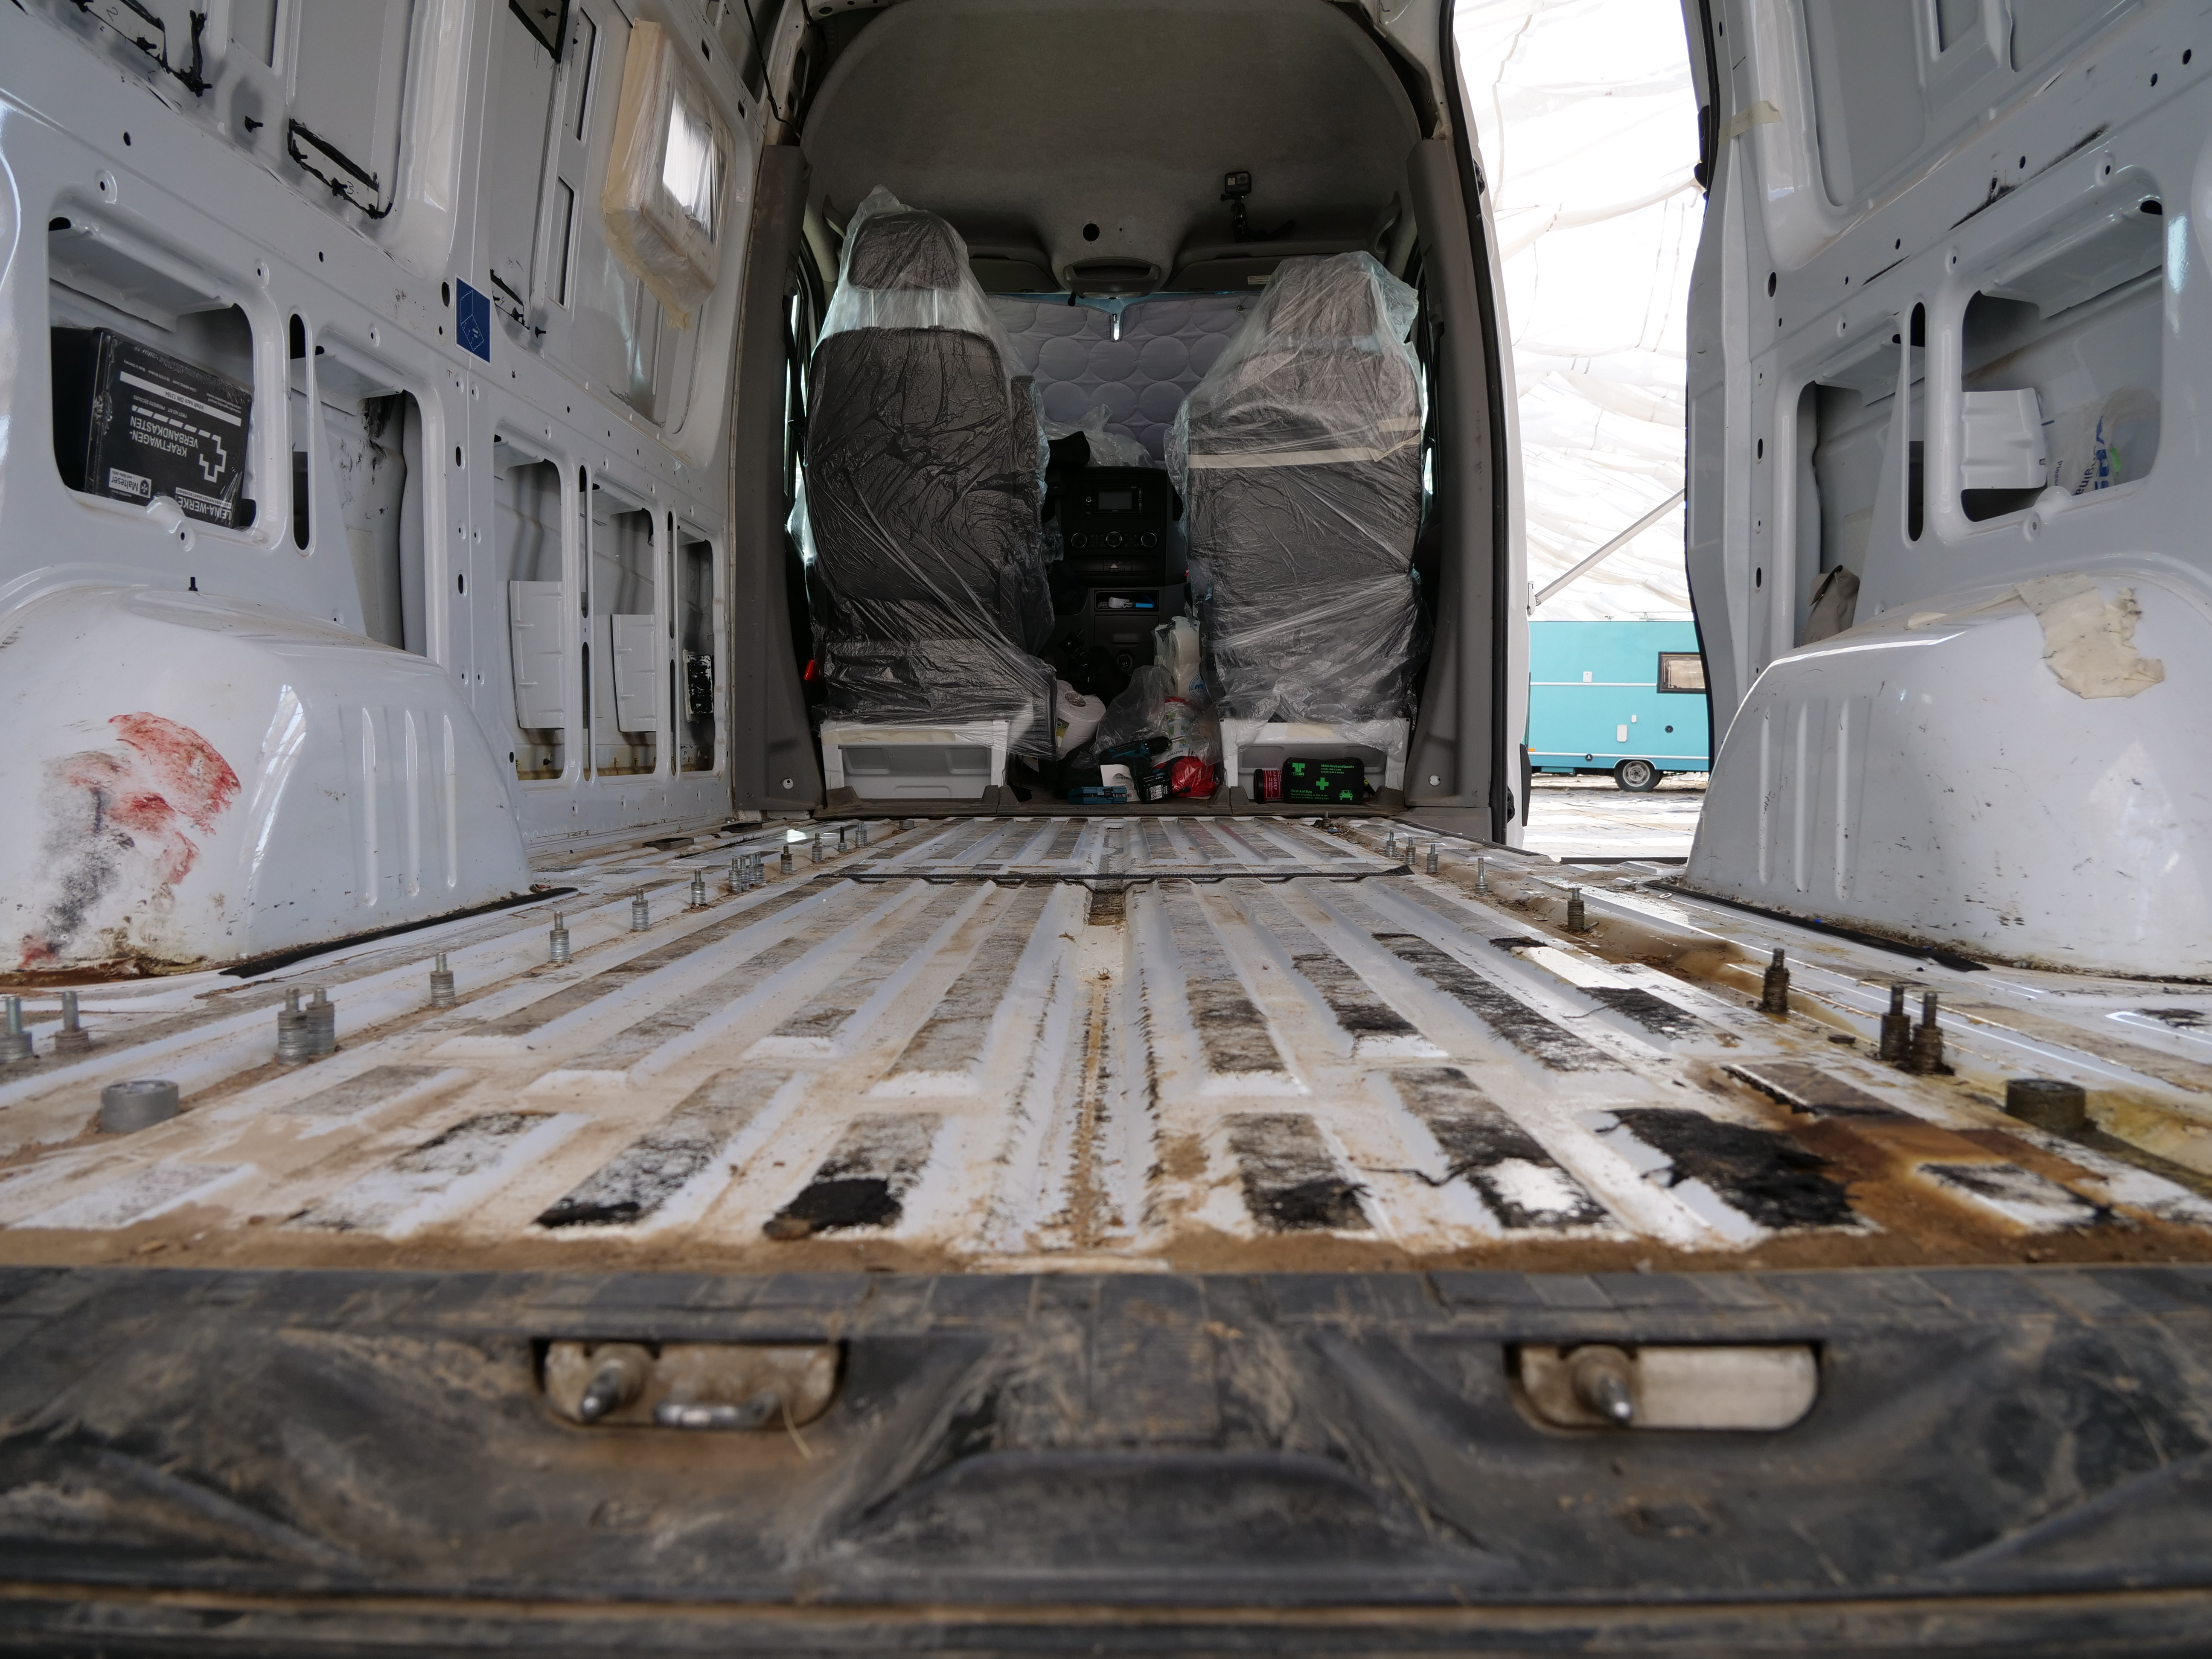
We definitely took a very close look when we chose and bought our basic vehicle, because we were prepared about what aspects we had to pay attention to when buying a used van. But you can not take a closer look below the floor panel. We were a little anxious to find out what’s beneath the original flooring. Our Sprinter was a maintenance vehicle for a manufacturer of wind power systems, back then it was equipped with a built-in shelf system, the screws were still jutting out from below the flooring.
Below the original floor panel (which is actually made of two separate pieces) we found the expected screws, some rust, dirt and grease, which is probably left over from some old body glue. Altogether, we were quite content though, because it definitely could have been worse, especially regarding the rust.
Do not throw away the old floor panel just yet, we recommend keeping the two pieces as a template for the new floor panel 😉
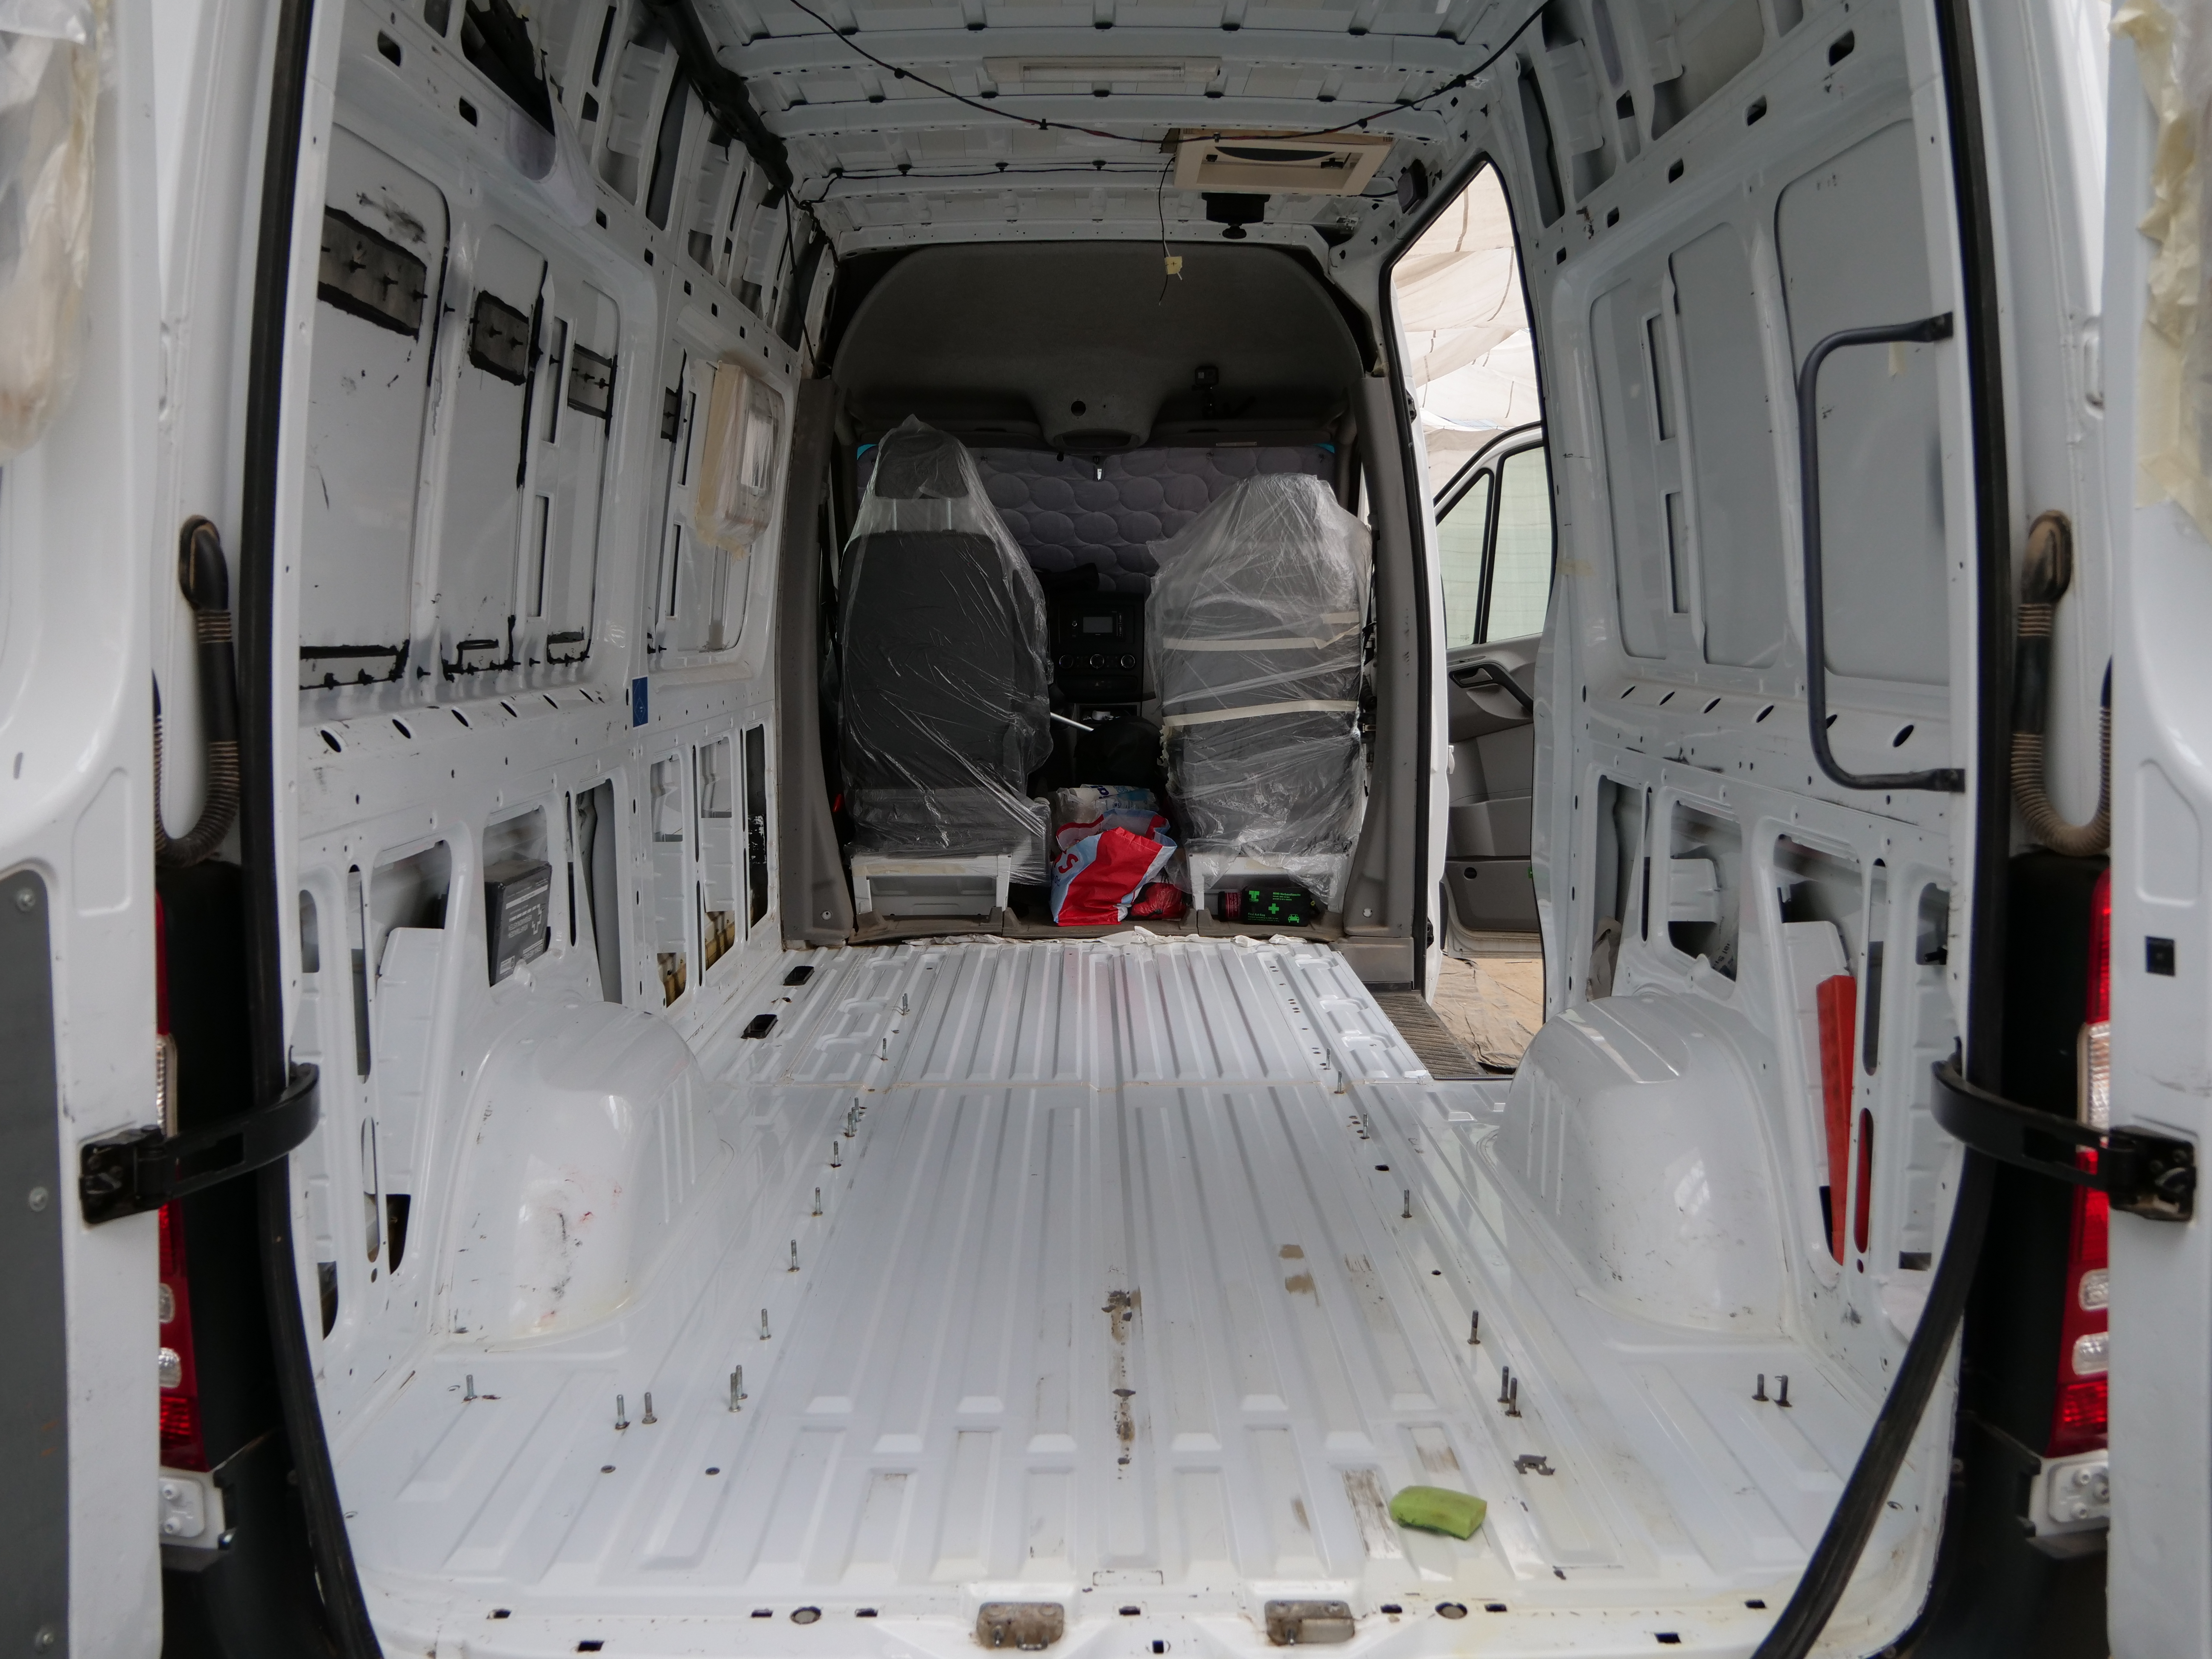
So first of all, there was a whole day of cleaning ahead: with water, a hard brush and some universal cleaner (attention, it may cause dizzynes 😉 ) we went after the dirt. After most of the major dirt was removed, the grease could be cleared with a sponge and the universal cleaner. In the end, we had a nice and clean floor!

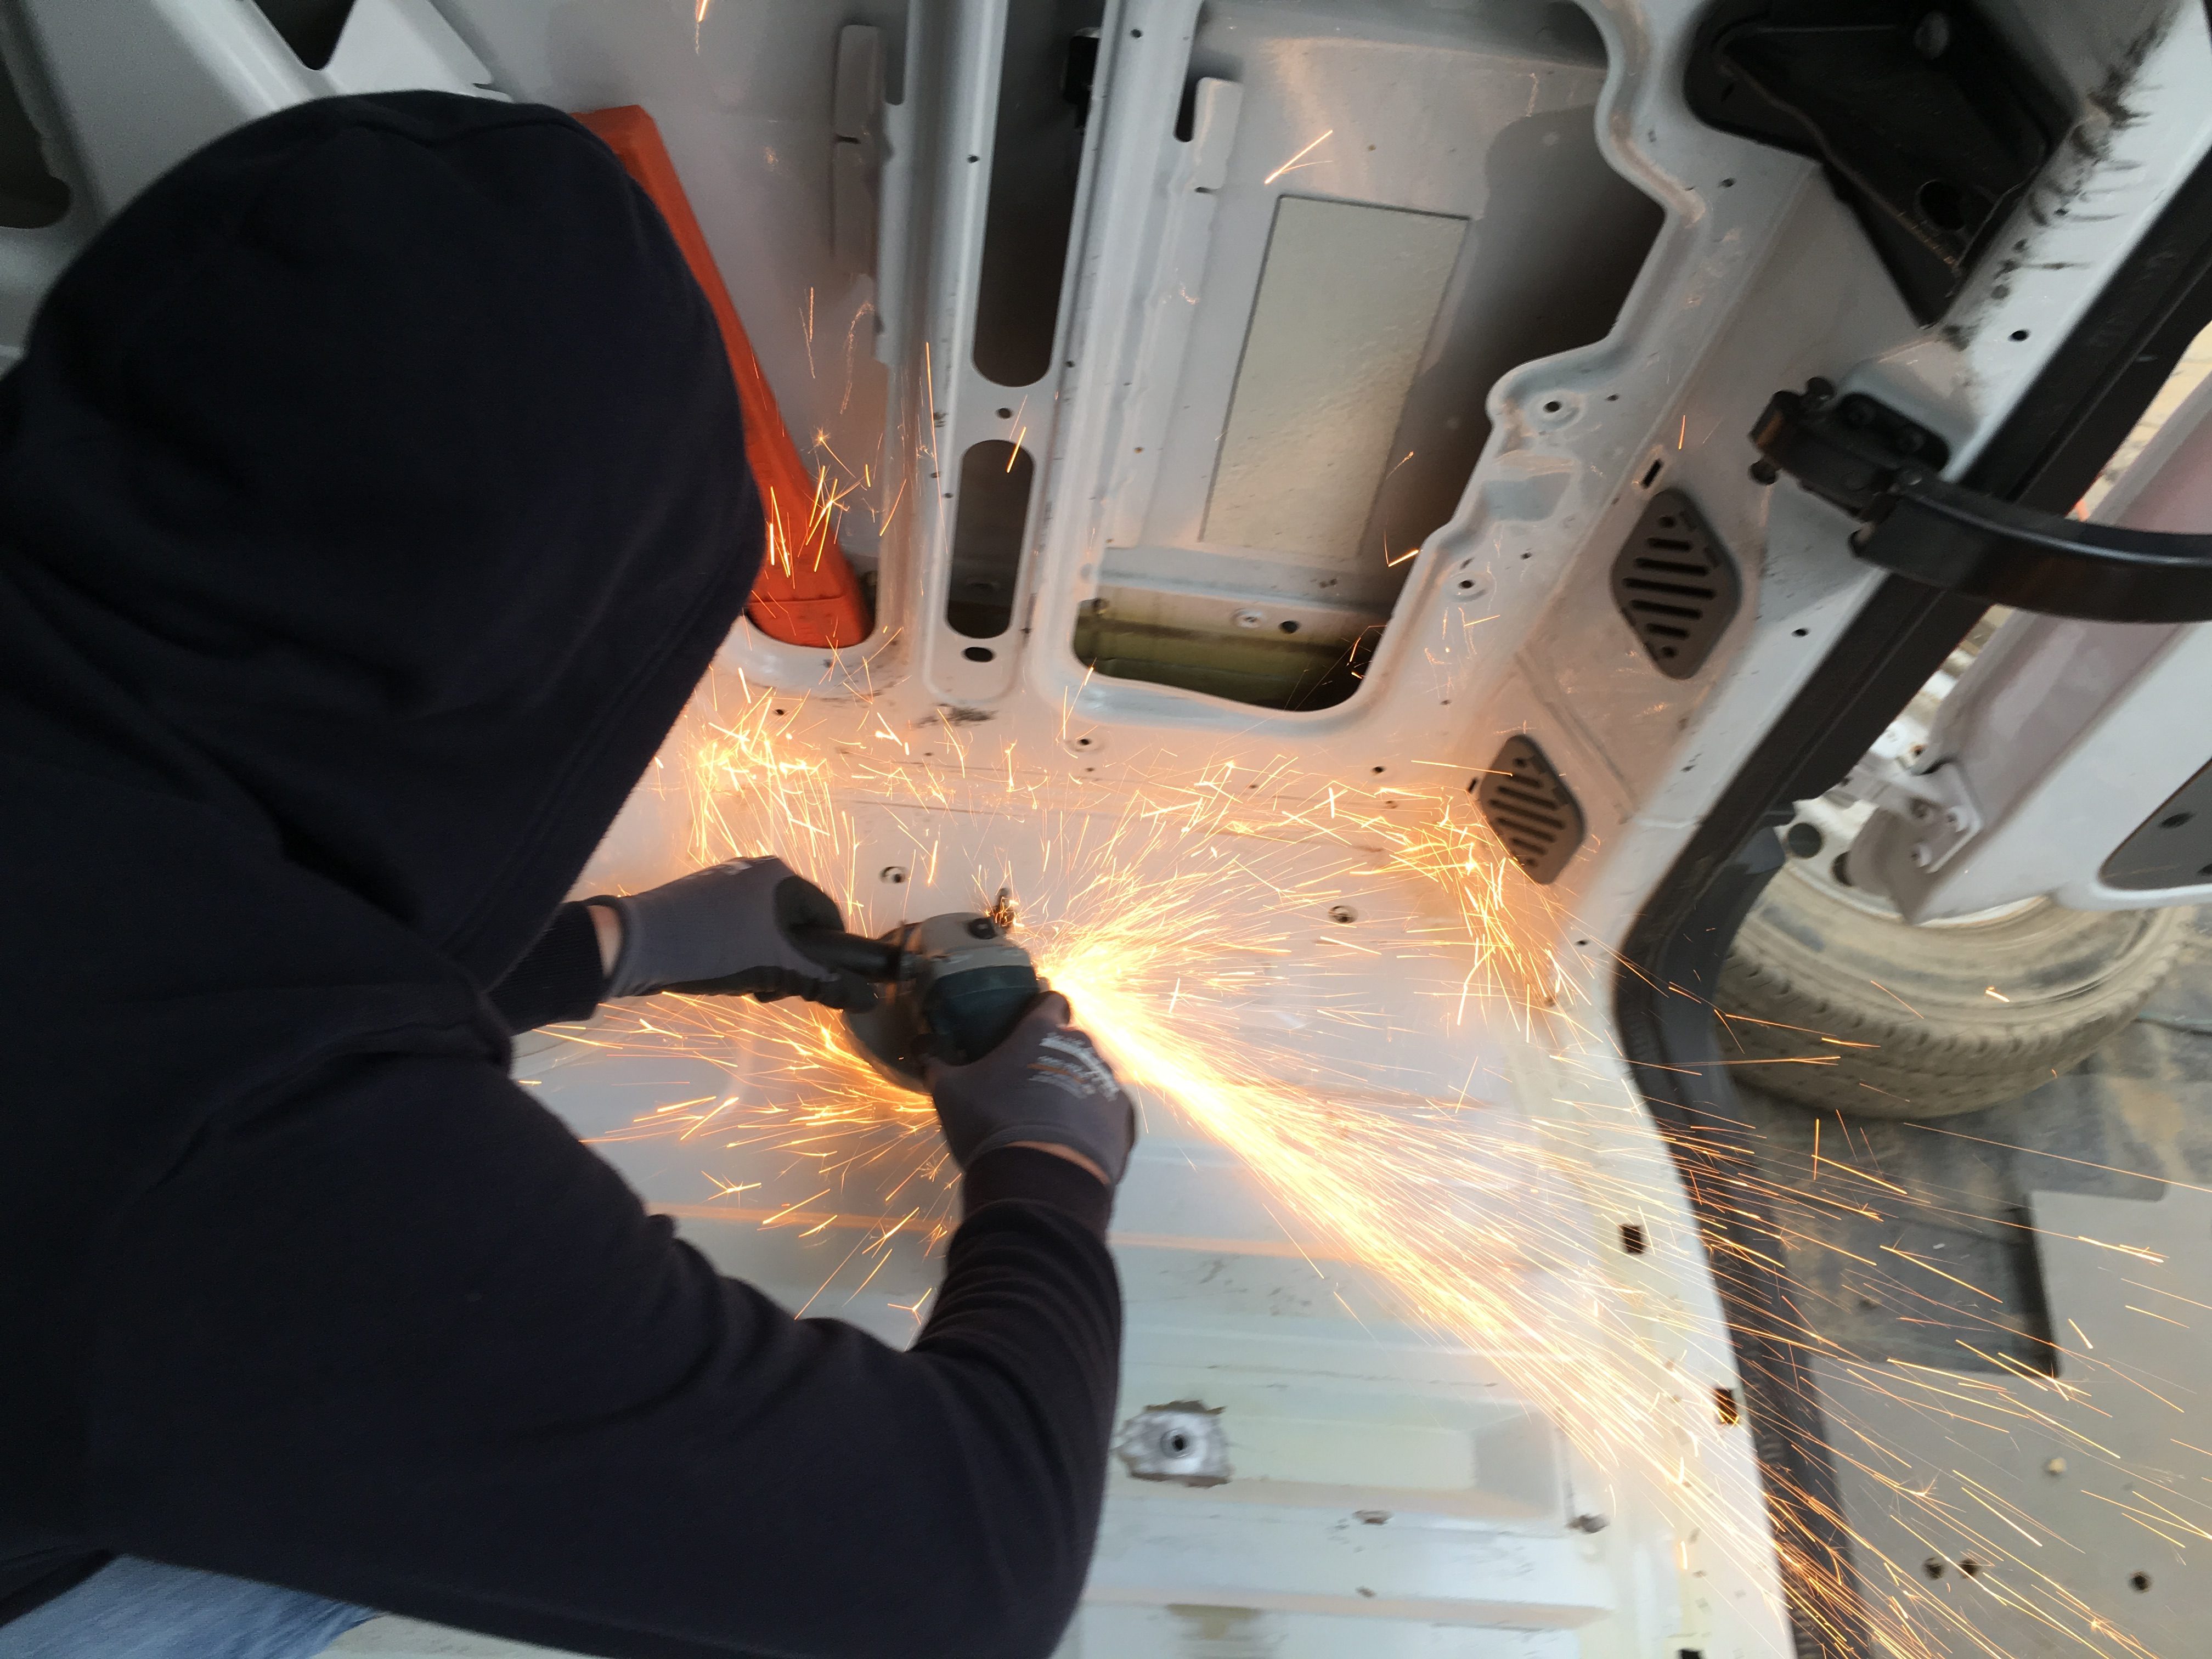
The only thing left were the old screws of the shelving system, not all of them could be loosened. So we cut them to the same level as the floor with an angle grinder. Neither did we like the holes in the floor nor did we want to close the holes with lots of effort, so we also cut the screws we removed and put them back in with some Sikaflex. This way the holes are closed and it is not possible to get water from below into the inside of the car.
The small rusty spots as well as the areas around the screws were sanded and then treated with Fertan. After hours of research about rust and its treatment, we chose Fertan because it is supposed to be the the absolute best when it comes to rust treatment. Fertan is a deruster, it chemically dissolves the rust and then protects the treated metal against future rust with a new metal compound. So the small brown spots on the following picture are not rust, but Fertan treated, former rust.
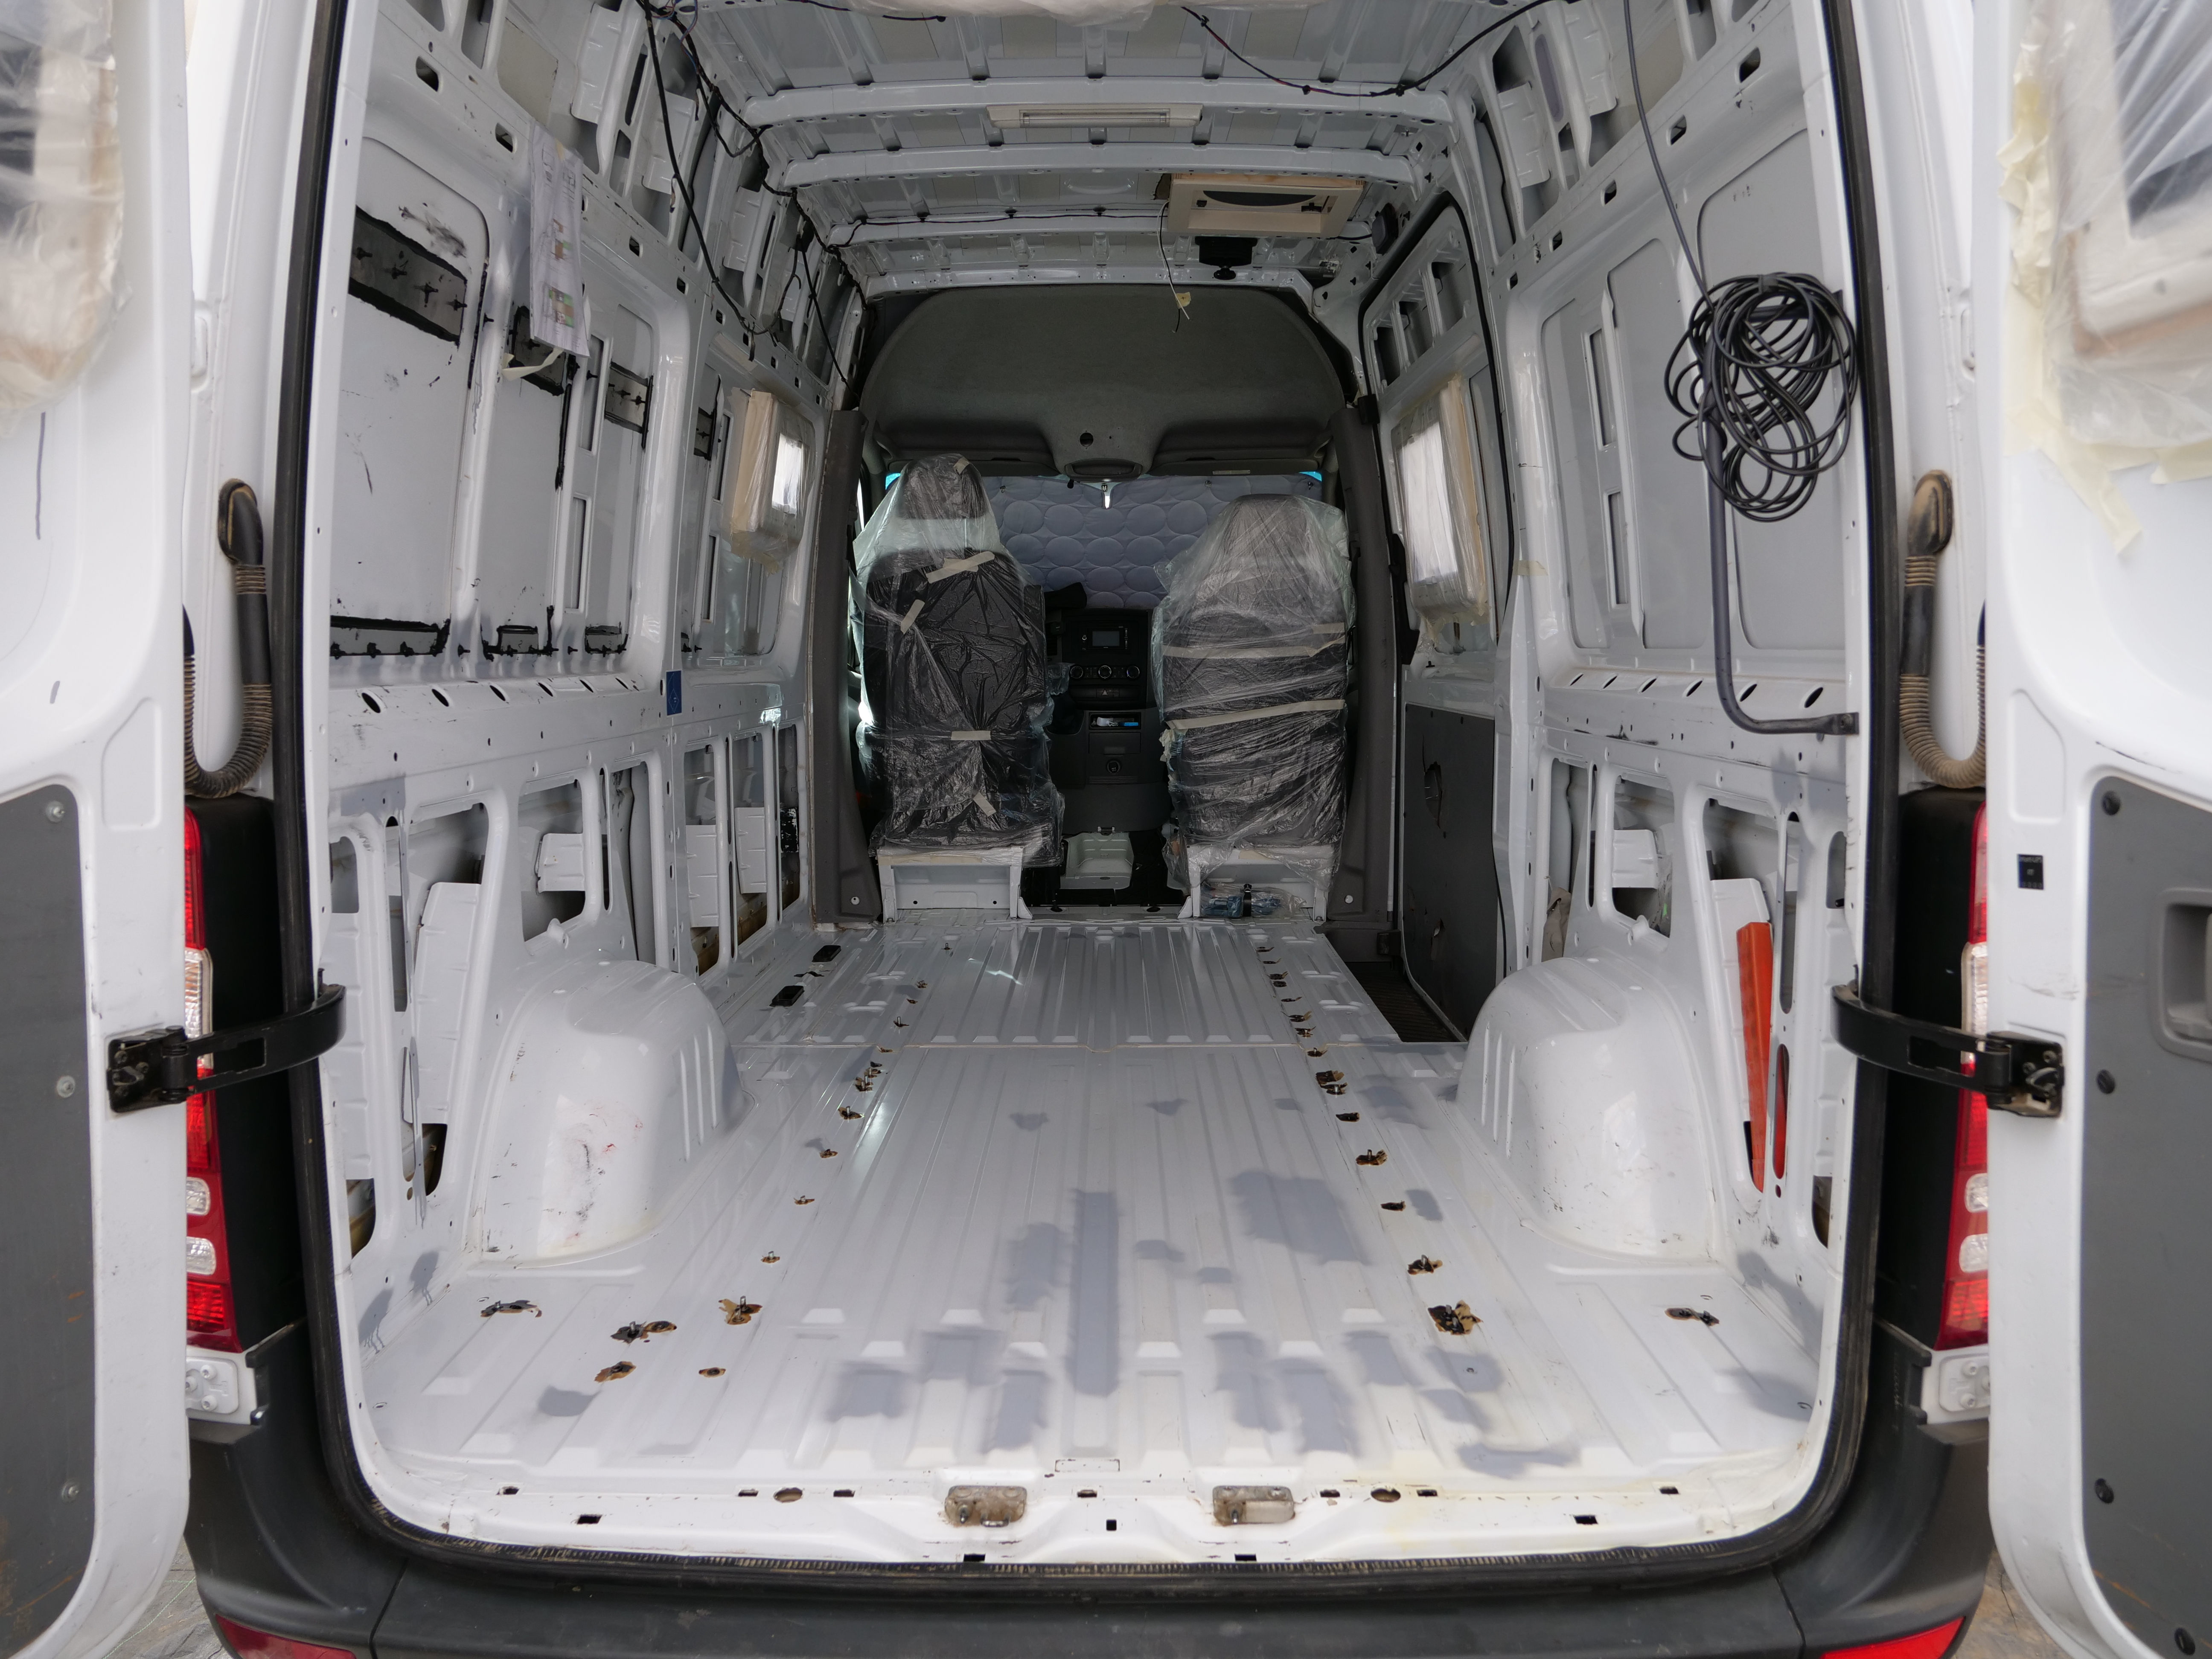
We used primer on any other ugly spots, for example scratches in the car paint (the grey spots). Now the floor is ready for the sub-construction, the insulation as well as the new OSB3 floor panel! And of course our main flooring – but that will be right at the end.
Up next is the sub-construction of wooden slats. Then we will present the different kinds of wood types that can be used for the new floor panel and which one we chose. Afterwards we install the new floor panel and lay the final flooring.