
When choosing a floor covering, everyone probably mostly cares about the look. But when it comes to a campervan, characteristics like functionality and weight should not be disregarded. So what kind of flooring should be used in a campervan? We show you what we chose for our Sprinter!
We already told you about removing the old floor panel and the small surprises we found below as well as the sub-construction of wooden slats. After the whole topic concerning insulation we presented the different kinds of wood types that can be used for the new floor panel and which one we chose. After installing the new OSB3-floor panel we now finally put in our final flooring!
At the beginning of our DIY vanbuild, when we searched a variety of platforms for interior-ideas, there was this one floor that immediately caught our eye: teakwood! With its maritime flair it reminded us of sailing and home. But teak is quite expensive and especially heavy; those are characteristics we unfortunately do not want for our camper. Searching alternatives in a teak-look we were, unfortunately, not successful.
So we had to change our view and first of all gather relevant points and traits for choosing a floor covering in a campervan, which are:
- Low weight
- Easy to clean
- Water-repellent
- Dirt-resistant
We both agreed that we wanted the looks and structure of wood.
Parquet flooring as well as laminate sure do look nice, but are rather heavy and sensitive when it comes to water or moisture. PVC is available with a wooden look but „smooth“ so without any structure. Carpet was never a choice because it really attracts dirt that stays.
Our choice: Click-vinyl flooring
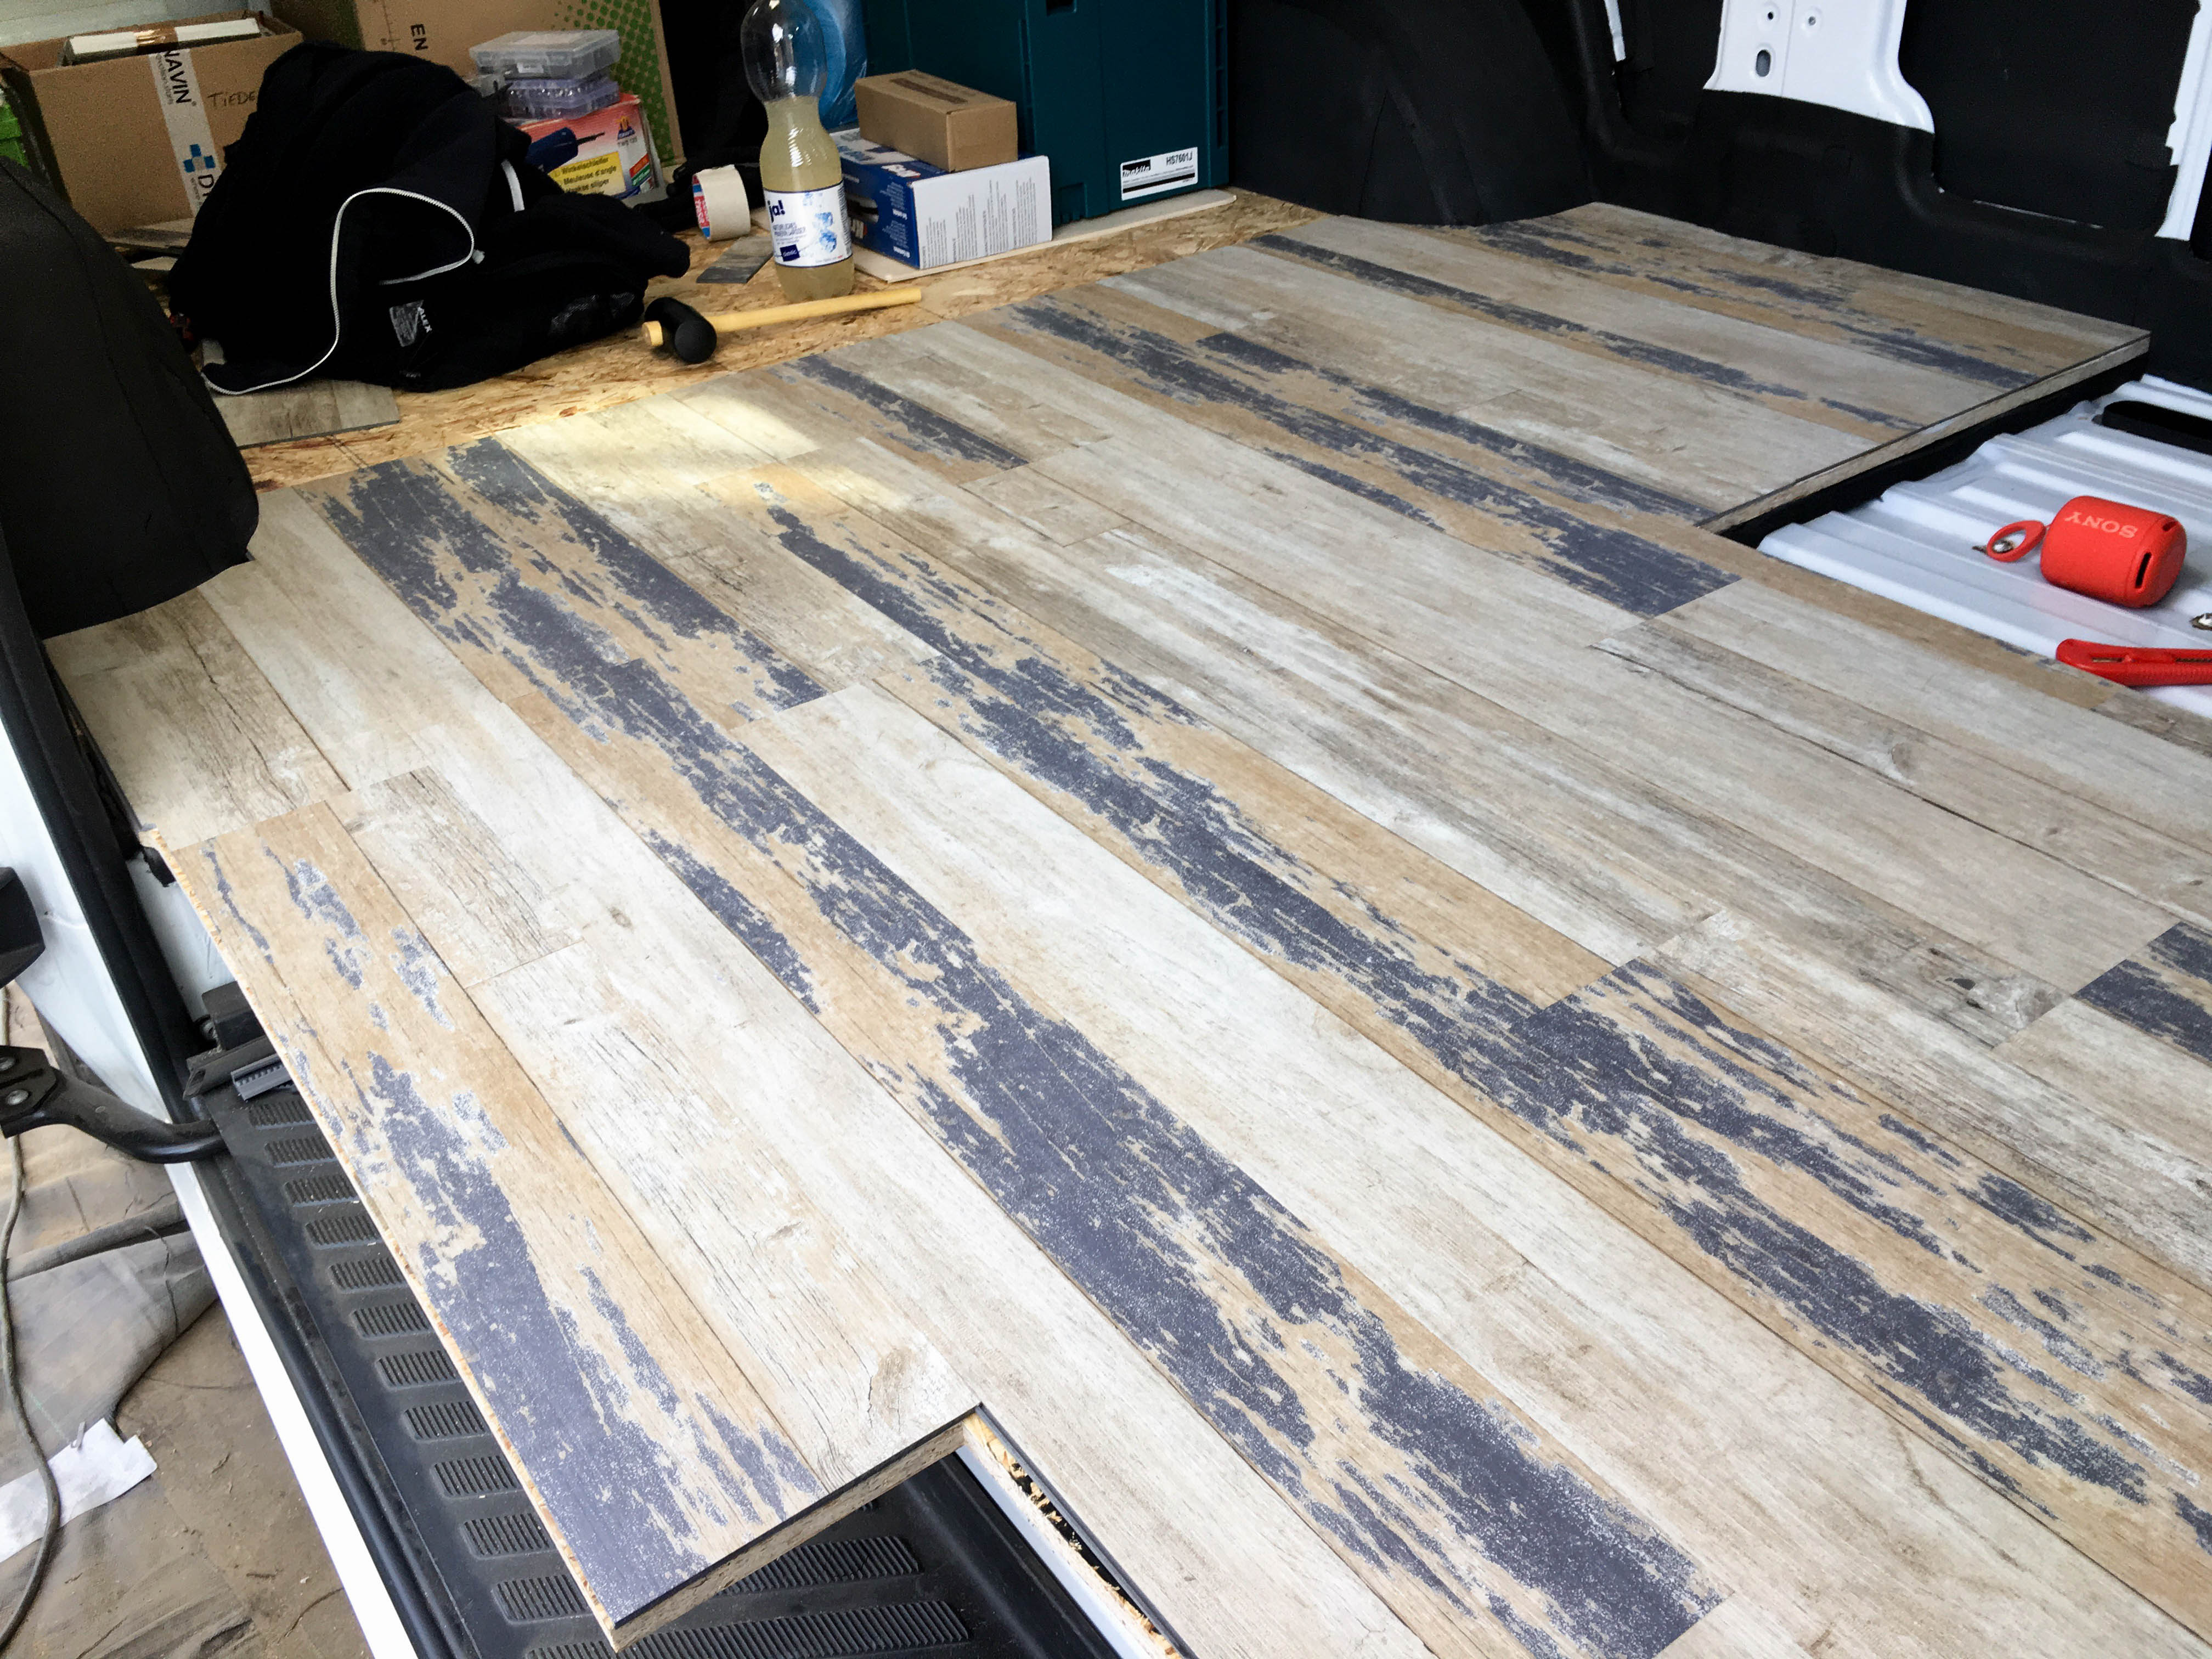
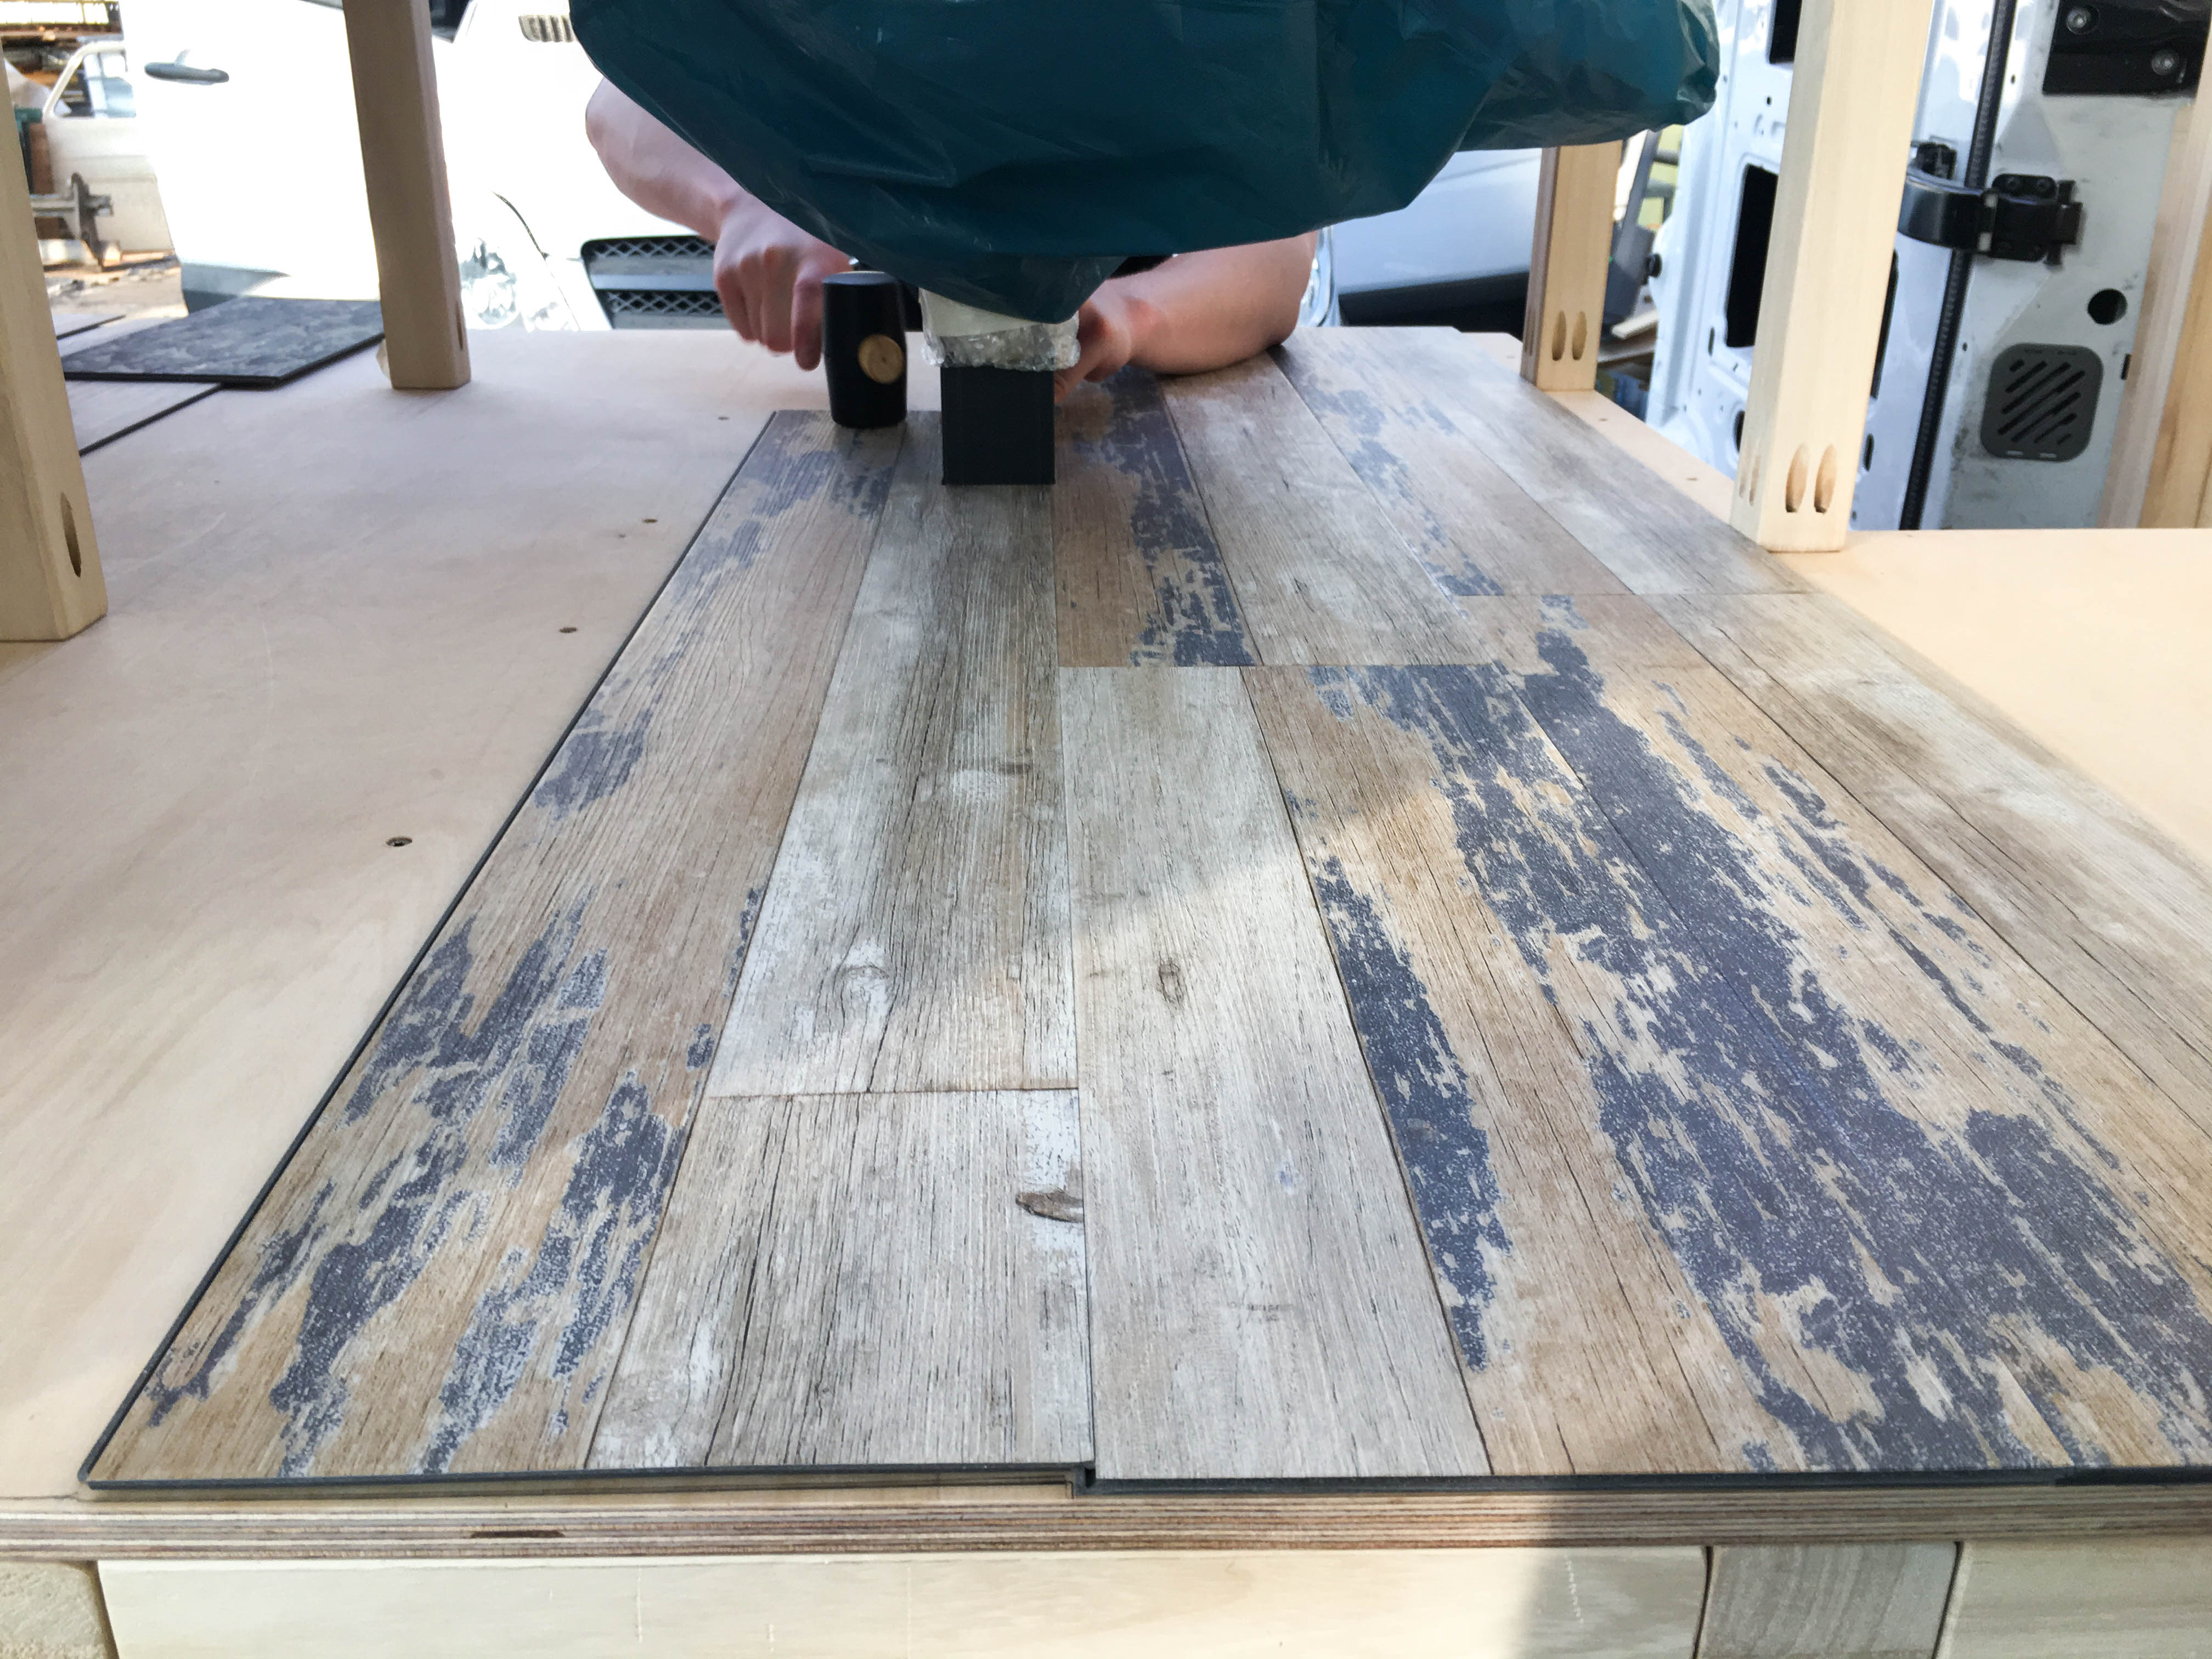
In the end we went for click-vinyl in a ships-plank design in the color „Harbor Blue“ in some sort of „used look“ – so we went back to the start and our maritime idea 😉 The manufacturer names the following characteristics: strong click-connection, strong wear layer (0,55 mm), suitable even for wet rooms, without harmful plasticizer at a price of approx. 35,00 € / m2 (the total area of the Sprinter is only about 6 m2 so we think the price is right)
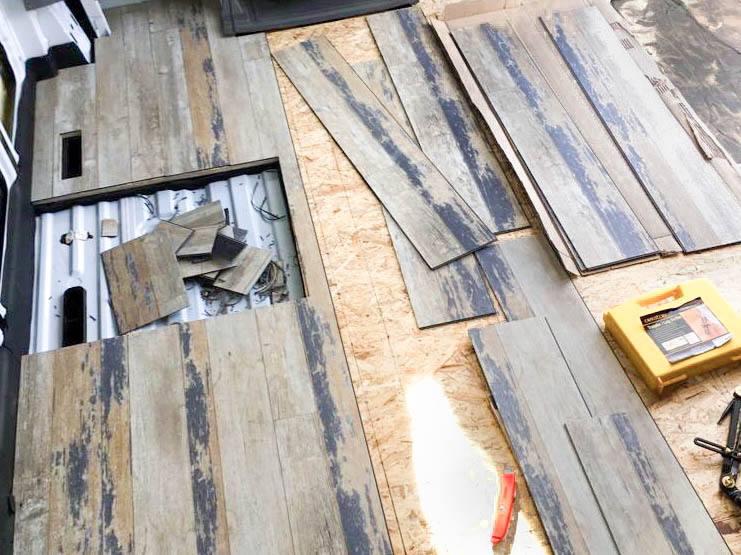
First of all, we unpacked everything and loosely laid the planks to check the look regarding the pattern and color.
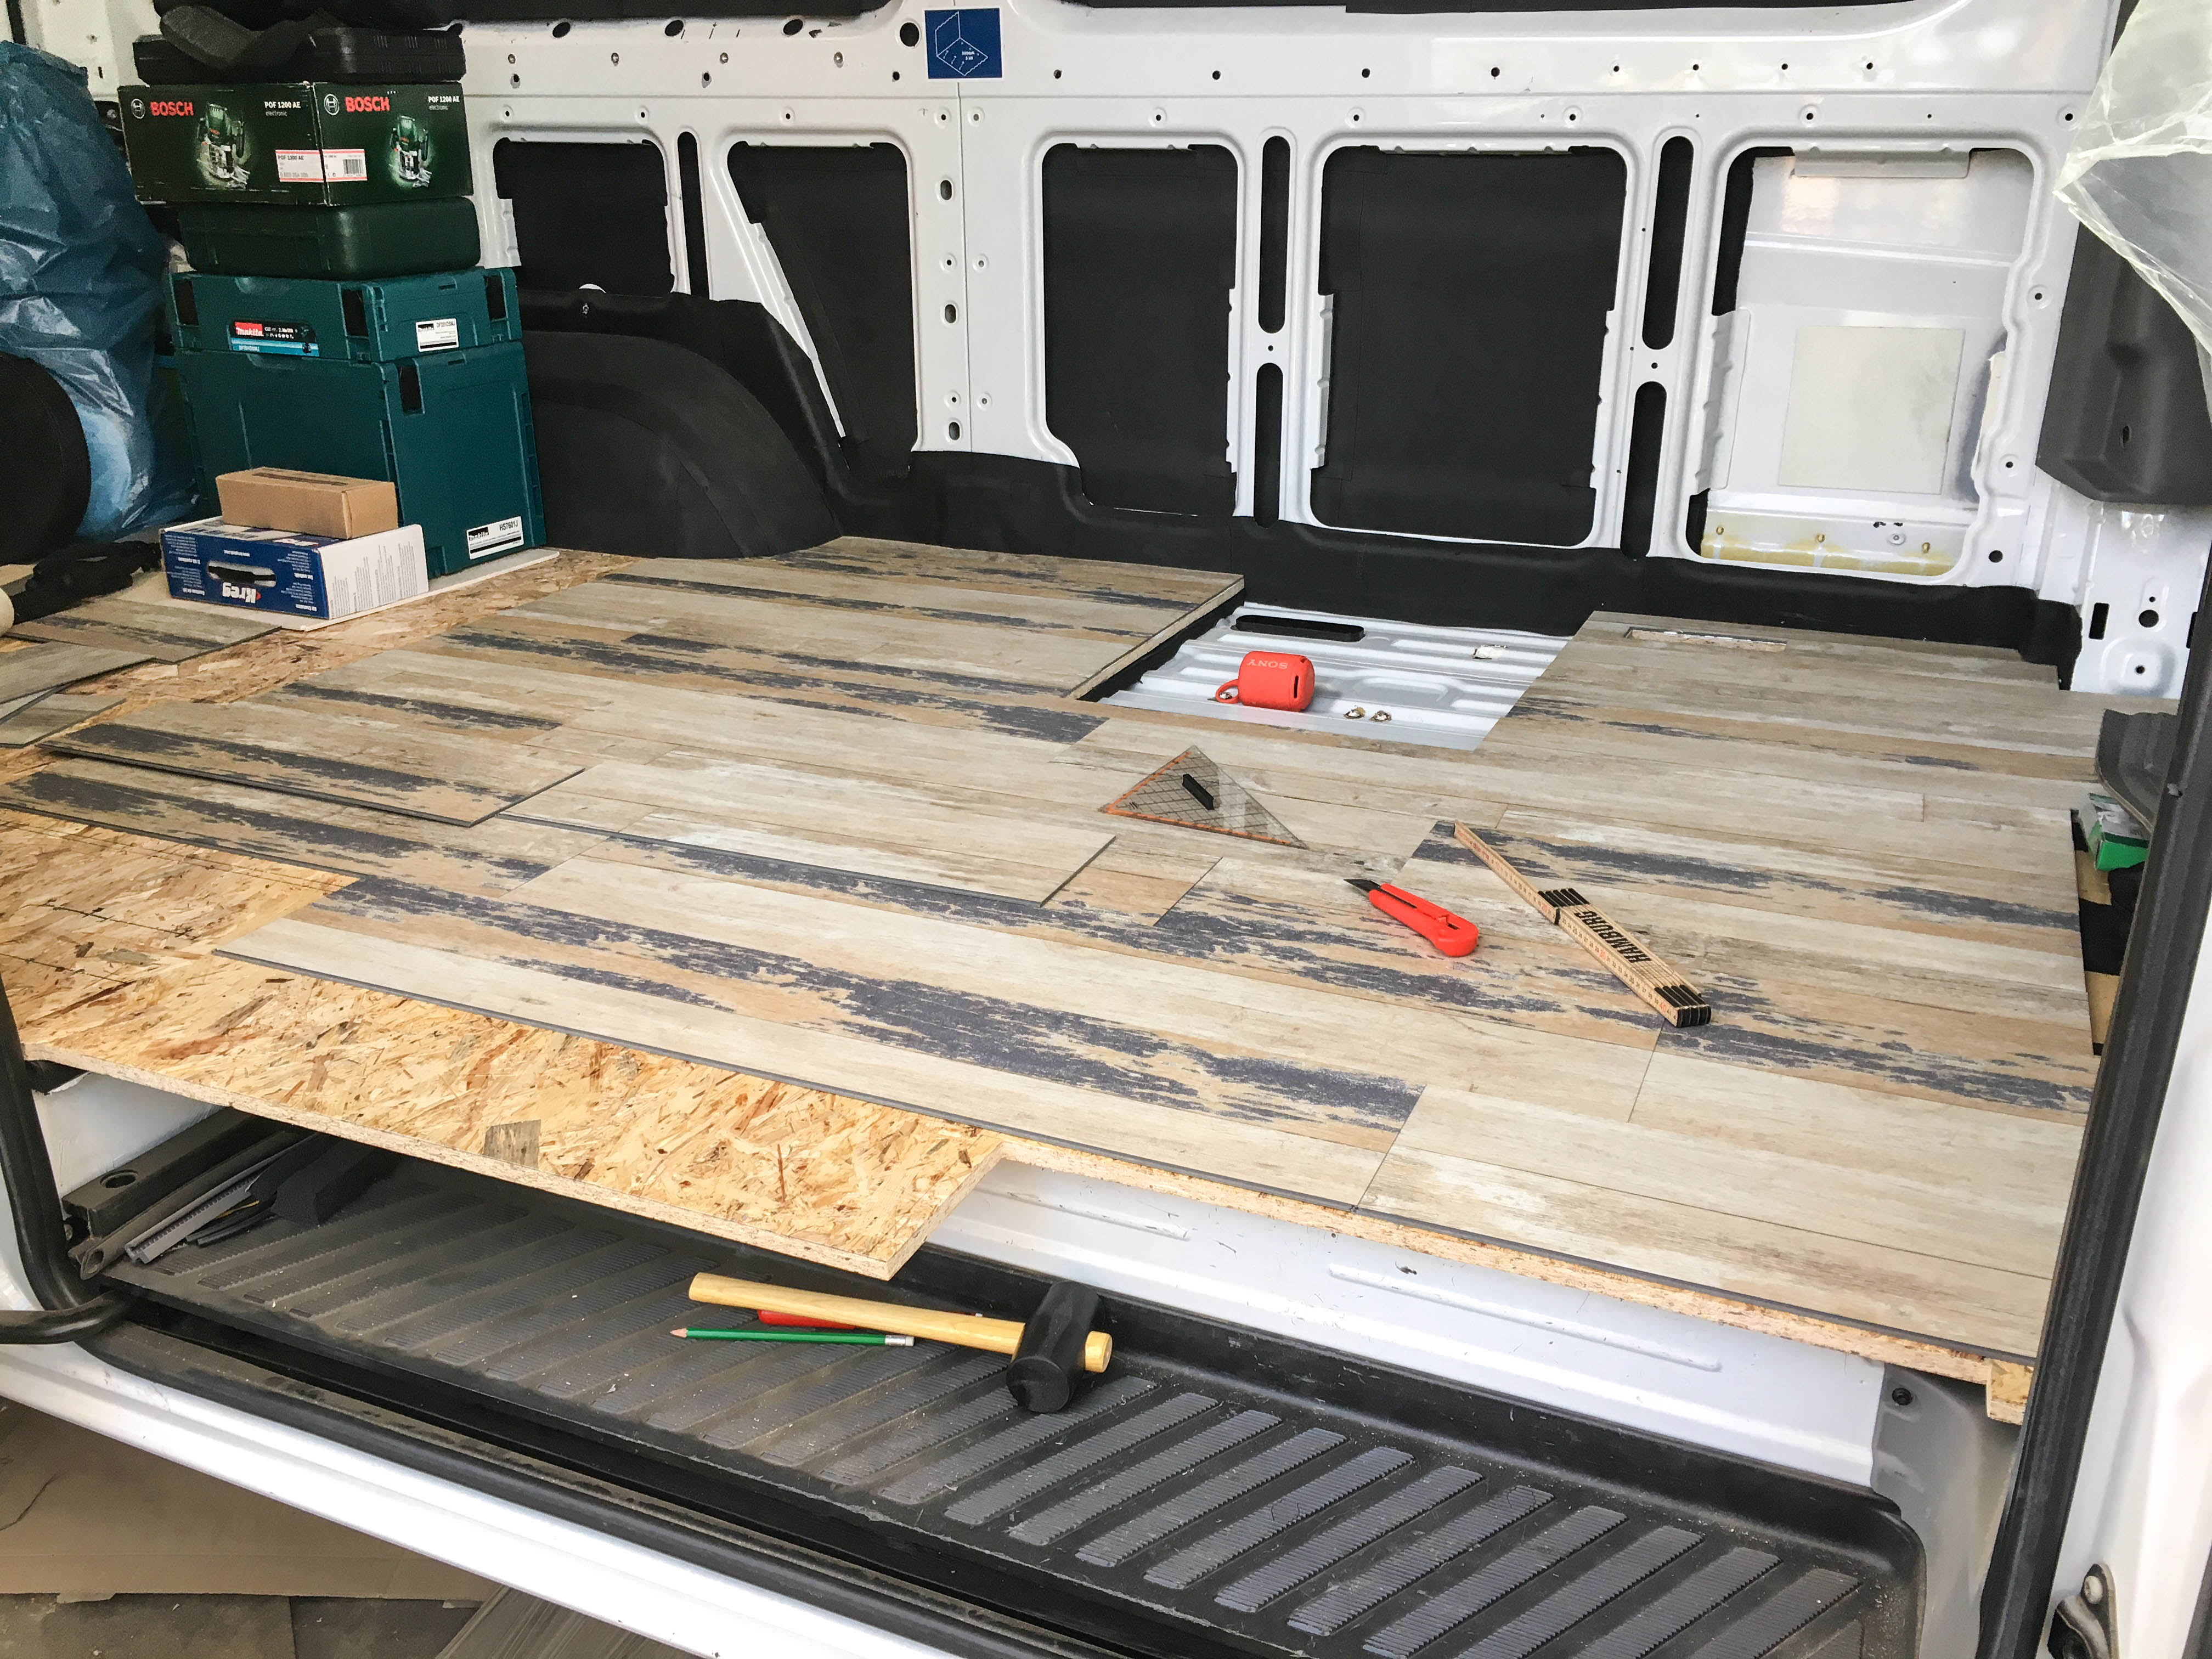
These are the tools we used for laying the floor:
- Pencil or pen
- Ruler, triangle, measuring stick
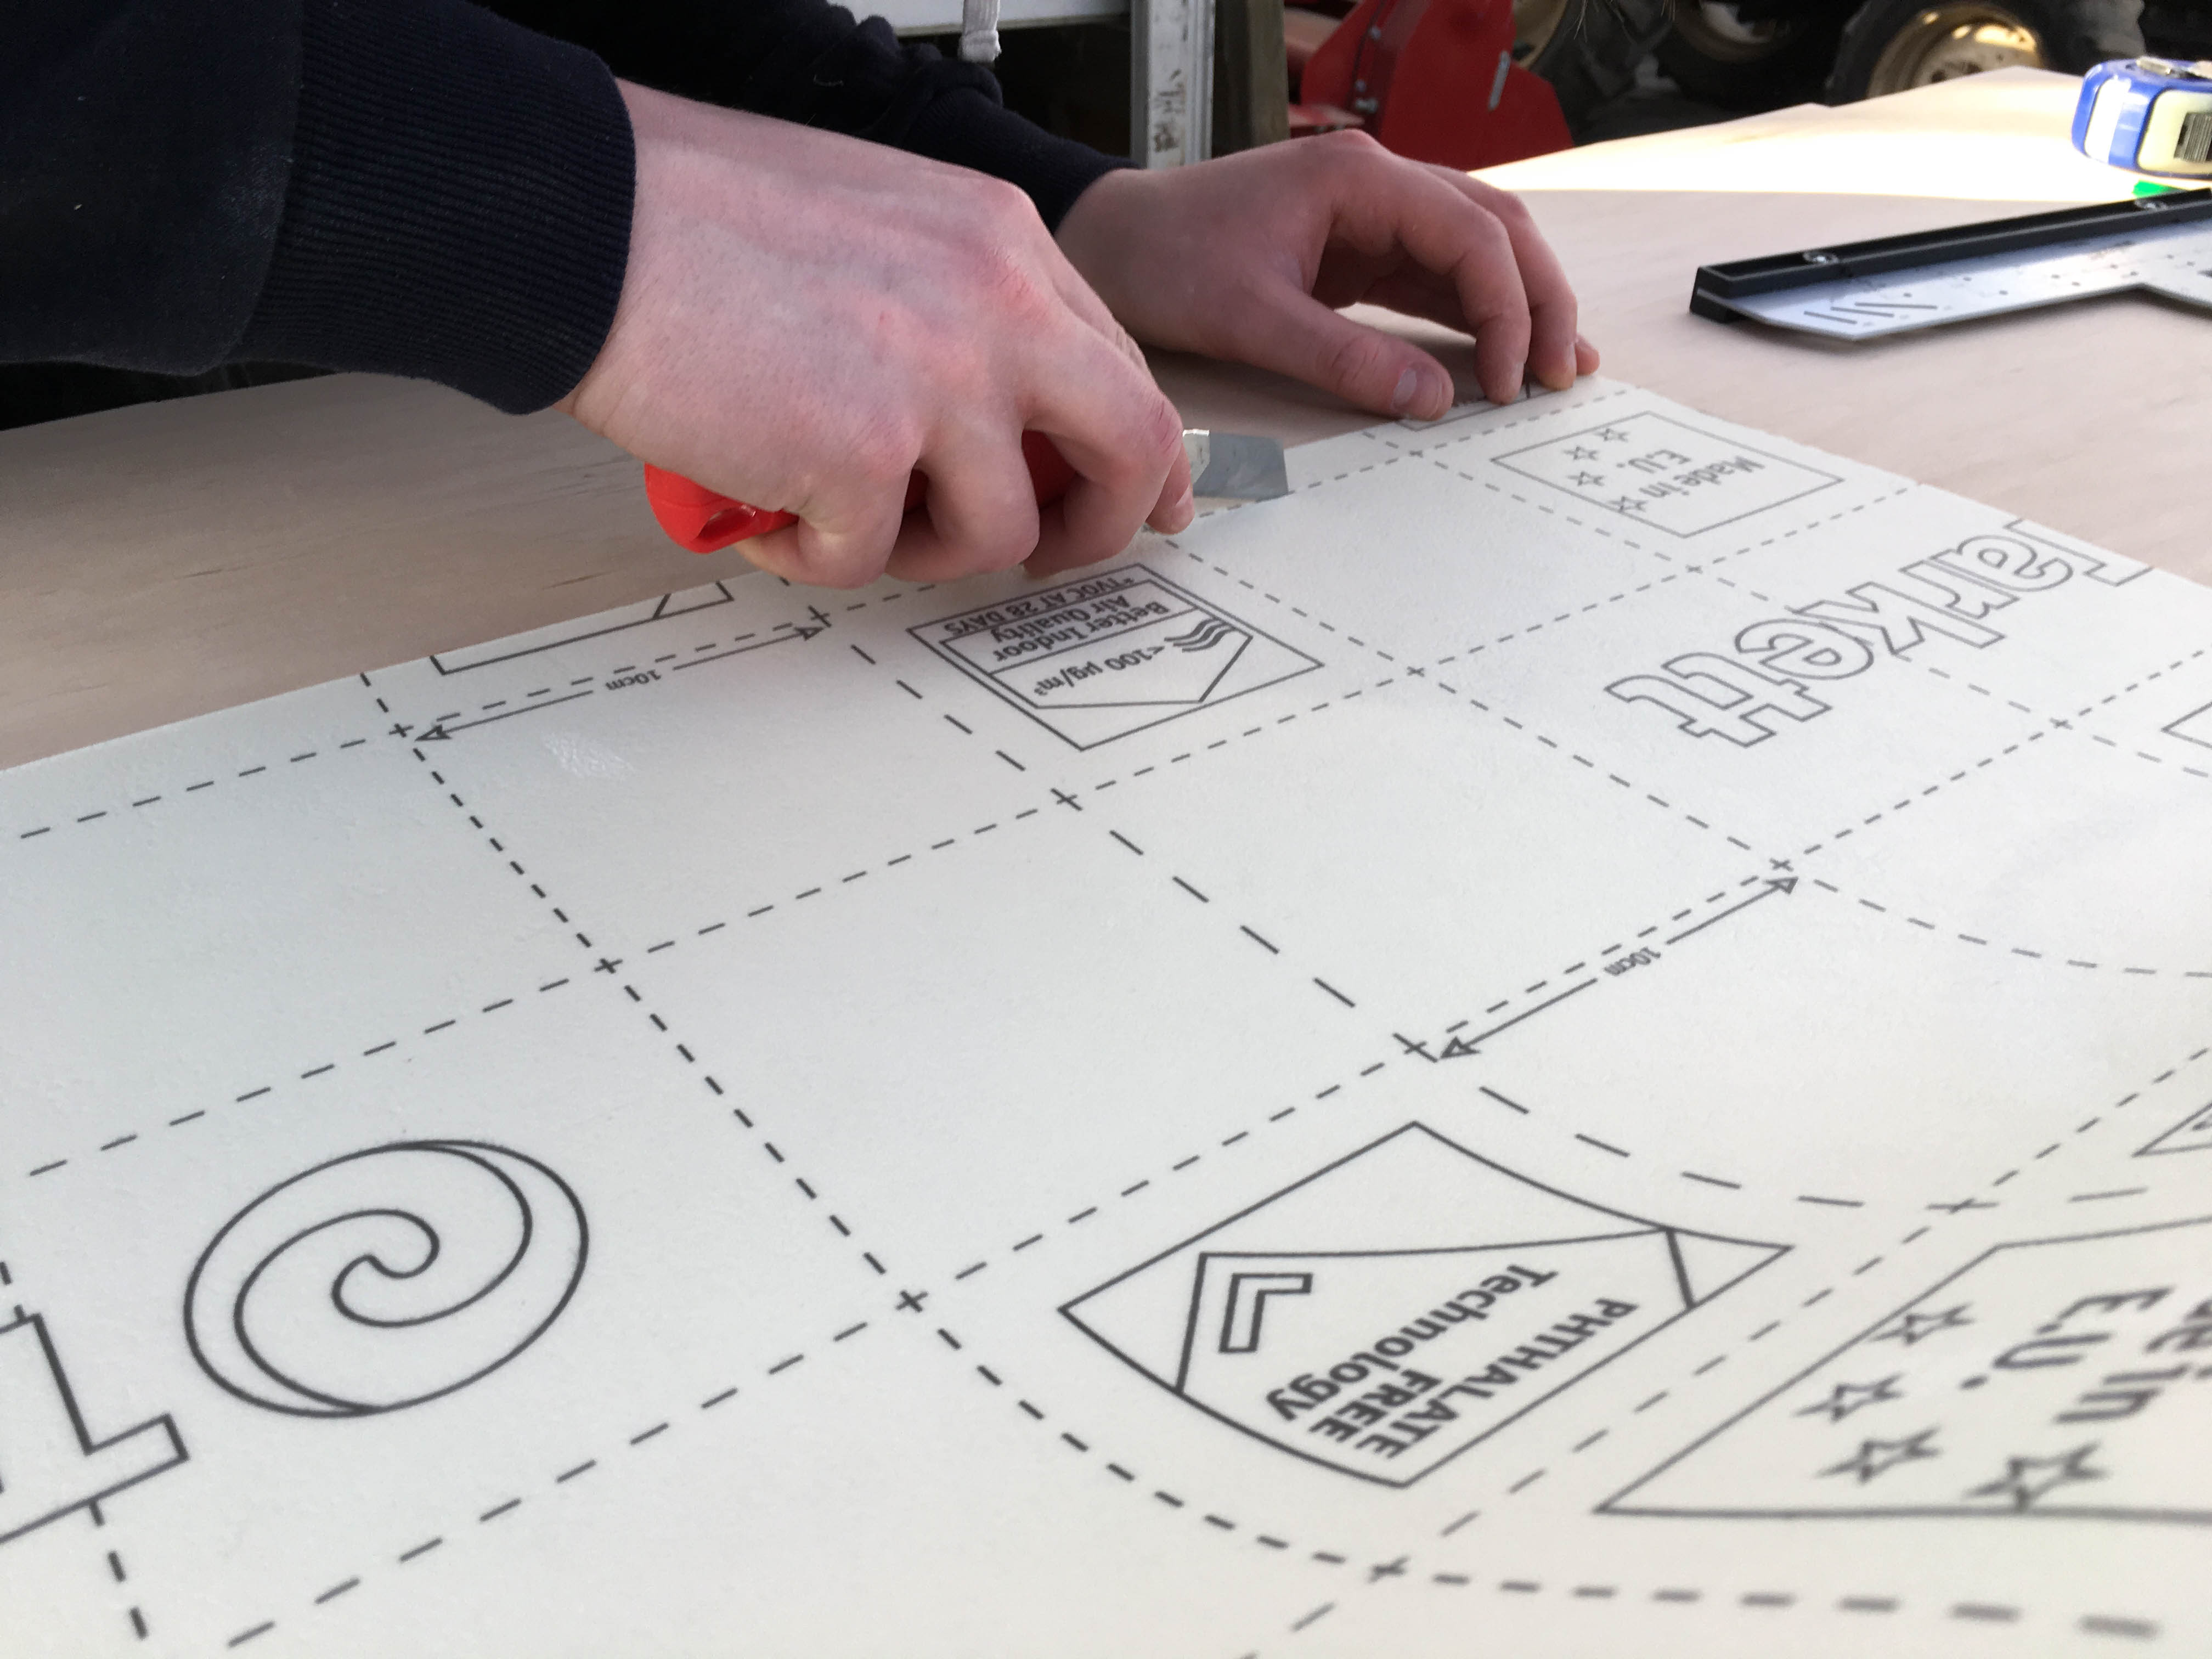
- Carpet knife
- Rubber hammer
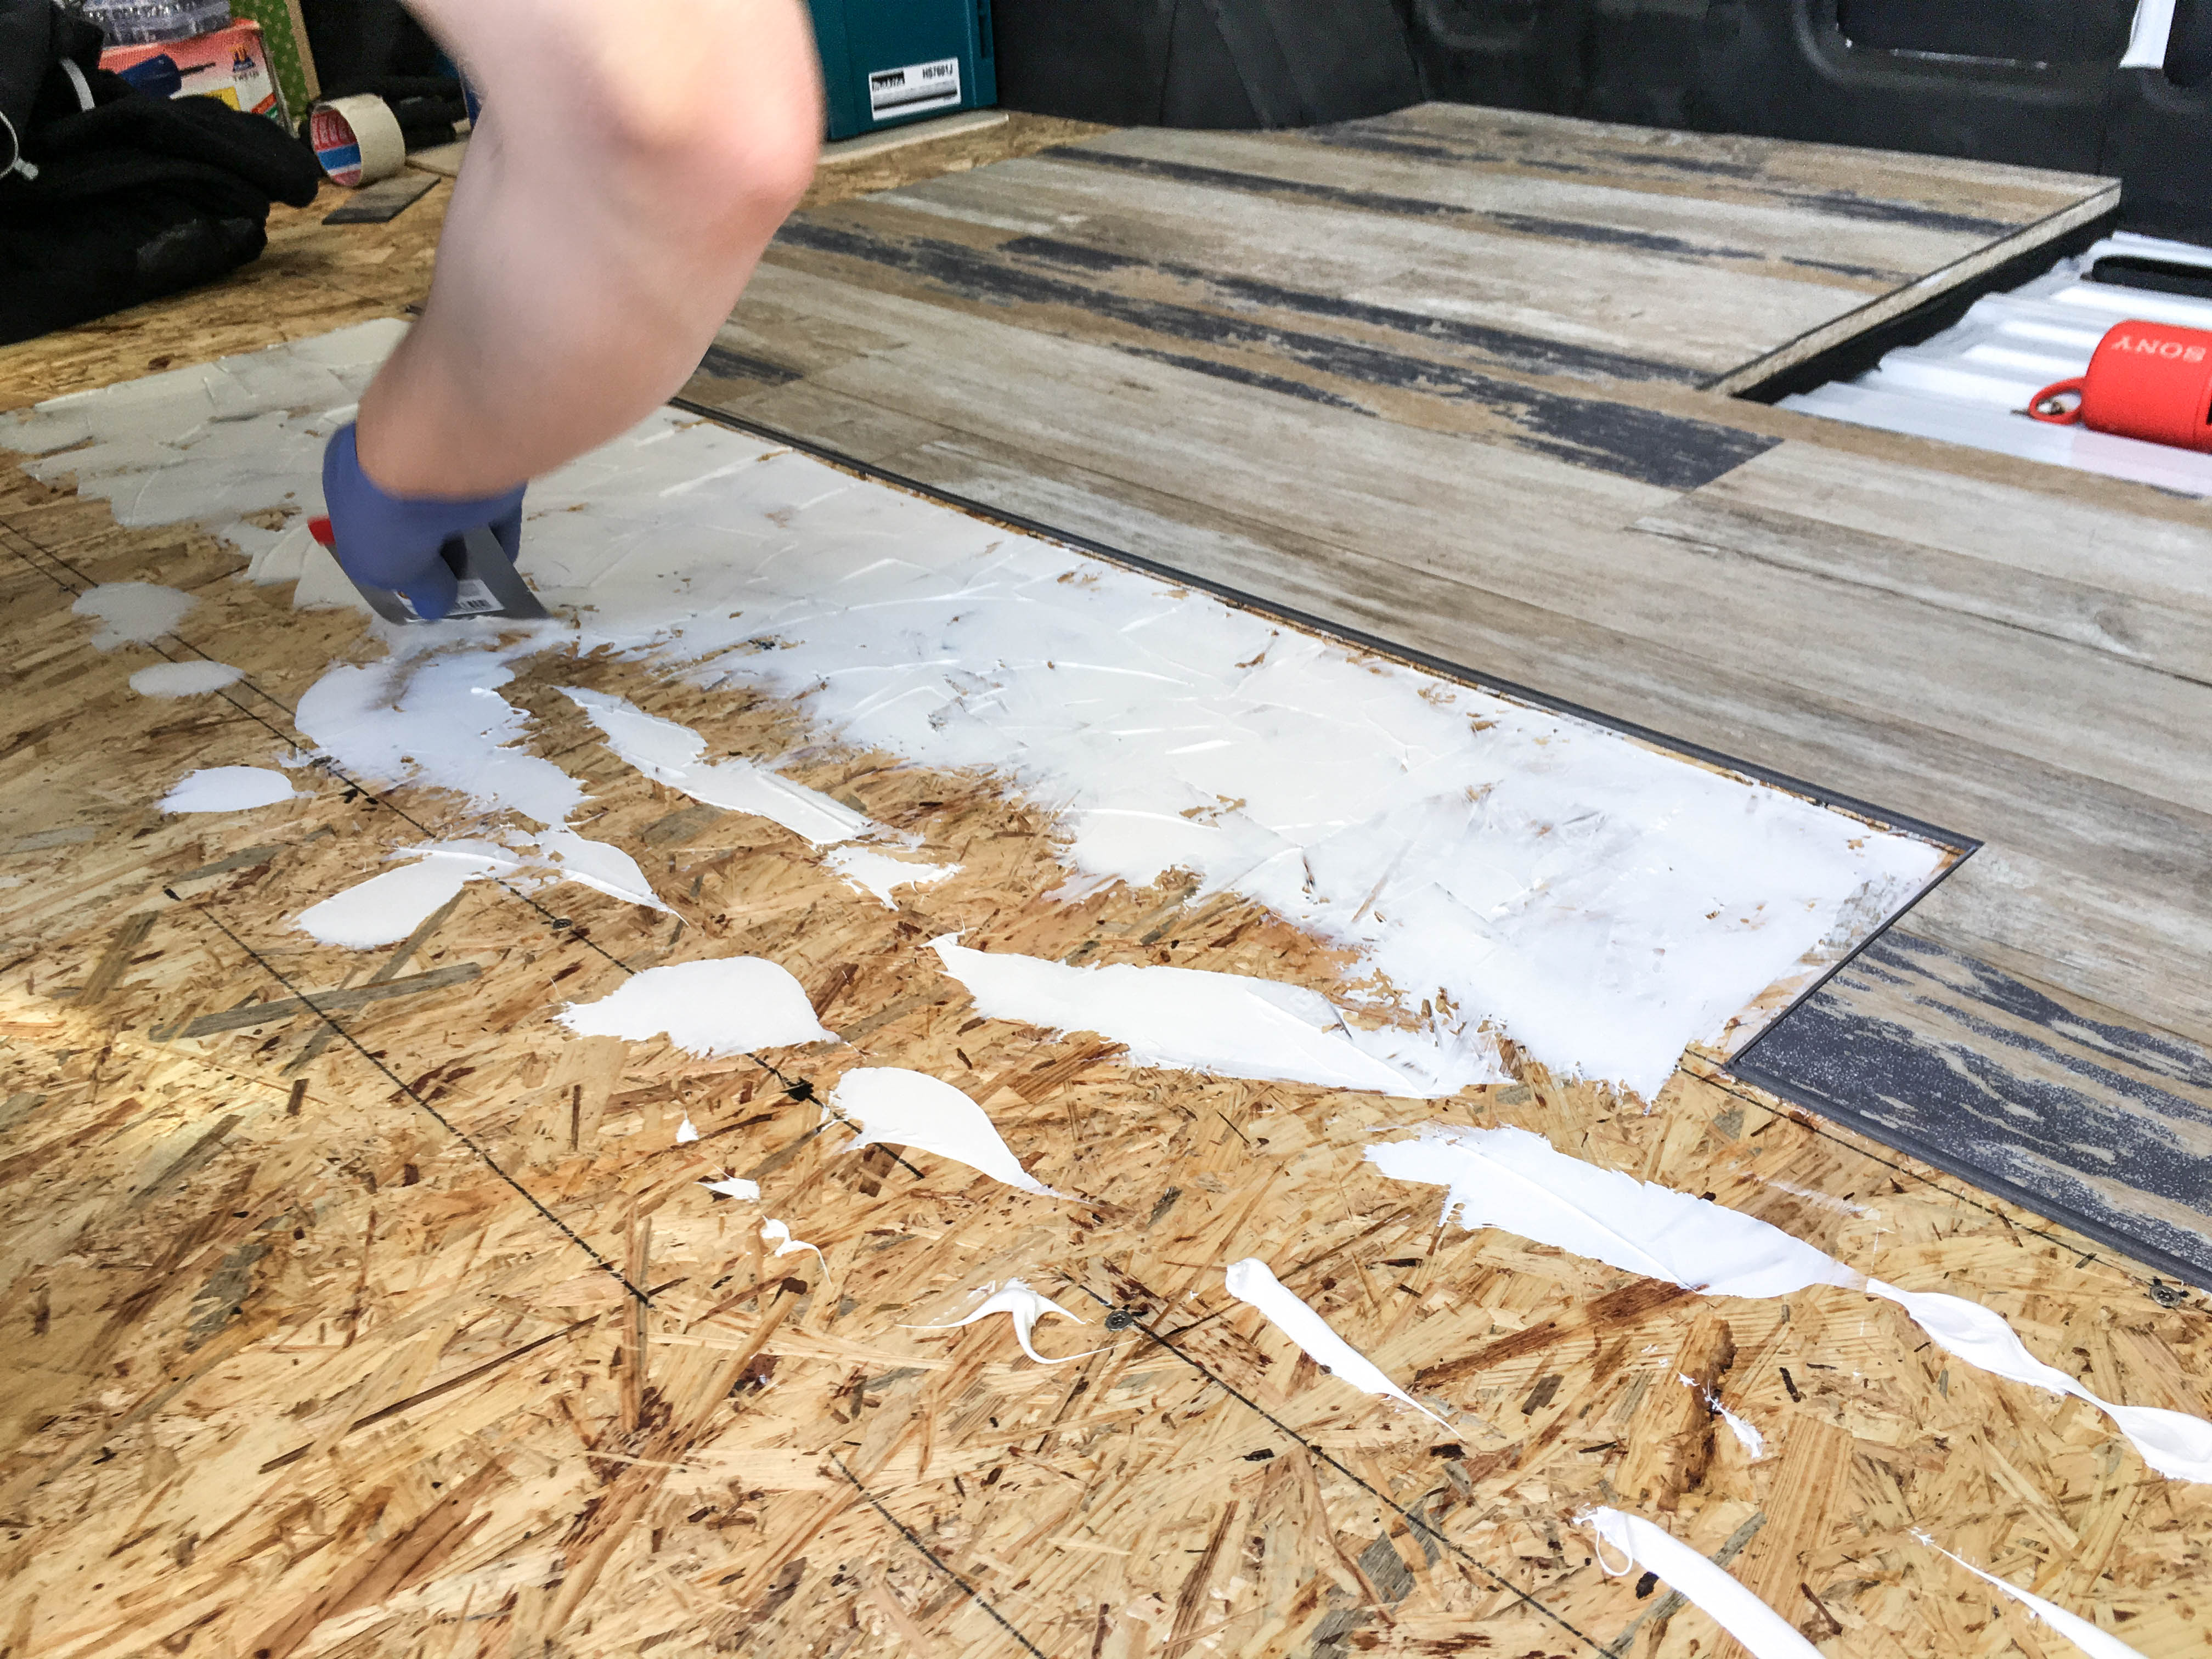
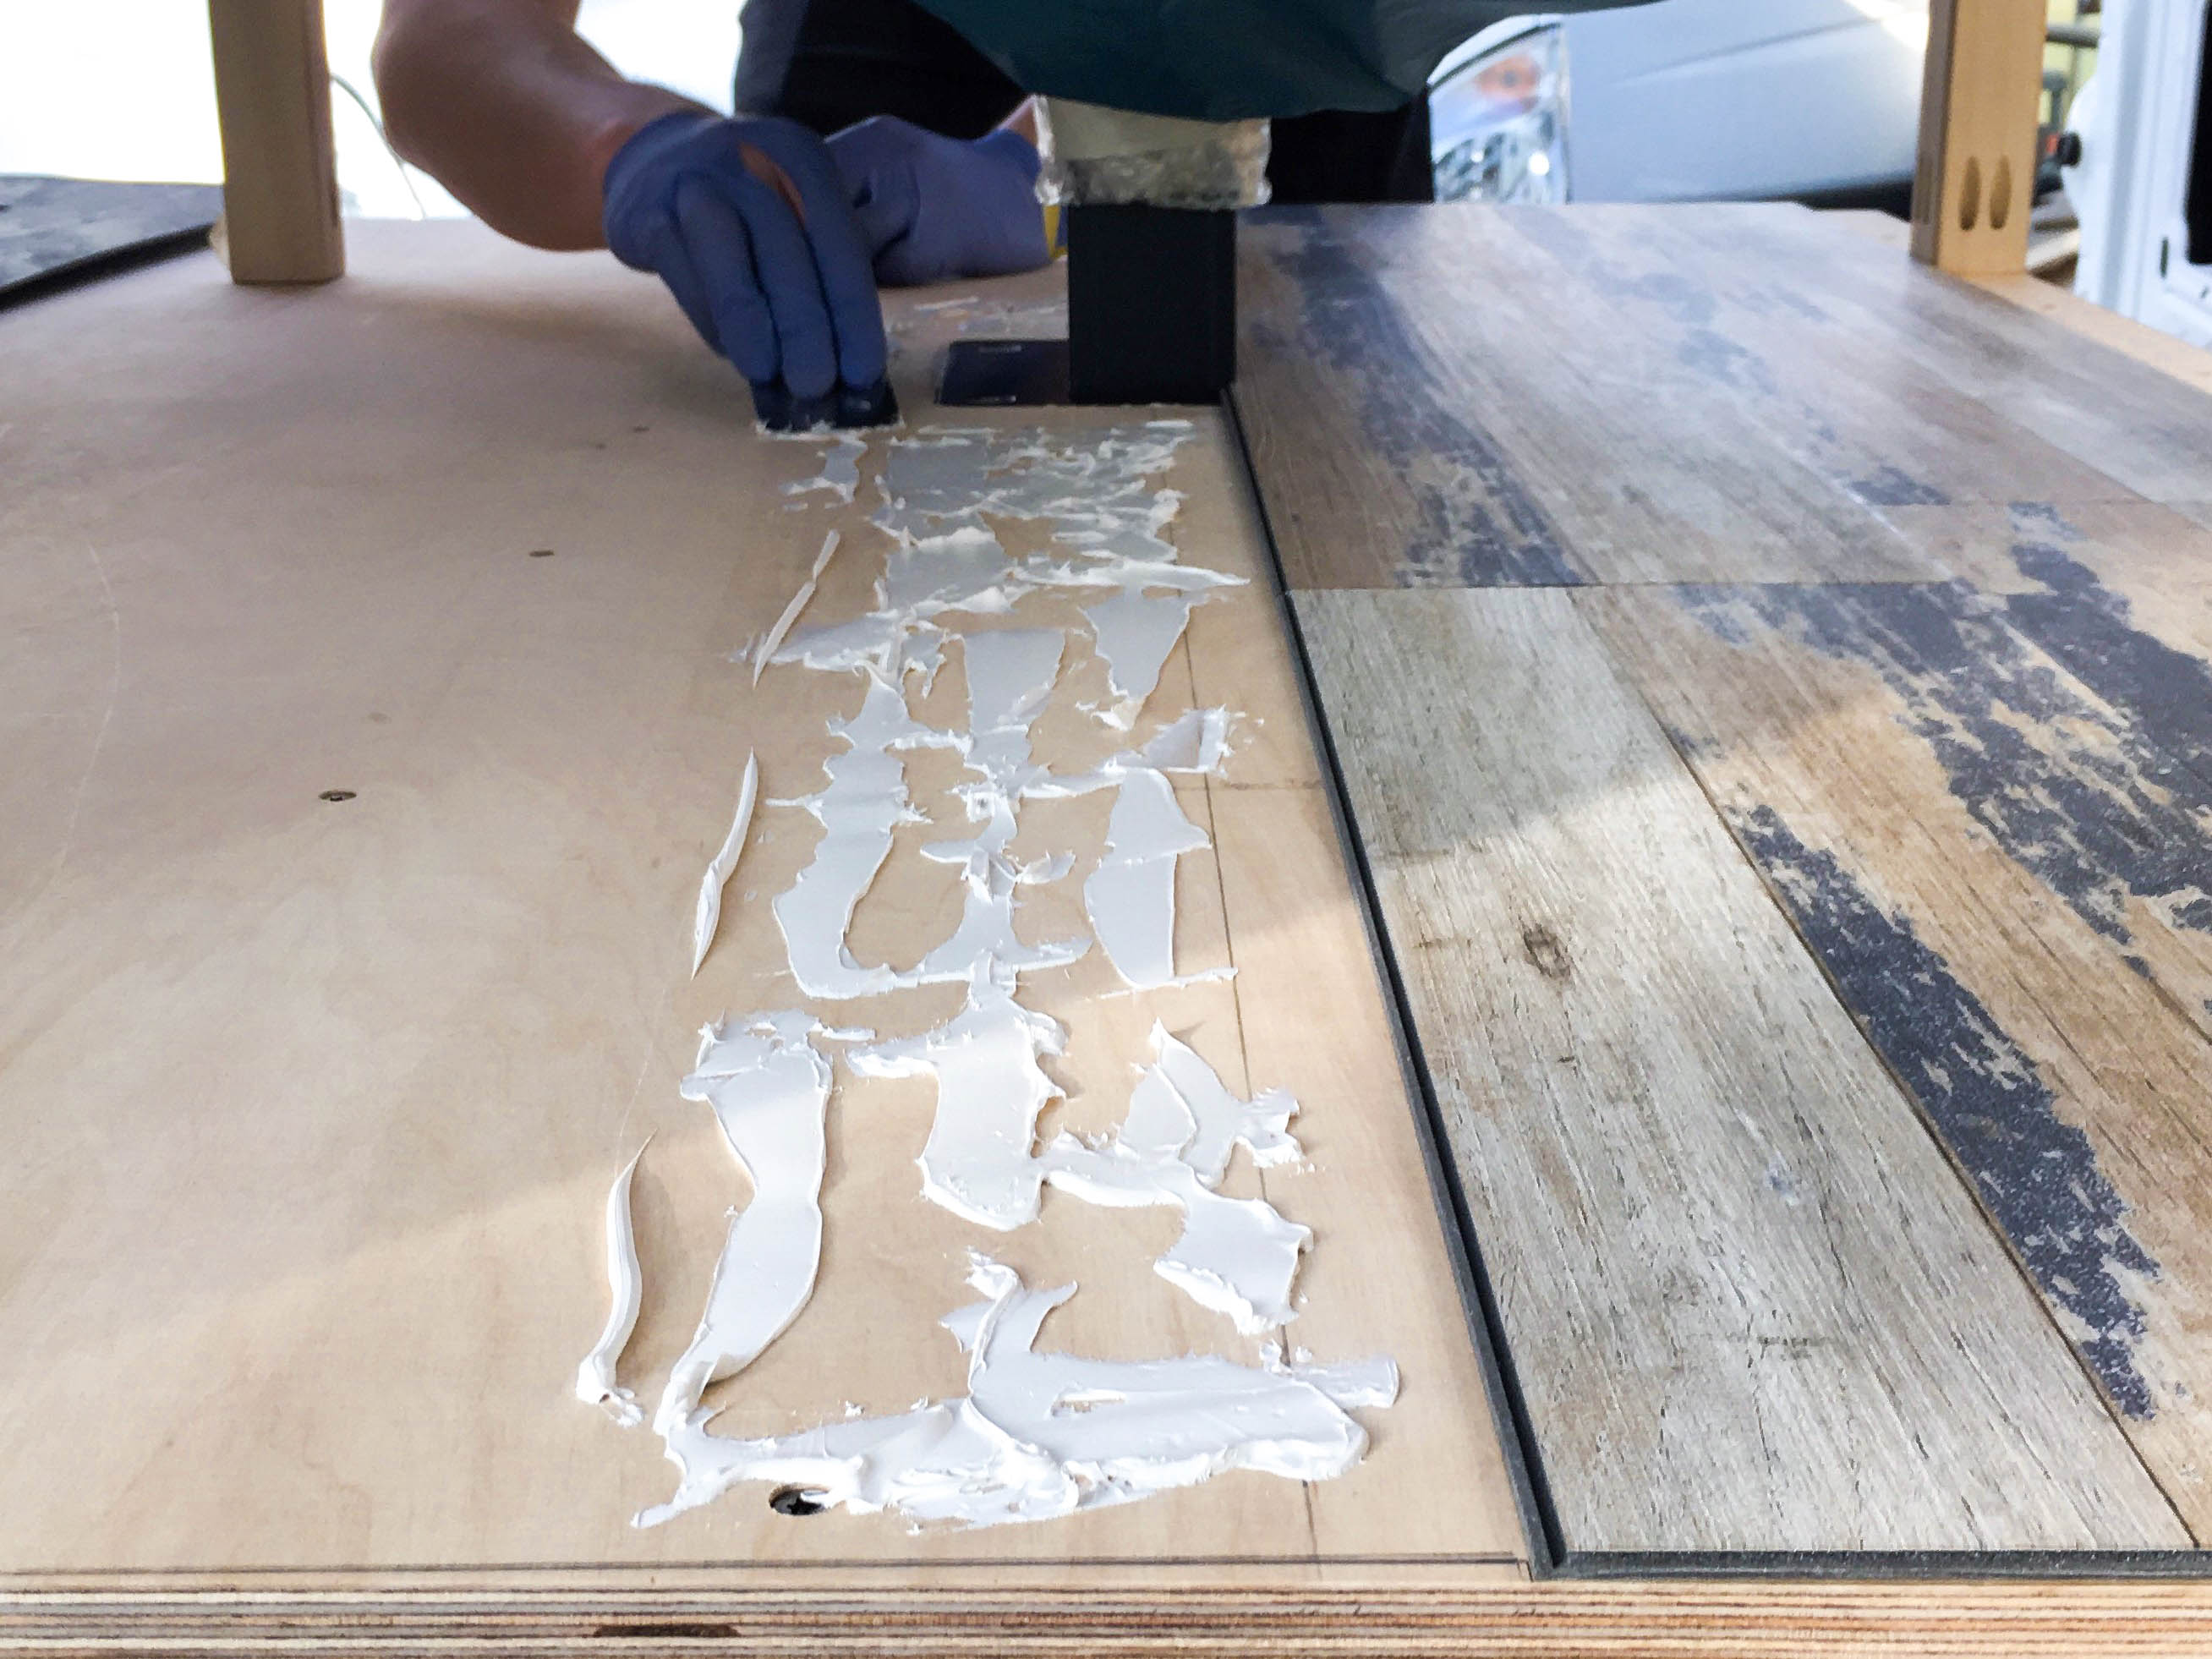
- optional: glue (Sikaflex 252i) und spatula
To lay the flooring, the surface has to be clean and dry, the ground temperature should be at least 15°C, the air temperature at least 18°C and the relative humidity between 40% and 65%. Well, it was a sunny day in the middle of February and it was nice working in a T-shirt in the greenhouse 😉
With a pen we outlined the shapes and edges of the vehicle and cut the planks easily with a carpet knife. In addition to the click-connection we decided to glue the planks to the floor.
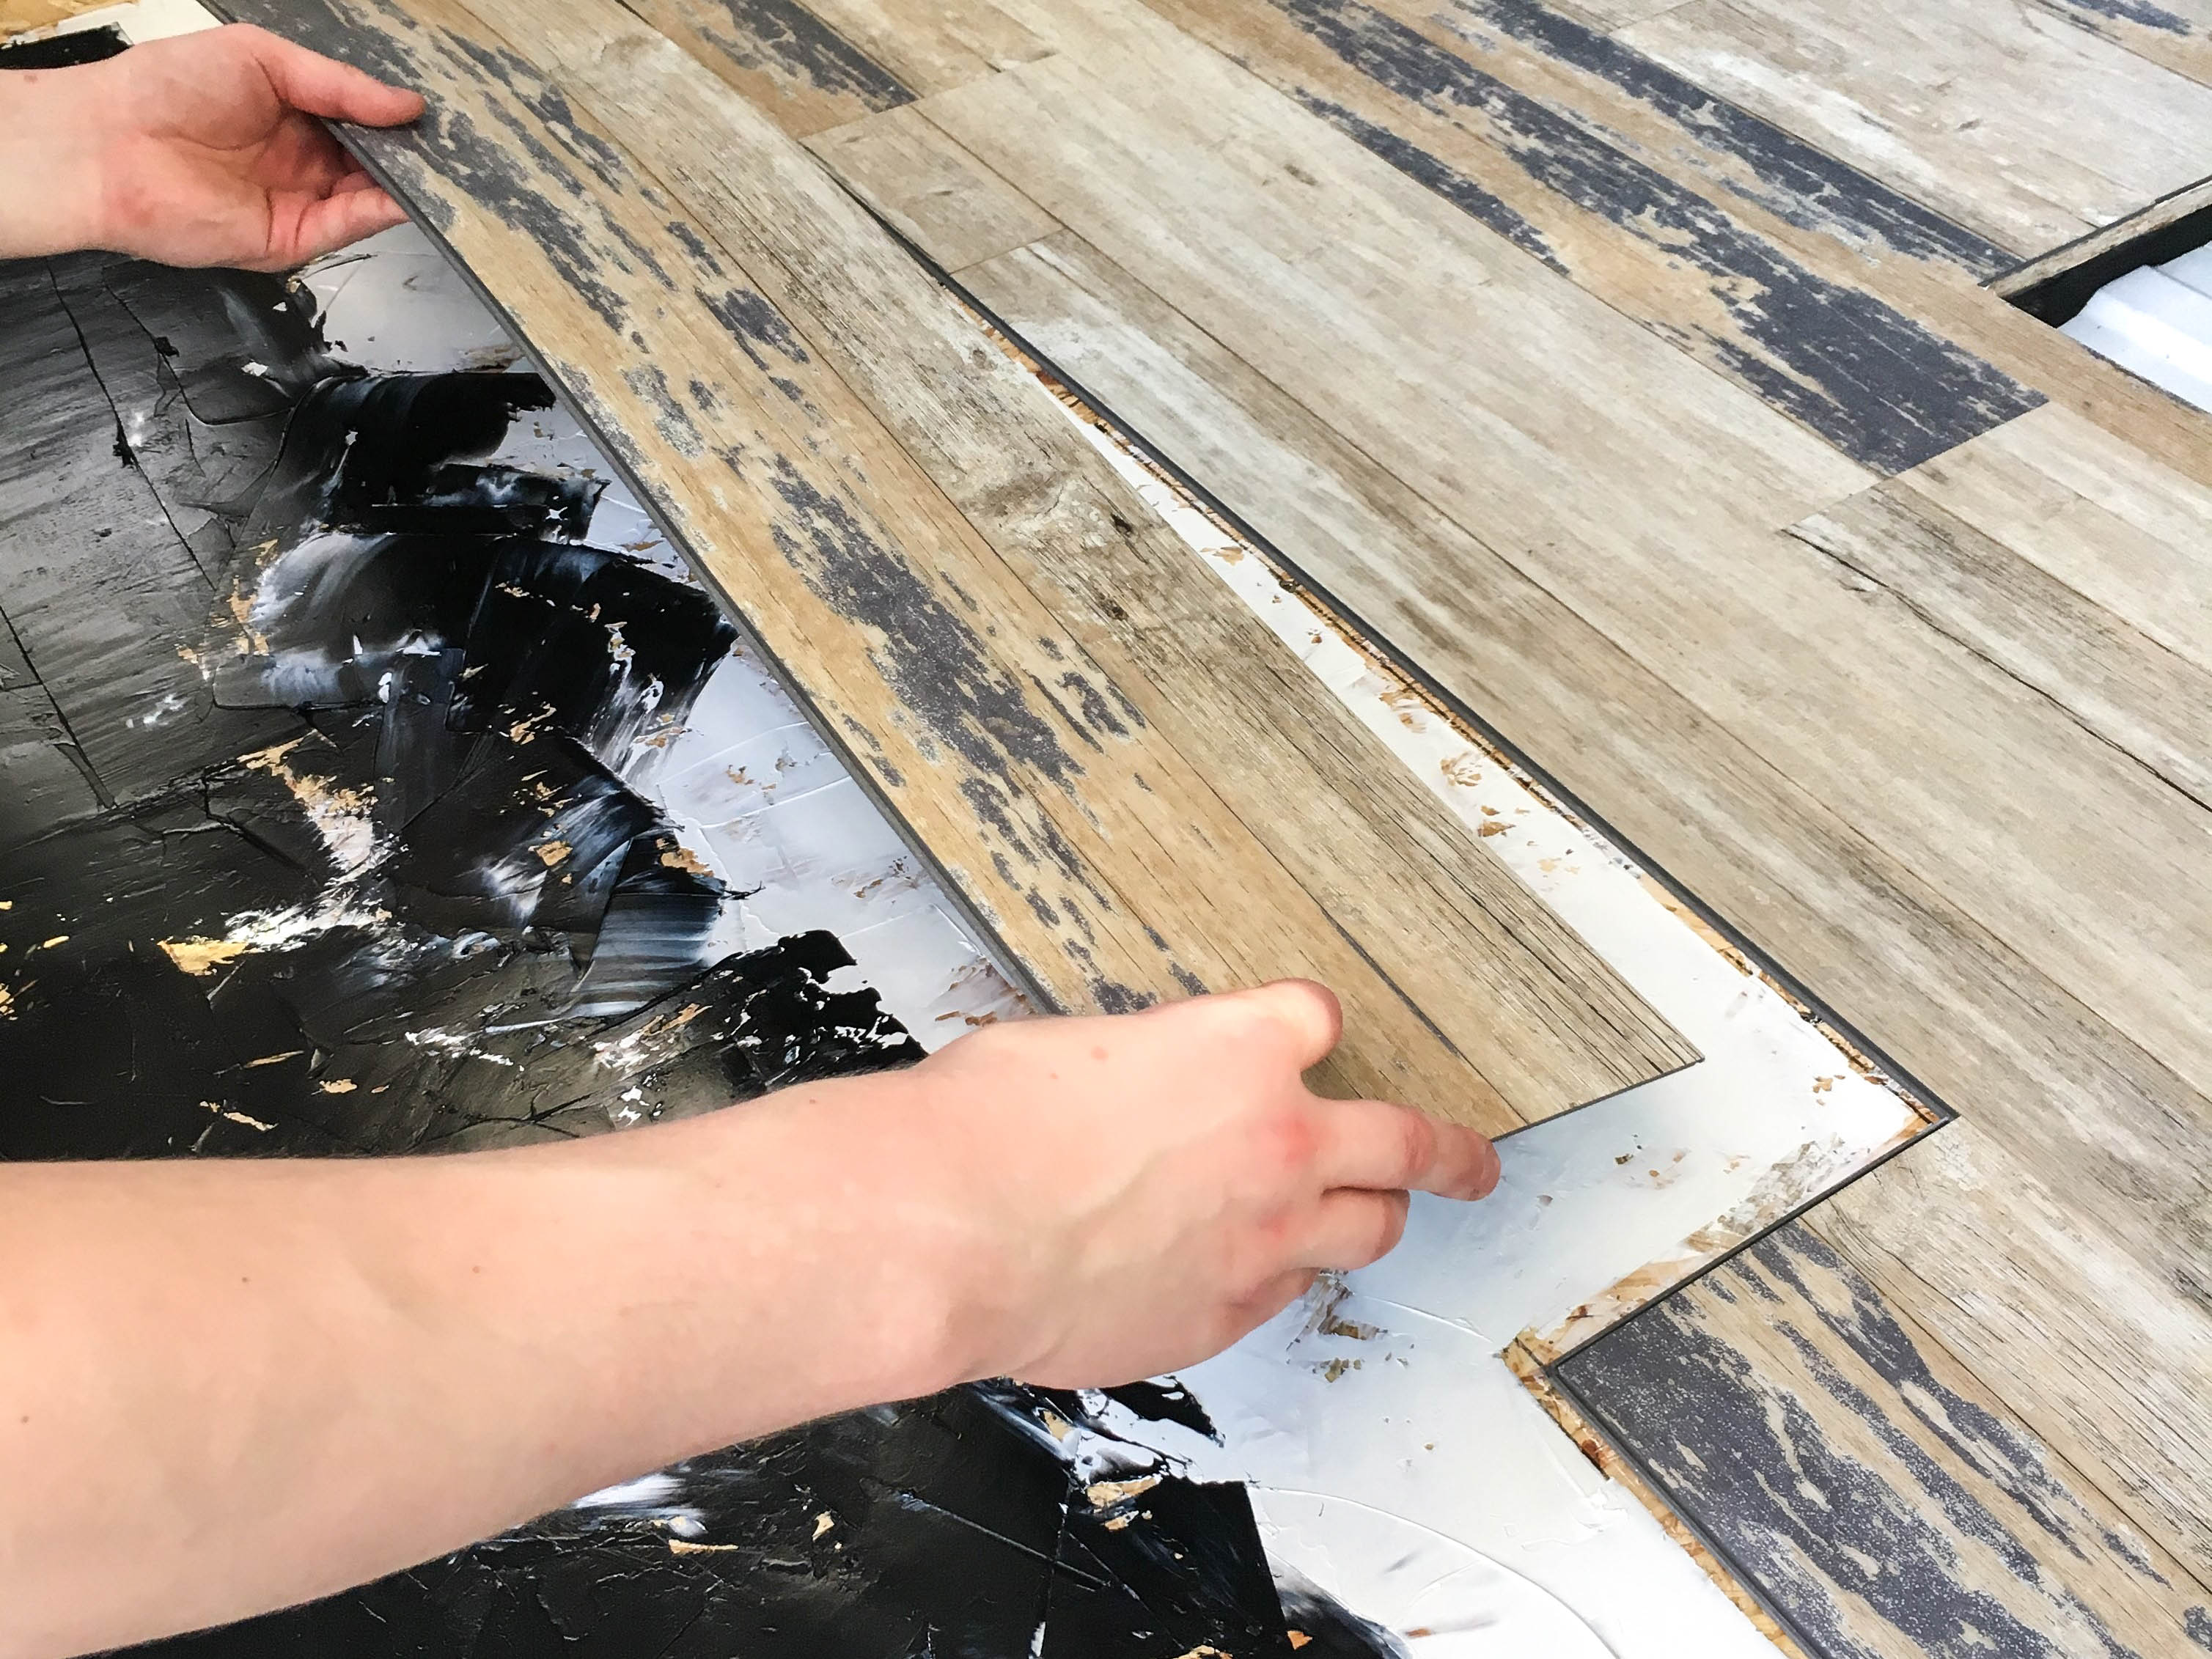
We used the rubber hammer to finalize the connection of the vertical click-system after it was inserted at an angle. Note that you should leave a couple of millimeters space to the walls so the flooring can expand during warmer weather.
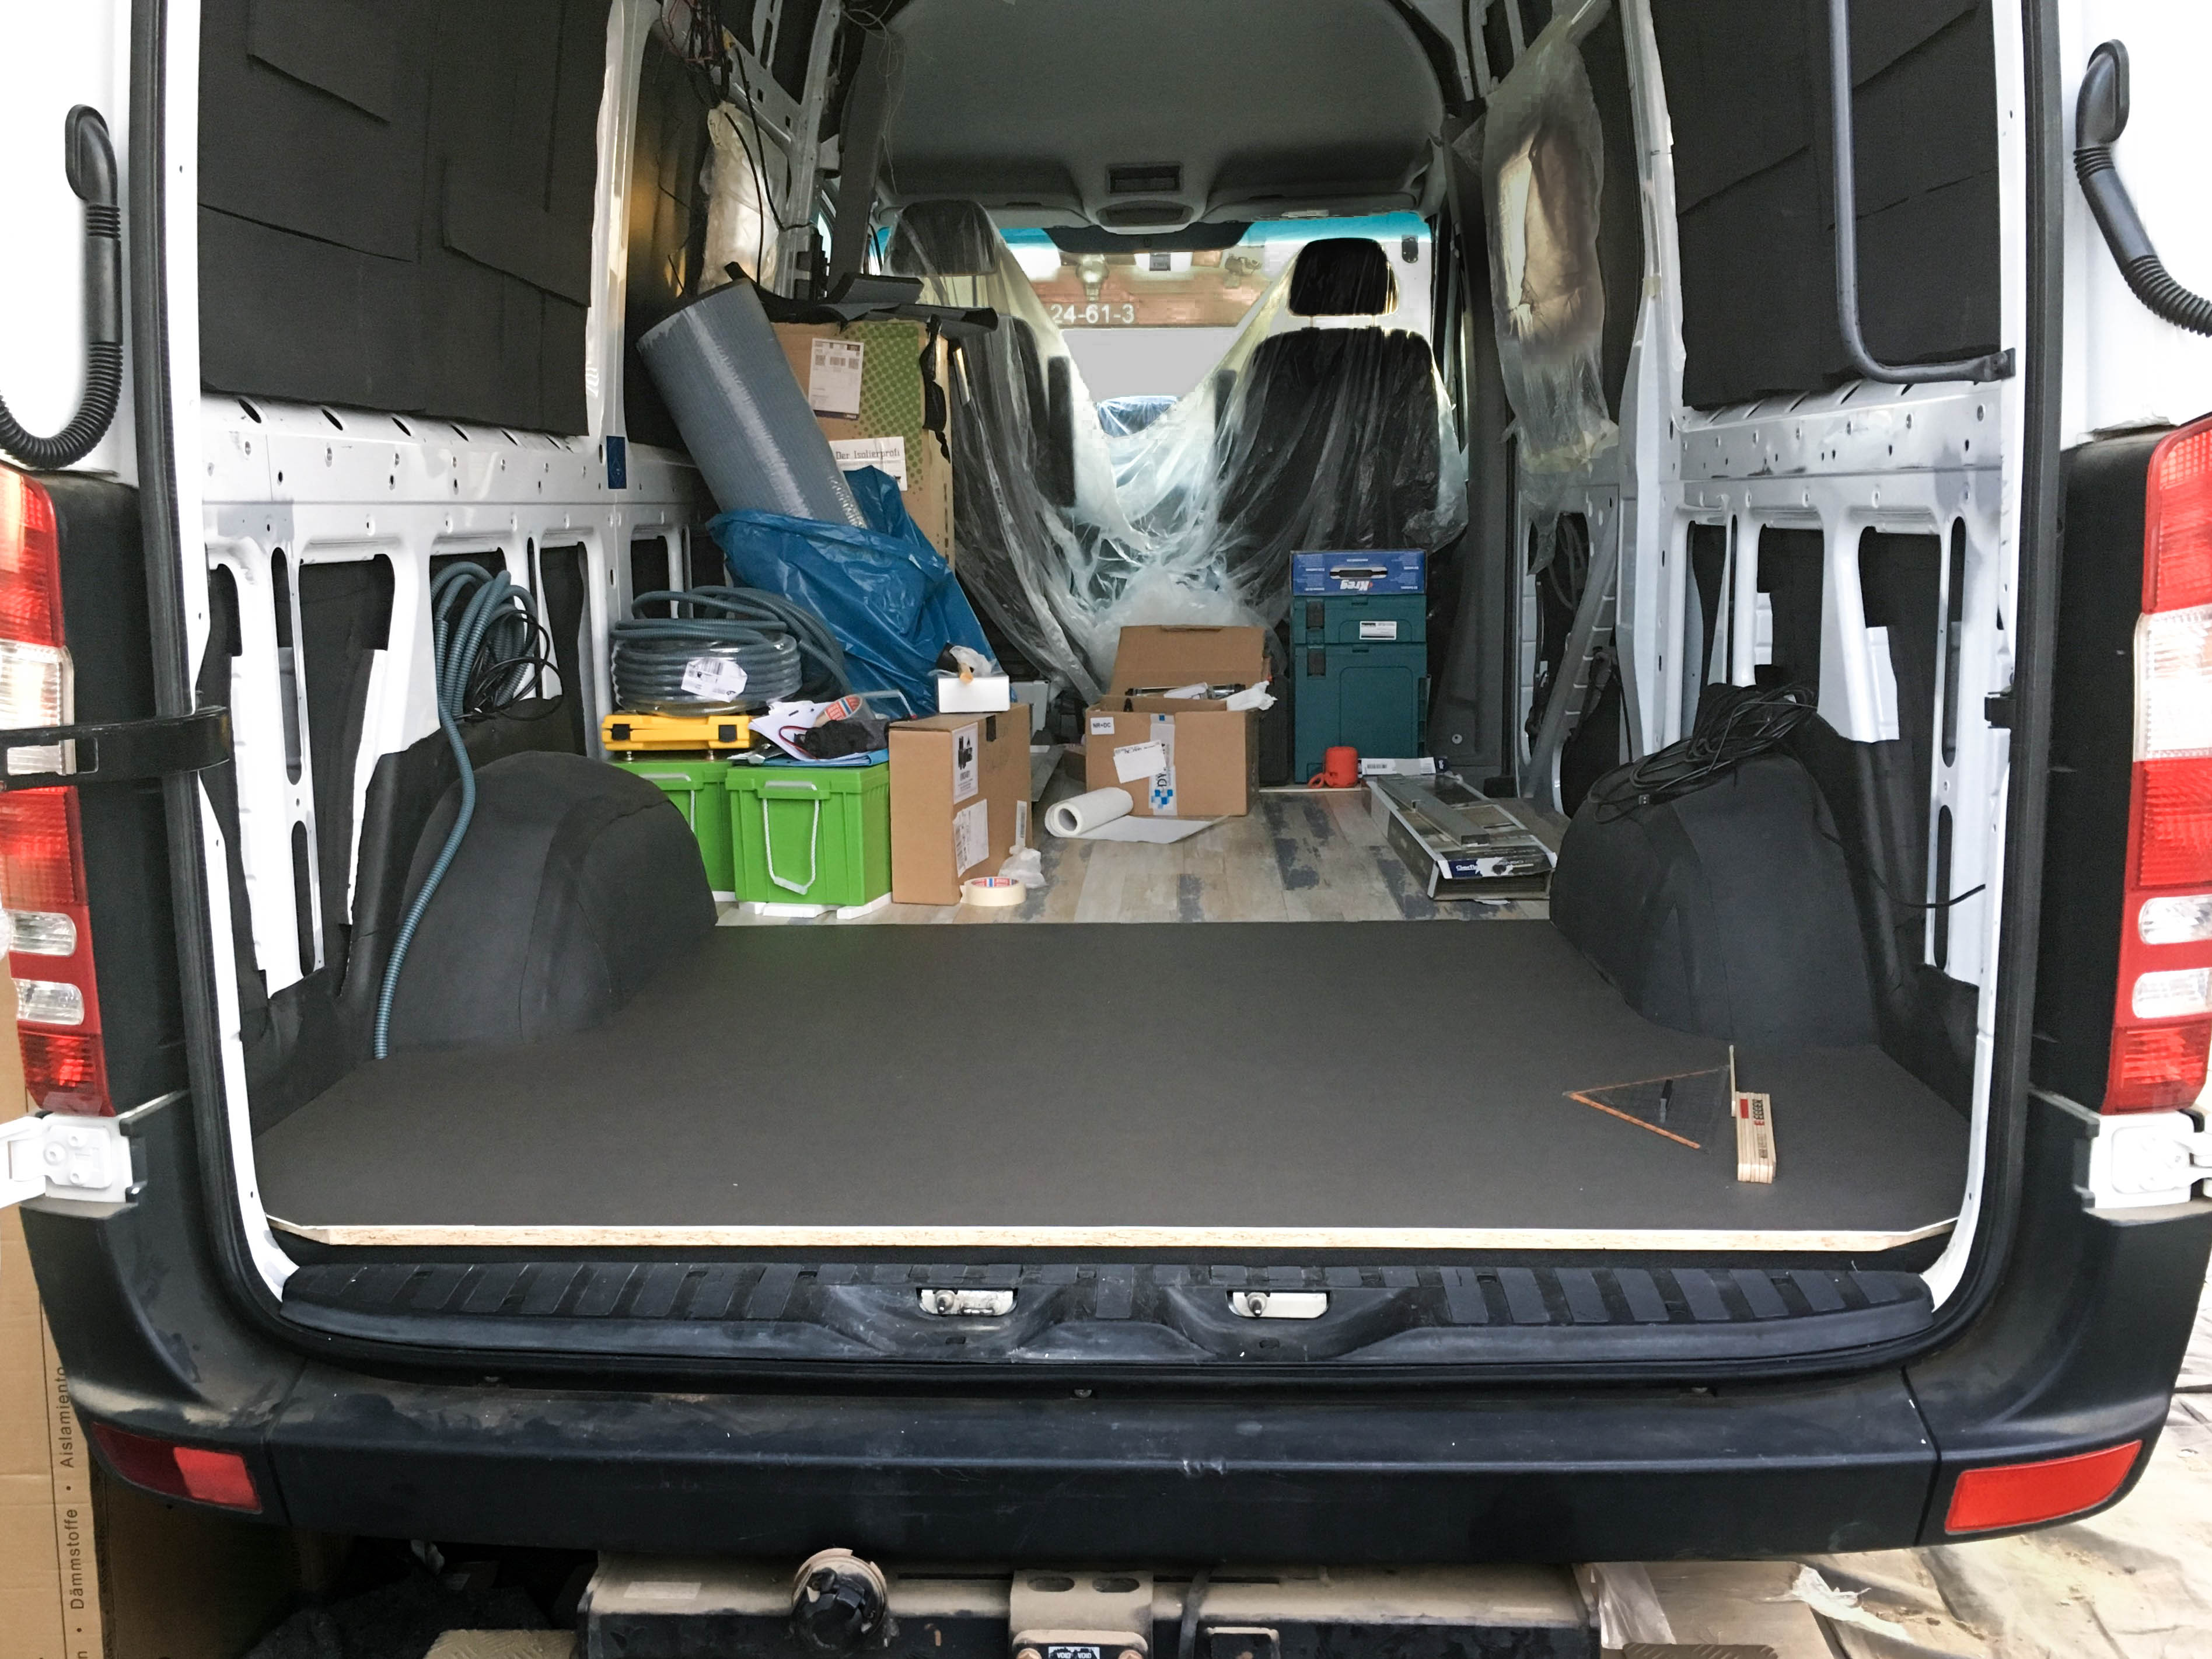
Our choice for the garage: PVC-flooring
In the back of the living space we plan on building a platform underneath our sitting- & sleeping area as storage room. Because it really will be for storage only and because neither the looks nor the feel of the surface is relevant, we choose to lay a simple PVC-flooring. We cut it with a carpet knife and attached it with double-sided tape on the clean and dry OSB3-plate.
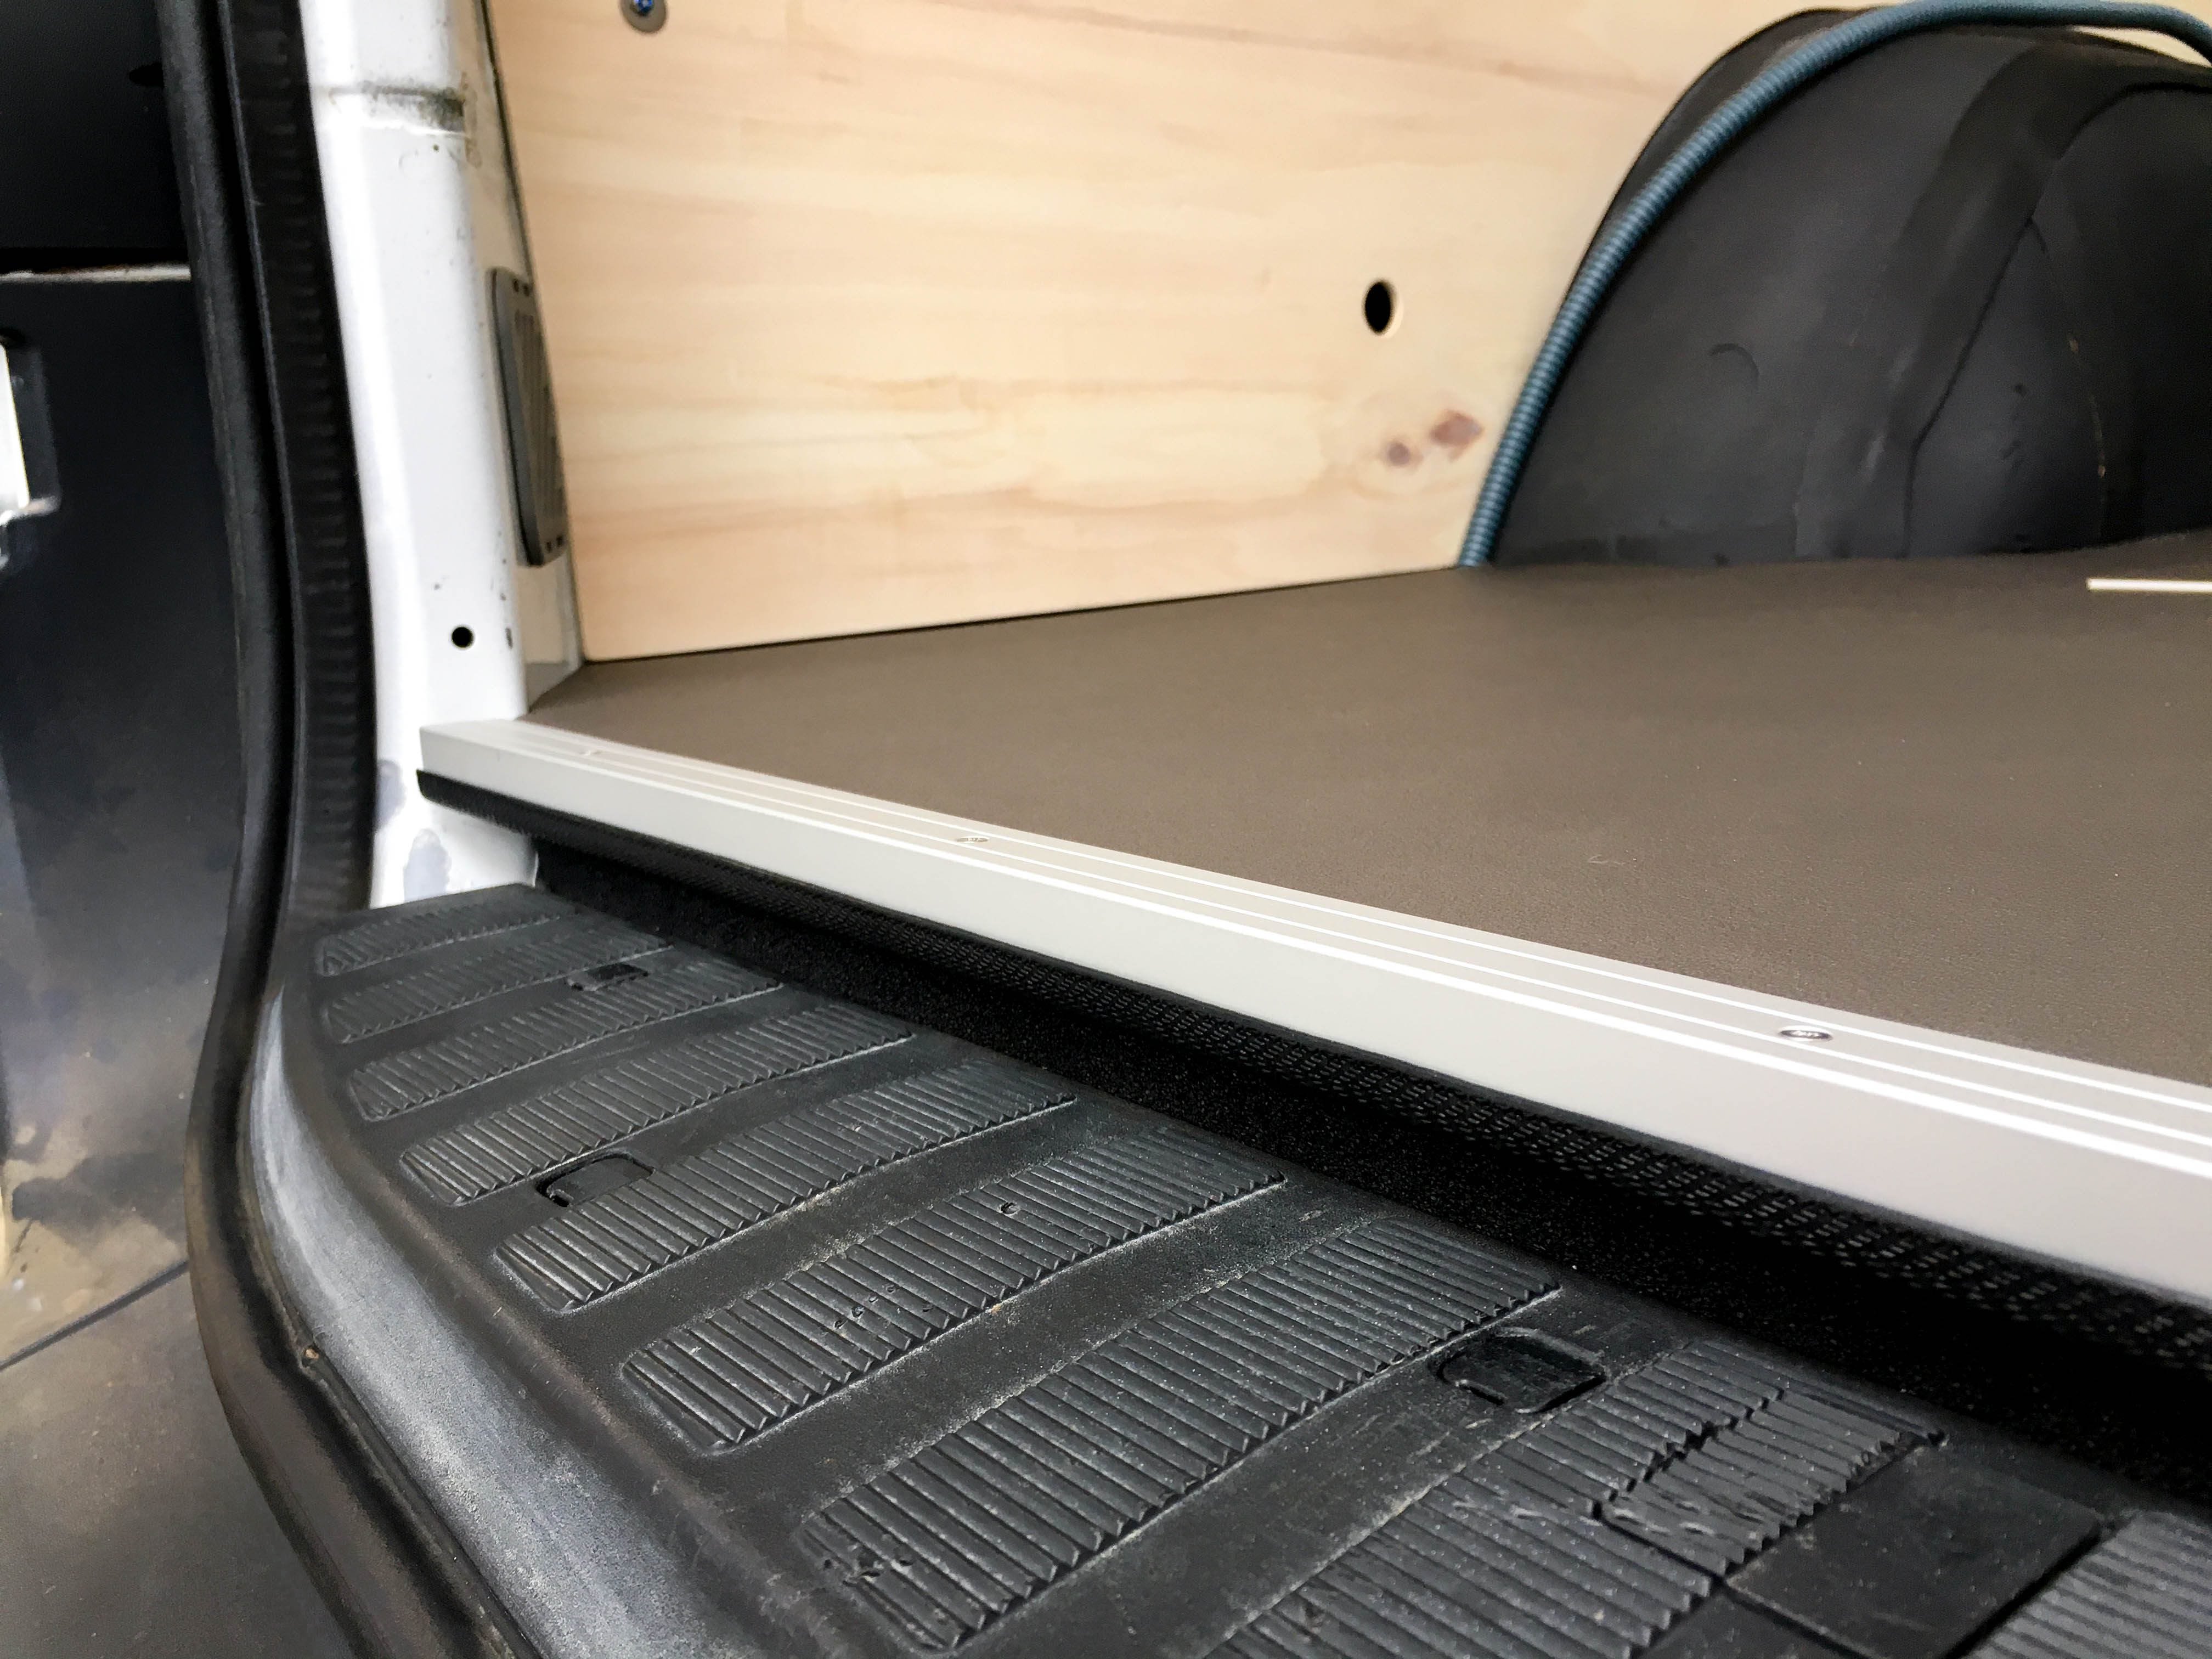
The end profile is an aluminium rail as well as a black rubber rail. It looks good and this way nothing will get wet or damp.
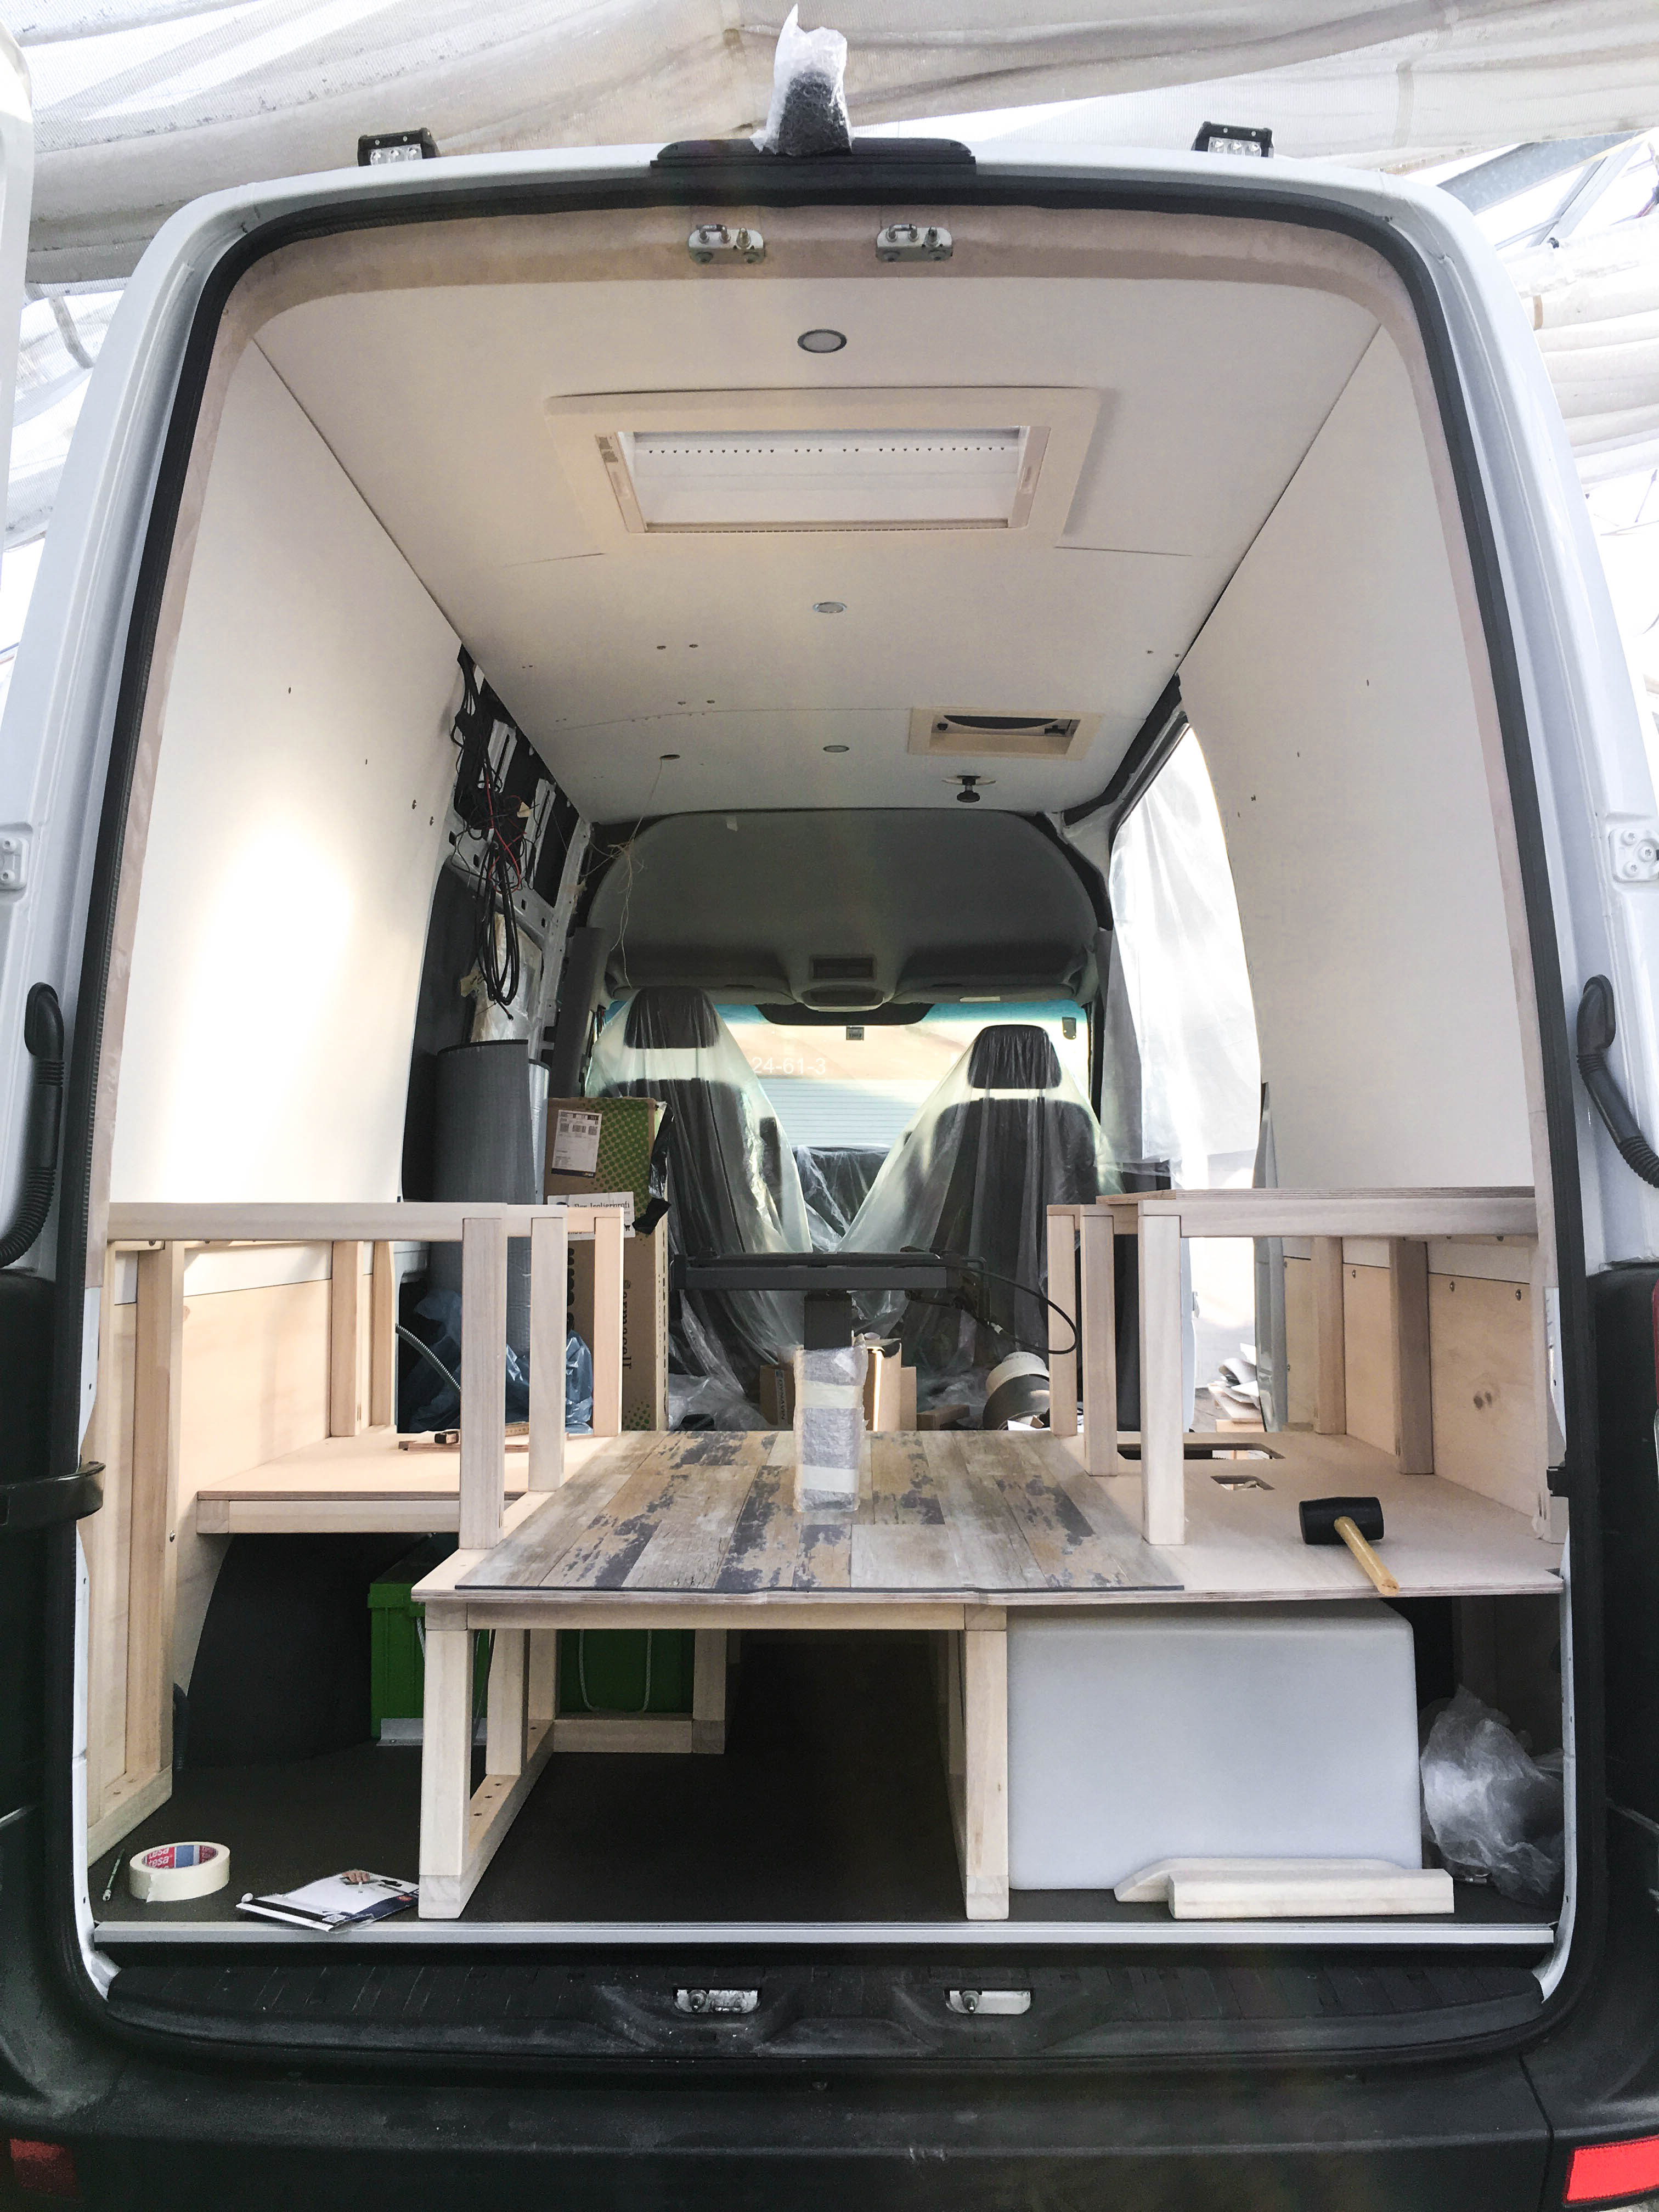
SPOILER ALERT!
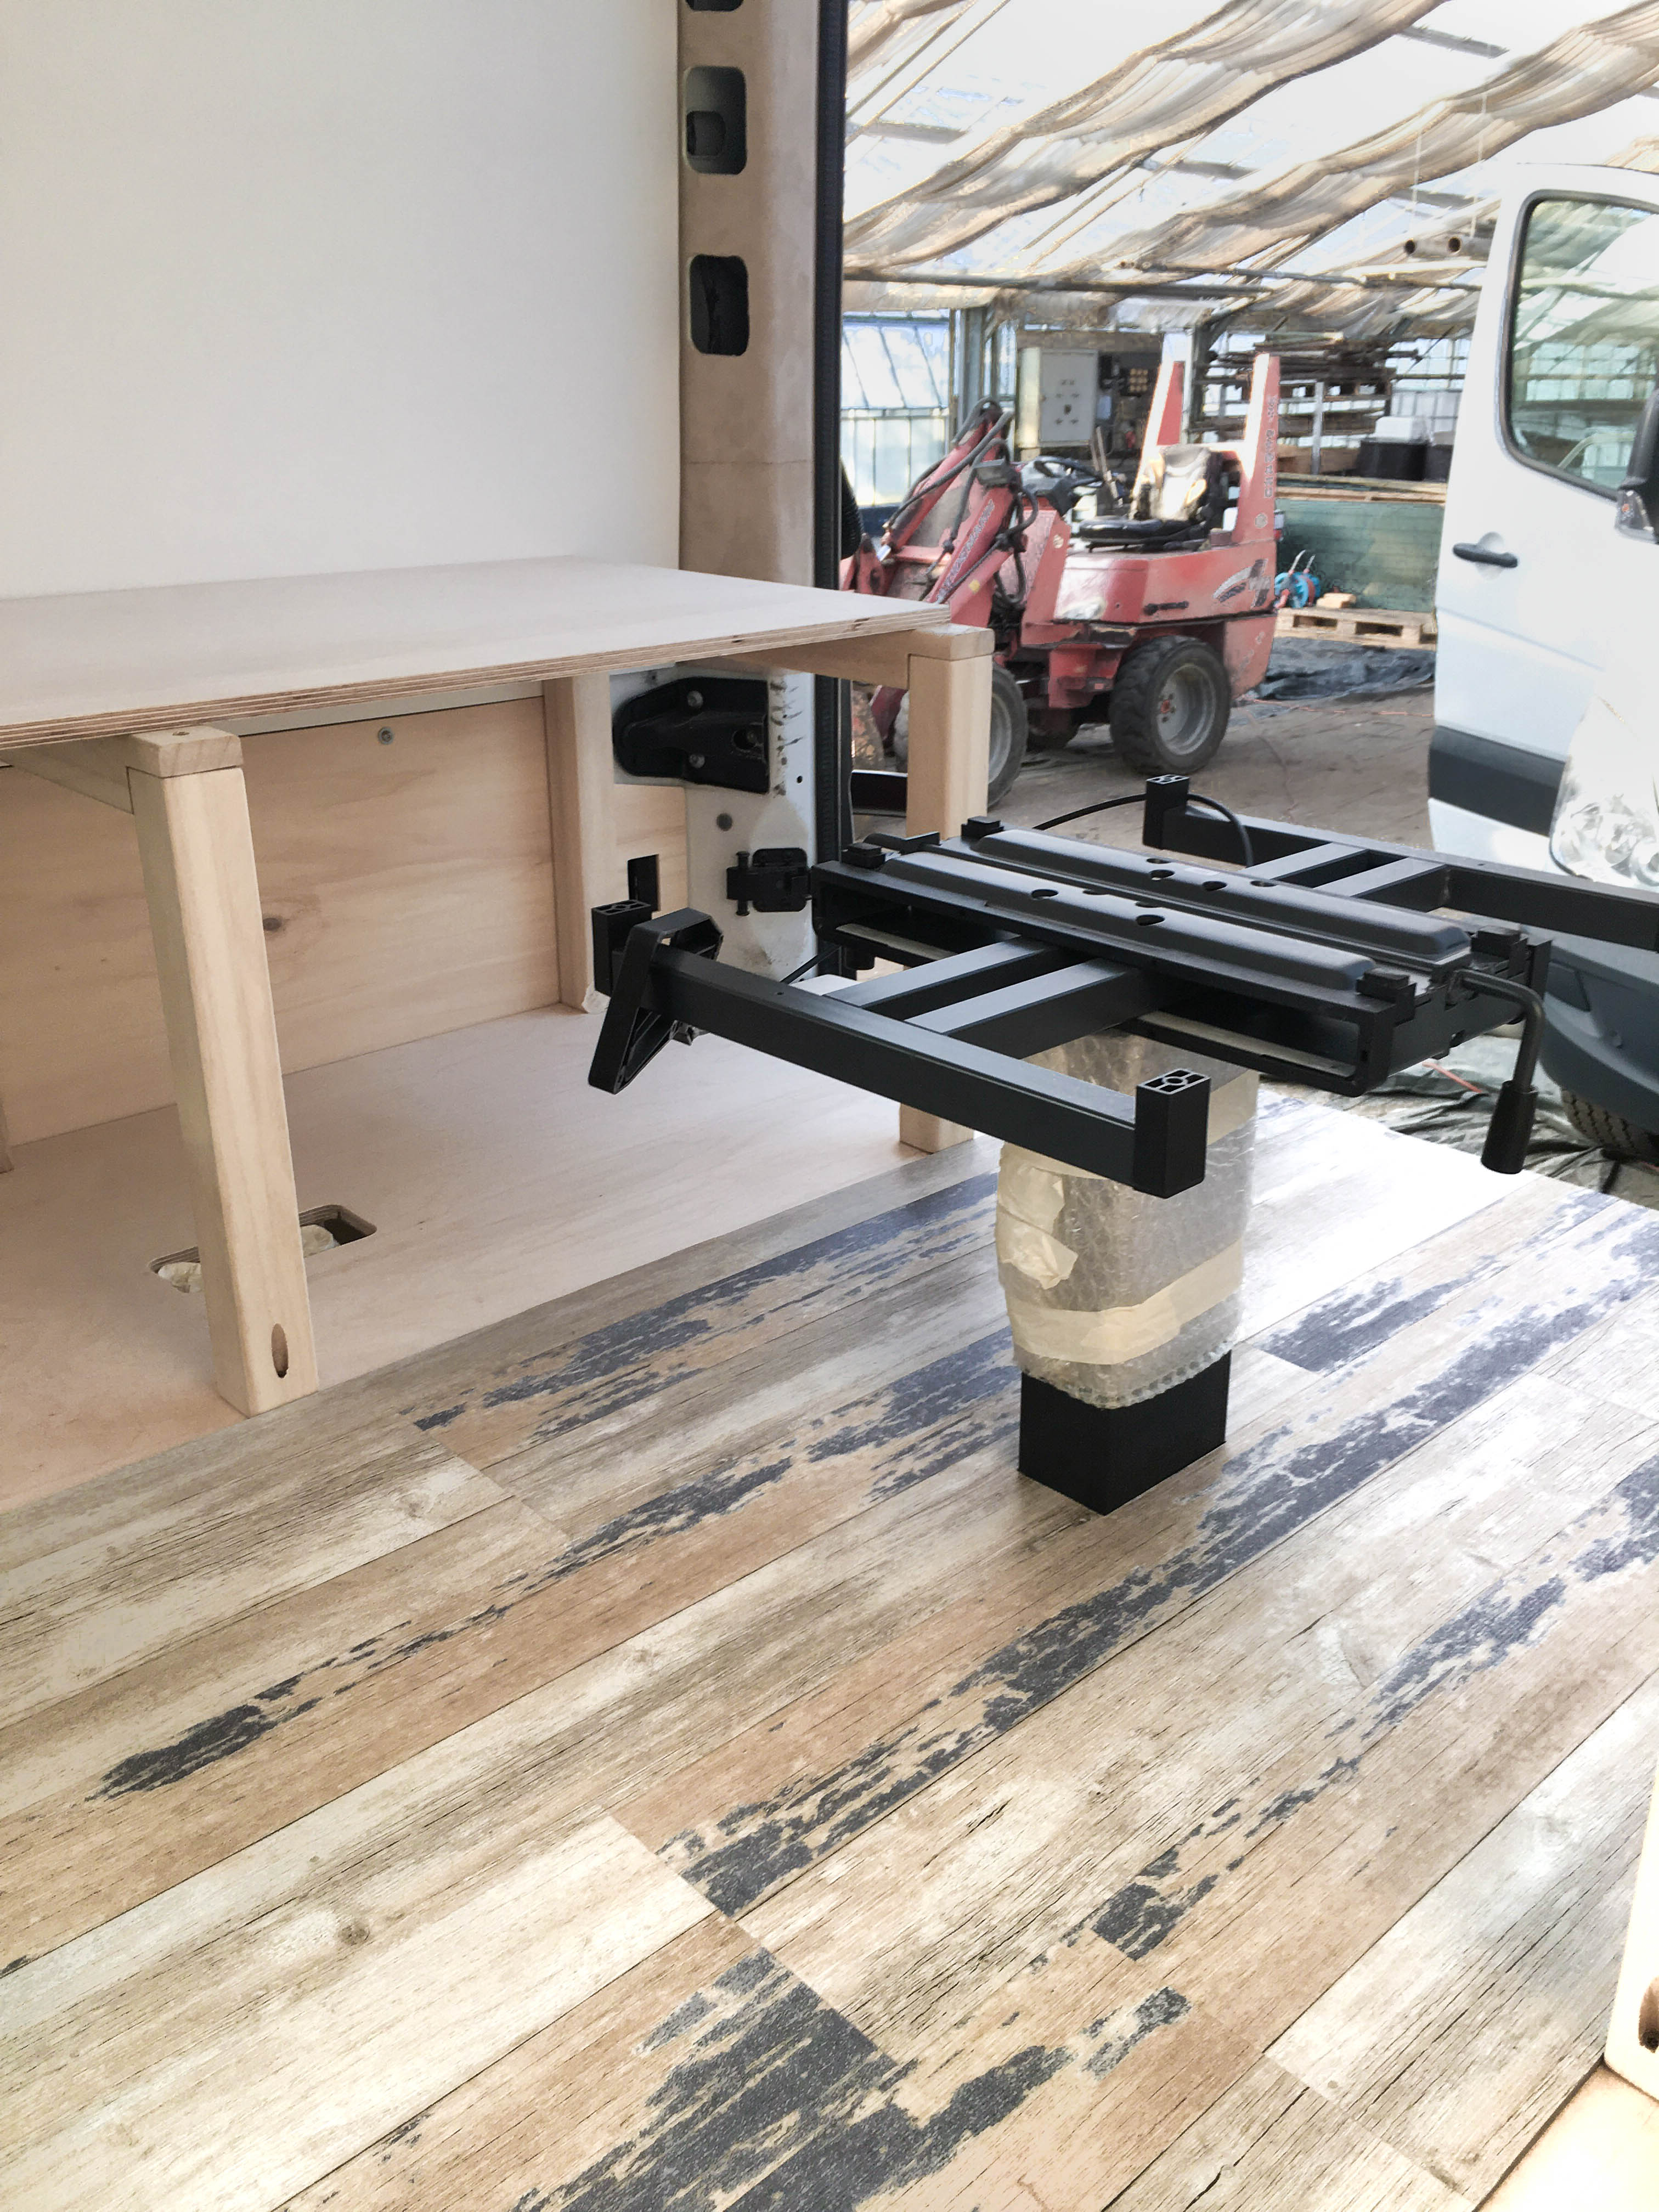
We also laid the click-vinyl flooring, gluing and hammering, on the platform 😉 and we covered the table’s leg, which we let in the platform plate, with it. Take a look!
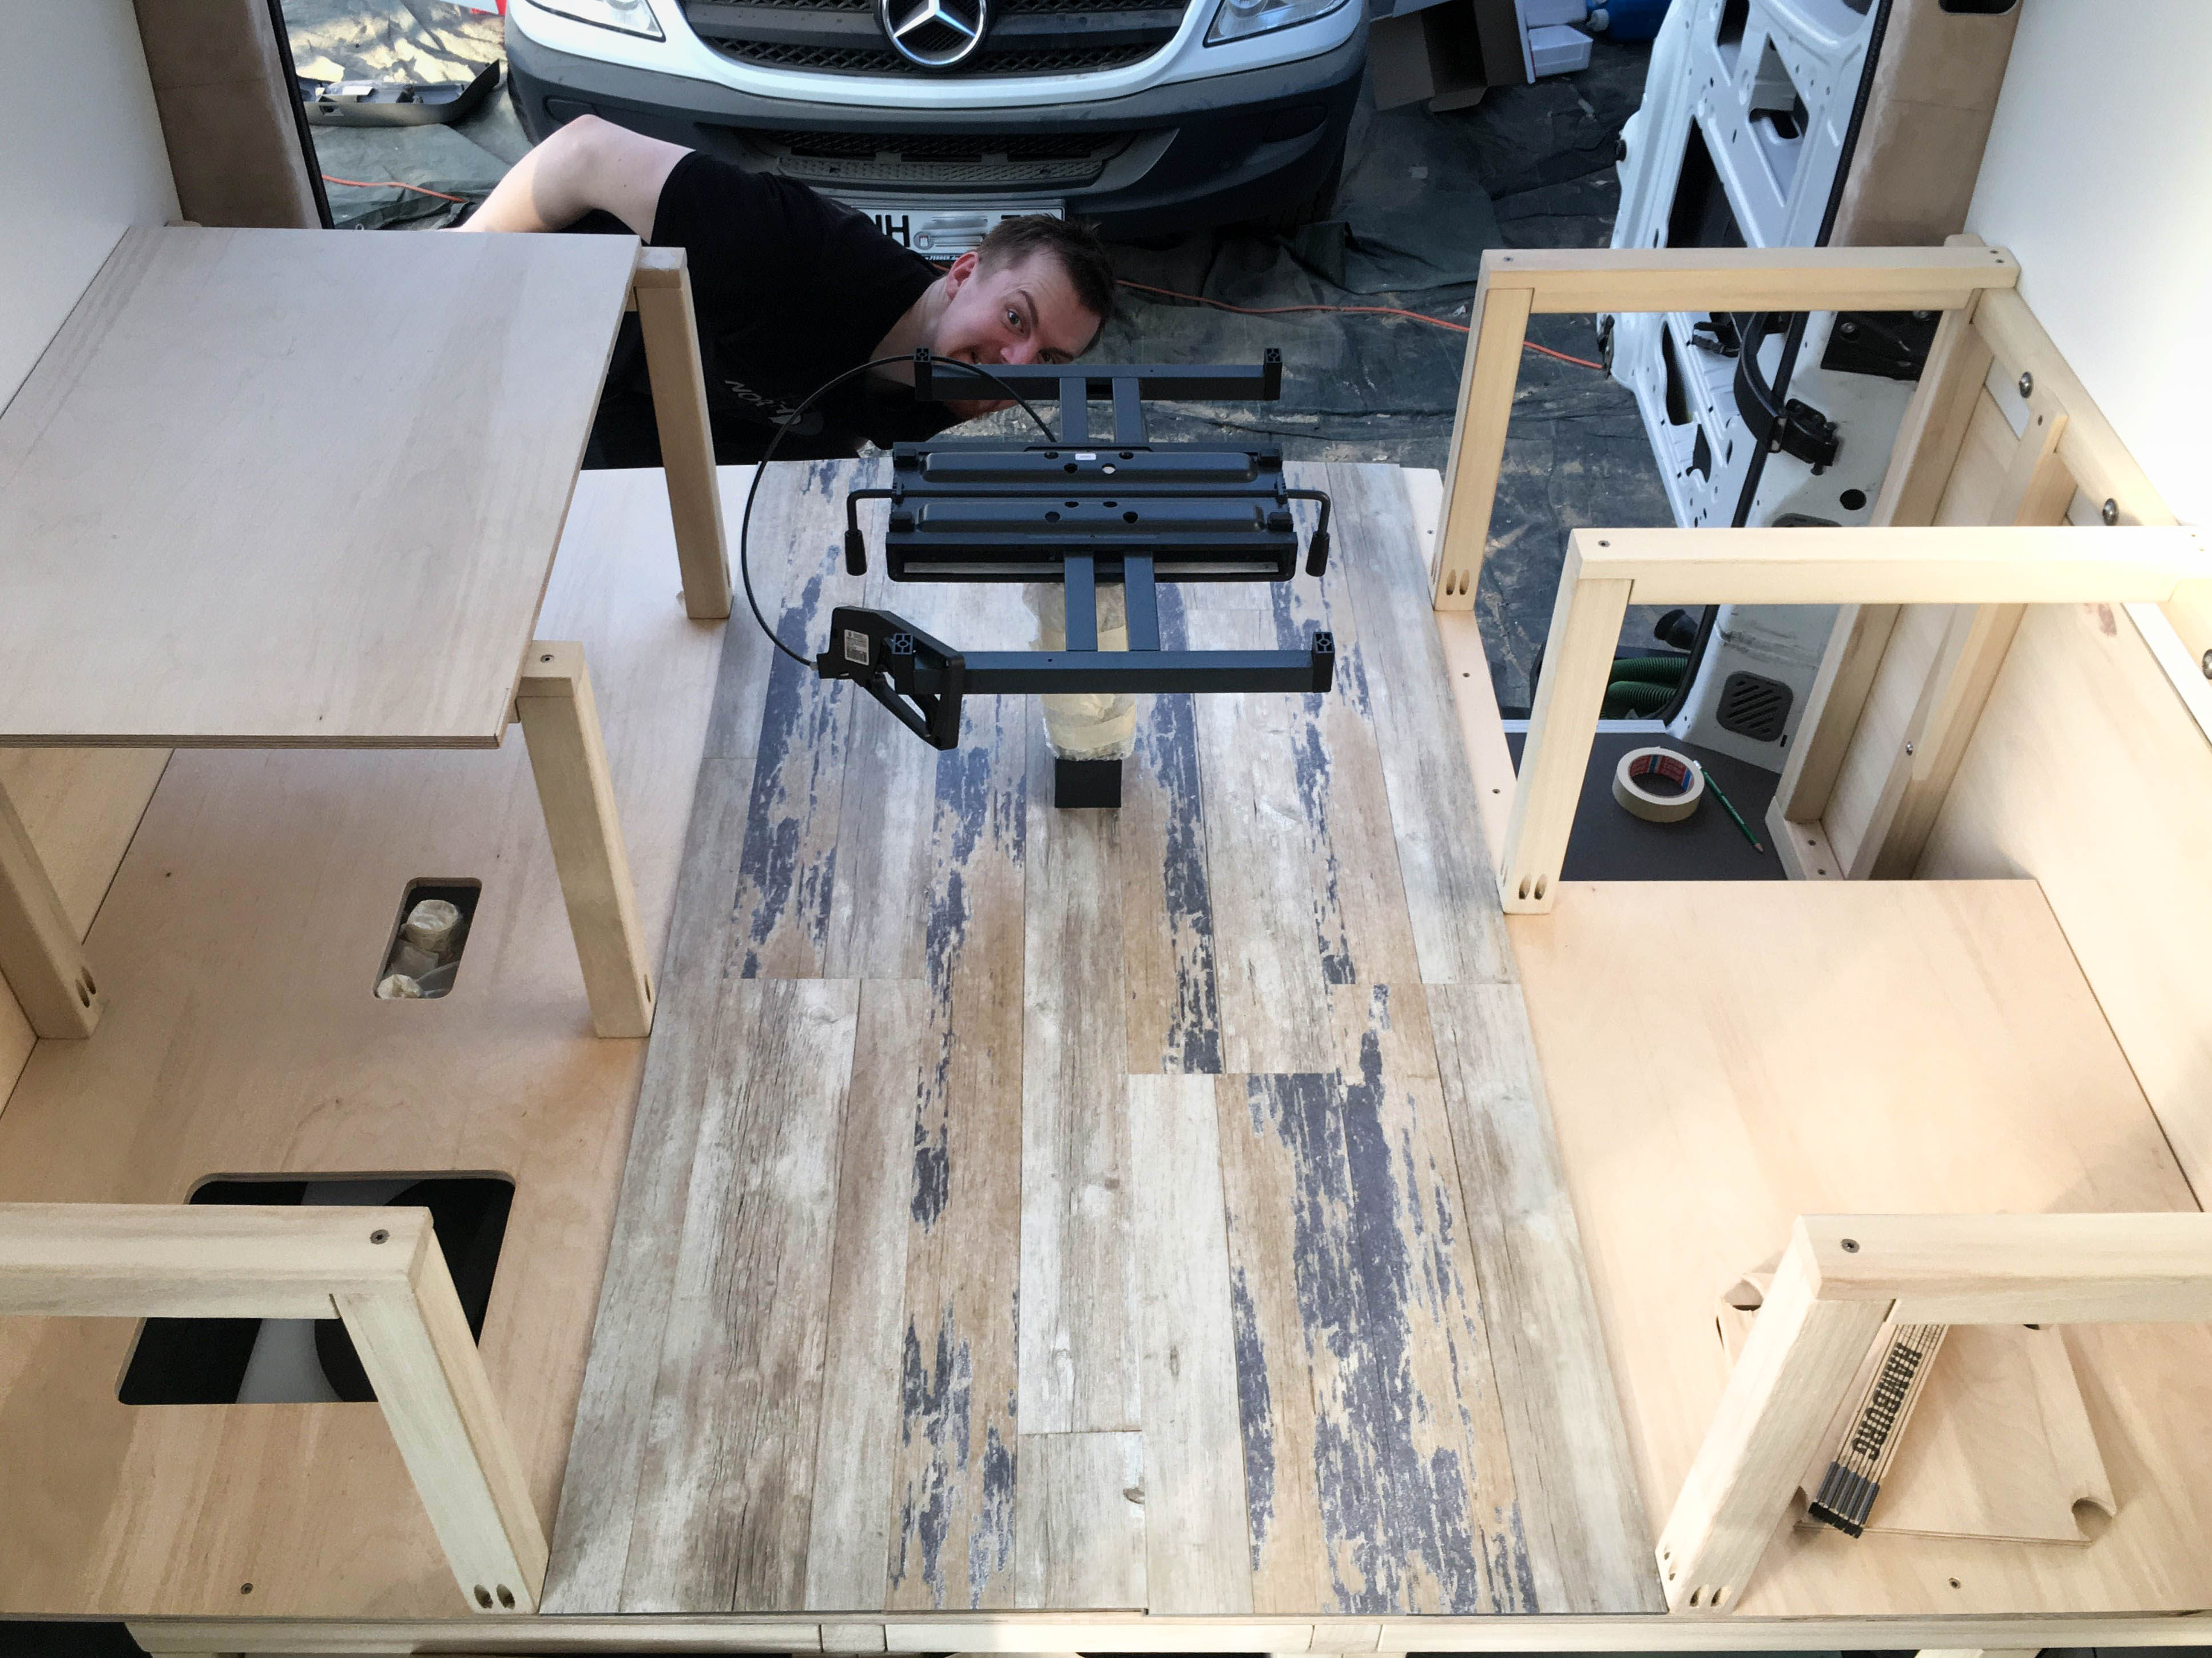
There will soon be blogposts about everything you see here, ceiling panels, wall panels, platform, benches, etc.
Read about removing our old floor panel and what we found below as well as the sub-construction of wooden-slats. Then we presented the different kinds of wood types that can be used for the new floor panel and which one we chose and then we installed the new OSB3-floor panel.