
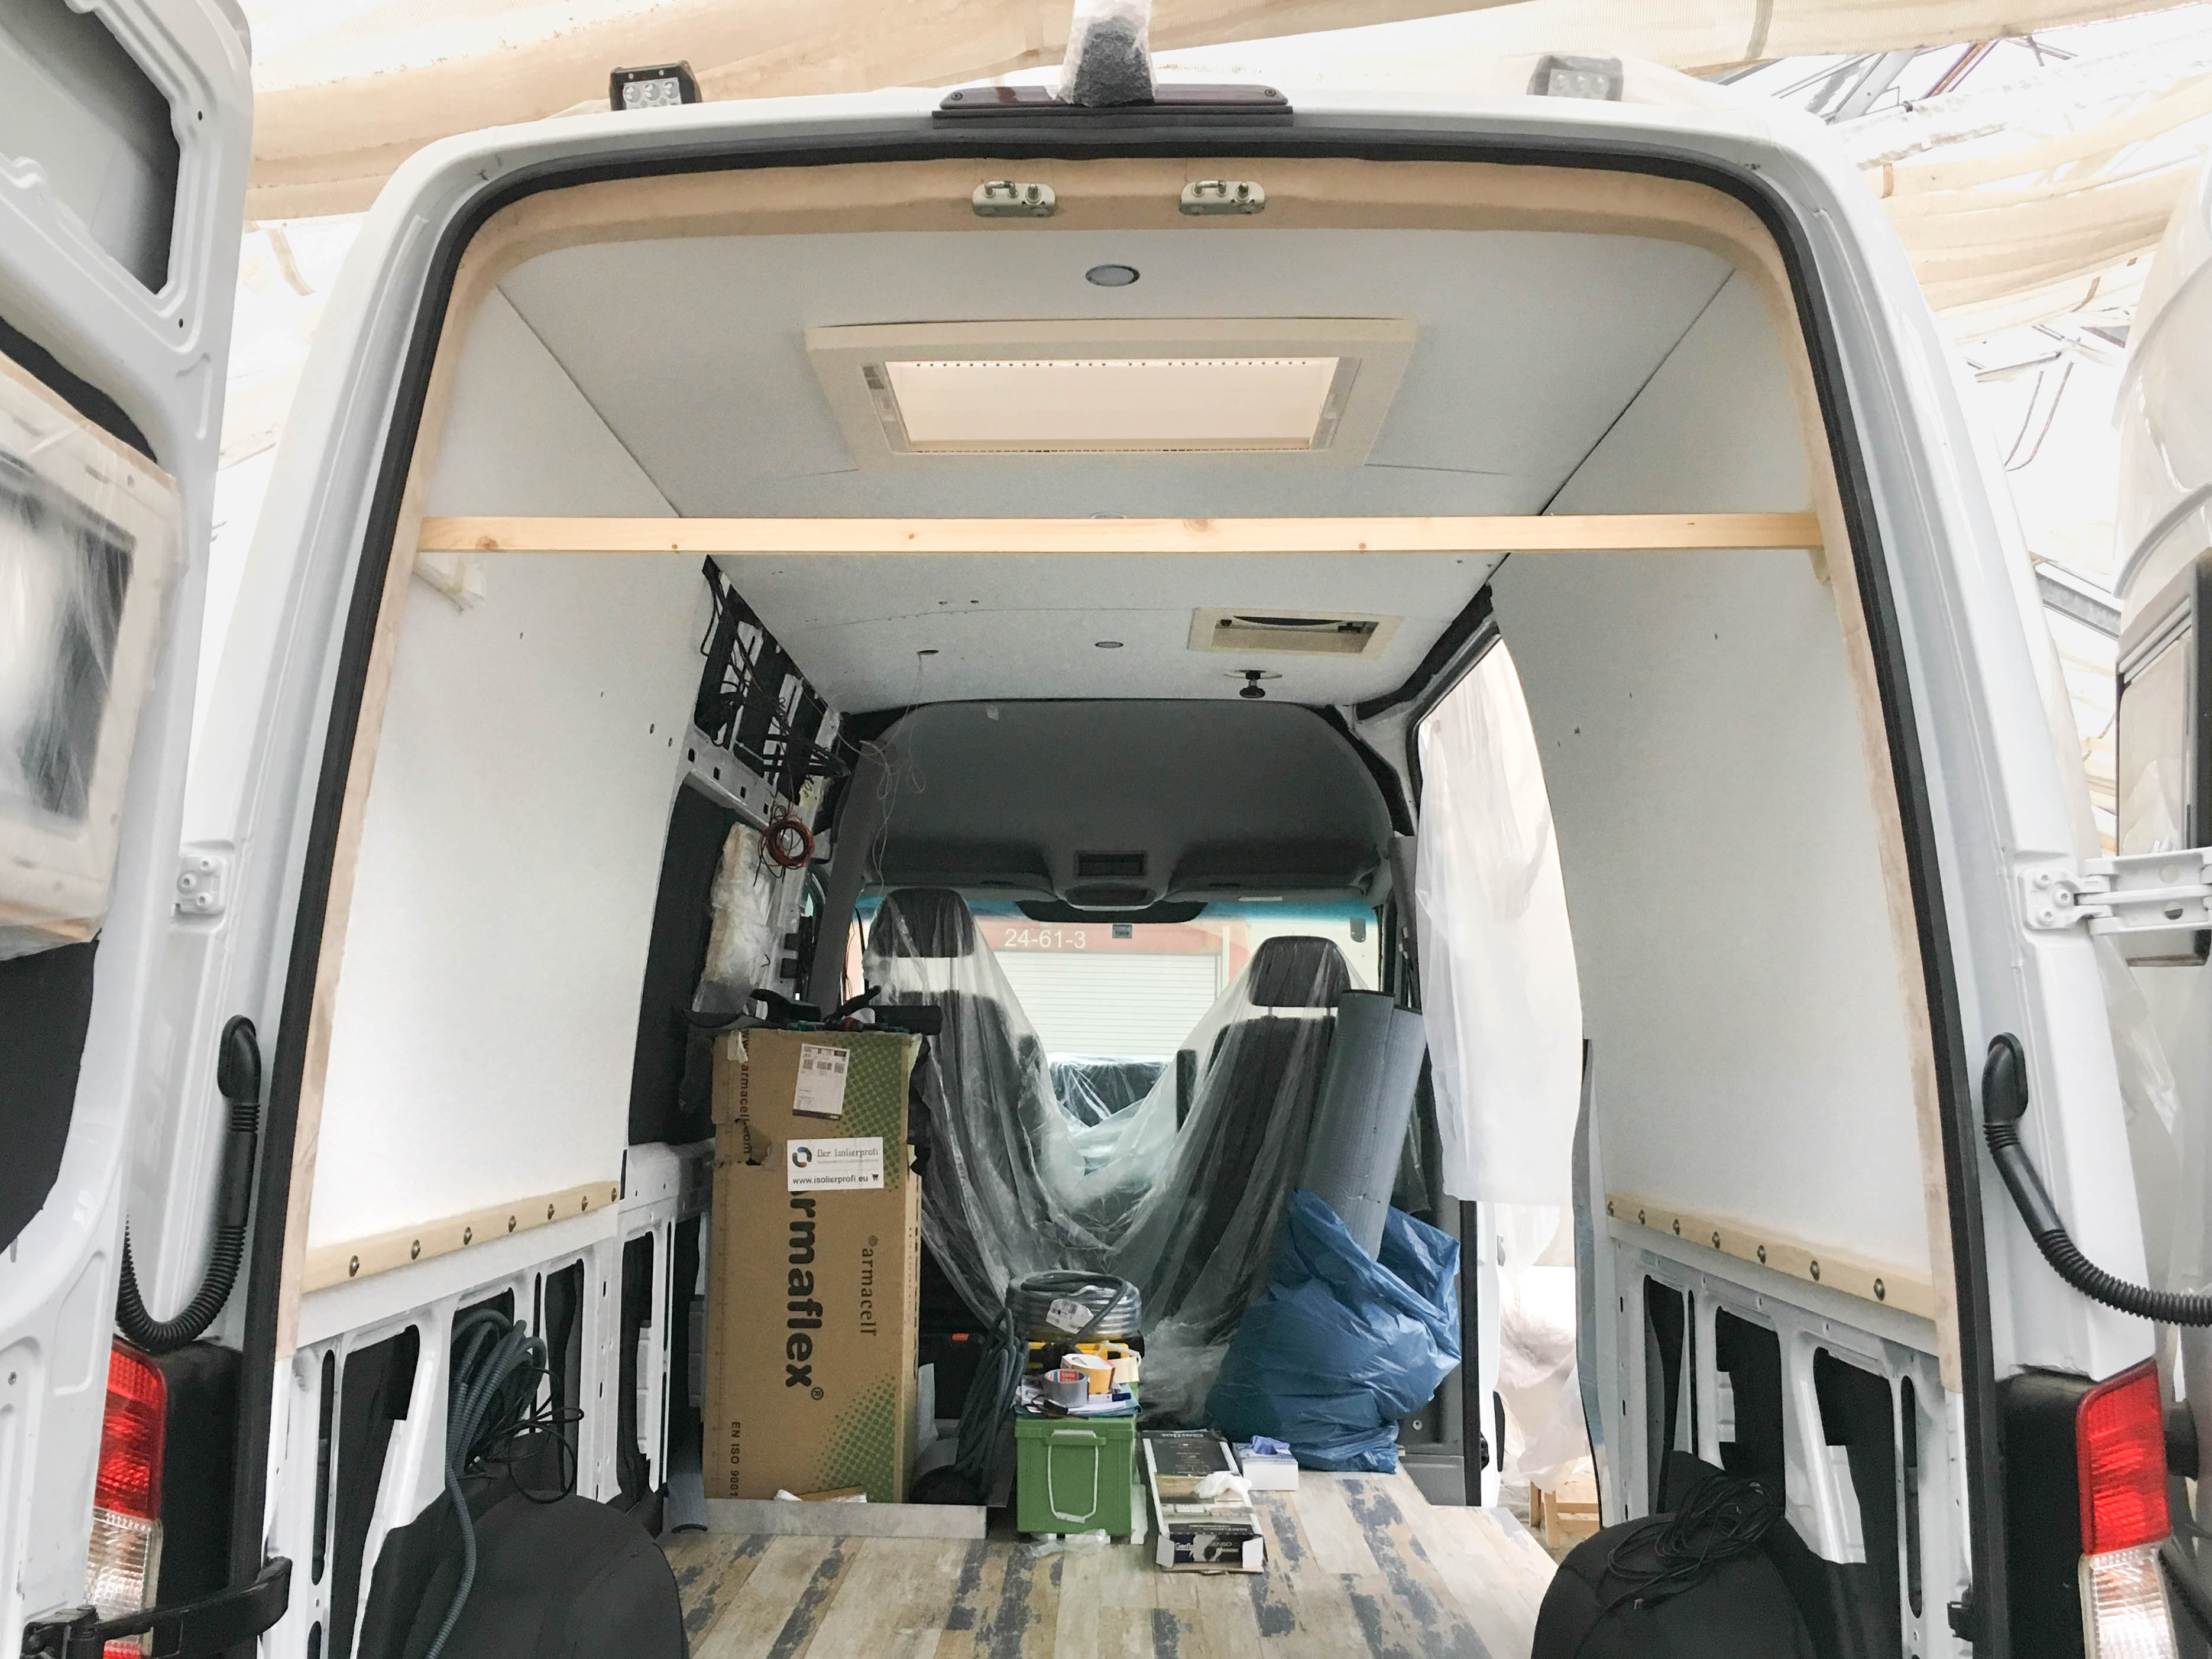
We keep it simple with the interior paneling of our Sprinter! For the walls of the camper, just like for the ceiling, we use a classic of van building: poplar plywood.
We already paneled our ceiling with white HPL coated 6 mm poplar plywood. These are the kind of panels we also use for the walls of the living space of the camper.
The wall panels will be installed just like the ceiling panels. To mount the panels to the vehicle walls we installed blind rivet nuts beforehand, some in holes that were already there, and some we had to drill ourselves into the bars. We used a riveter with fitting nuts mainly in the size M5 and M8.
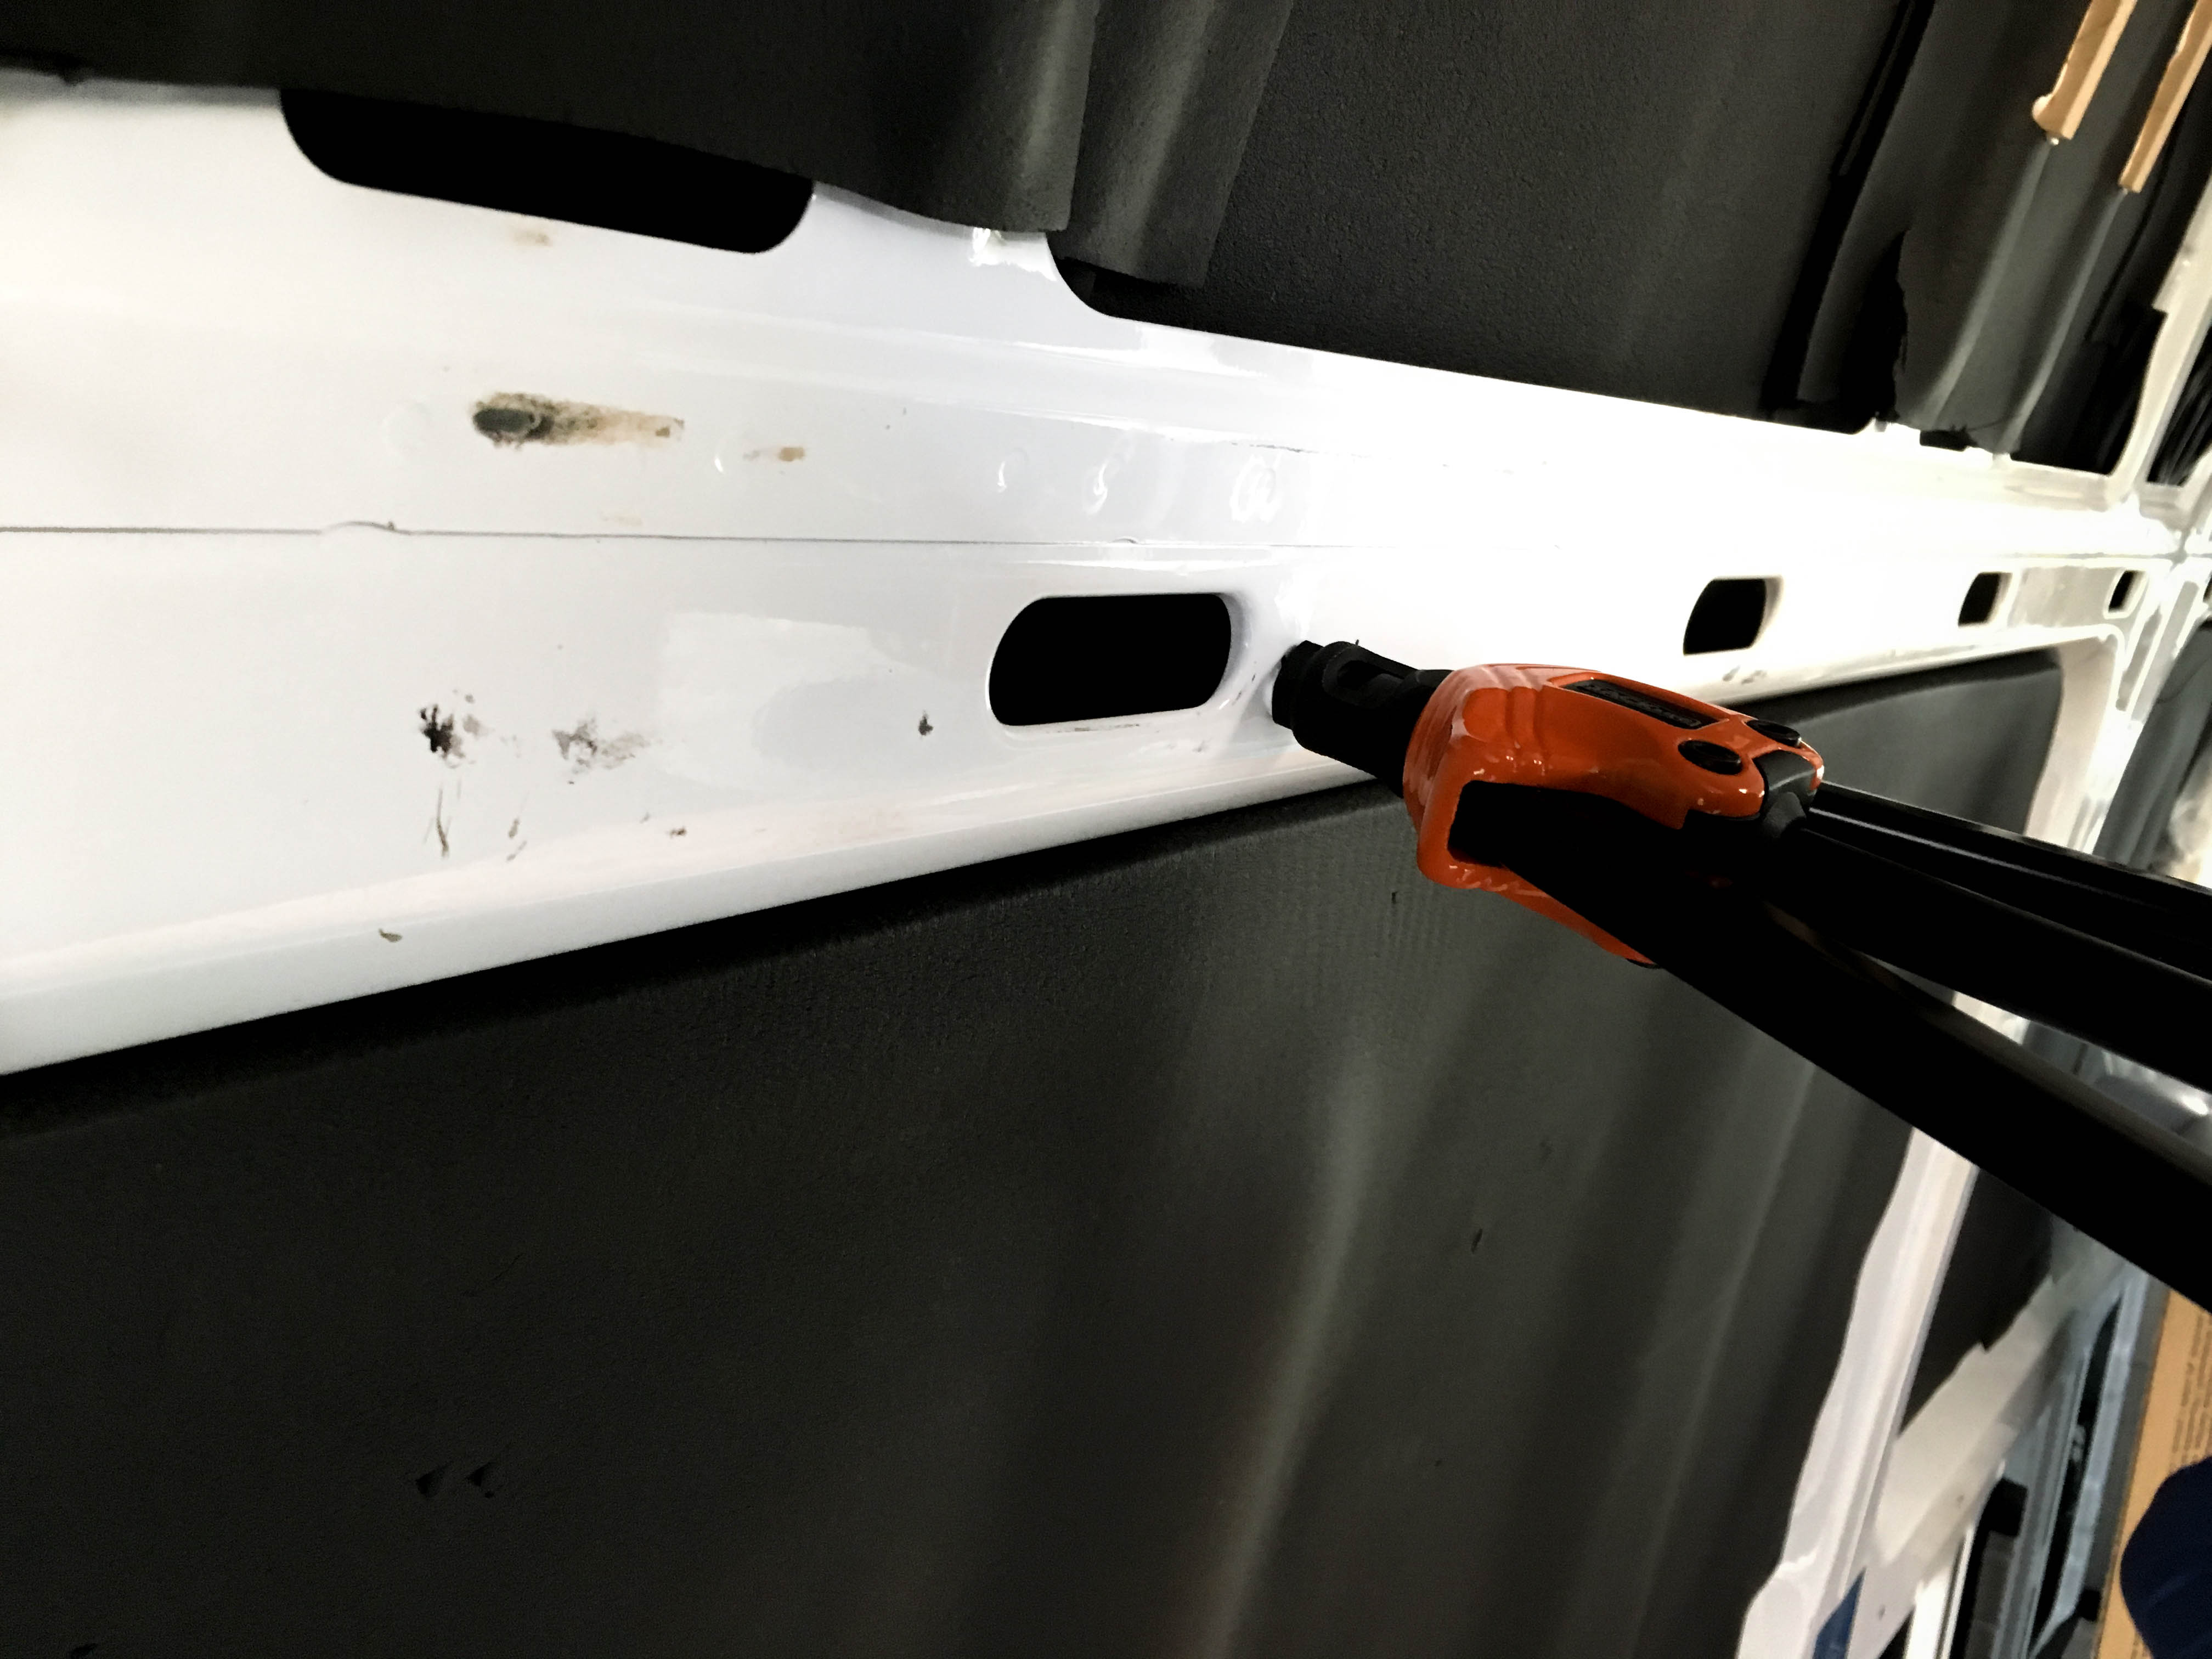
The nuts in the size M5 were installed in the top bars. To the lower bars we will also mount our benches, that is why we used the bigger M8 nuts here because we will add wooden struts of Paulownia wood on top of the panels and they will later be part to the benches. These struts will, through the panels, be directly screwed into the vehicle by which we hope for more stability for our benches.
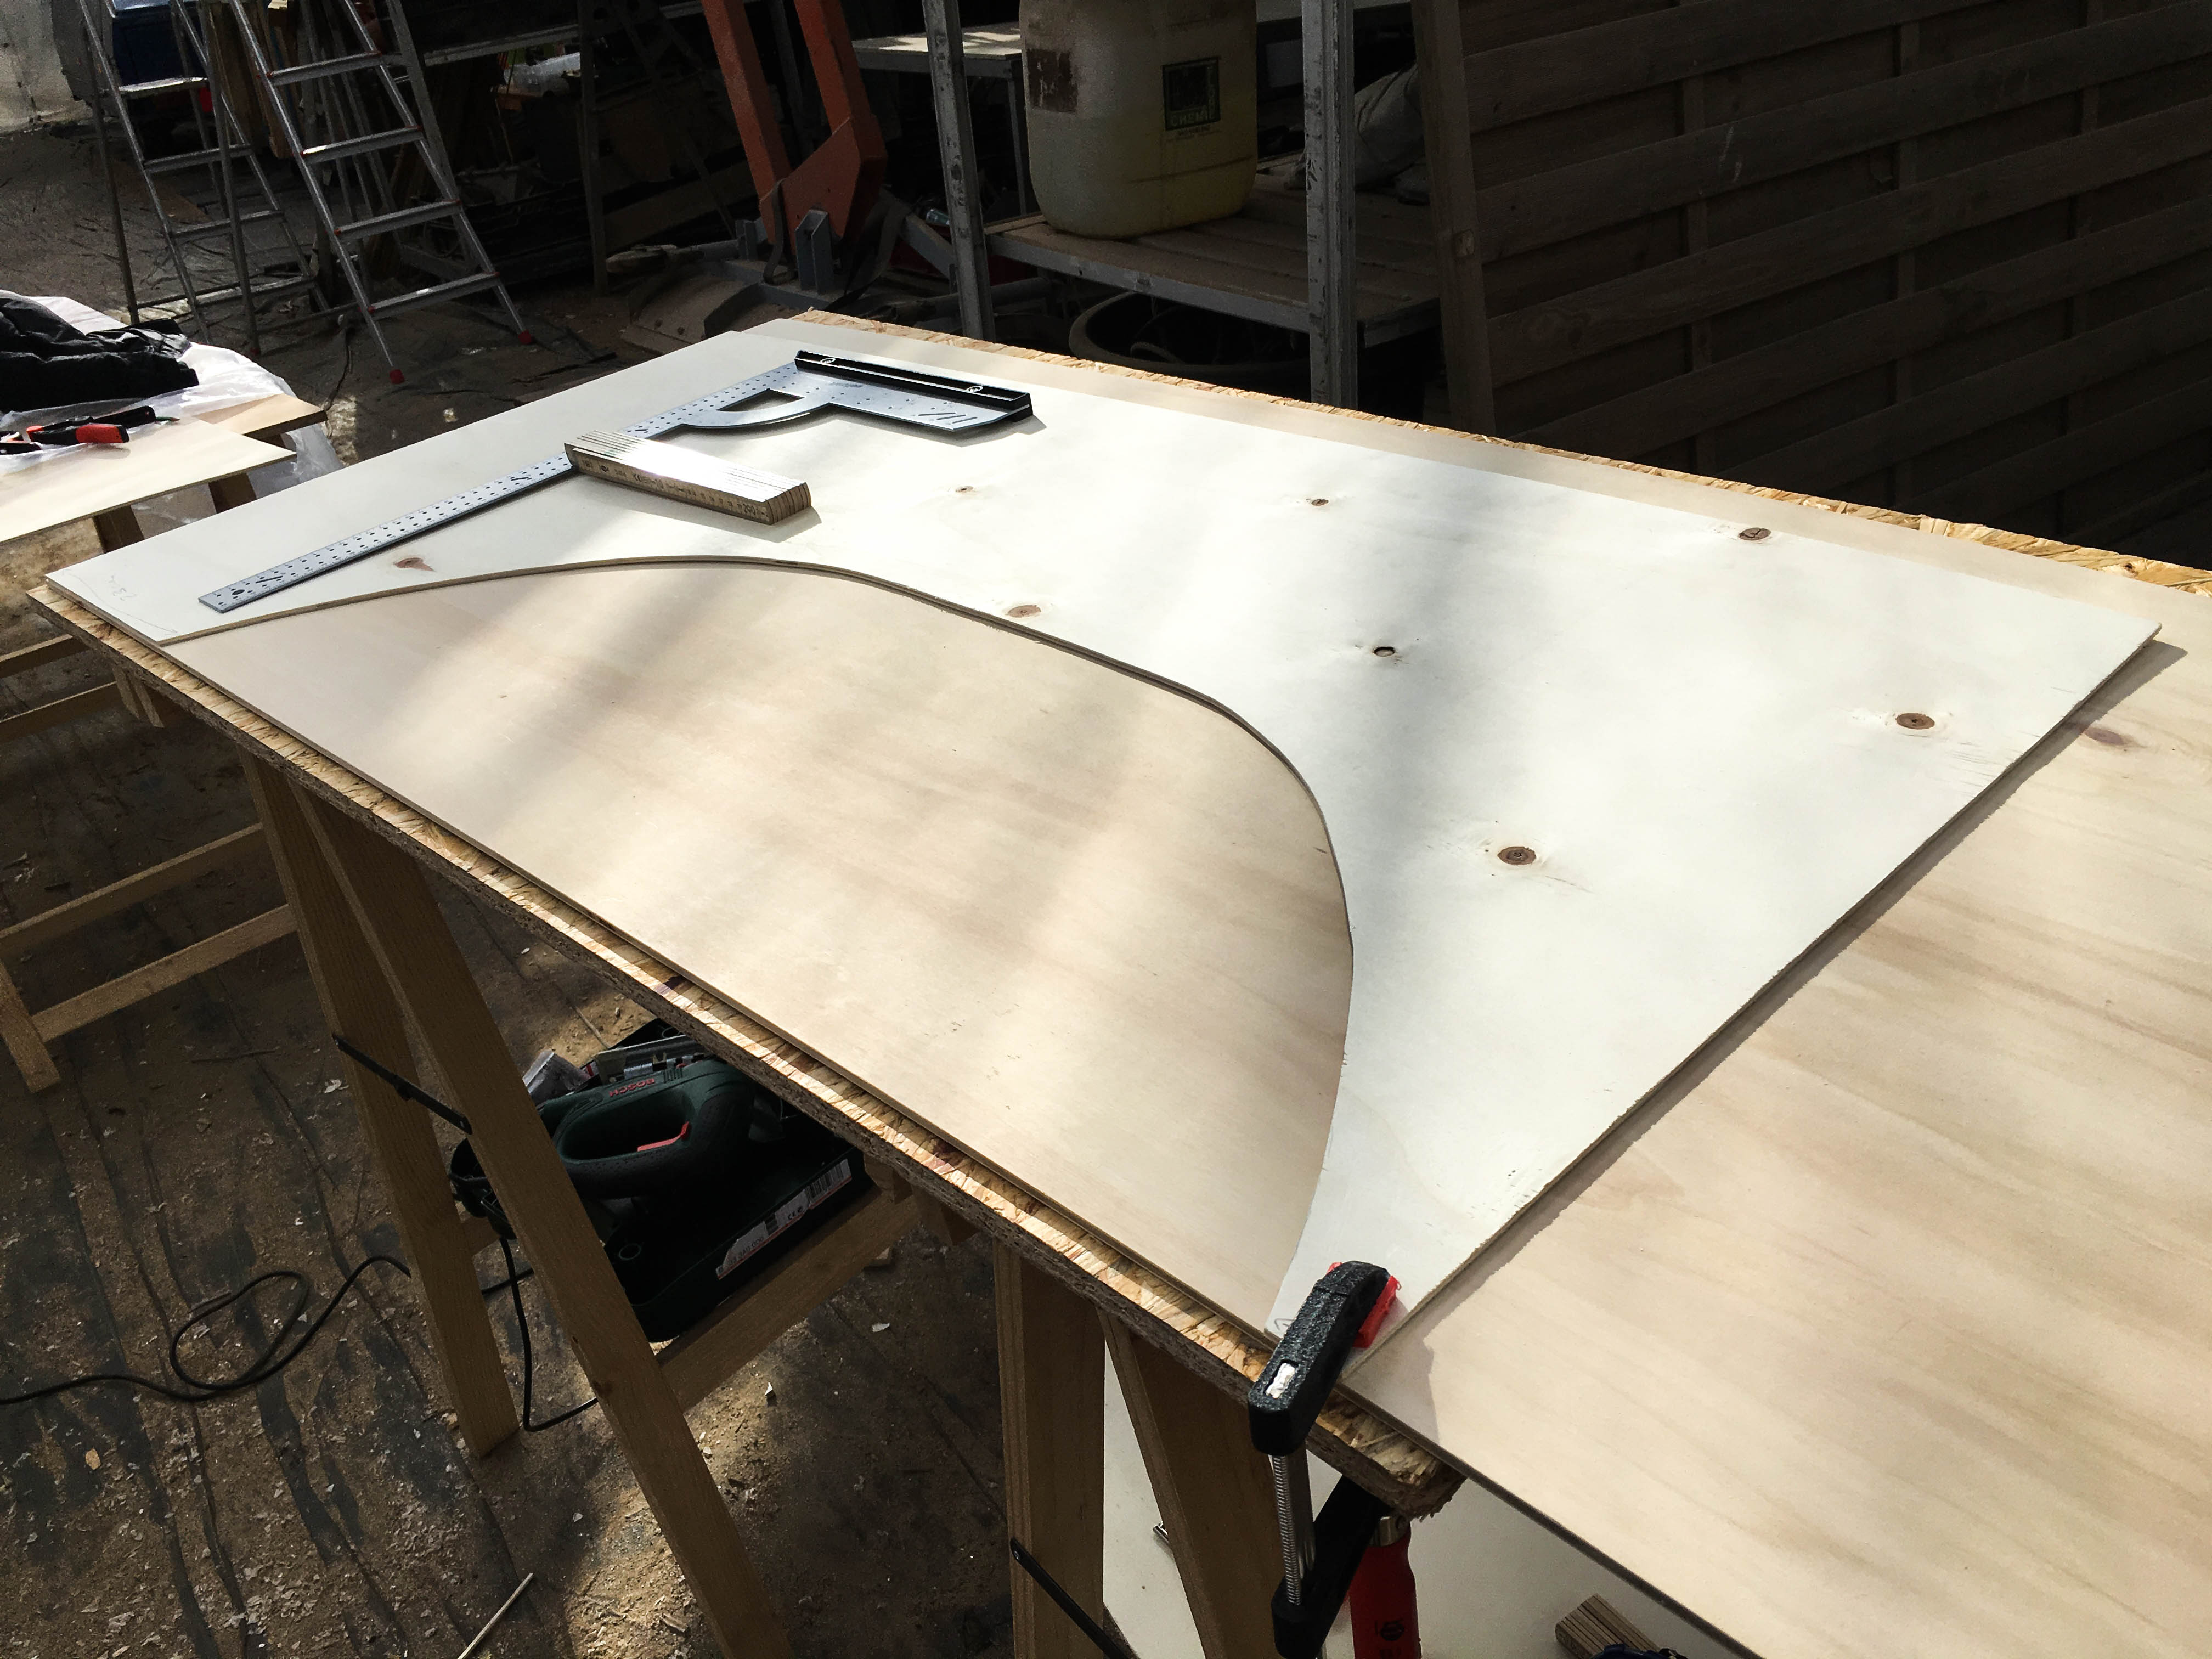
To copy the arch of the back of the vehicle we made templates using a transfer scribe and then used transfer paper to copy the template to the panels. We also added holes for the screws to the panels – we had to work very precisely here because the position had to be measured with millimeter accuracy. We then installed the panels with screws and fitting shims.
We additionally added the construction glue Sikaflex 252i and let it dry overnight.
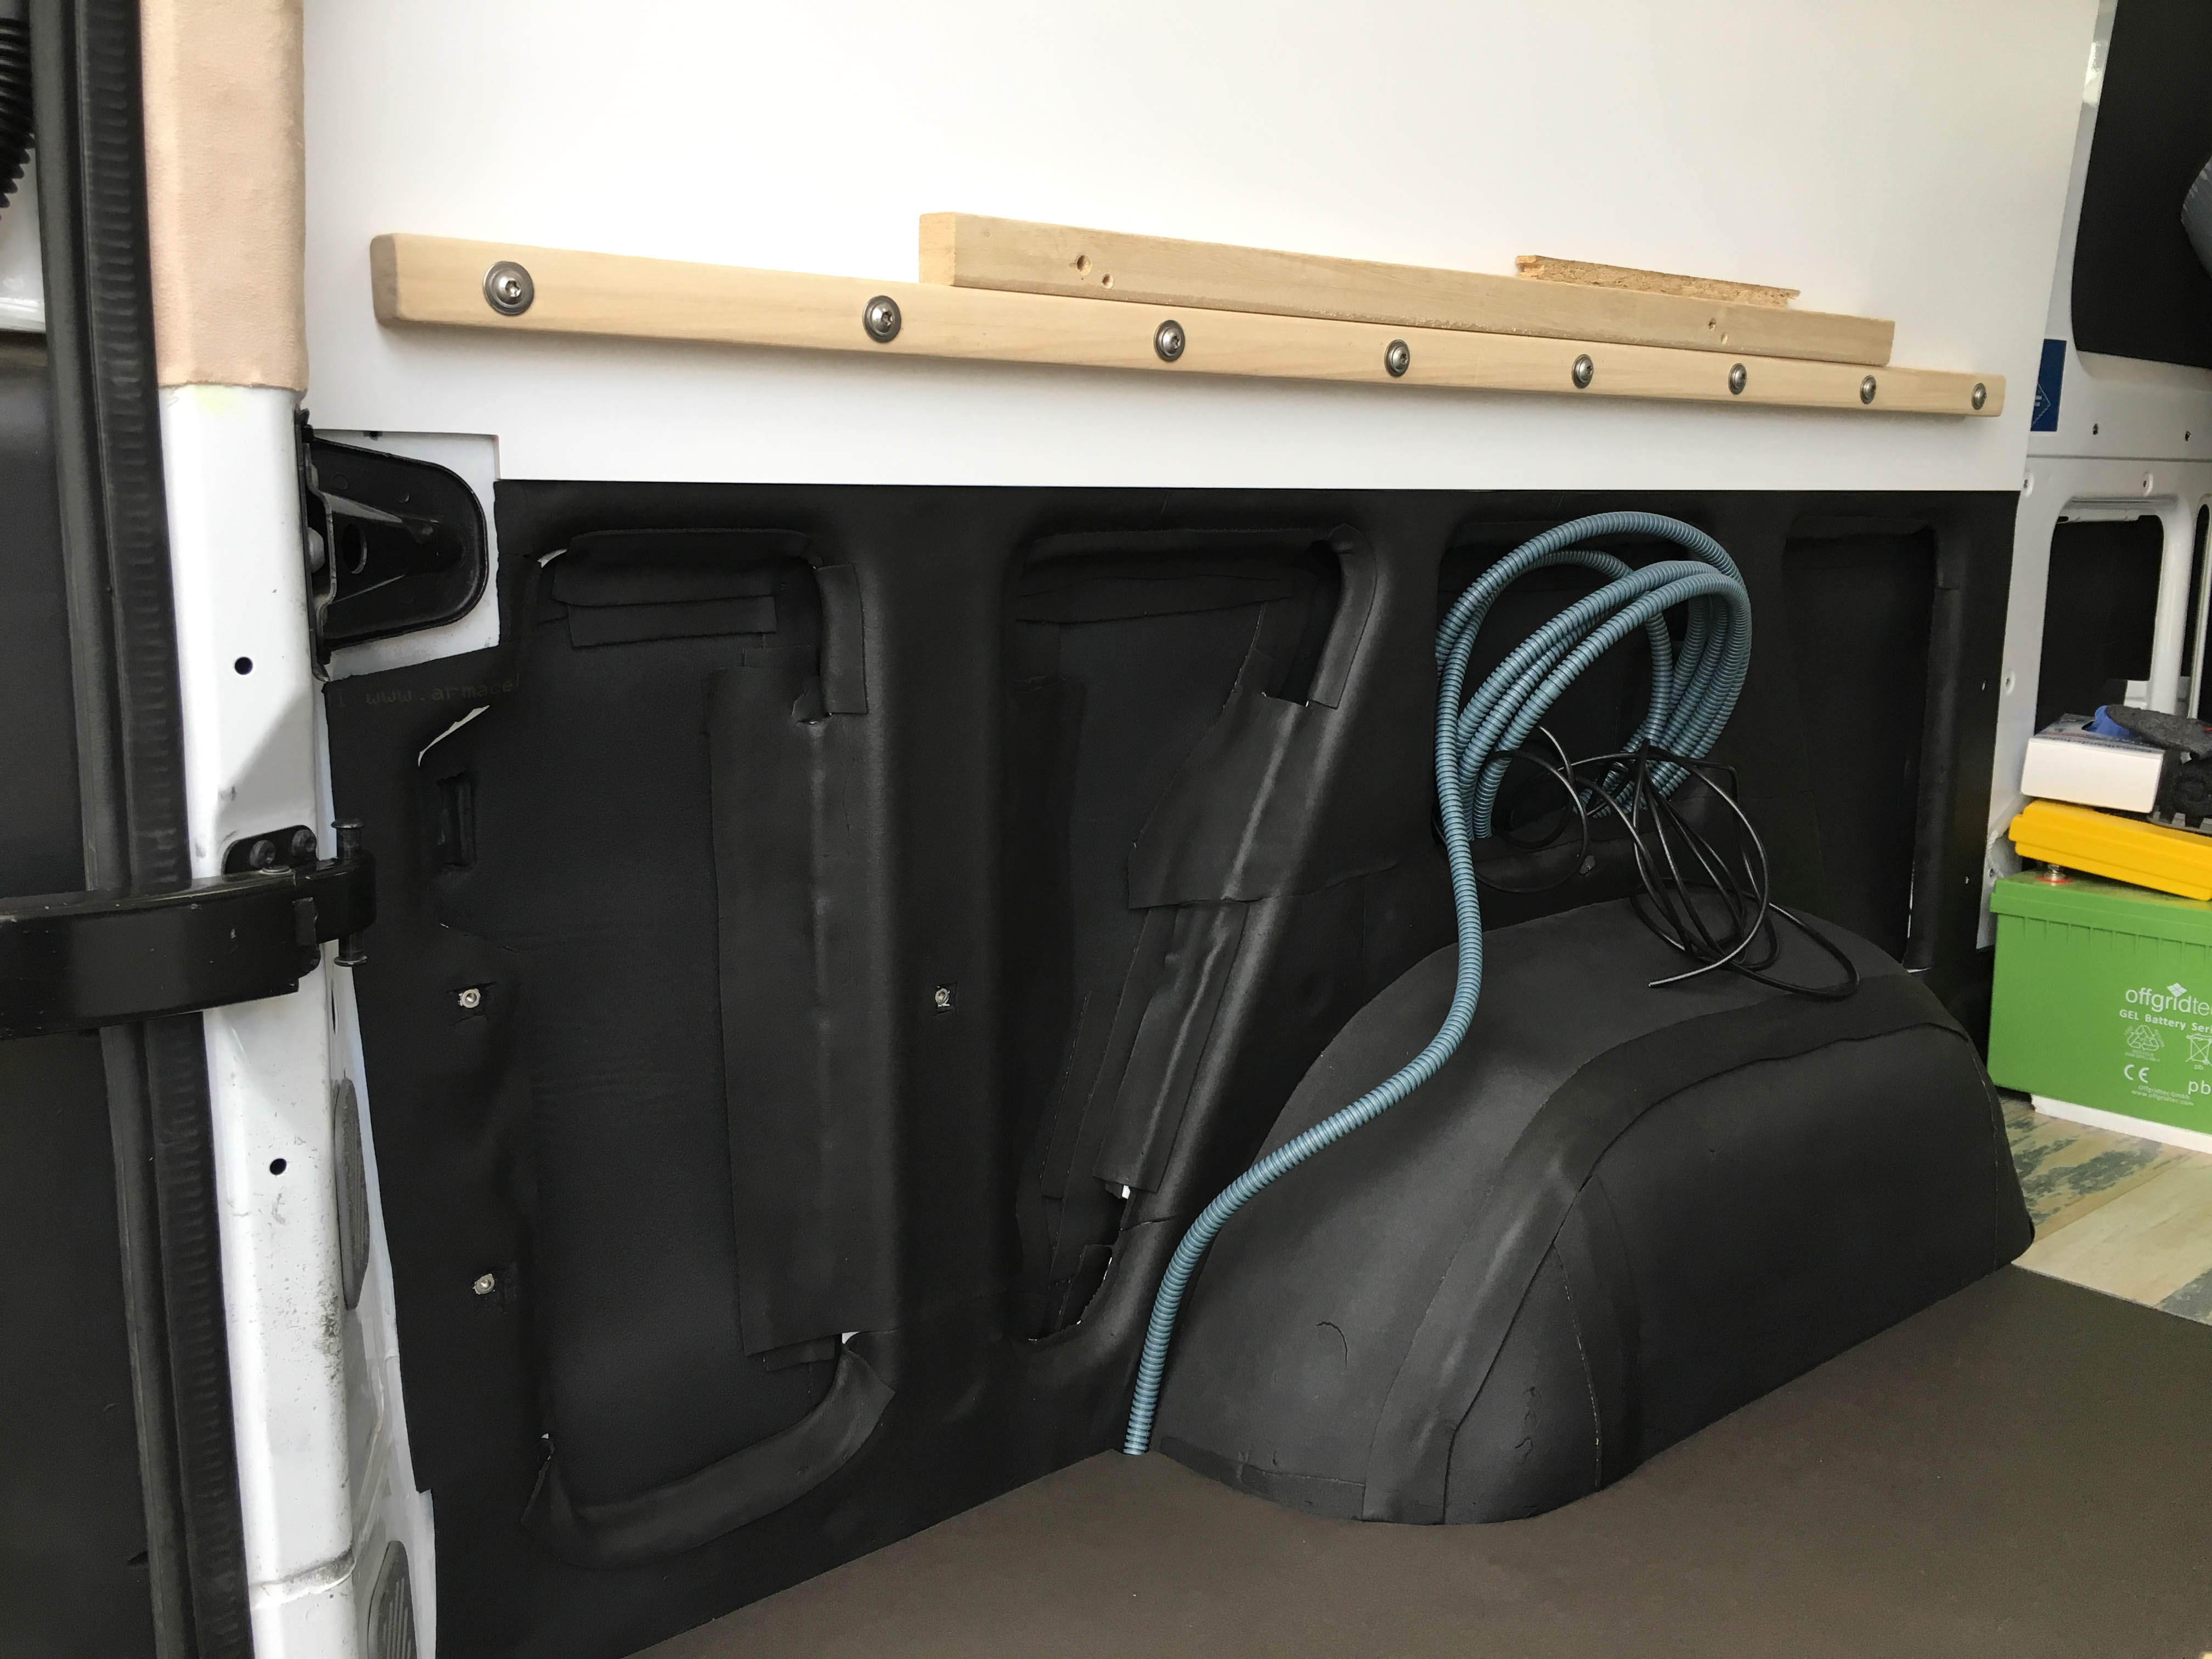
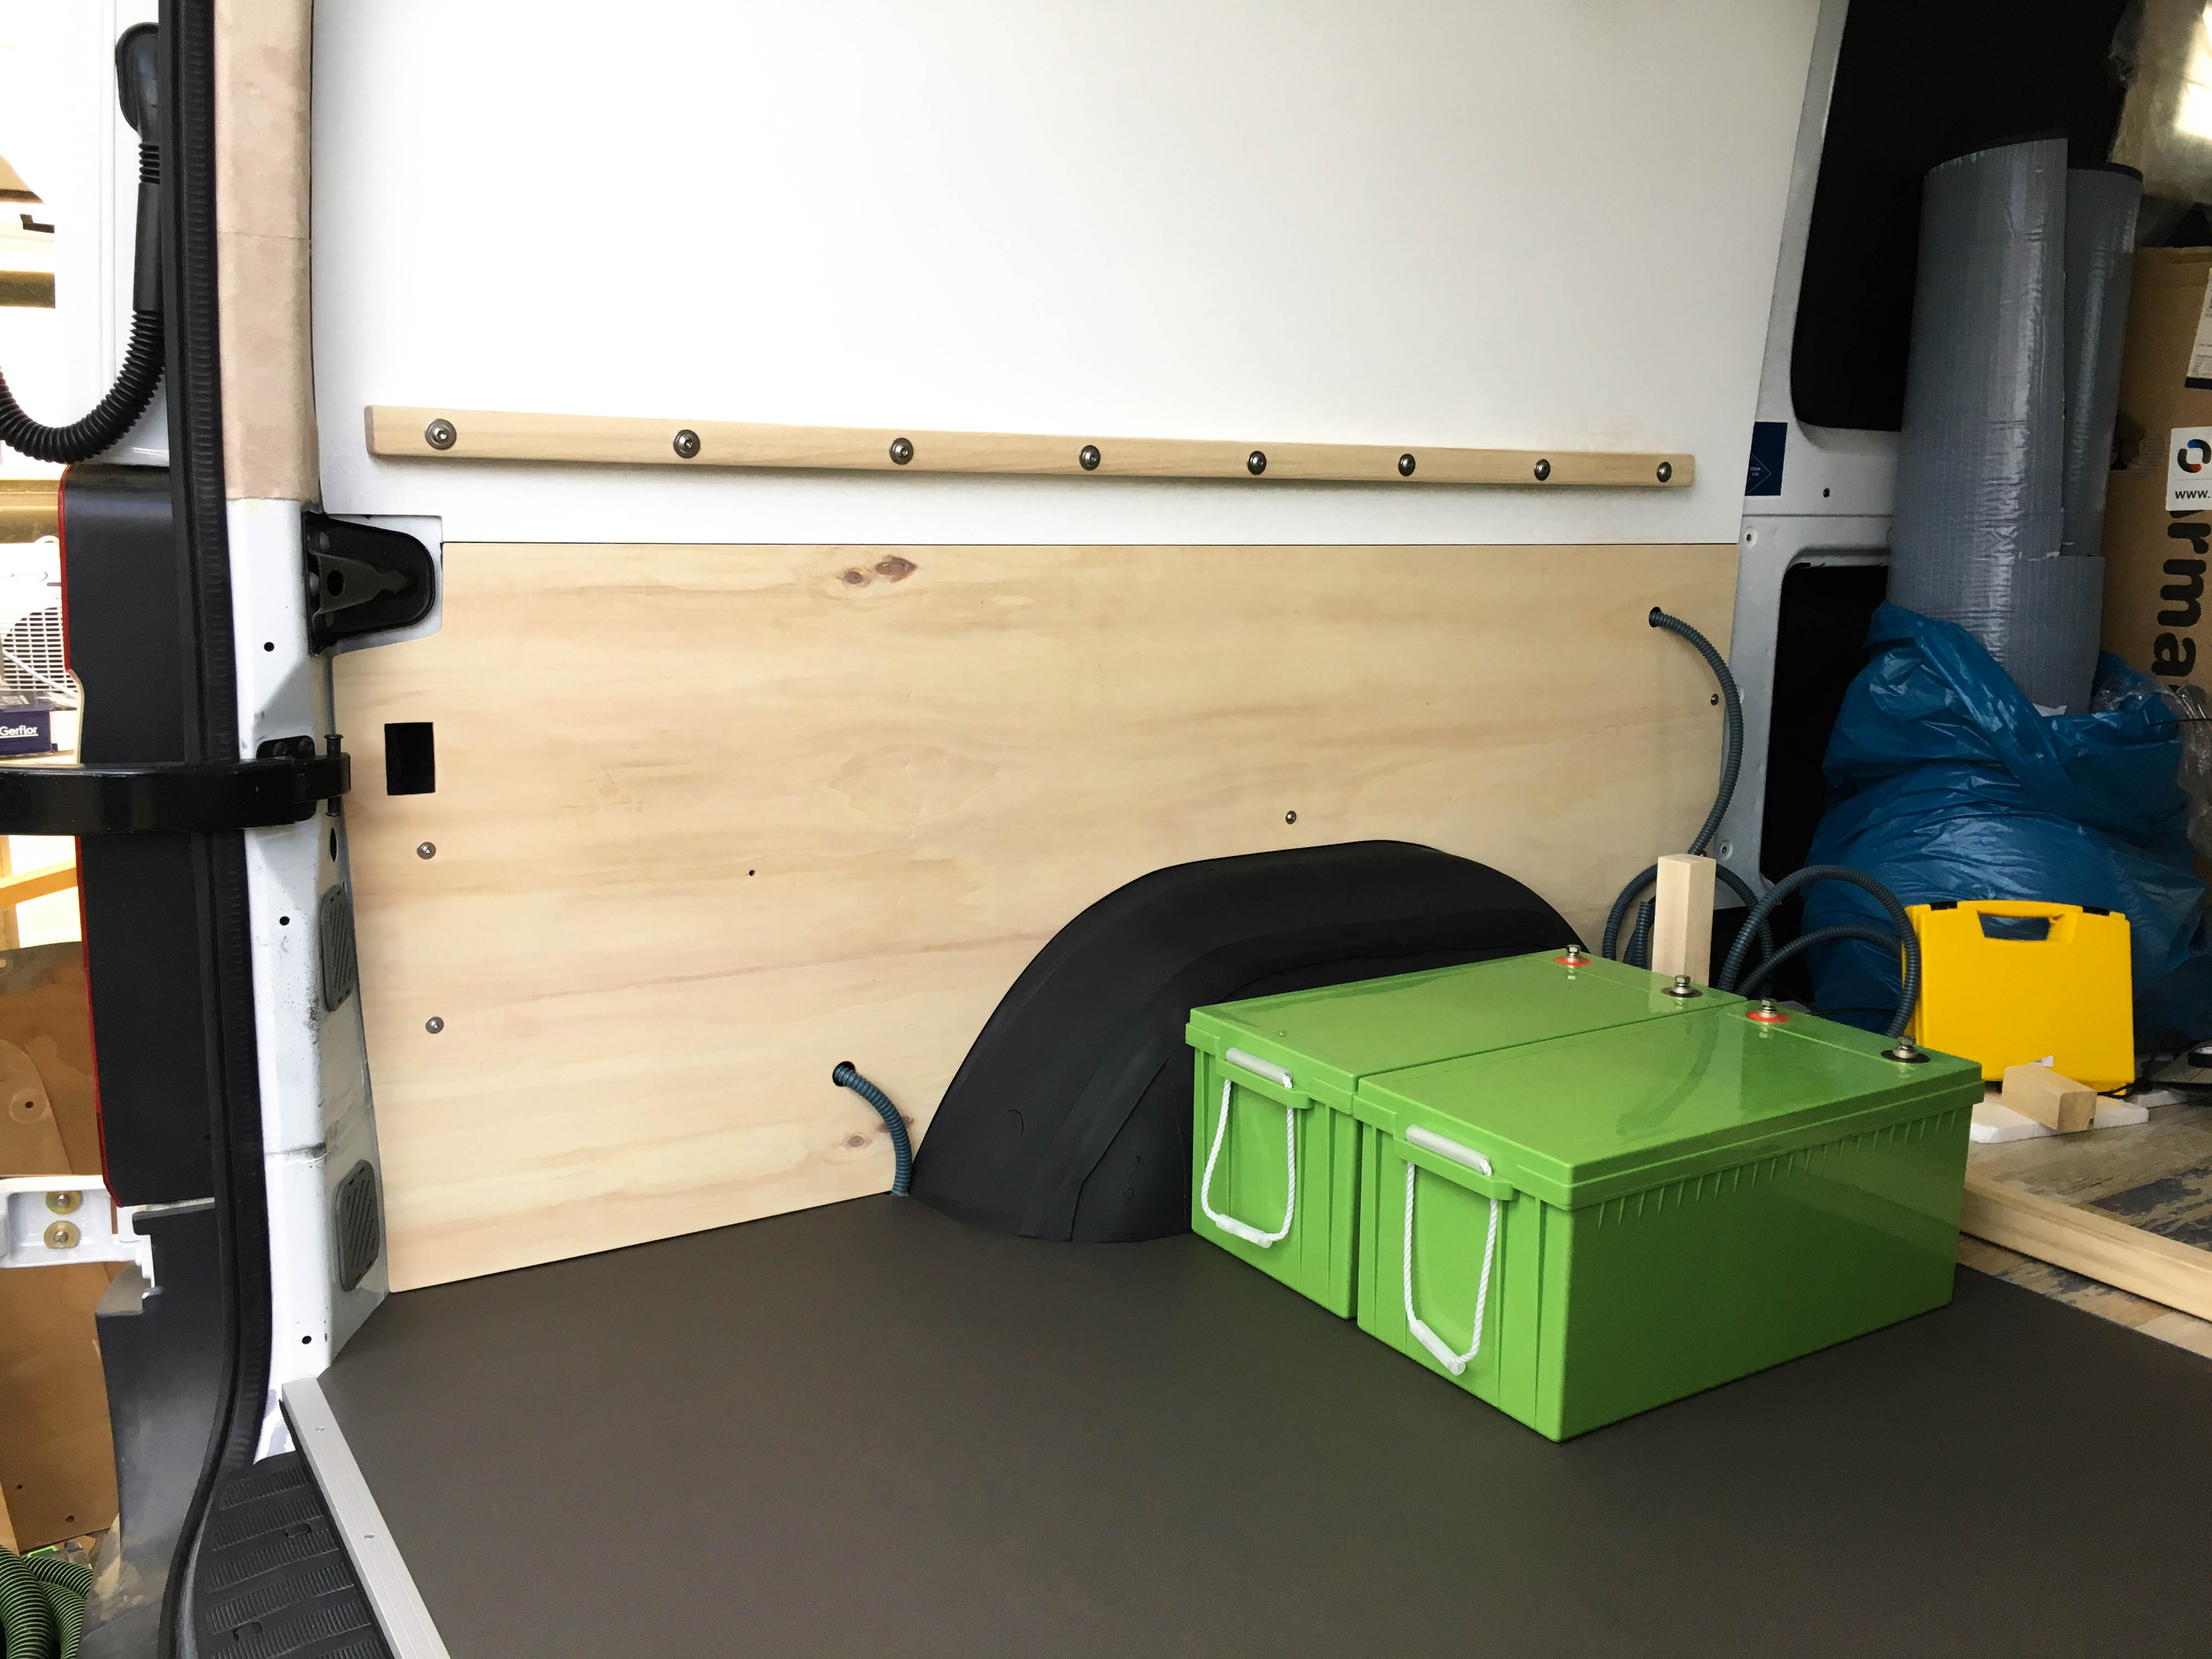
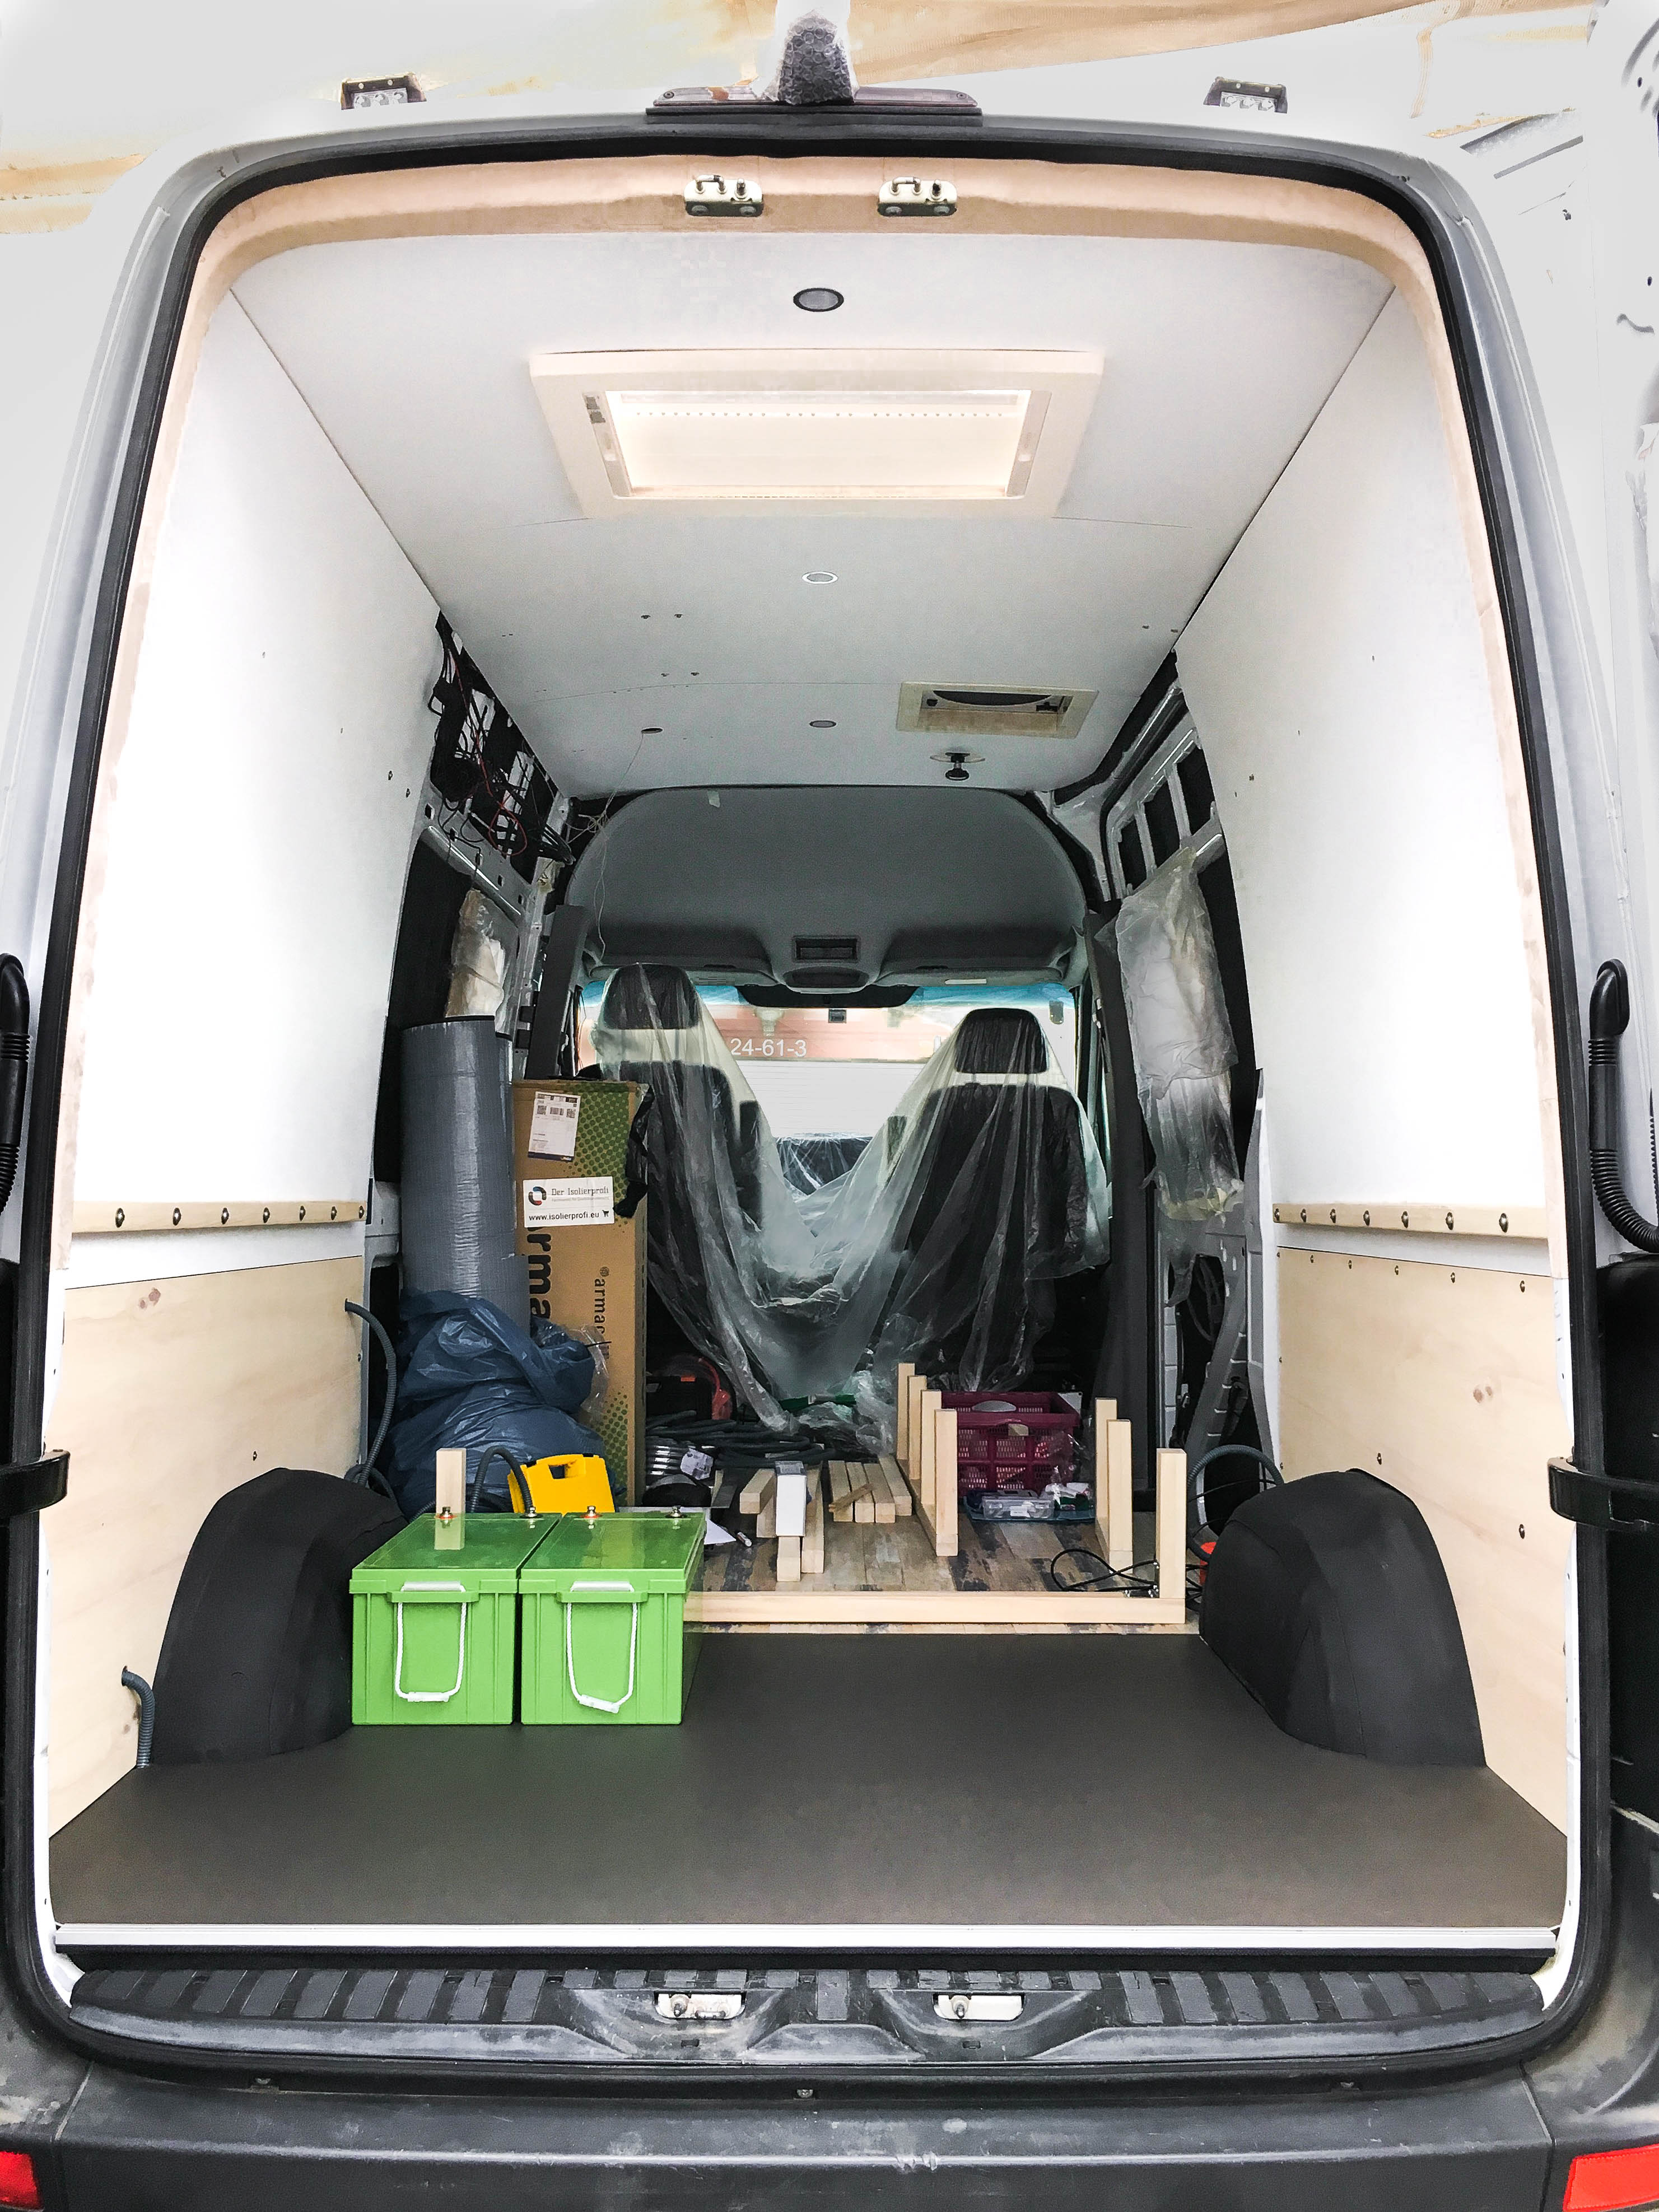
In the lower back of the camper we will build a platform, our garage, with lots of storage room, that’s why we will use 6 mm poplar plywood panels without coating for this area. Because the „raw“ poplar plywood is quite soft and sensitive to bumps and not water repellant, we paint them with hardwax oil (from both sides!) before installing them to the walls.
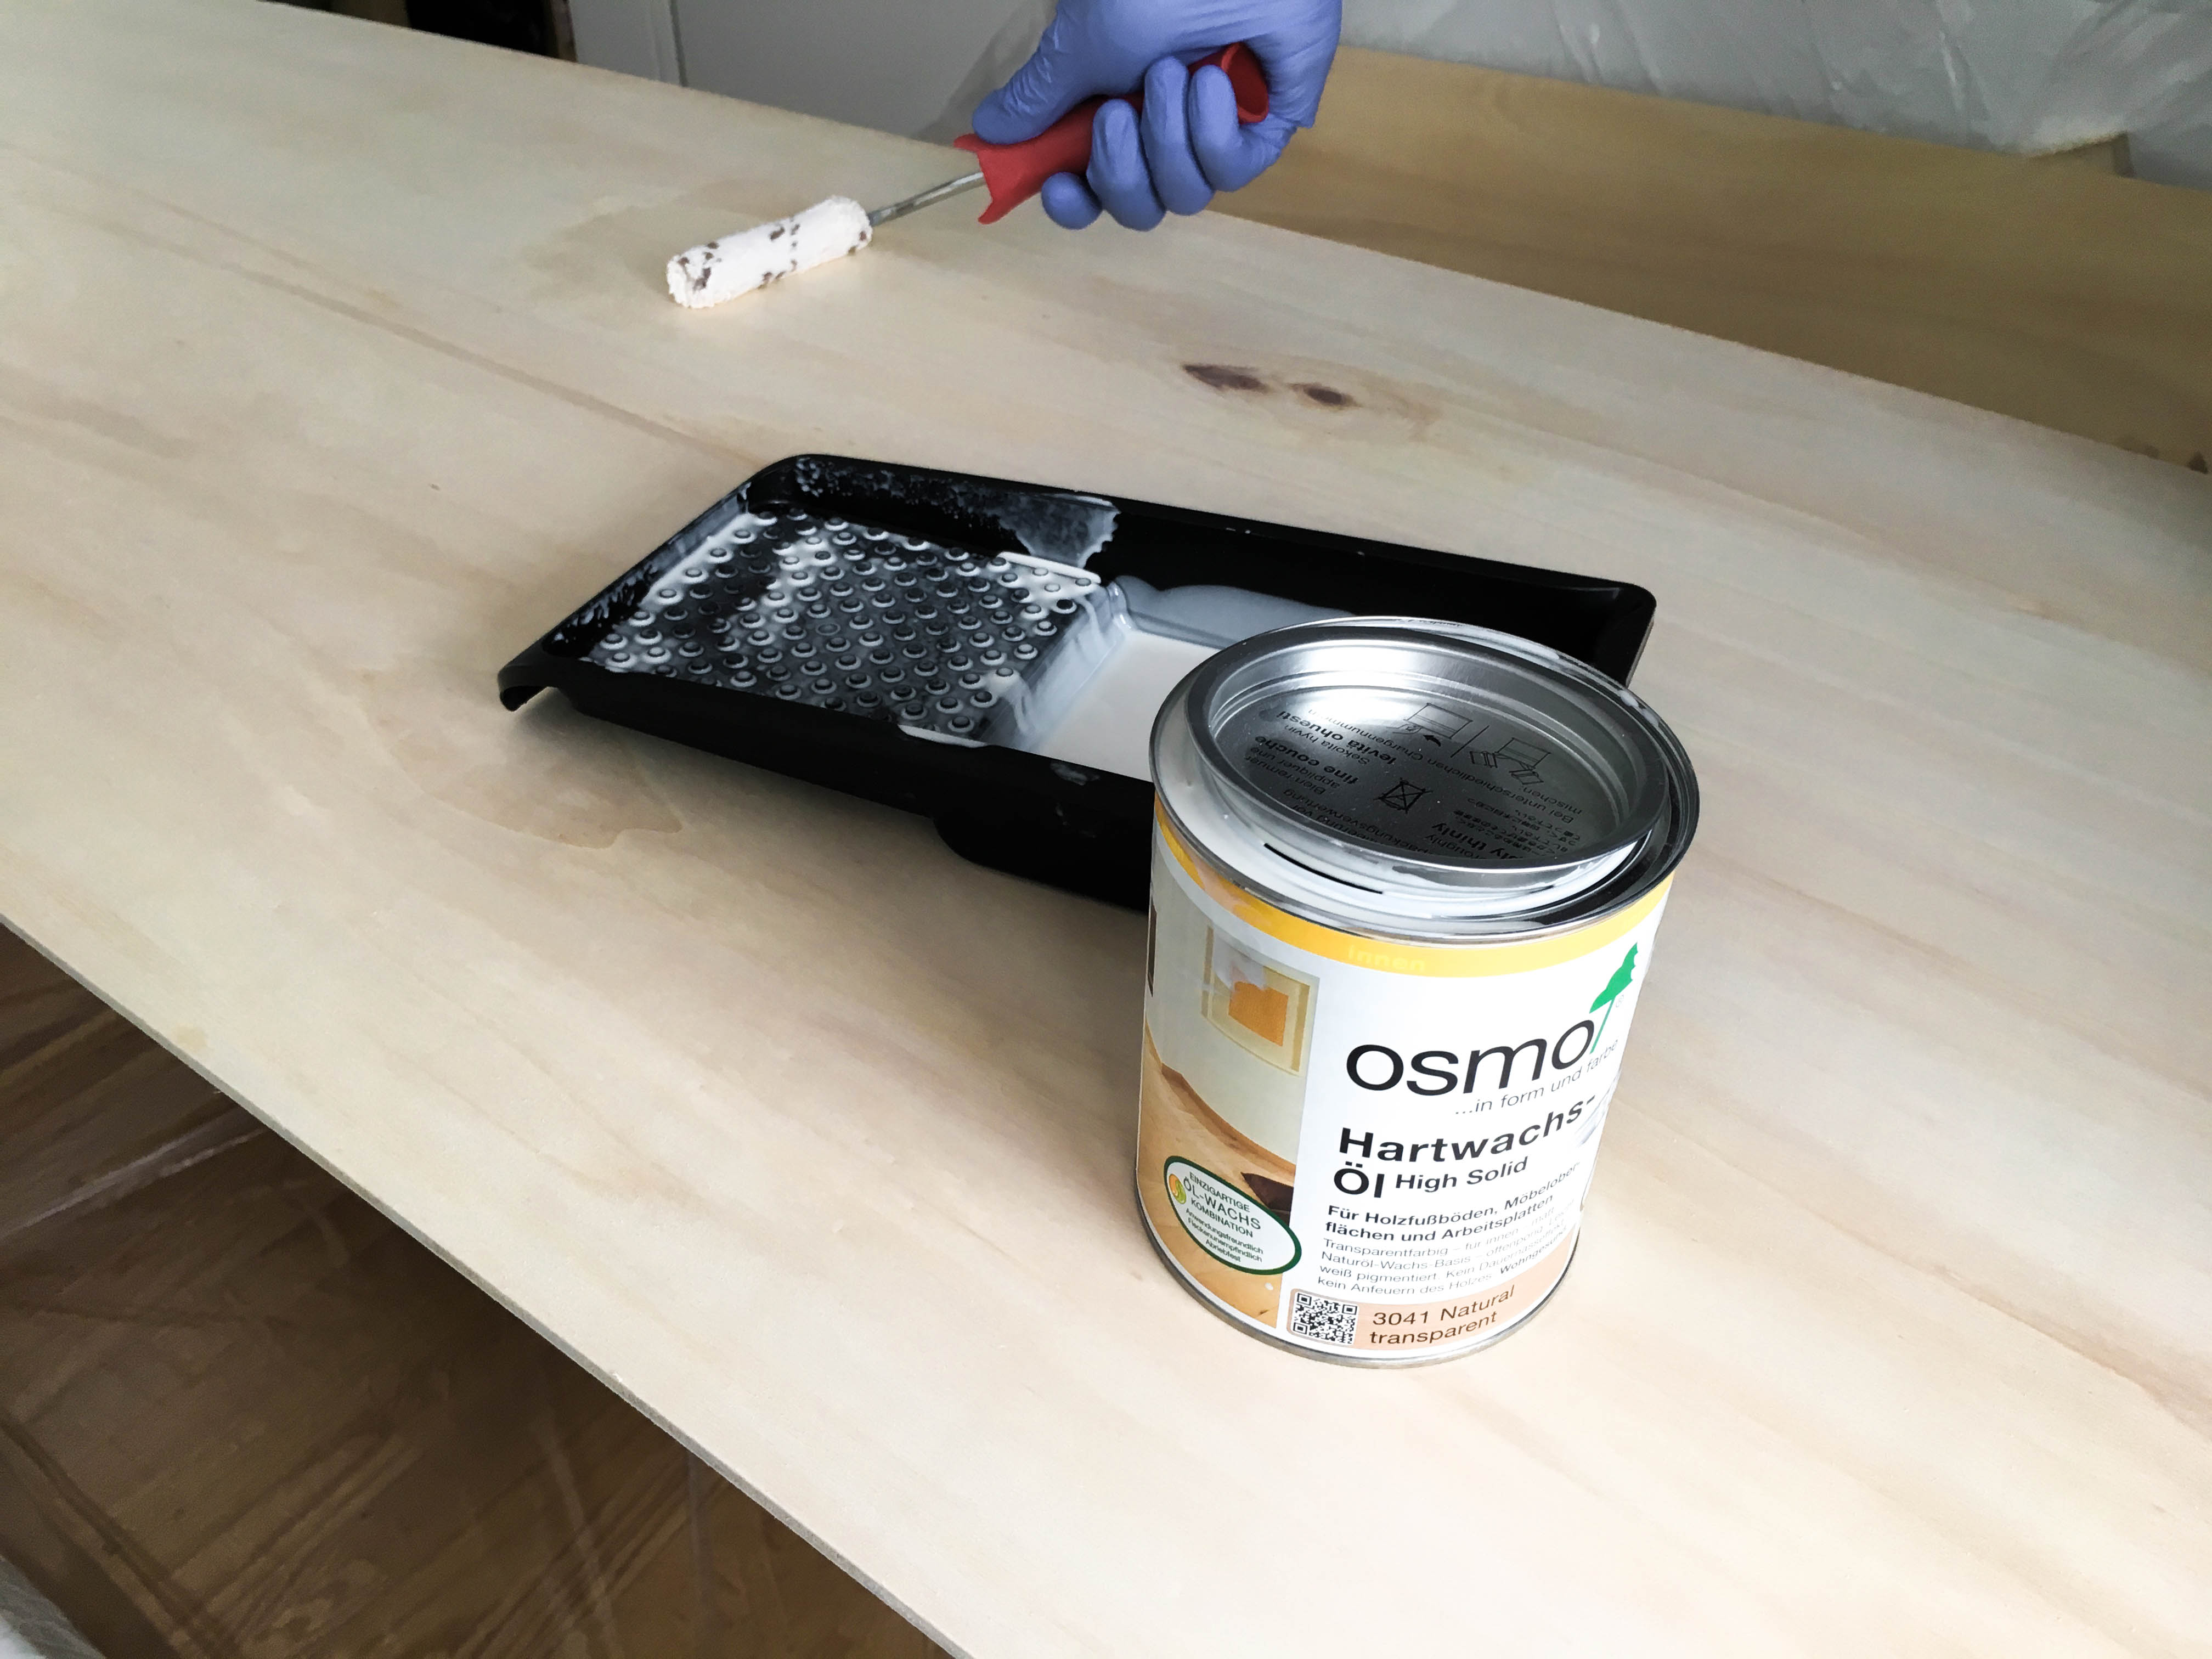
The drying time is 24 hours for each one of the two coats of oil. We used this time to make templates, again. If you got your vehicle with the original side wall panels, you should have kept them for this because you could use them as a template! In our case, other than with the old floor panel, there were no more side panels installed, so we had to invest some time and make a template, especially regarding the wheel cases.
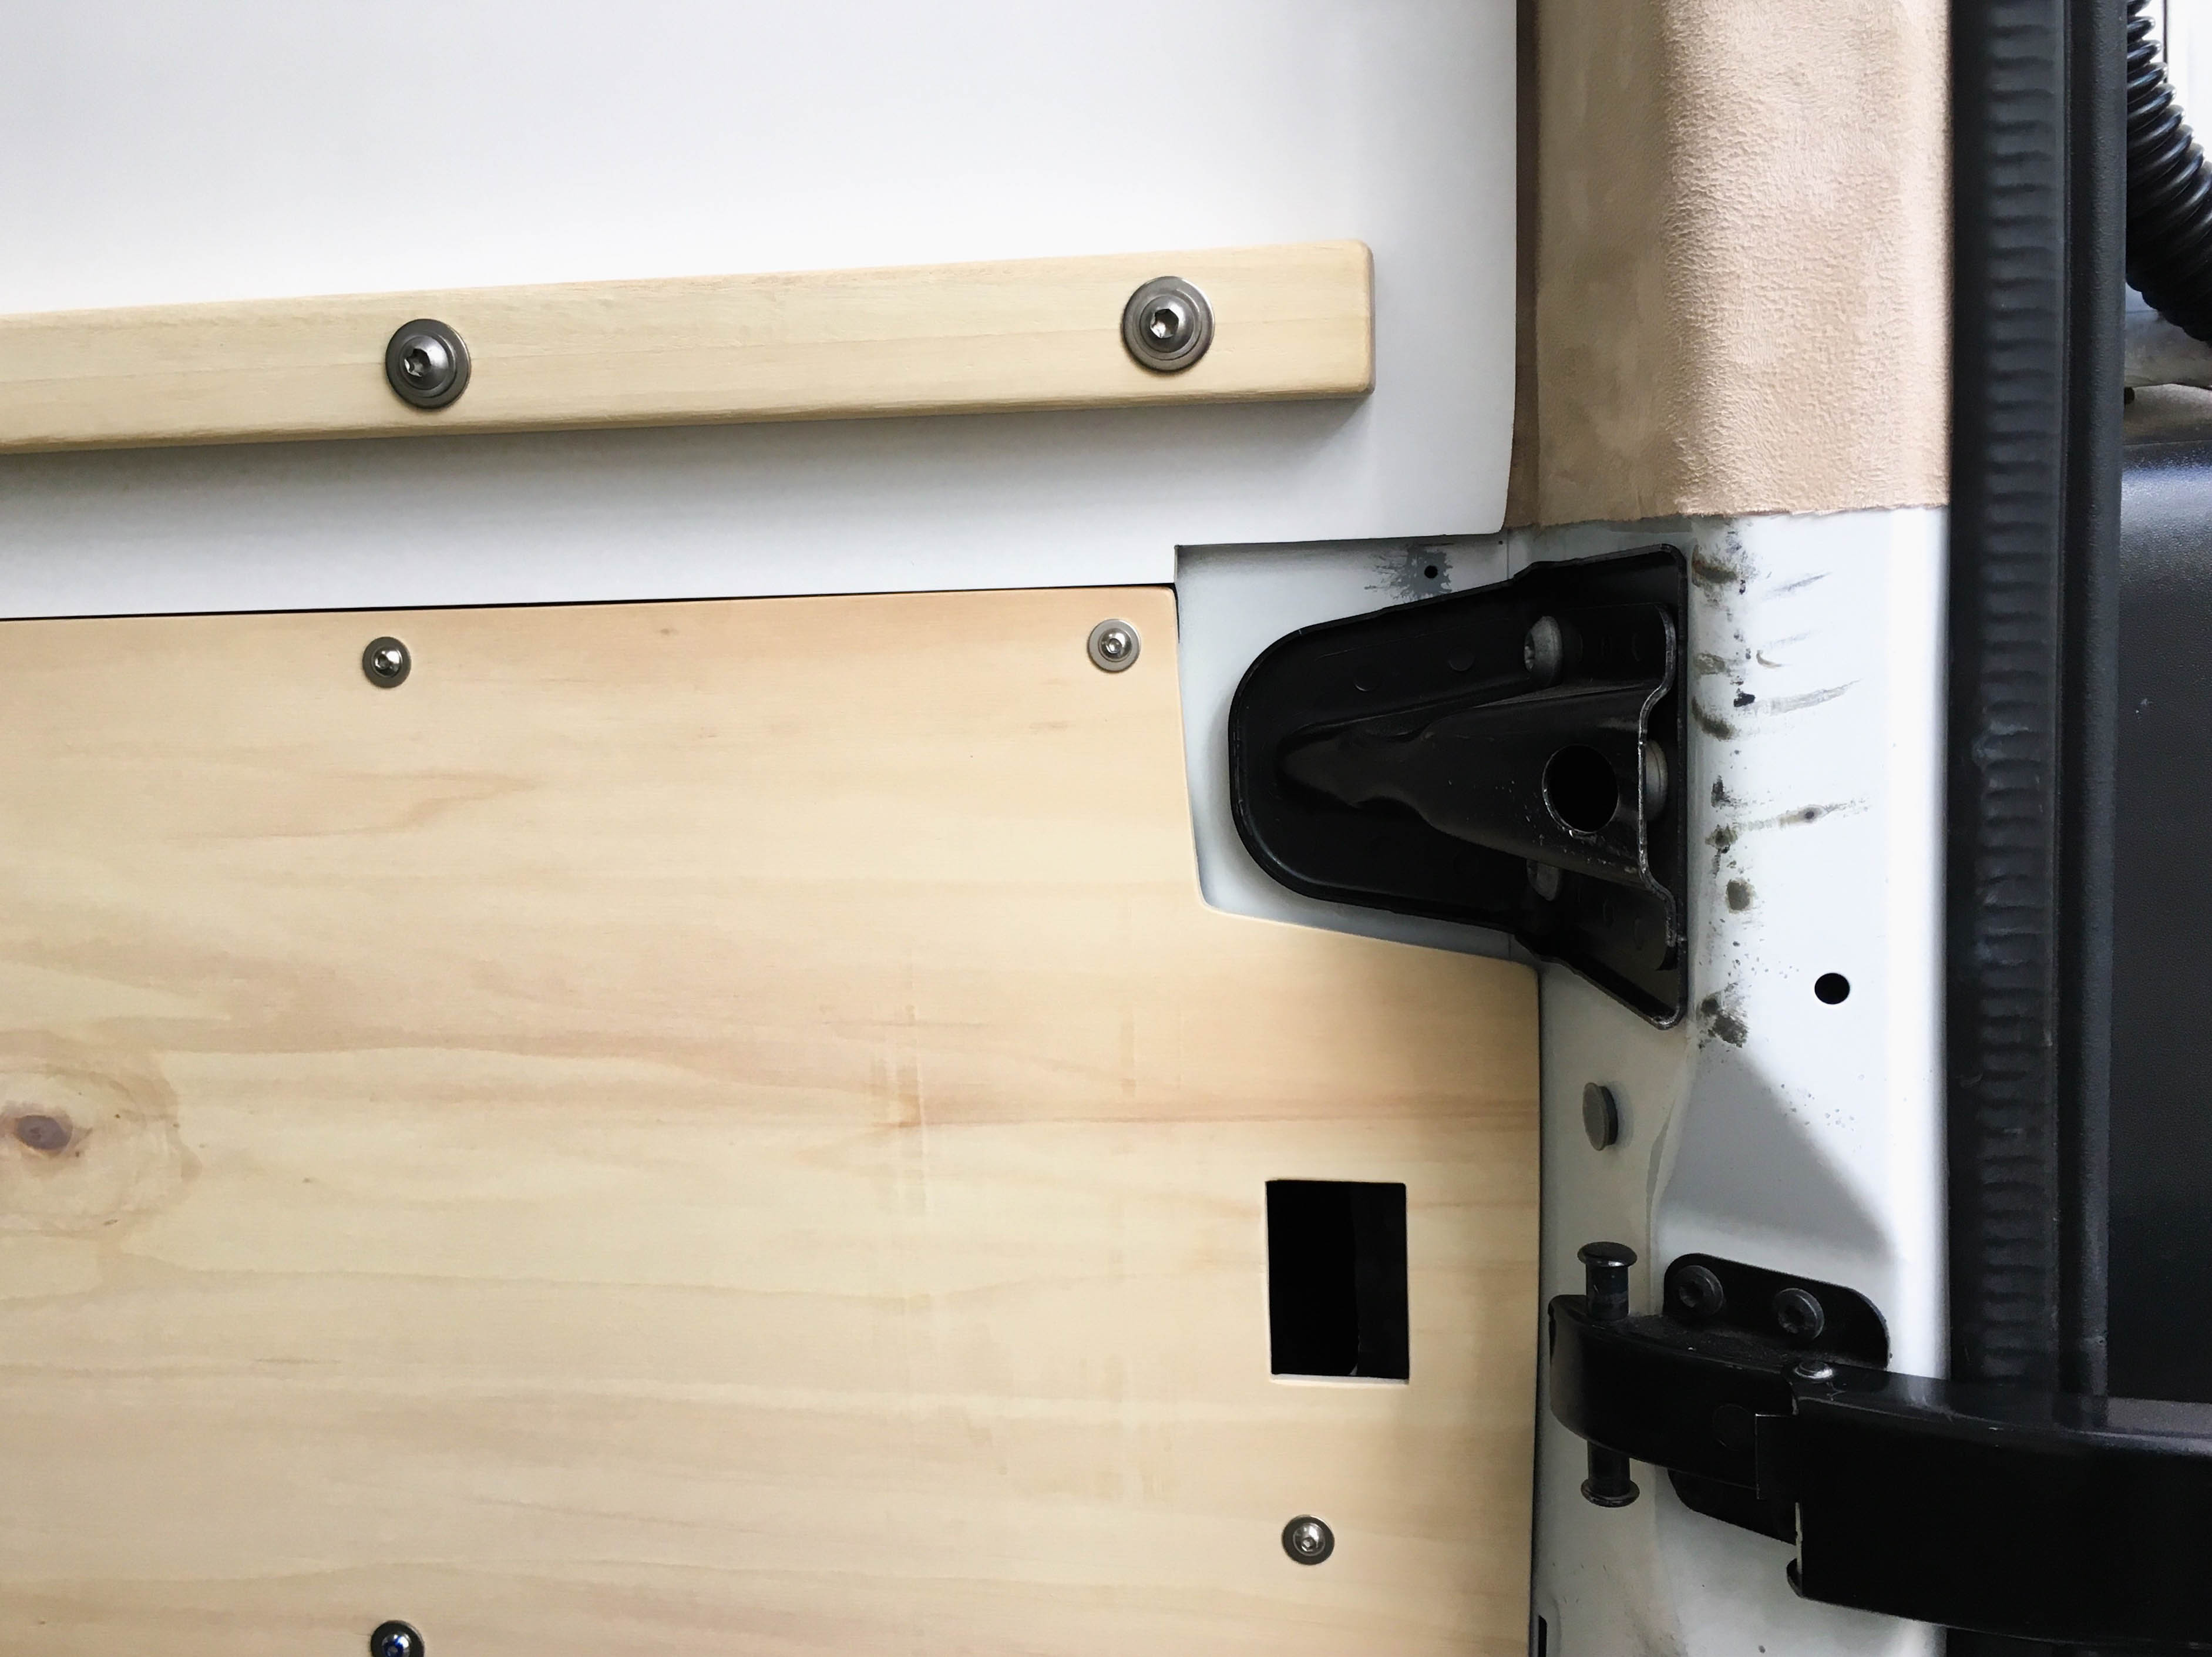
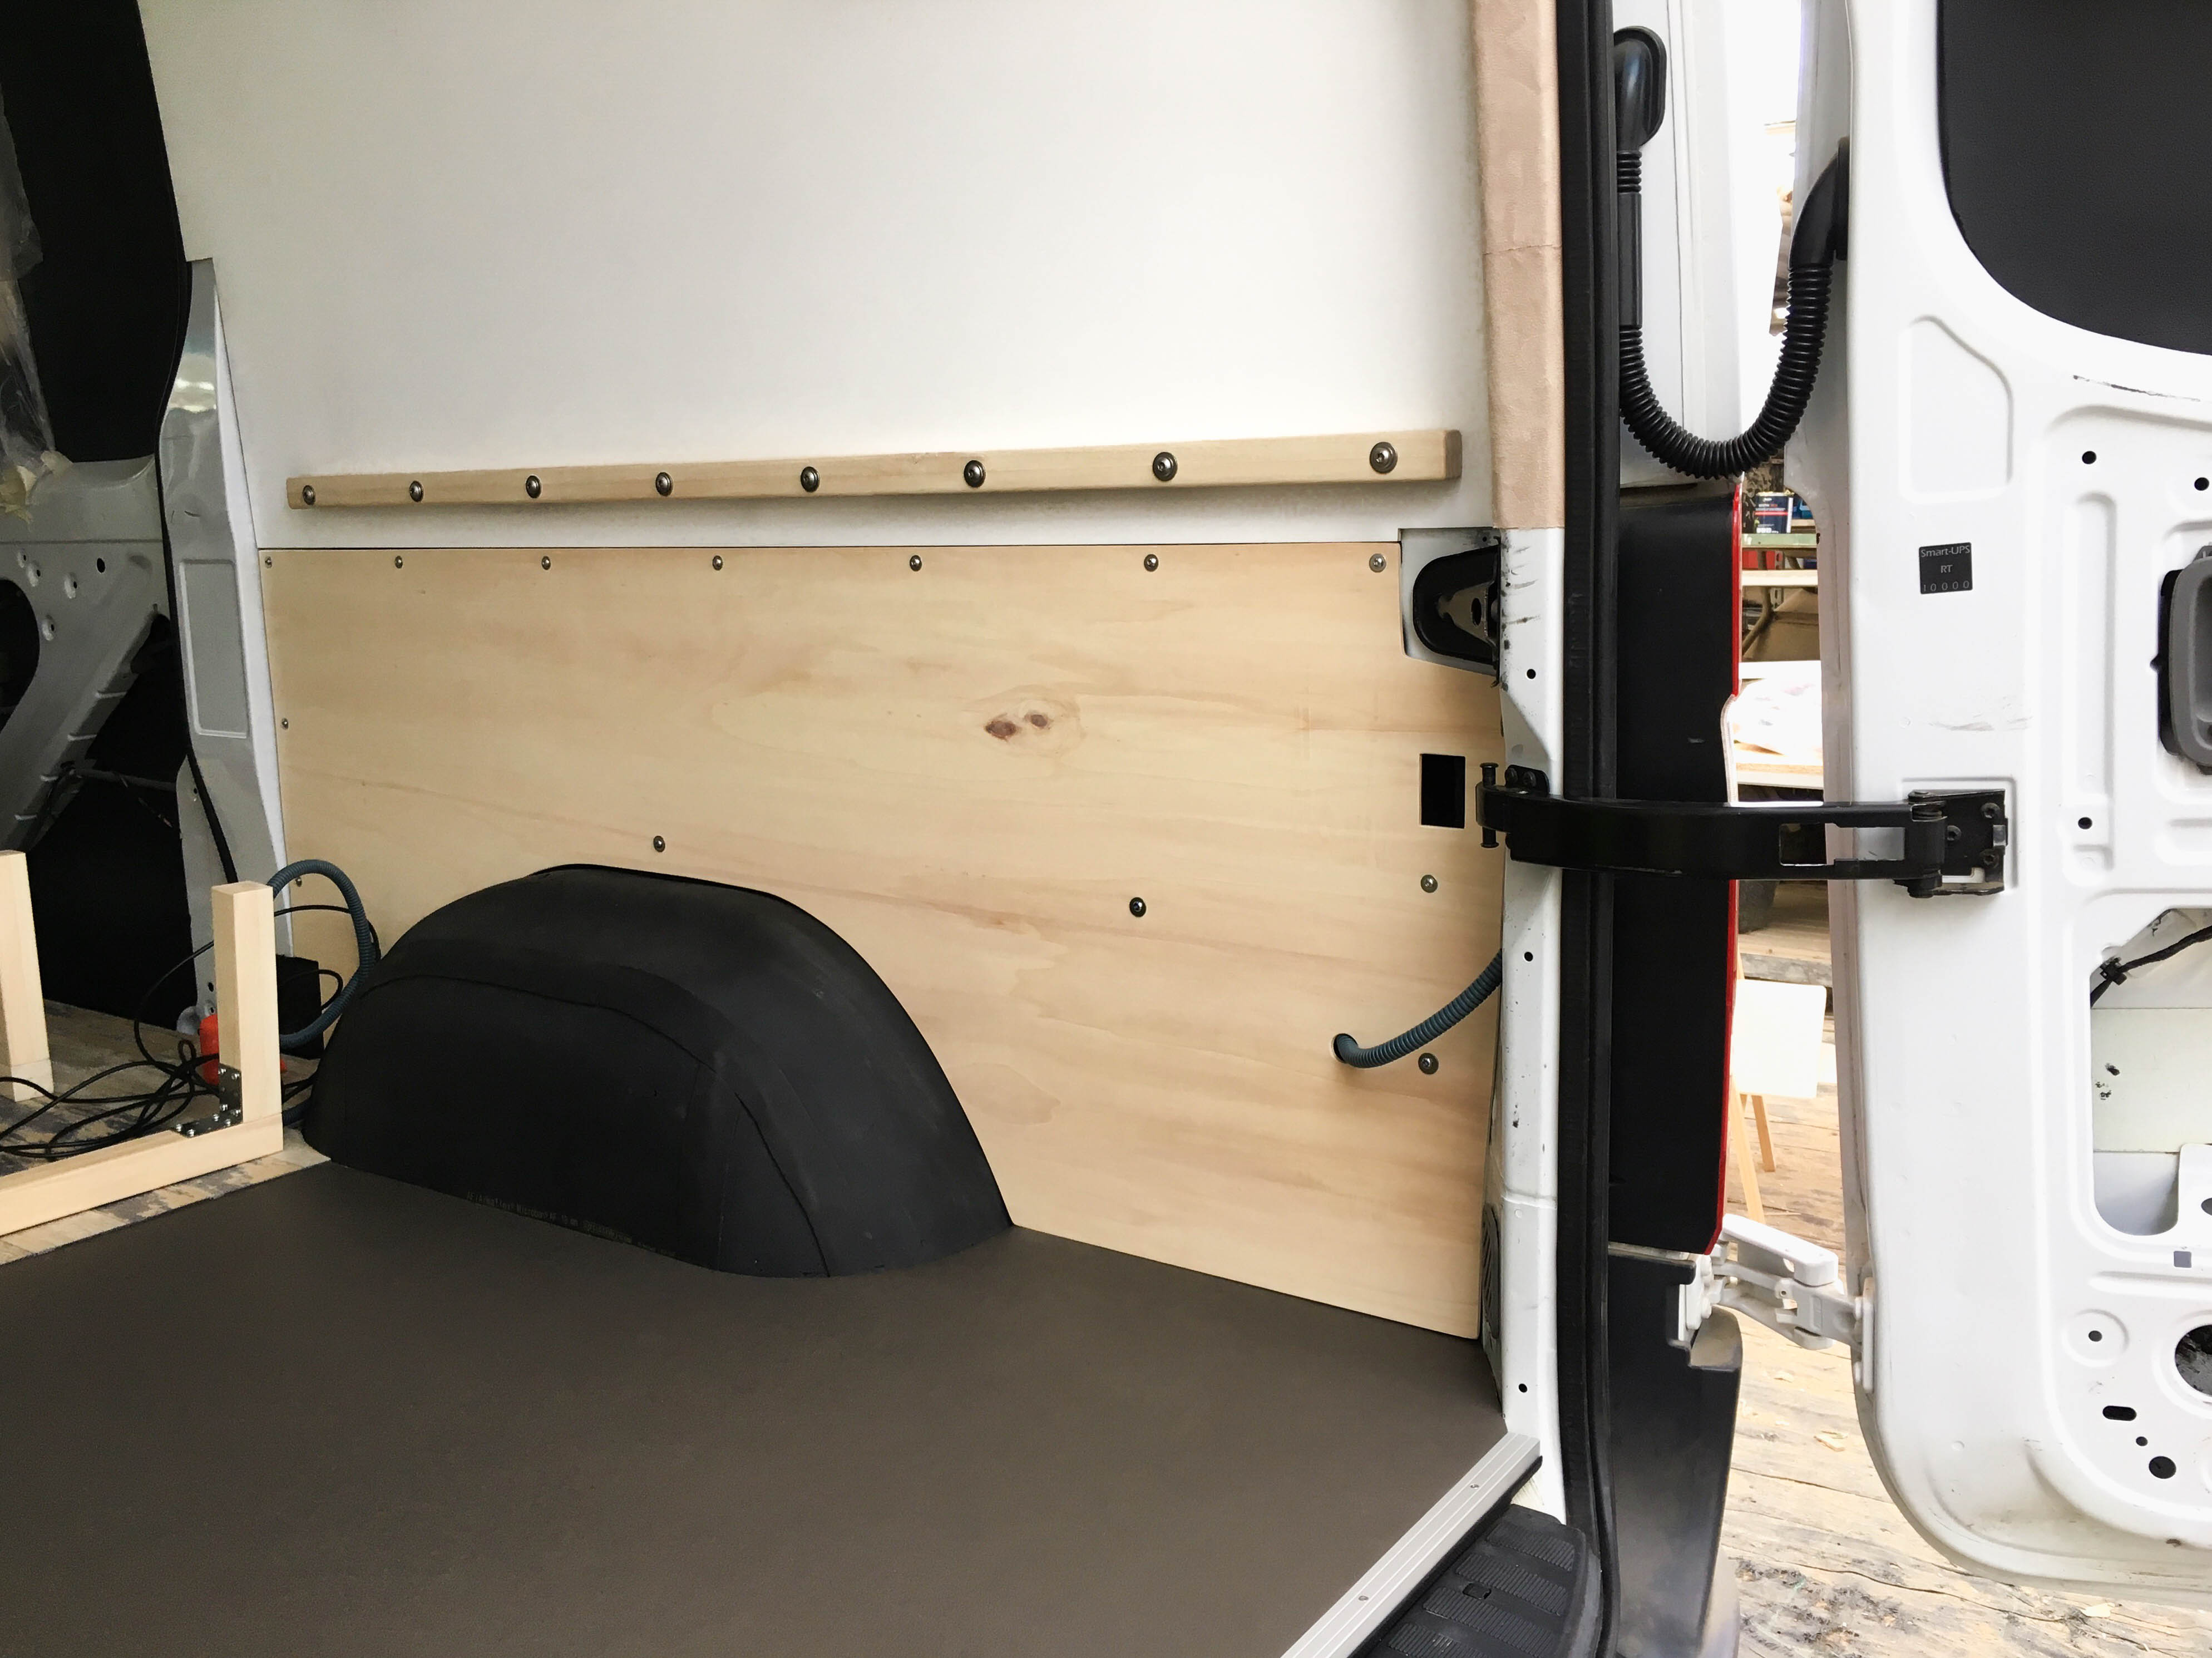
We also installed the side panels panels using blind rivet nuts, screws and shims. With this lower part of the wall paneling you have to take into consideration the closing mechanism of the back doors.
So this is our interior paneling! We really like the plainness and simplicity of the HPL coated panels. Some minor details, like where the edges of the panels meet, will later have to be covered, but we will do this at the end of the interior build because some of it will be covered by closets and cabinets anyways.
Read more about interior paneling; about the ceiling panels and about the back door panels as well as the sliding door!
We found these products to be helpful to adjust the panels:

