
Talking about a home’s walls you might think about side walls or maybe the ceiling but probably not doors. But in a campervan the doors are walls too, and the doors of the Sprinter also need an interior paneling.
For the panels of the back doors we are using the same material as for the ceiling and the walls which is 6 mm poplar plywood. Raw poplar plywood is soft, prone to bumps and not water repellant. That’s why it shouldn’t be used untreated in the interior of a campervan. For the wall and ceiling panels we used HPL coated or painted poplar plywood. For the back door panels we used fabric.
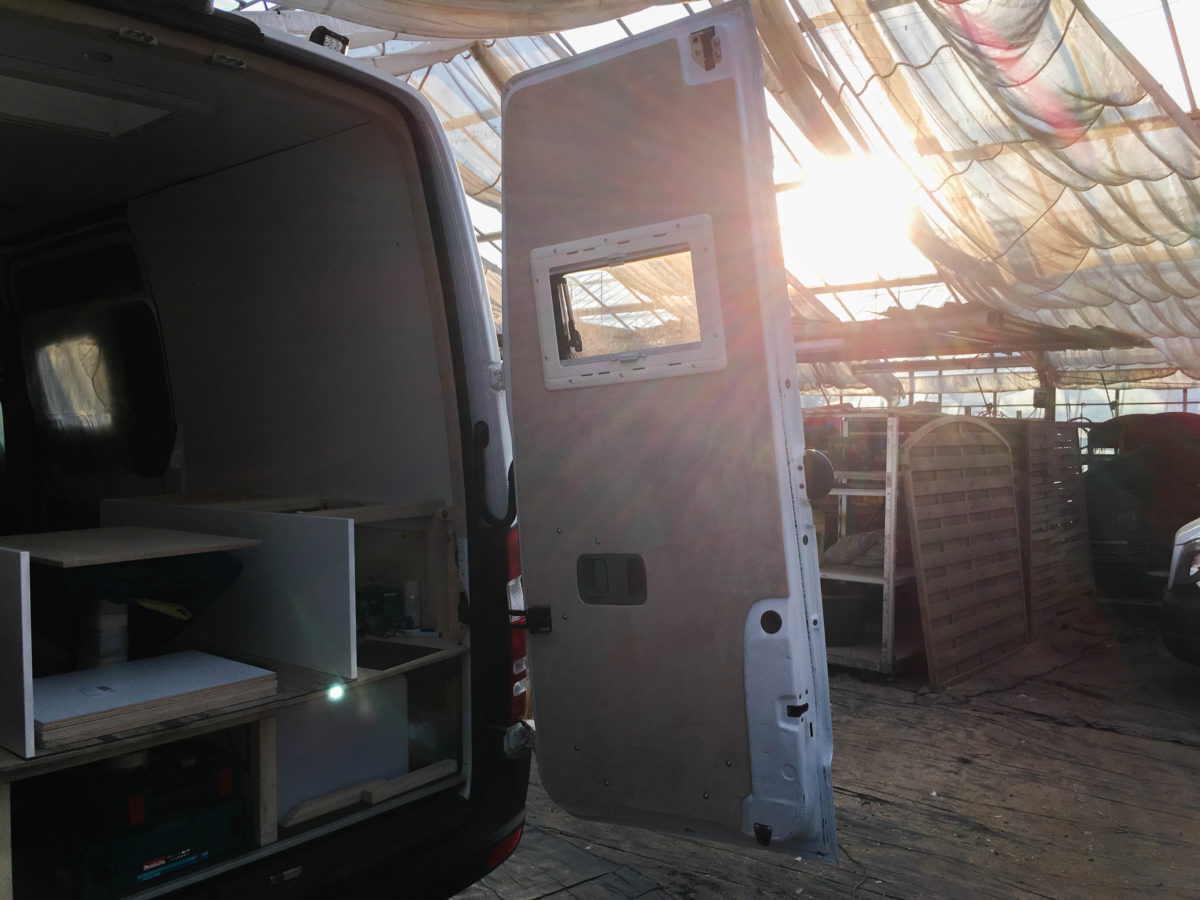
First we had the 6 mm poplar plywood plates roughly cut to size at the hardware store to then adjust them to the doors. We had to include the cutouts for the windows, door locks, door holders and the door handle.
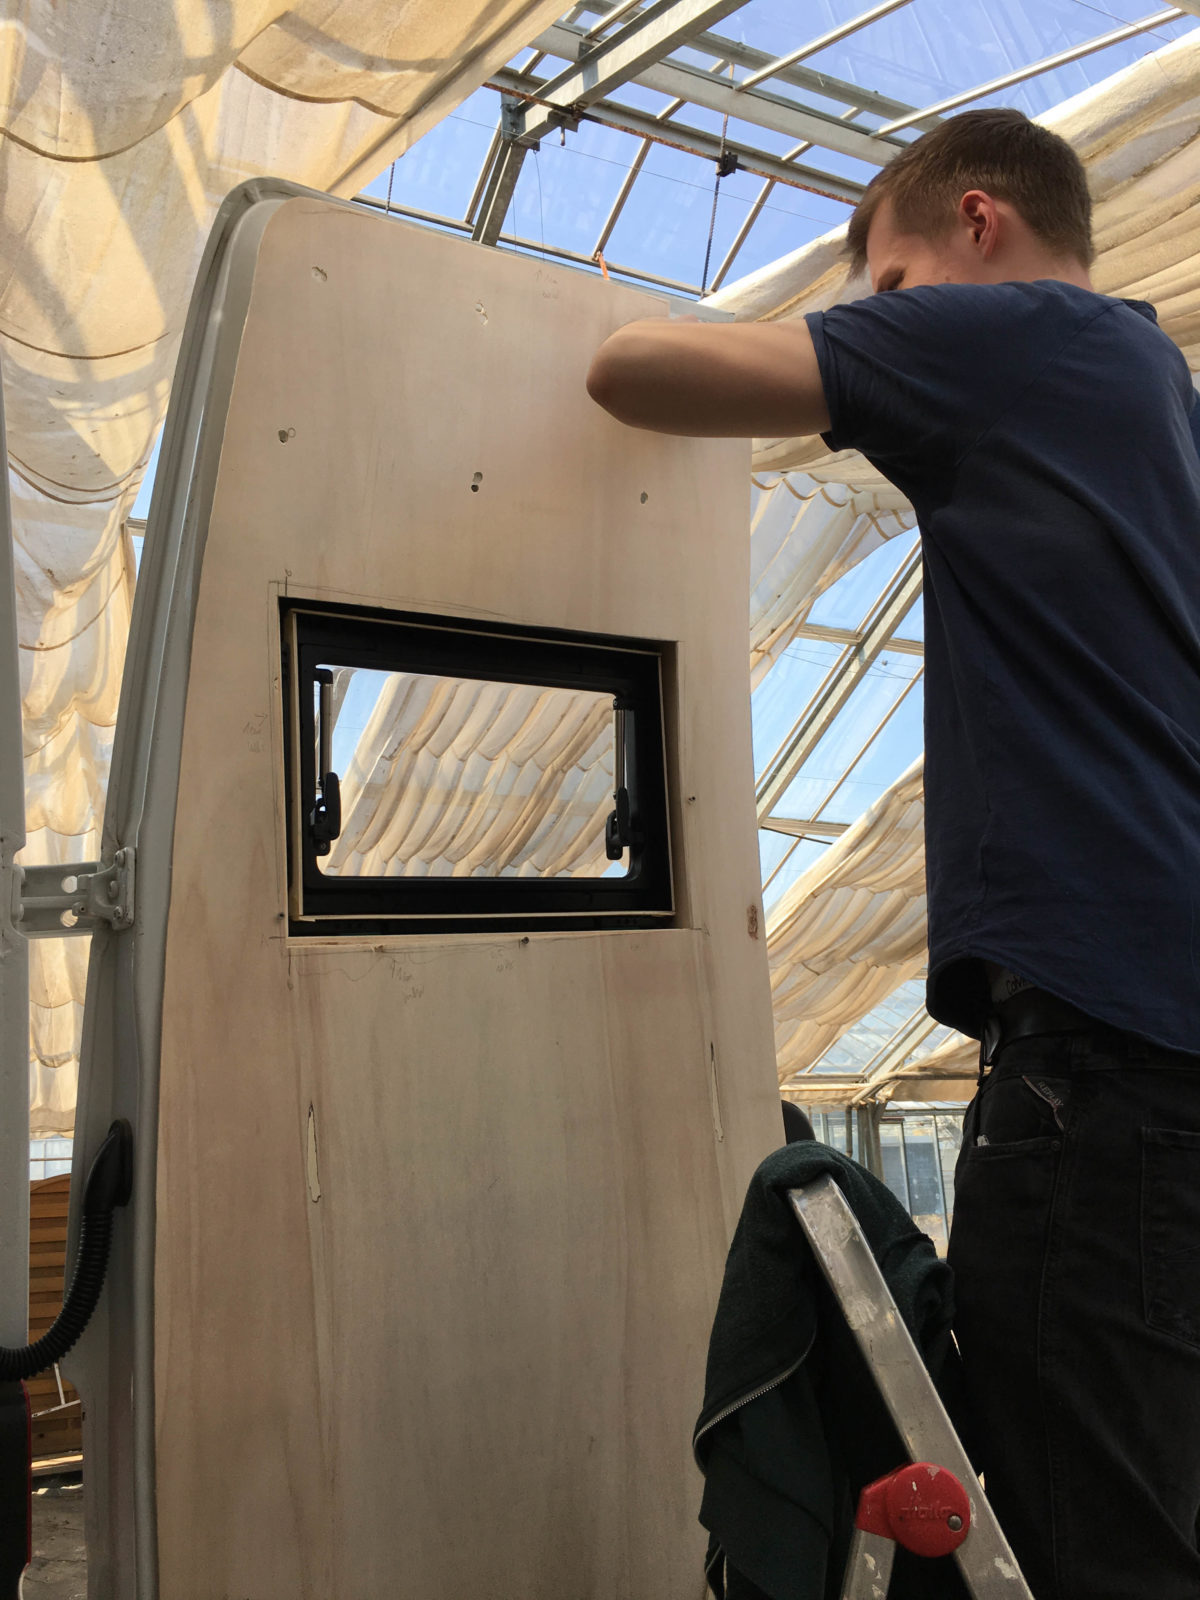
We had to put the pieces up and down a lot to slowly work towards the correct form, because we couldn’t measure exactly due to the curve and the rounding of the doors.
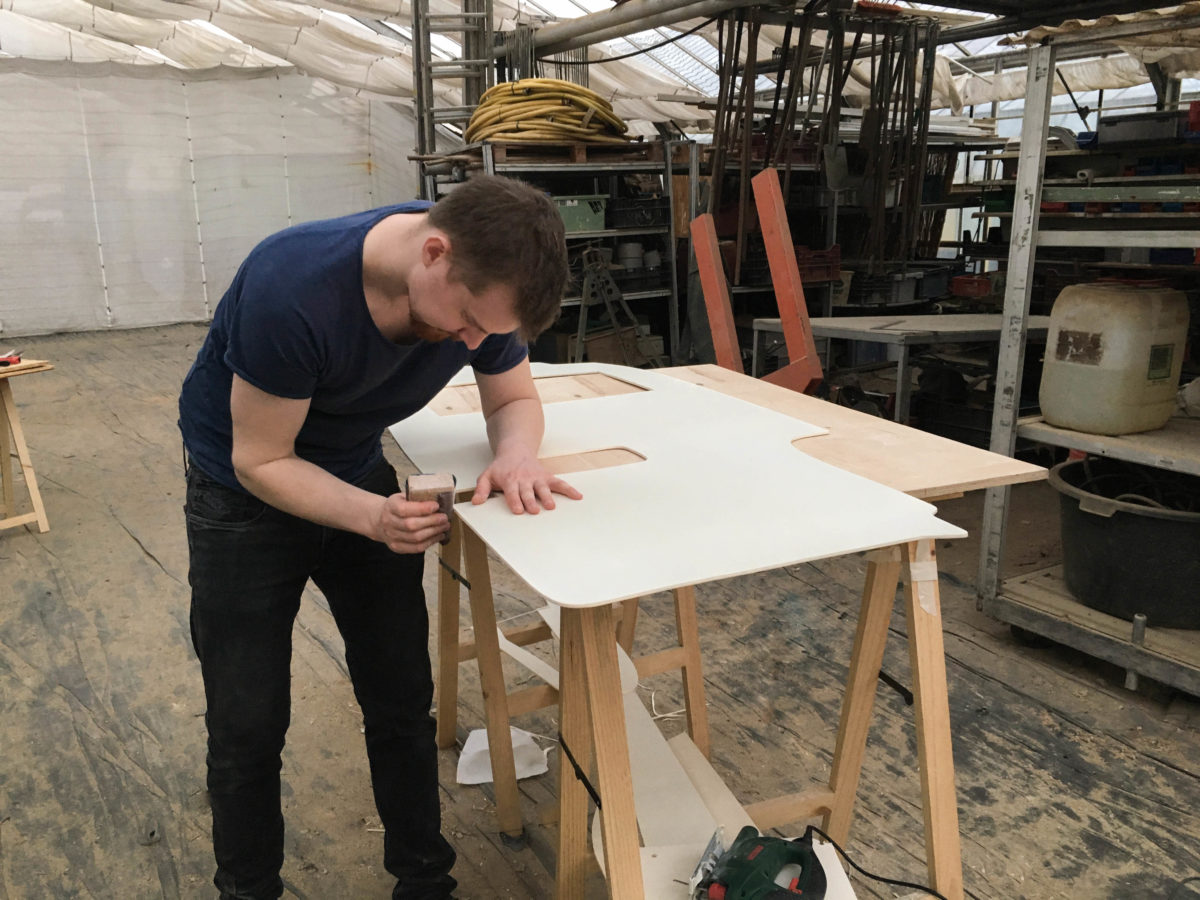
After we had the plates fit the door, we sanded all the edges 😉

We chose a fabric made of microfibre in a suede look in a warm beige color. We sprayed the plates with spray glue, put the fabric on top and fastened everything tight with stainless staples on the backside.
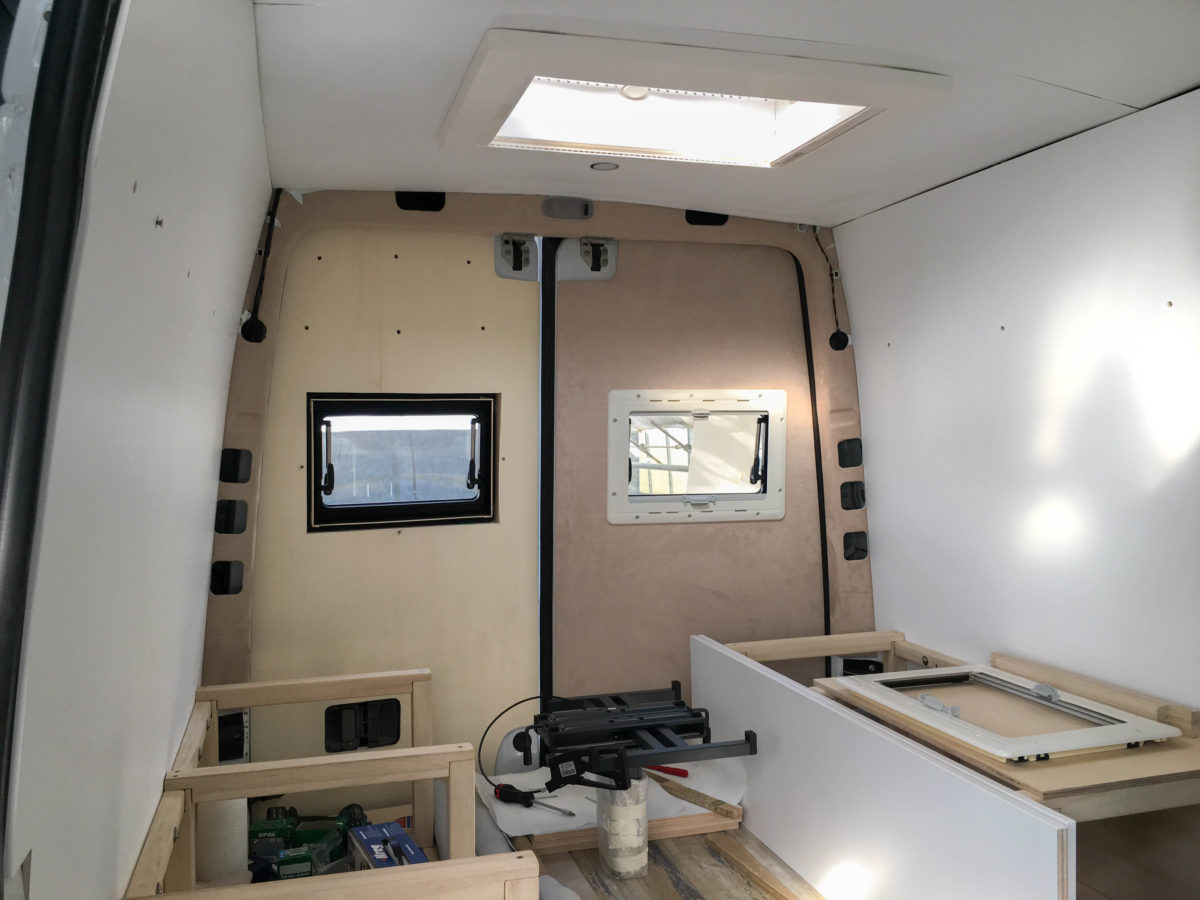
For the plates to be held to the doors, we installed rivet nuts in the lower area, which will be hidden behind the platform or the benches, to screw them tight. Further up the plates are held by the window frames and velcro strap attached to the back.
By the way: We had to learn the hard way that it’s not possible to screw the plates into the wooden frames of the windows because the outer frames of the windows will not hide the screws!! But that’s exactly what we did the first time: we screwed the tediously adjusted and gently in fabric covered plate into the wooden frame of the window. Only when we put the outer frame of the window back on, we were horrified to realize that the screws were not covered by the frame as we expected! So we removed everything, teared off the fabric, went and got new fabric and did it all over – needless to say this not only took up time and money, but nerves. Sometimes it’s worth the time to measure twice and double check everything 😉
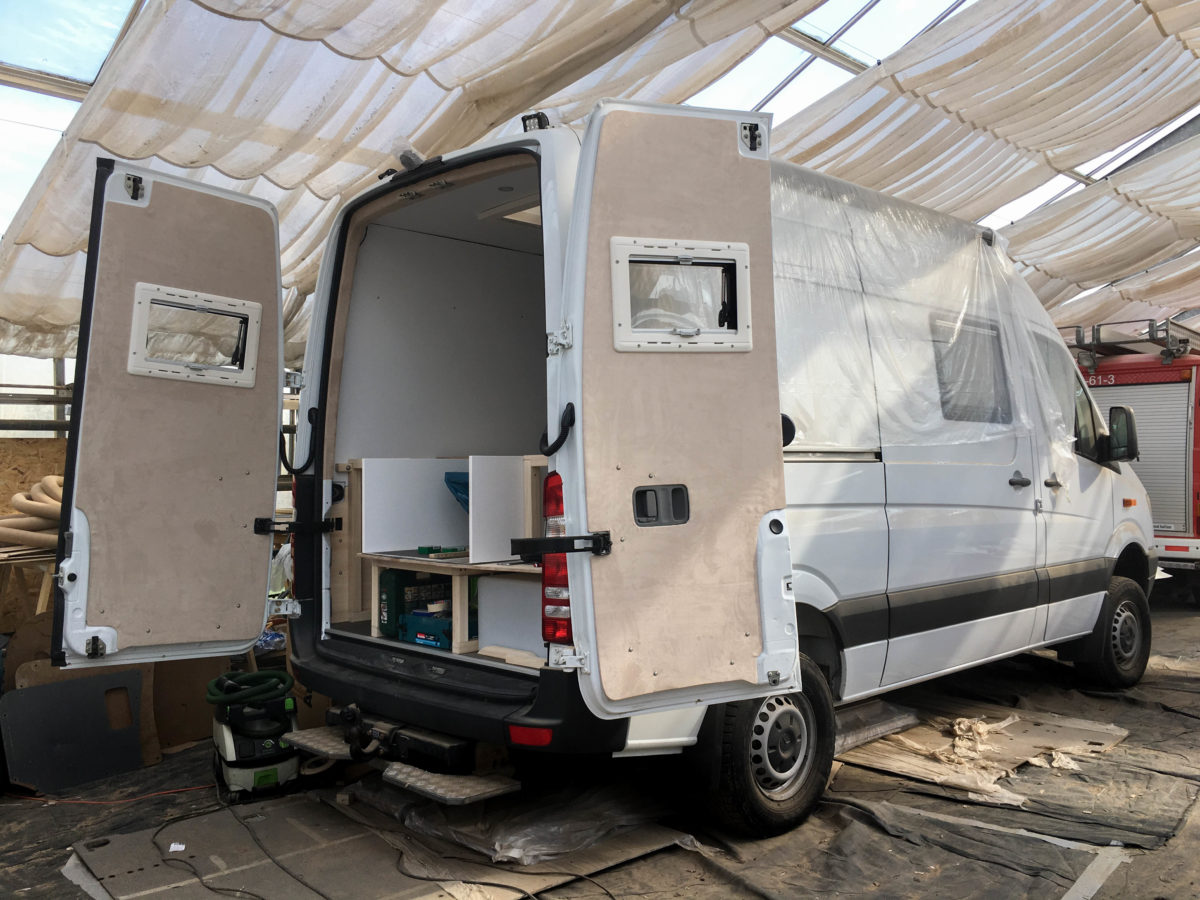
If you take a closer look you’ll see that we used the same fabric for the D-pillar as we did for the back doors. Chosing a fabric you have to take into consideration the necessary elasticity, a fabric frequently used is 4D-felt. It also worked with the microfiber though. We used a contact adhesive to apply the fabric. We put the glue to the pillar with a brush and then slowly and carefully placed a long piece of the fabric.
Besides the paneling of the back doors we already did the ceiling panels and the wall panels. Now it’s only the sliding door!