
But we did not quite dare to drill and cut holes in our Sprinter all by ourselves.
When it comes to the conversion of the Sprinter, Jan is the expert. He already spent countless hours researching and planning everything out. I on the other hand do not know much about materials and do not have any crafting skills. I trust Jan, and during this conversion I will be the little helper. Without a doubt, Jan wouldn’t hesitate to cut the holes into our sprinter to install the windows himself –“But what if you cut it wrong?”–“We’ll just use a bigger window” –“But what if you cut it wrong big time? The Sprinter would be wasted!!”
We started this project saying “If there’s anything we cannot do, we will learn to do it” because none of us converted a Cargovan into a Campervan before. But the risk or rather the consequences of a mistake when installing the windows was too big for us (well, for me – Ines).
So we contacted a professional builder of mobile homes and installed the windows in cooperation with him – a really good decision!
Where do we want windows installed?
To follow along, have a look at our blogpost about our layout!
For the sliding door on the passenger side we wanted a big window. When the door is halfway open, the entrance area with a width of circa 60 cm will come about. Then, the window will be over the kitchenette and the cooking area, so there will be much light in the Camper and the cooking fumes will be extracted, even when the door is closed. Additionally the fumes will be ventilated outside by a vent in the roof. For the looks and the line management it was important to us that the side window was in line with the window of the passenger door.
For the rear doors we wanted two smaller windows at level with the bed.
In the front, by the driver`s side, we wanted a small window for our future bathroom, which will be great after showering and visits to the toilet. 😉
We also wanted a big roof window over the bed for much light and fresh air as well as a view to the sky!
What kind of windows did we choose?
All of the side windows are Seitz S4 windows from Dometic in different sizes (WxH):
- Sliding door: 700×500 mm (334,00 €)
- Rear doors (2x): 500×350 mm (255,90 €)
- Driver’s side: 500×300 mm (257,51 €)
Here’s a little tip: Do not order from the manufacturer, there are various online Camping gear shops where you can get the windows at a reduced price.
We chose these sizes because of the costs, safety and looks. The bigger the window, the pricier it is. Breaking in and getting into the van is more difficult with our chosen window sizes. What size you chose depends on your individual wishes and conversion plan.
All windows are joint windows to tilt open in any desired position, so it is also possible to leave the windows open when it is slightly raining. They all have safety latches and therefore cannot be opened from the outside. Blinds (for privacy) and mosquito nets (very important for where we’re planning to go) are already integrated and can be adjusted individually. And the windows have a nice look, too!
The big roof window is the Midi Heki from Dometic in the size 700×500 mm without exhaust ventilation (394,20 €). The tilt-window lets lots of light in and provides fresh air. It can be opened in three different positions and in the two lowest ones can be secured. The Midi Heki also has separate blinds and mosquito nets.
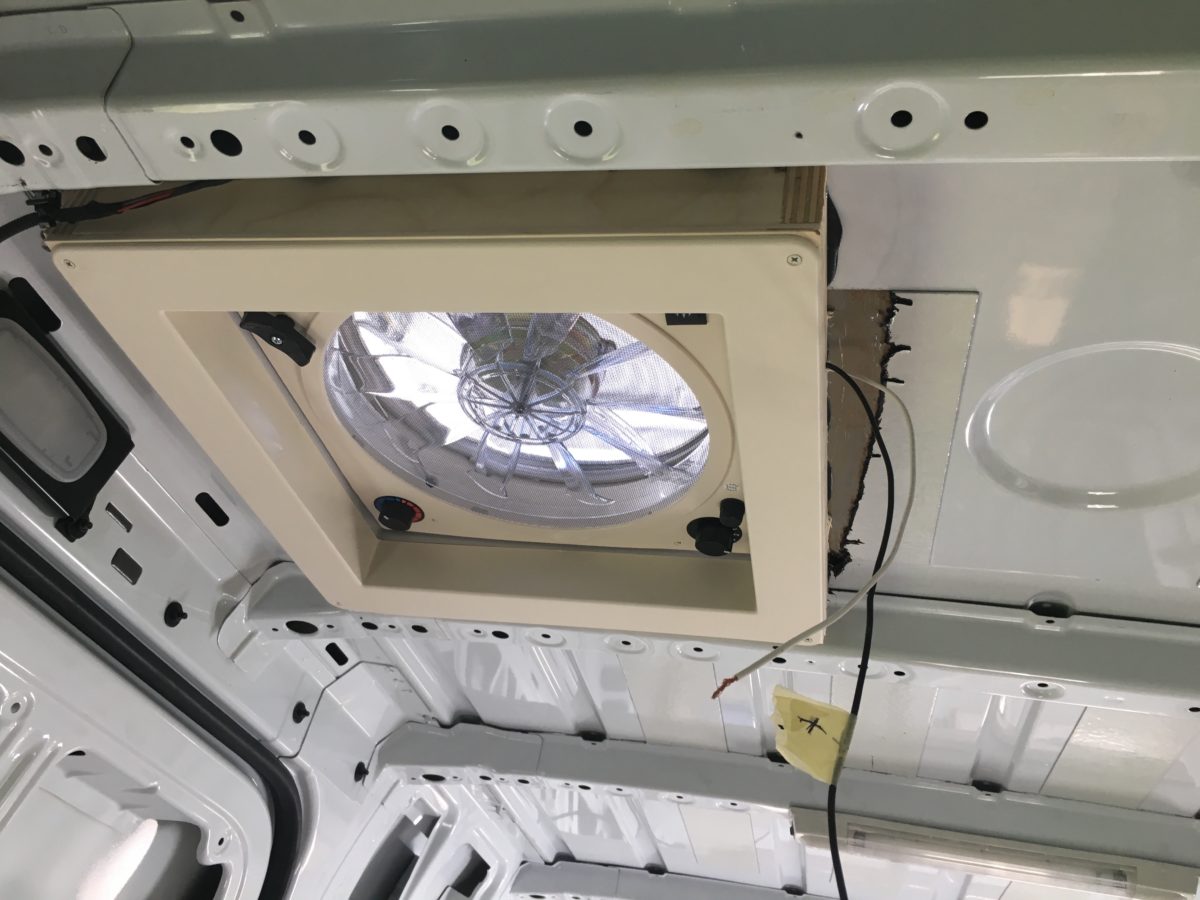
The vent is the Fan Tastic Vent 2250 from Dometic in the size 400×400 mm (237,80 €) with three different levels of ventilation and an integrated thermostat. It was important for us that the vent can not only vent air in but also exhaust to the outside; this is great for cooking or humidity in the vehicle!
Dometic is a big brand and separate components or replacement parts can be easily ordered in case anything breaks.
Installation of the windows, roof window and the vent
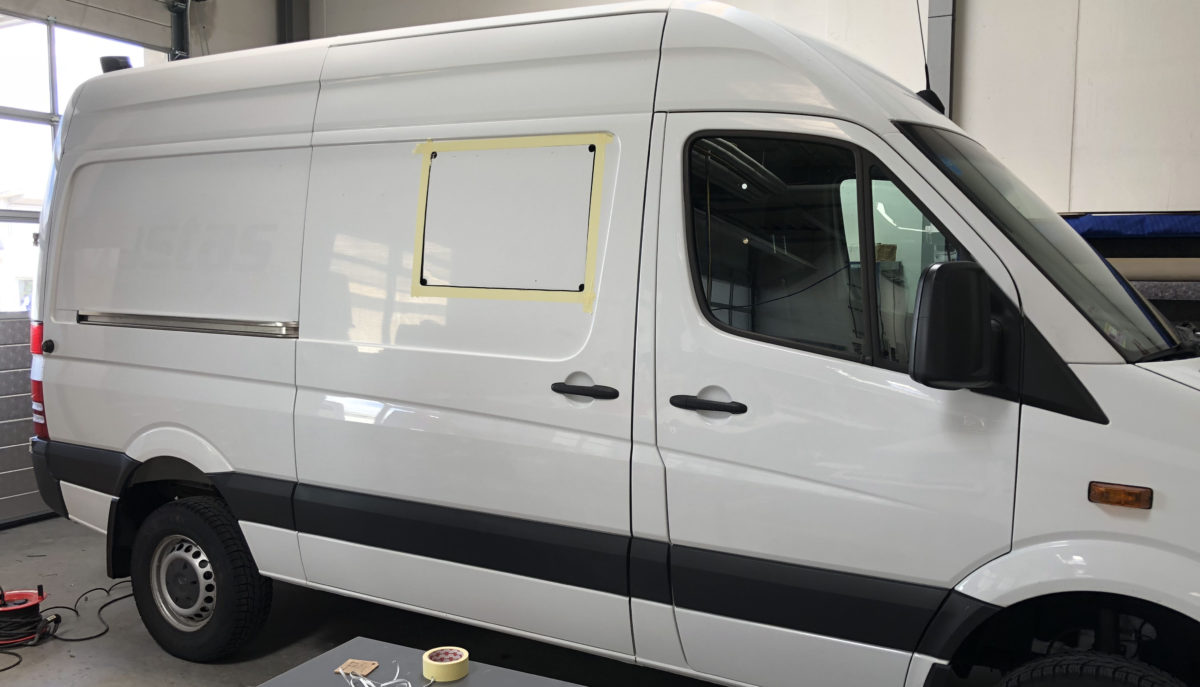
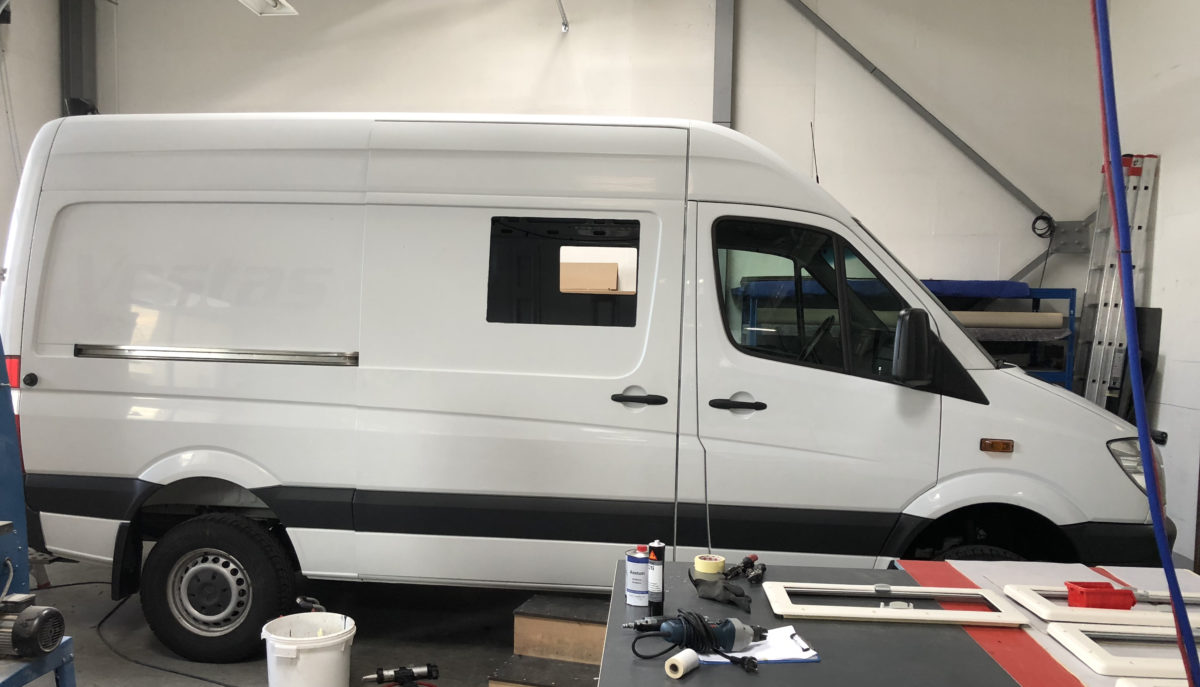
First, the sizes of the inner frames of the windows were measured and taped to the outside of the van. A holesaw was used to cut into the corners of the taped area and then a jigsaw was used to cut the edges for the windows. The edges of the holes were filed afterwards and primed with Epoxi primer.
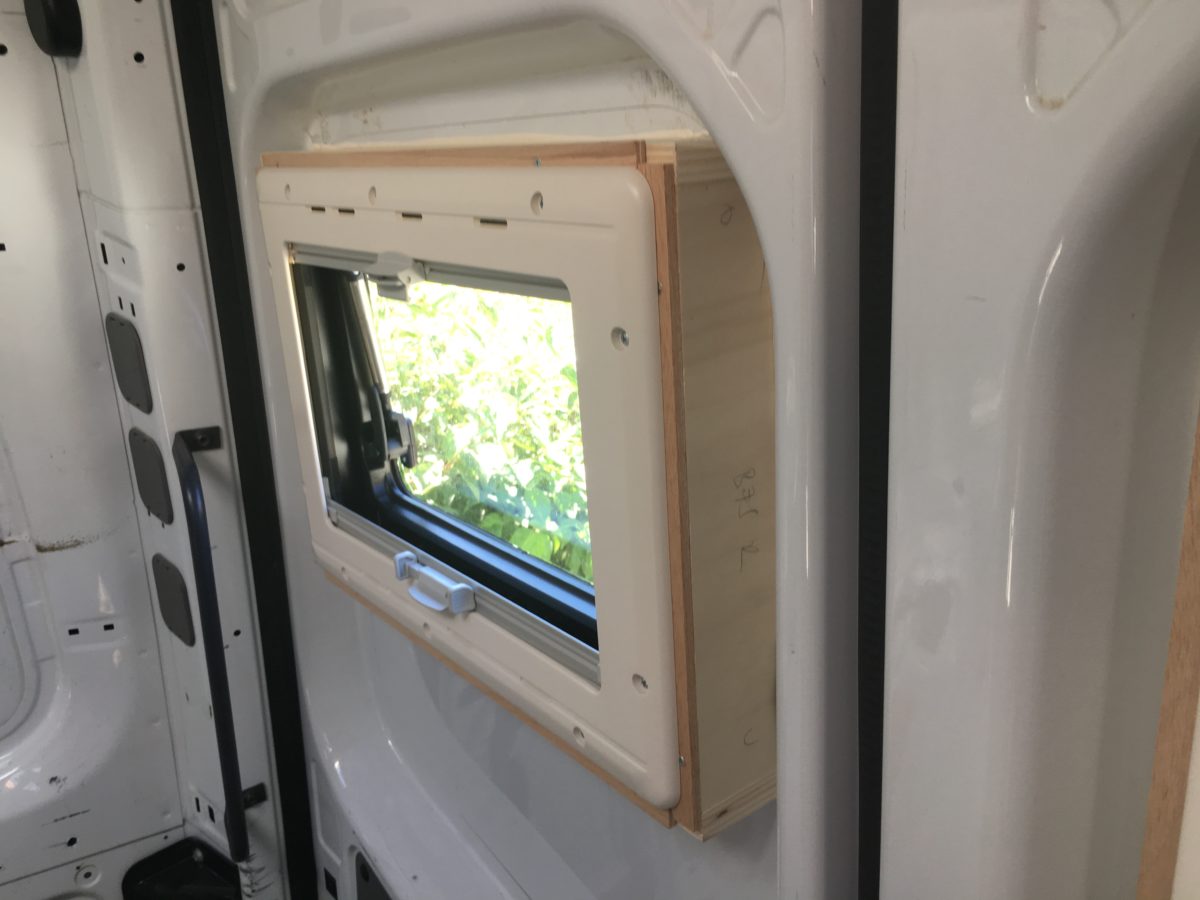
Wooden frames were then made of wooden laths of 25 mm height. The wooden frames were fitted to fit the inner frames of the windows and, depending on the depth of the stringers, 45-60 mm deep. Because we want to panel the walls with poplar plywood of 6 mm, this was also considered while building the wooden frames. At the rear windows and the bathroom window the curvature of the vehicle body had to be fitted, too.
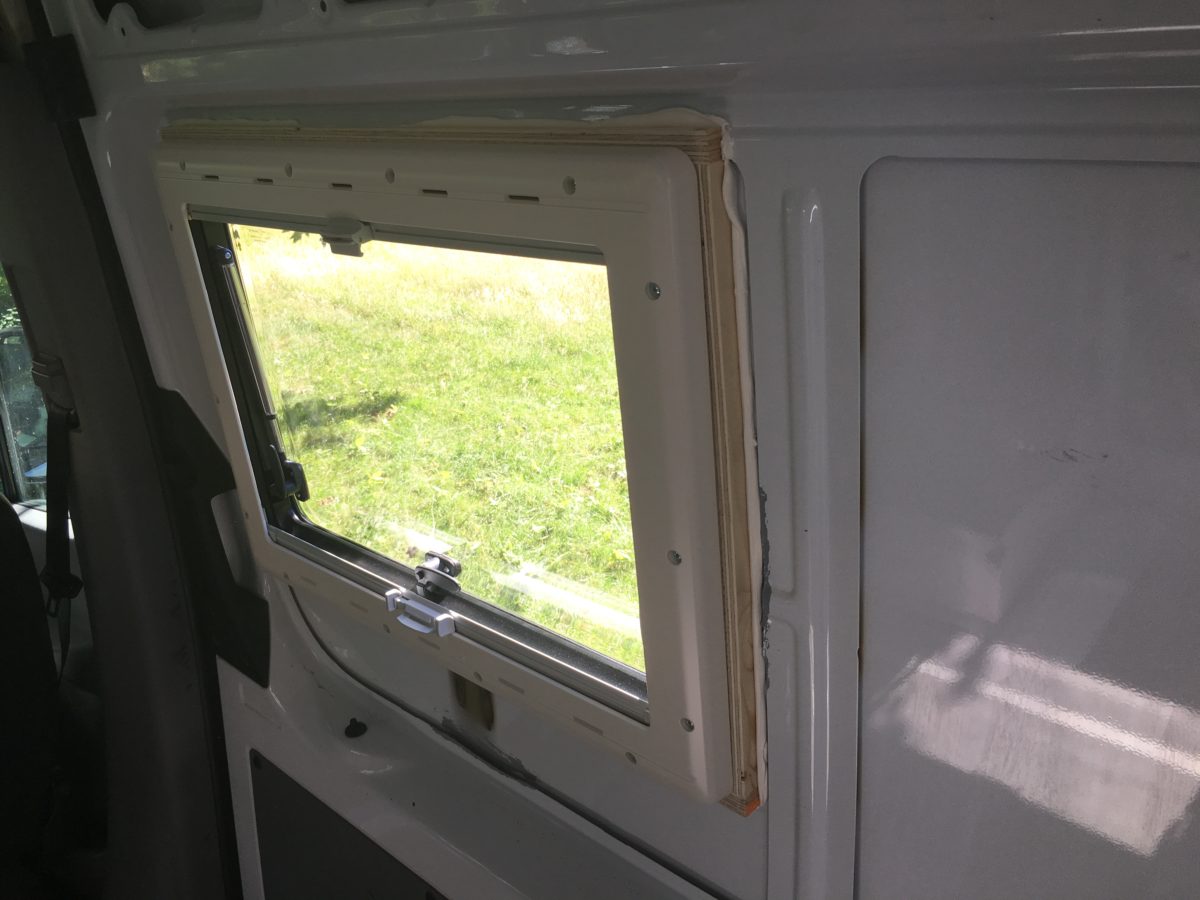
The wooden frames were then pasted from the inside with Sikaflex 252 and held in place with clamps. After a day of drying, the outer frames of the windows were pasted onto the outer metal with Dekalin Dekaseal 8936 and screwed to the inner frames. Then there was more waiting for the paste to dry and all of this of course had to take place under roofing.
What’s special about our Seitz windows: For them to not stick out as much into the living area, the depth of the inner frames was reduced by half 😉 This way they look better and the living space is acutally slightly bigger.
The roof window and the vent were installed to the roof the same way.
The only thing that was made different is at the window at the sliding door; everything was done the same way, but the wooden frame is only about 20 mm, because we won’t be using a panel for the wall. We will fit the insulation and the paneling exactly to the sliding door.
Altogether we’re happy with the windows and the roof window so far. But on our way back home to Hamburg, the vent started rattling and we now need to figure out why, we could not locate it on the autobahn back then. Also, the inside of the Dometic Fan Tastic Vent 2250 does not have the same color as the windows and the roof window; what a shame. We need to find alternatives for the design because we really don’t like the yellowish plastic color – even though the official color of all products was “off white”. Well, stay tuned for what we make of it!
The following products were used for the installation:


