
The living area of our Sprinter amounts to a good 6 square meters. Which means that the whole room is about as big as half a room of an apartment. We want to get maximum storage out of minimal living space so we build a second level – a platform!
Of course we knew from the beginning that the Sprinter is small, we even wanted to get the short version in regard to compactness, ground clearance, etc. But no matter how small, we want to have a sitting and sleeping area, a kitchen, a washroom and storage – on six square meters 😉 The campervan will not only be our weekend- or vacation-getaway; it will be our home.
Even if you reduce all the „stuff“ you have down to the essentials, you still have to bring a lot of things (we will make separate posts on packing lists), just think about tools and spare parts, clothing and shoes both for summer and winter, kitchen utensils and extra food, toiletries, camera-equipment, camping gear and so on. Because we build an autarkic van, we also have to consider enough room for the freshwater tank, batteries and heater – which are quite big, too!
In the back of the van will be our sitting and sleeping area. The benches and table at daytime will turn in to a bed of approximately 180×130 cm by night by lowering the table 😉 Because we don’t need standing height here, we will build it on a platform to create storage room below!
The frame construction
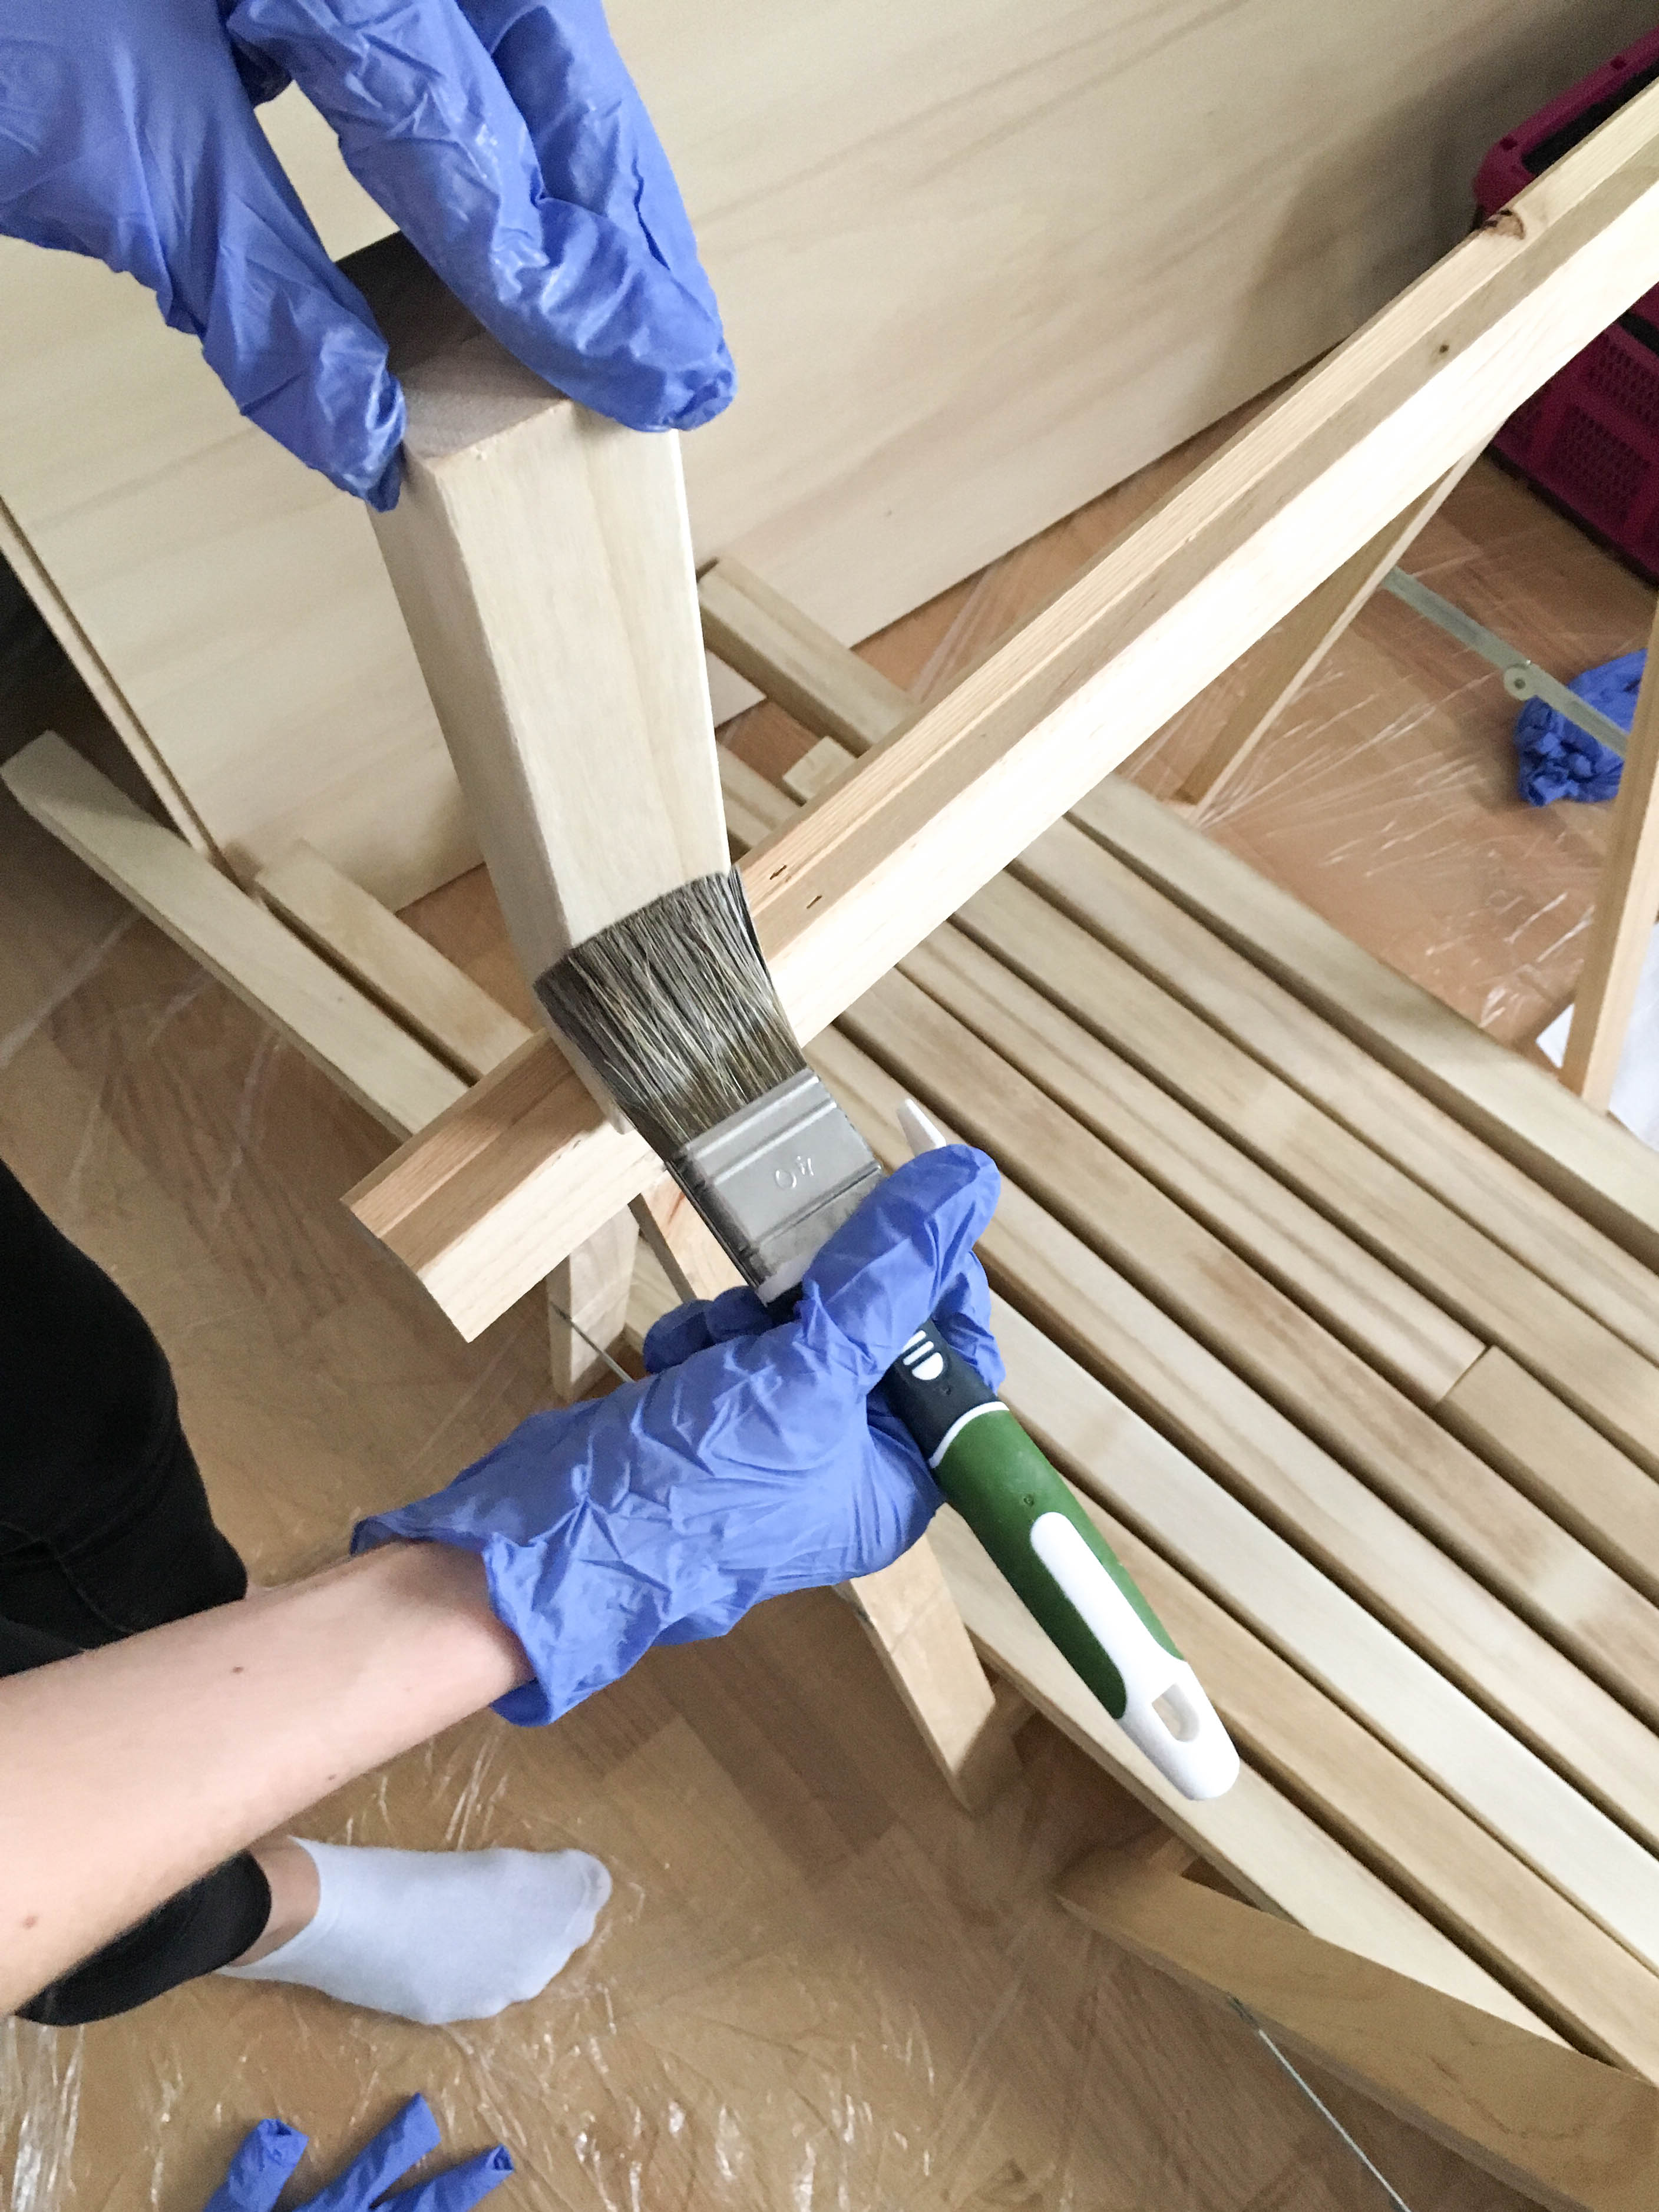
For the framework for the platform we use shelf-studs of Paulownia wood which we had cut to size at the hardware strore. An important advantage of Paulownia wood is its stability and low weight; it only weighs 310 kg/m3. For comparison: oak wood weighs approx. 580 kg/m3 and even spruce wood, which is considered lightweight, still weighs approx. 470kg/m3. As we focus a lot on reducing weight, Paulownia’s positive characteristics come in handy 😉 But because the wood has a low density, the surface is quite soft. That’s why we didn’t put them in without sanding and applying hardwax oil.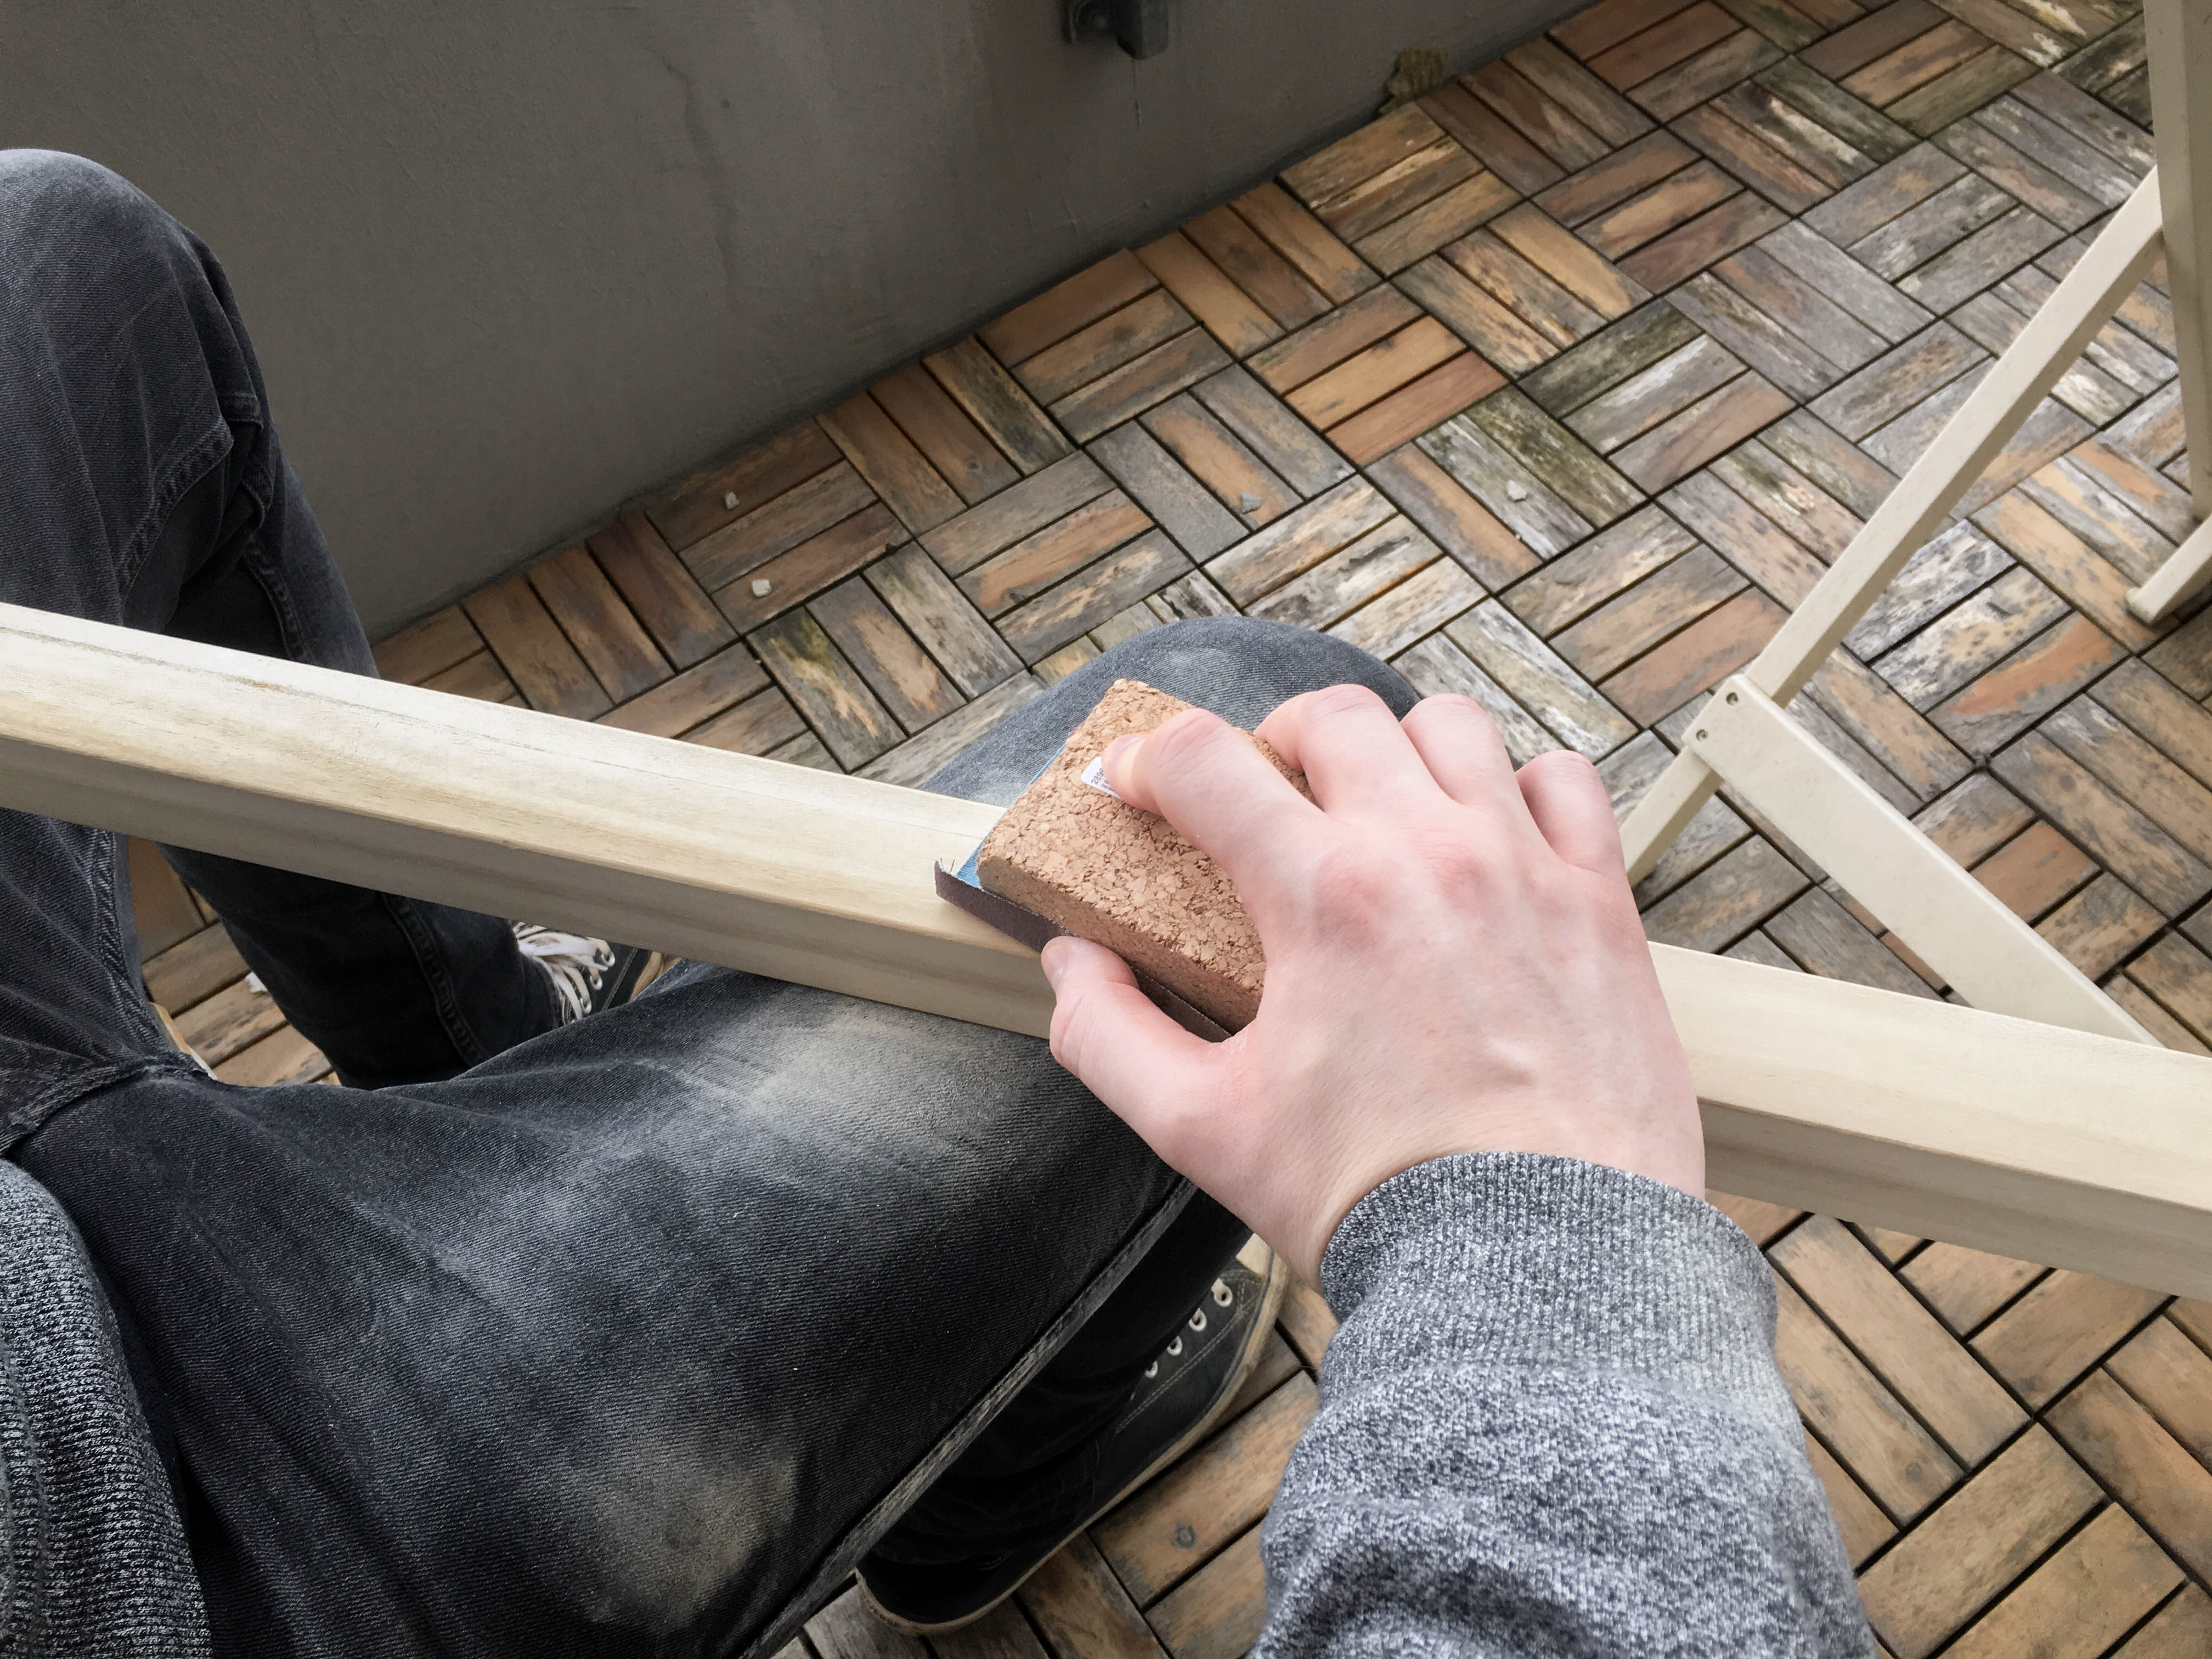
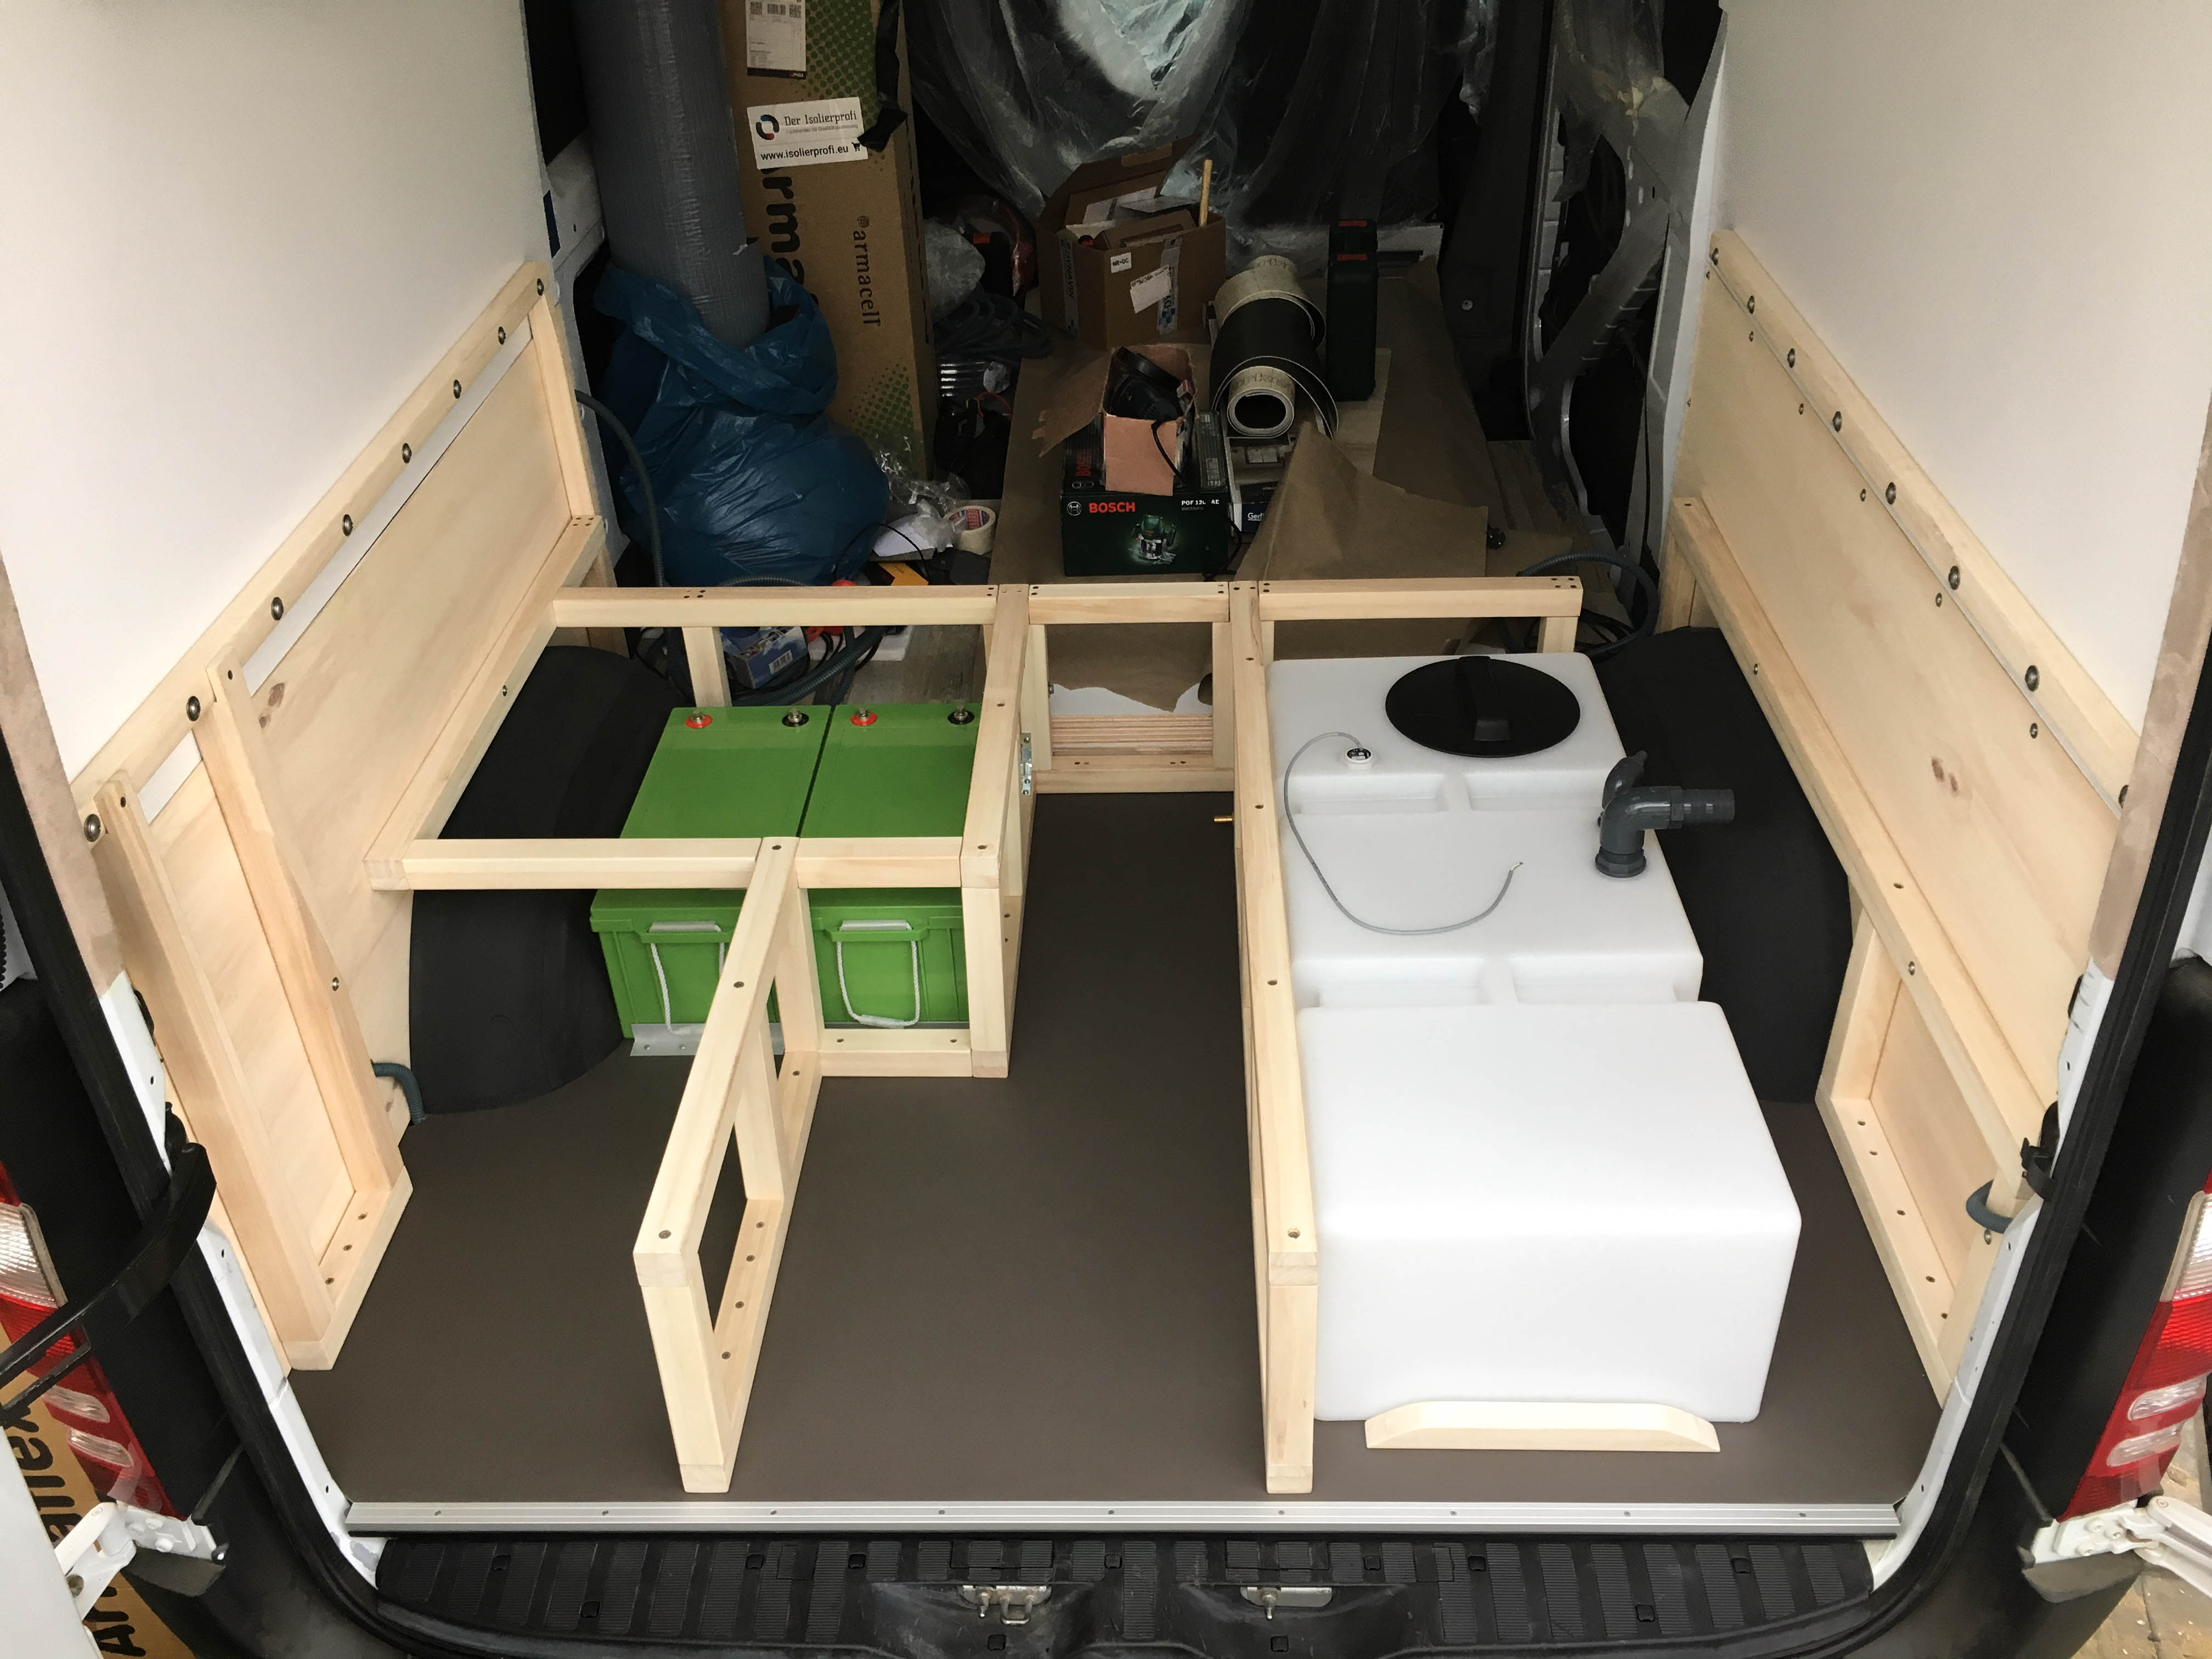
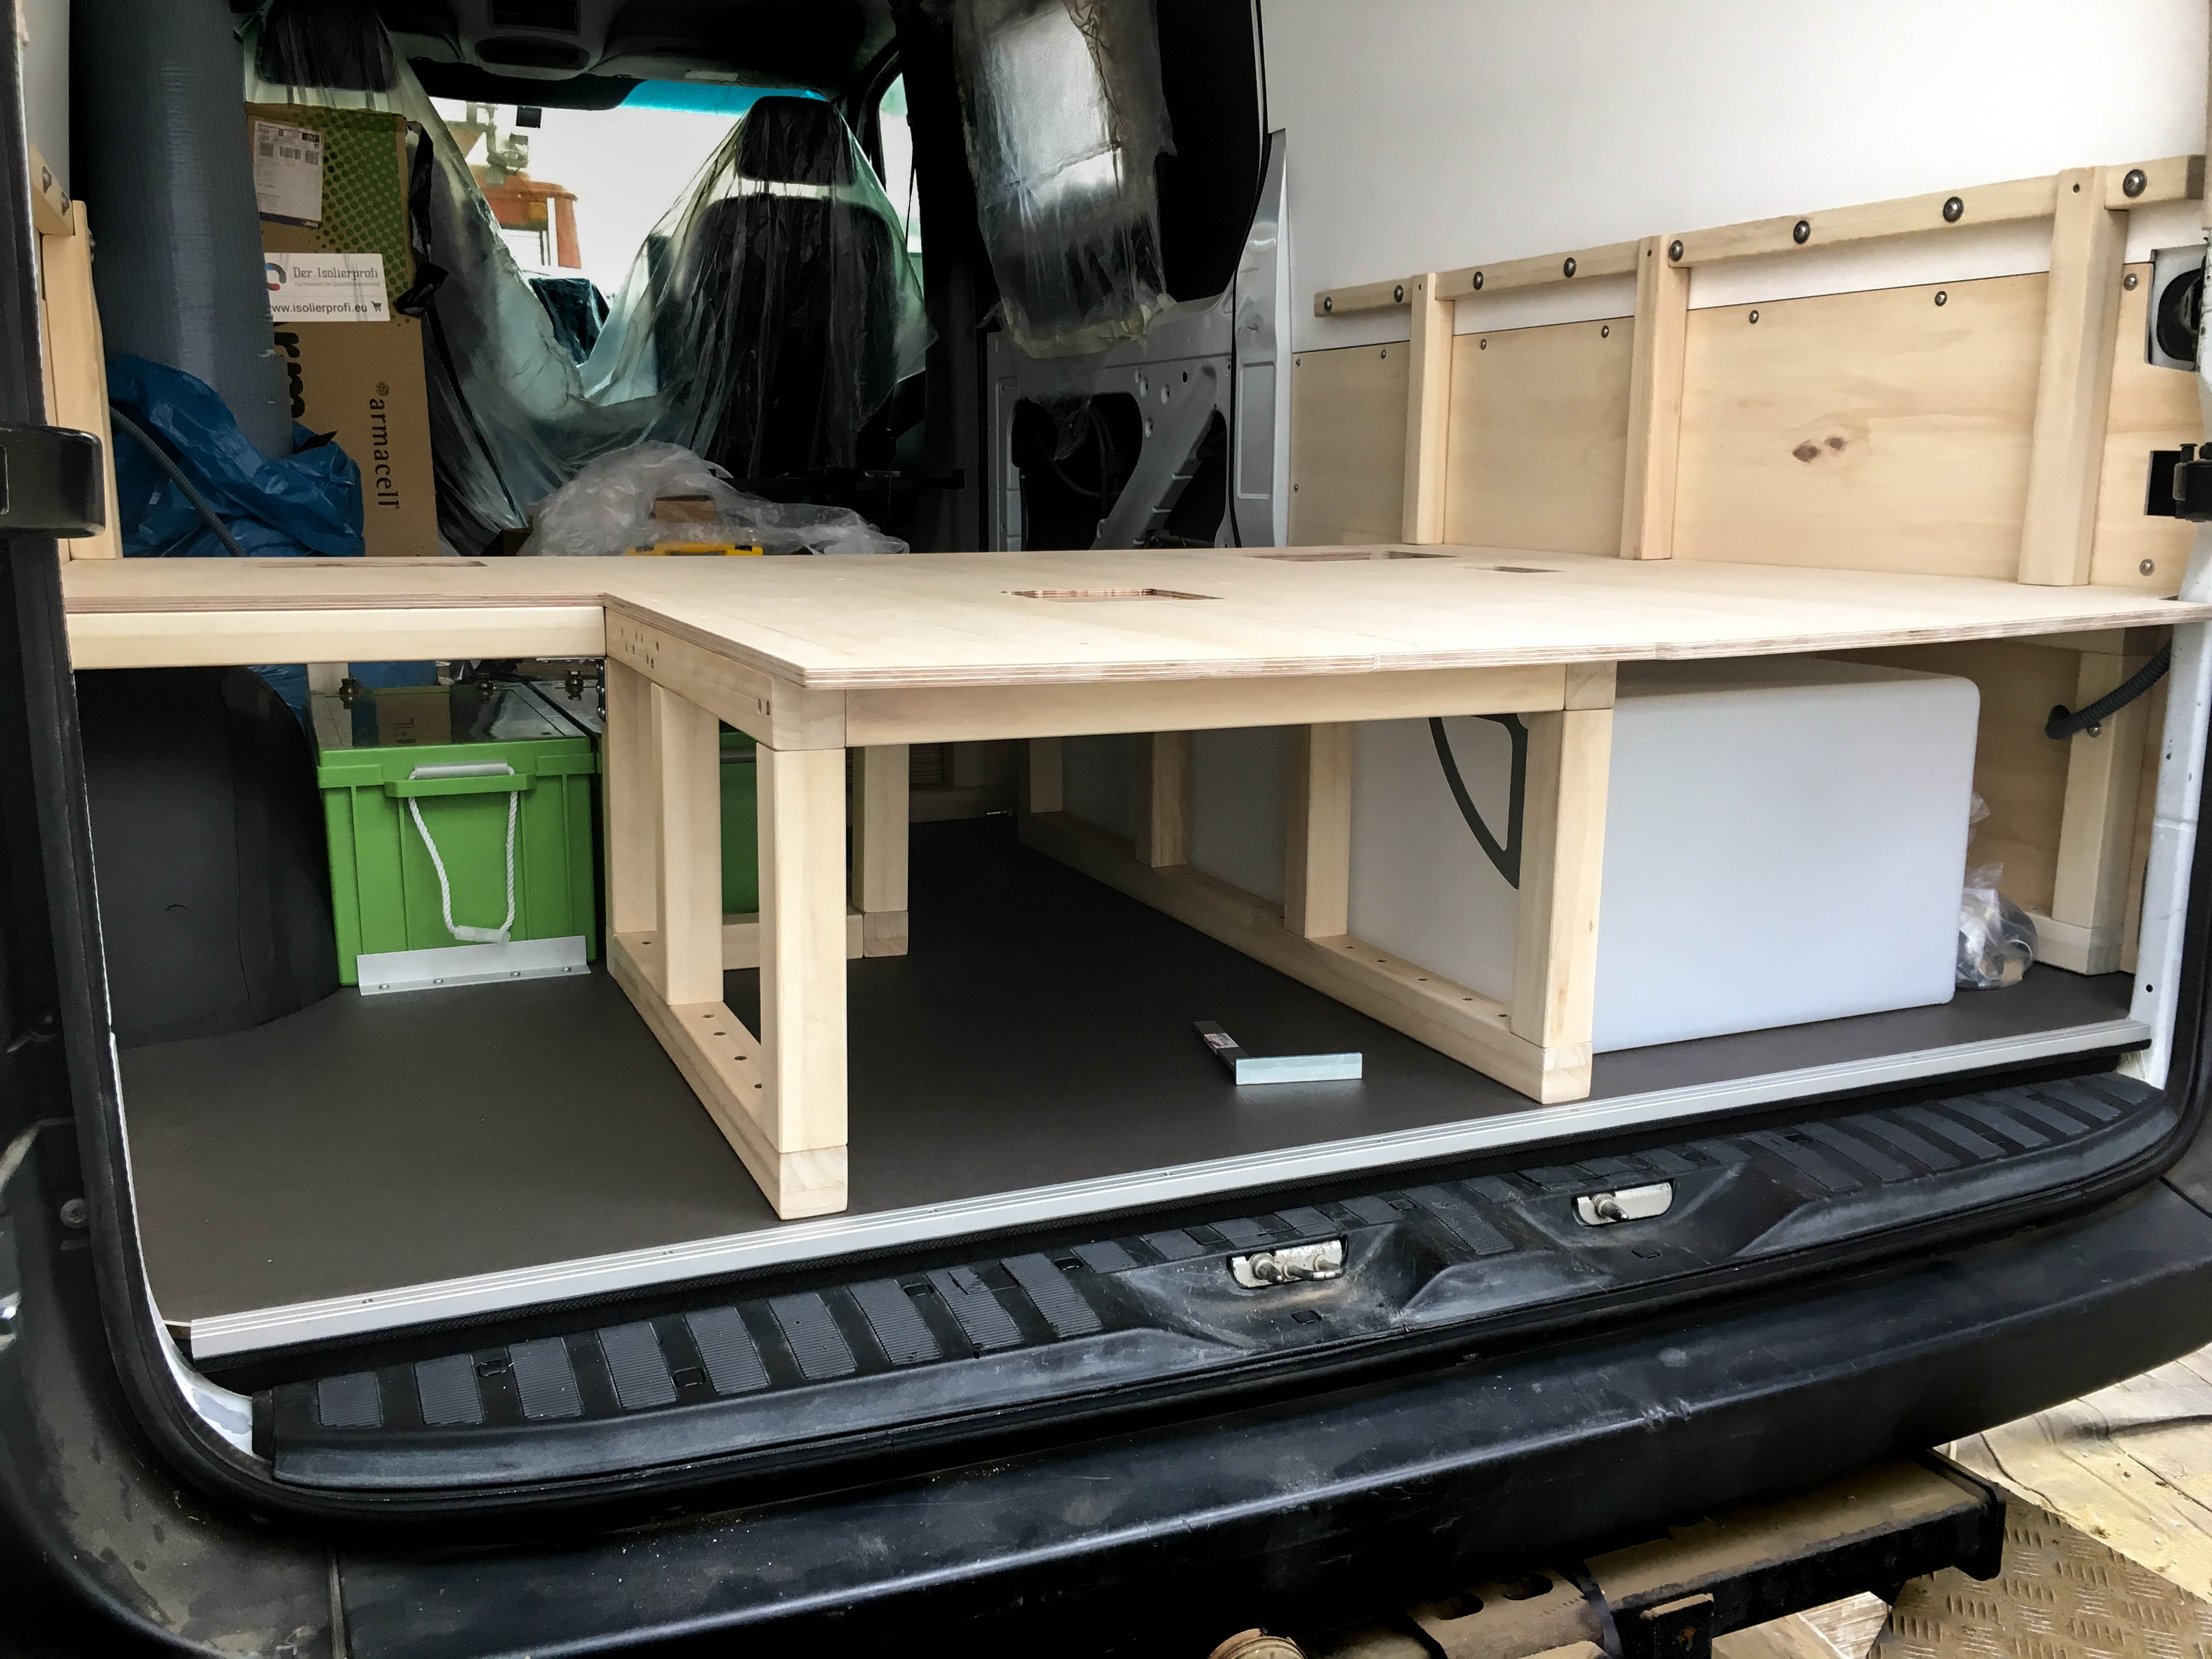
The freshwater tank on one side and the batteries as counterweight on the other side will be stored below the platform. The height and assembly of the platform is determined by these parts.

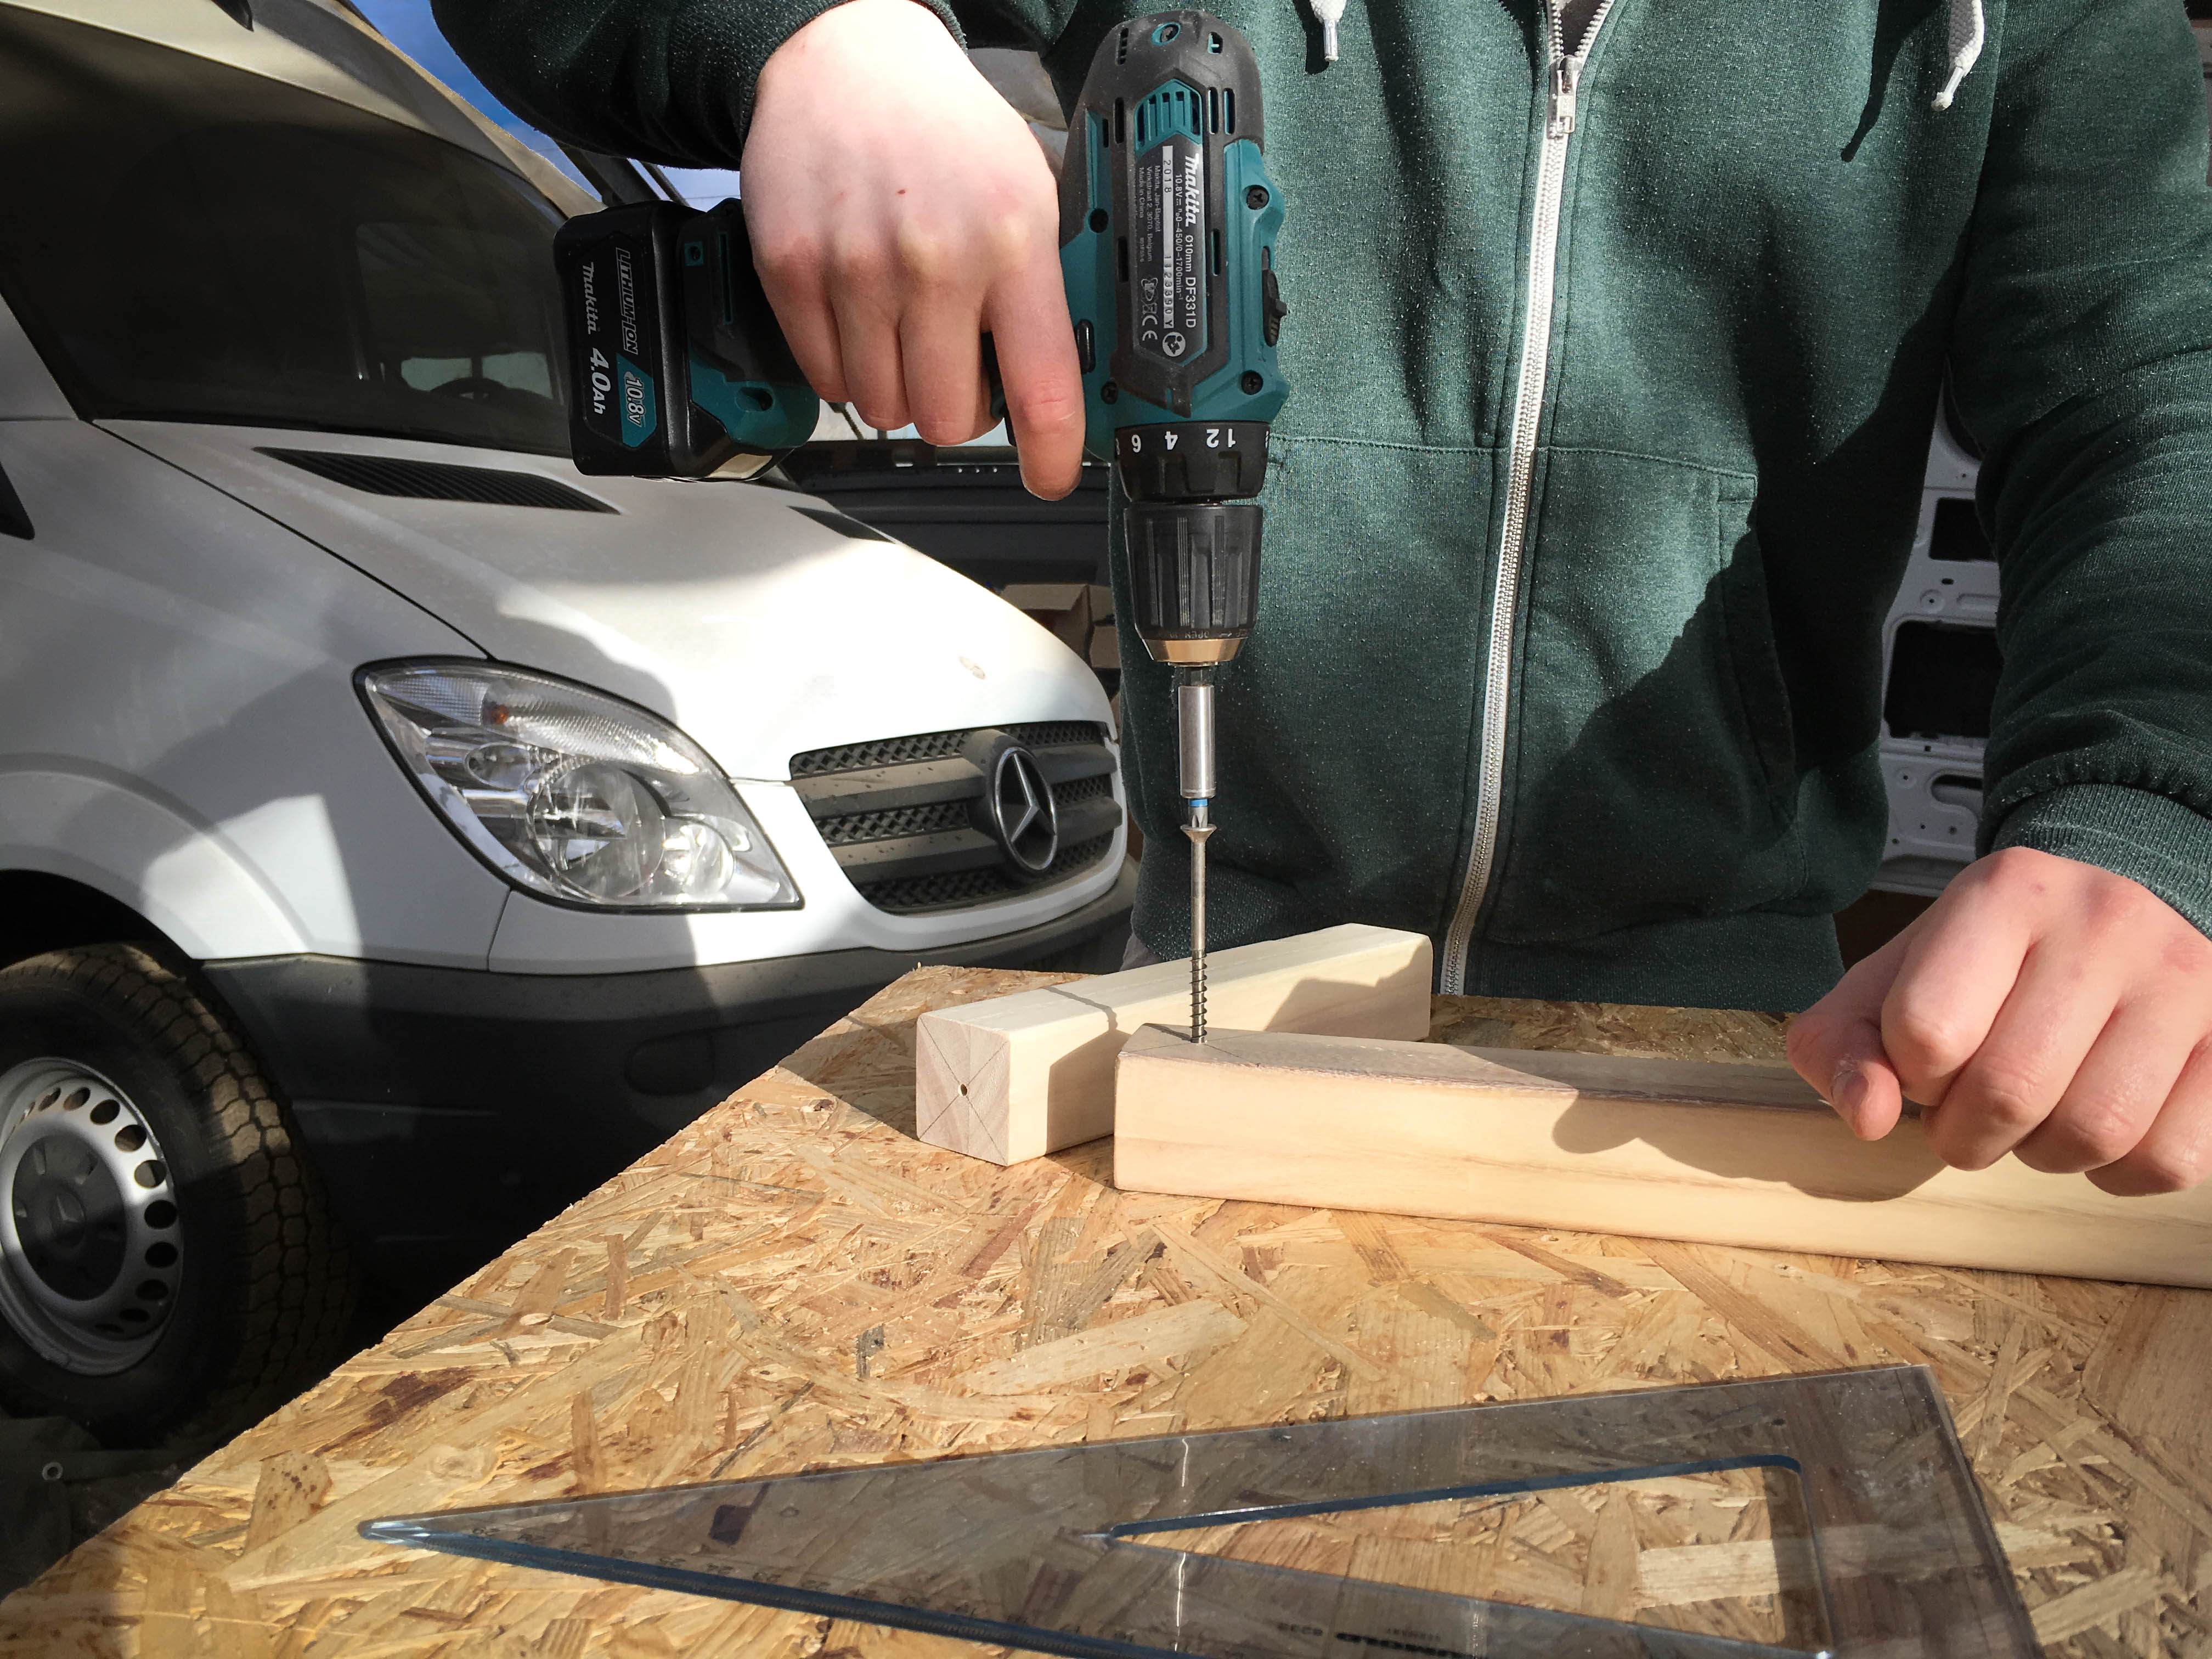
We assembled some of elements of the frame outside of the vehicle and screwed the shelf-studs together with long screws and just now and then added angles.

Then we put it all together just as we planned! The lower struds were screwed into the floor, thereby in the OSB3-plate and whenever possible also in the wooden slats below.
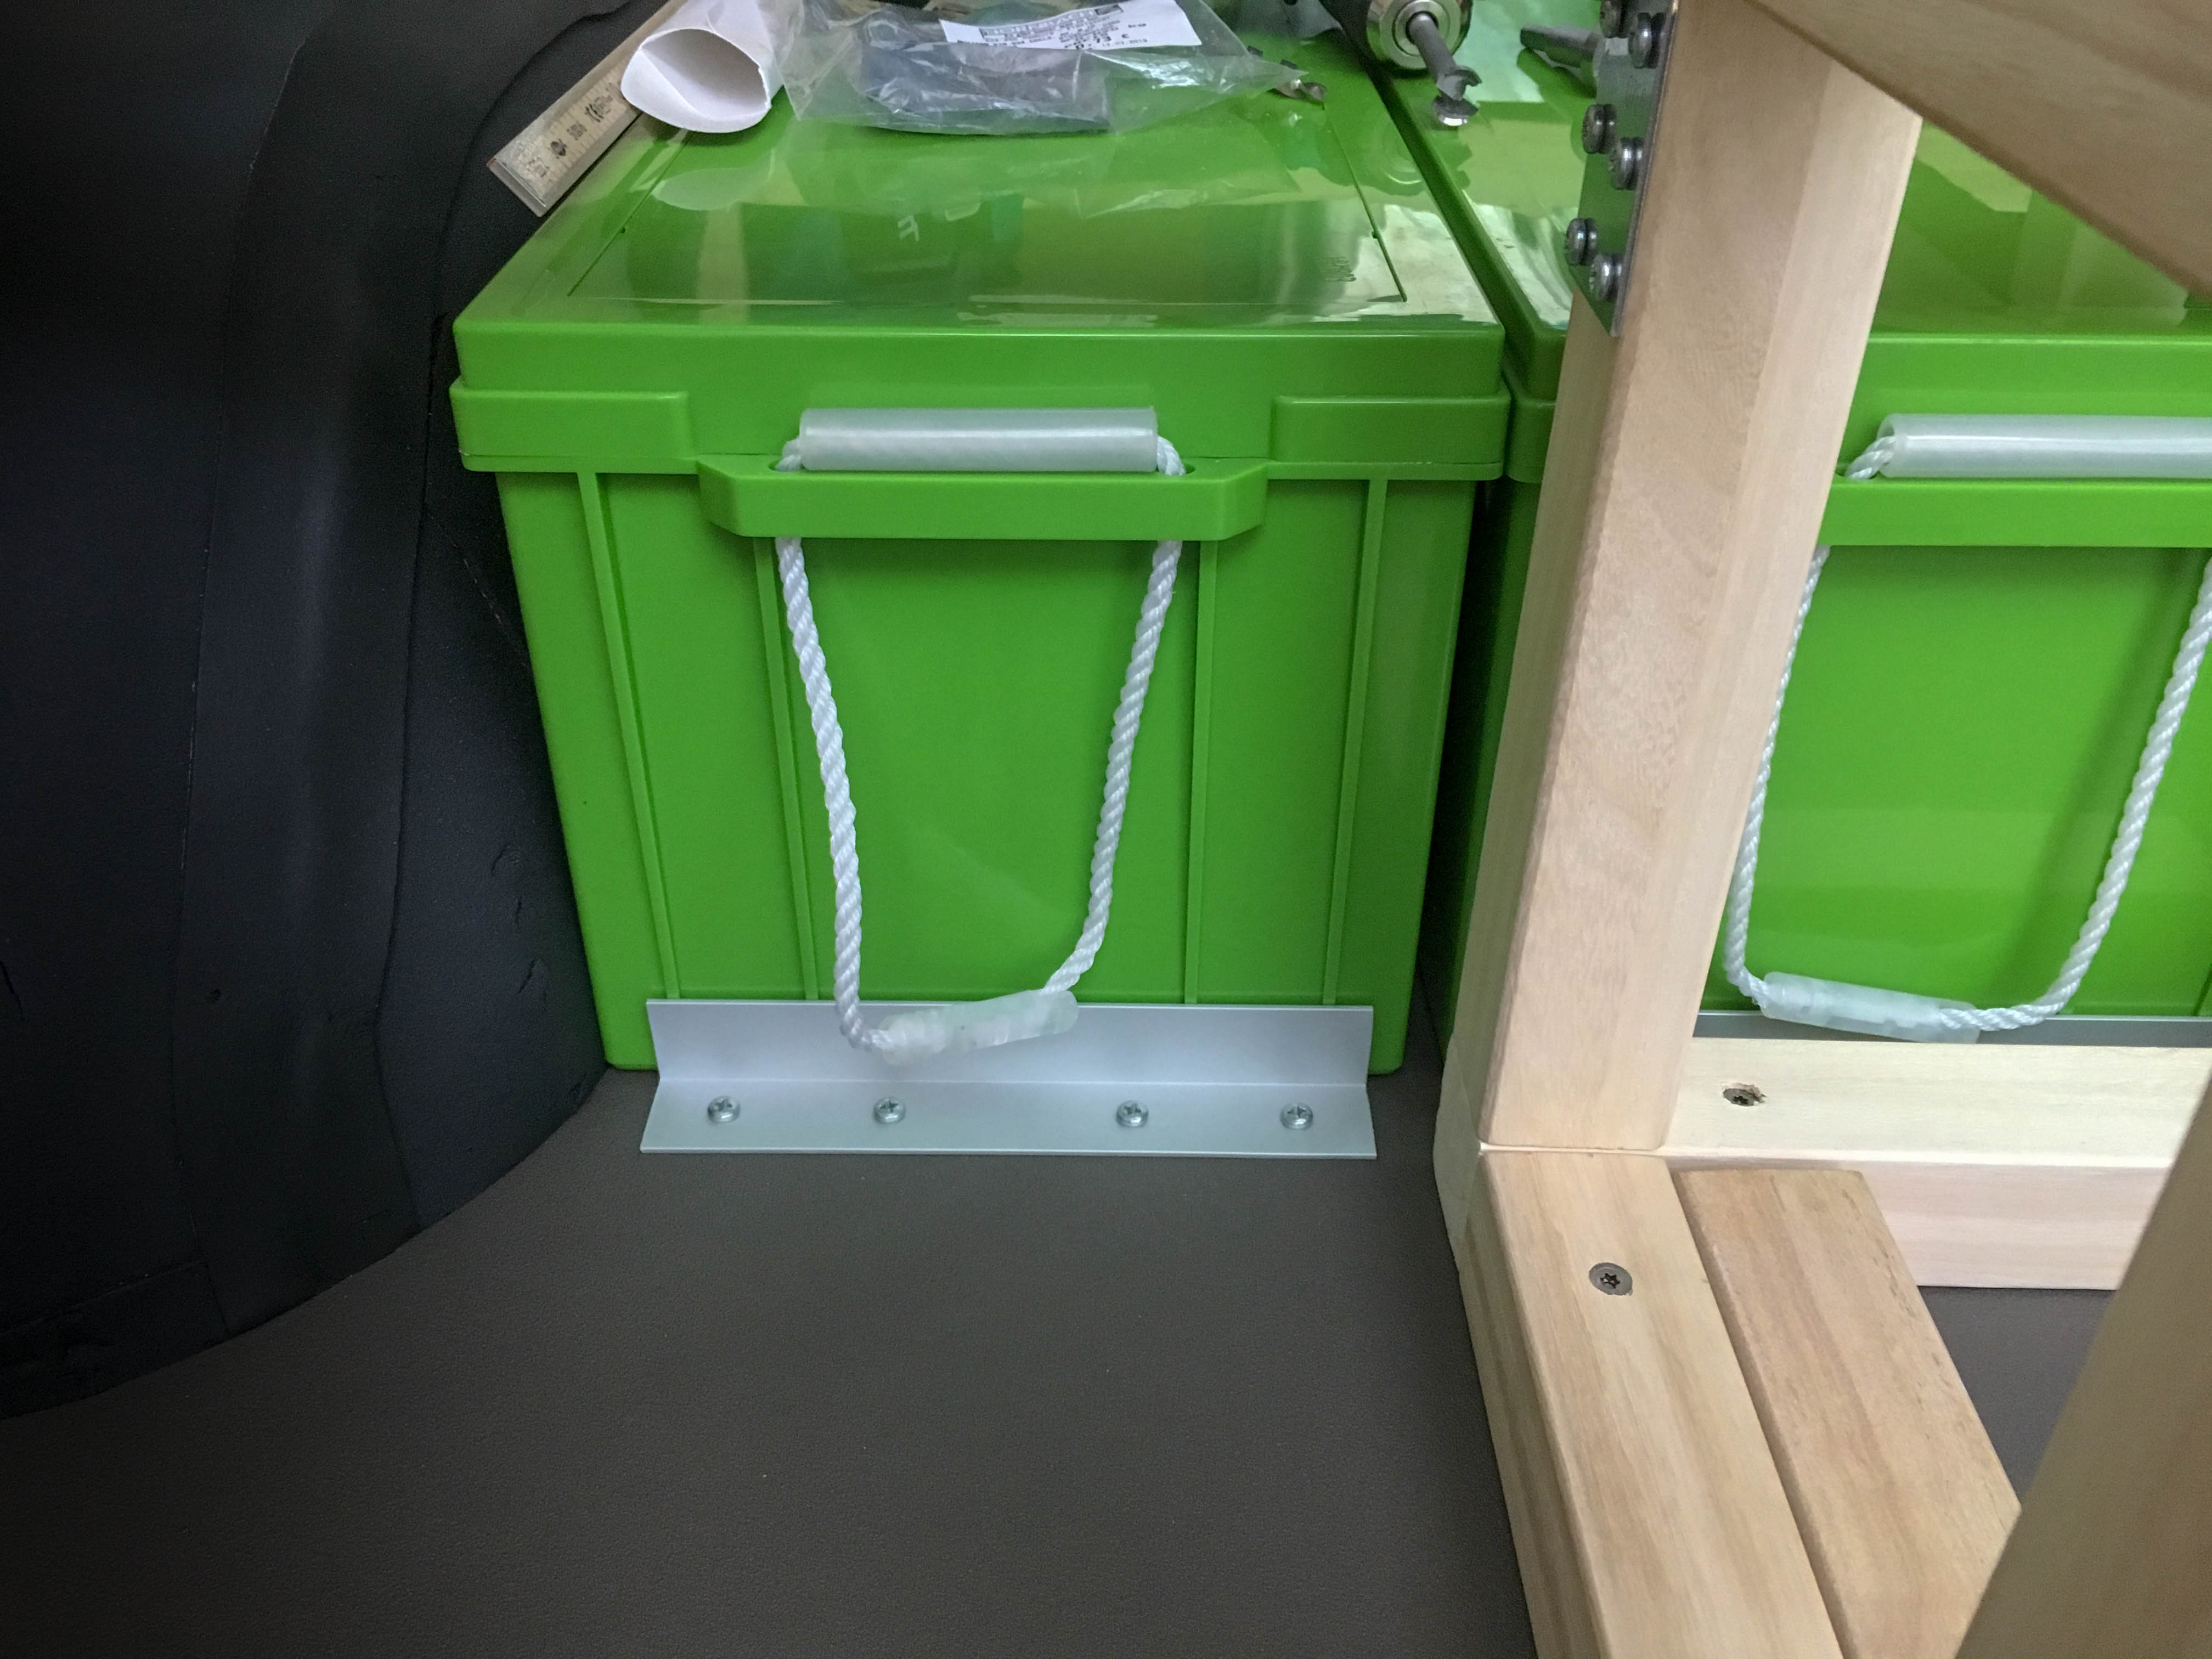
We want to have the possibility to remove both the freshwater tank and the batteries for maintenance or in case they need repairs or have to be replaced. The freshwater tank can be removed from the back with just a little effort and by deinstalling the water connections, the batteries can be removed one after the other. While driving, everything has to stay put though, so we added some aluminum rails by the batteries that can be removed, too and will also add lashing straps. The water tank stays put by a removable strut, but we’ll additionally use lashing straps, too.
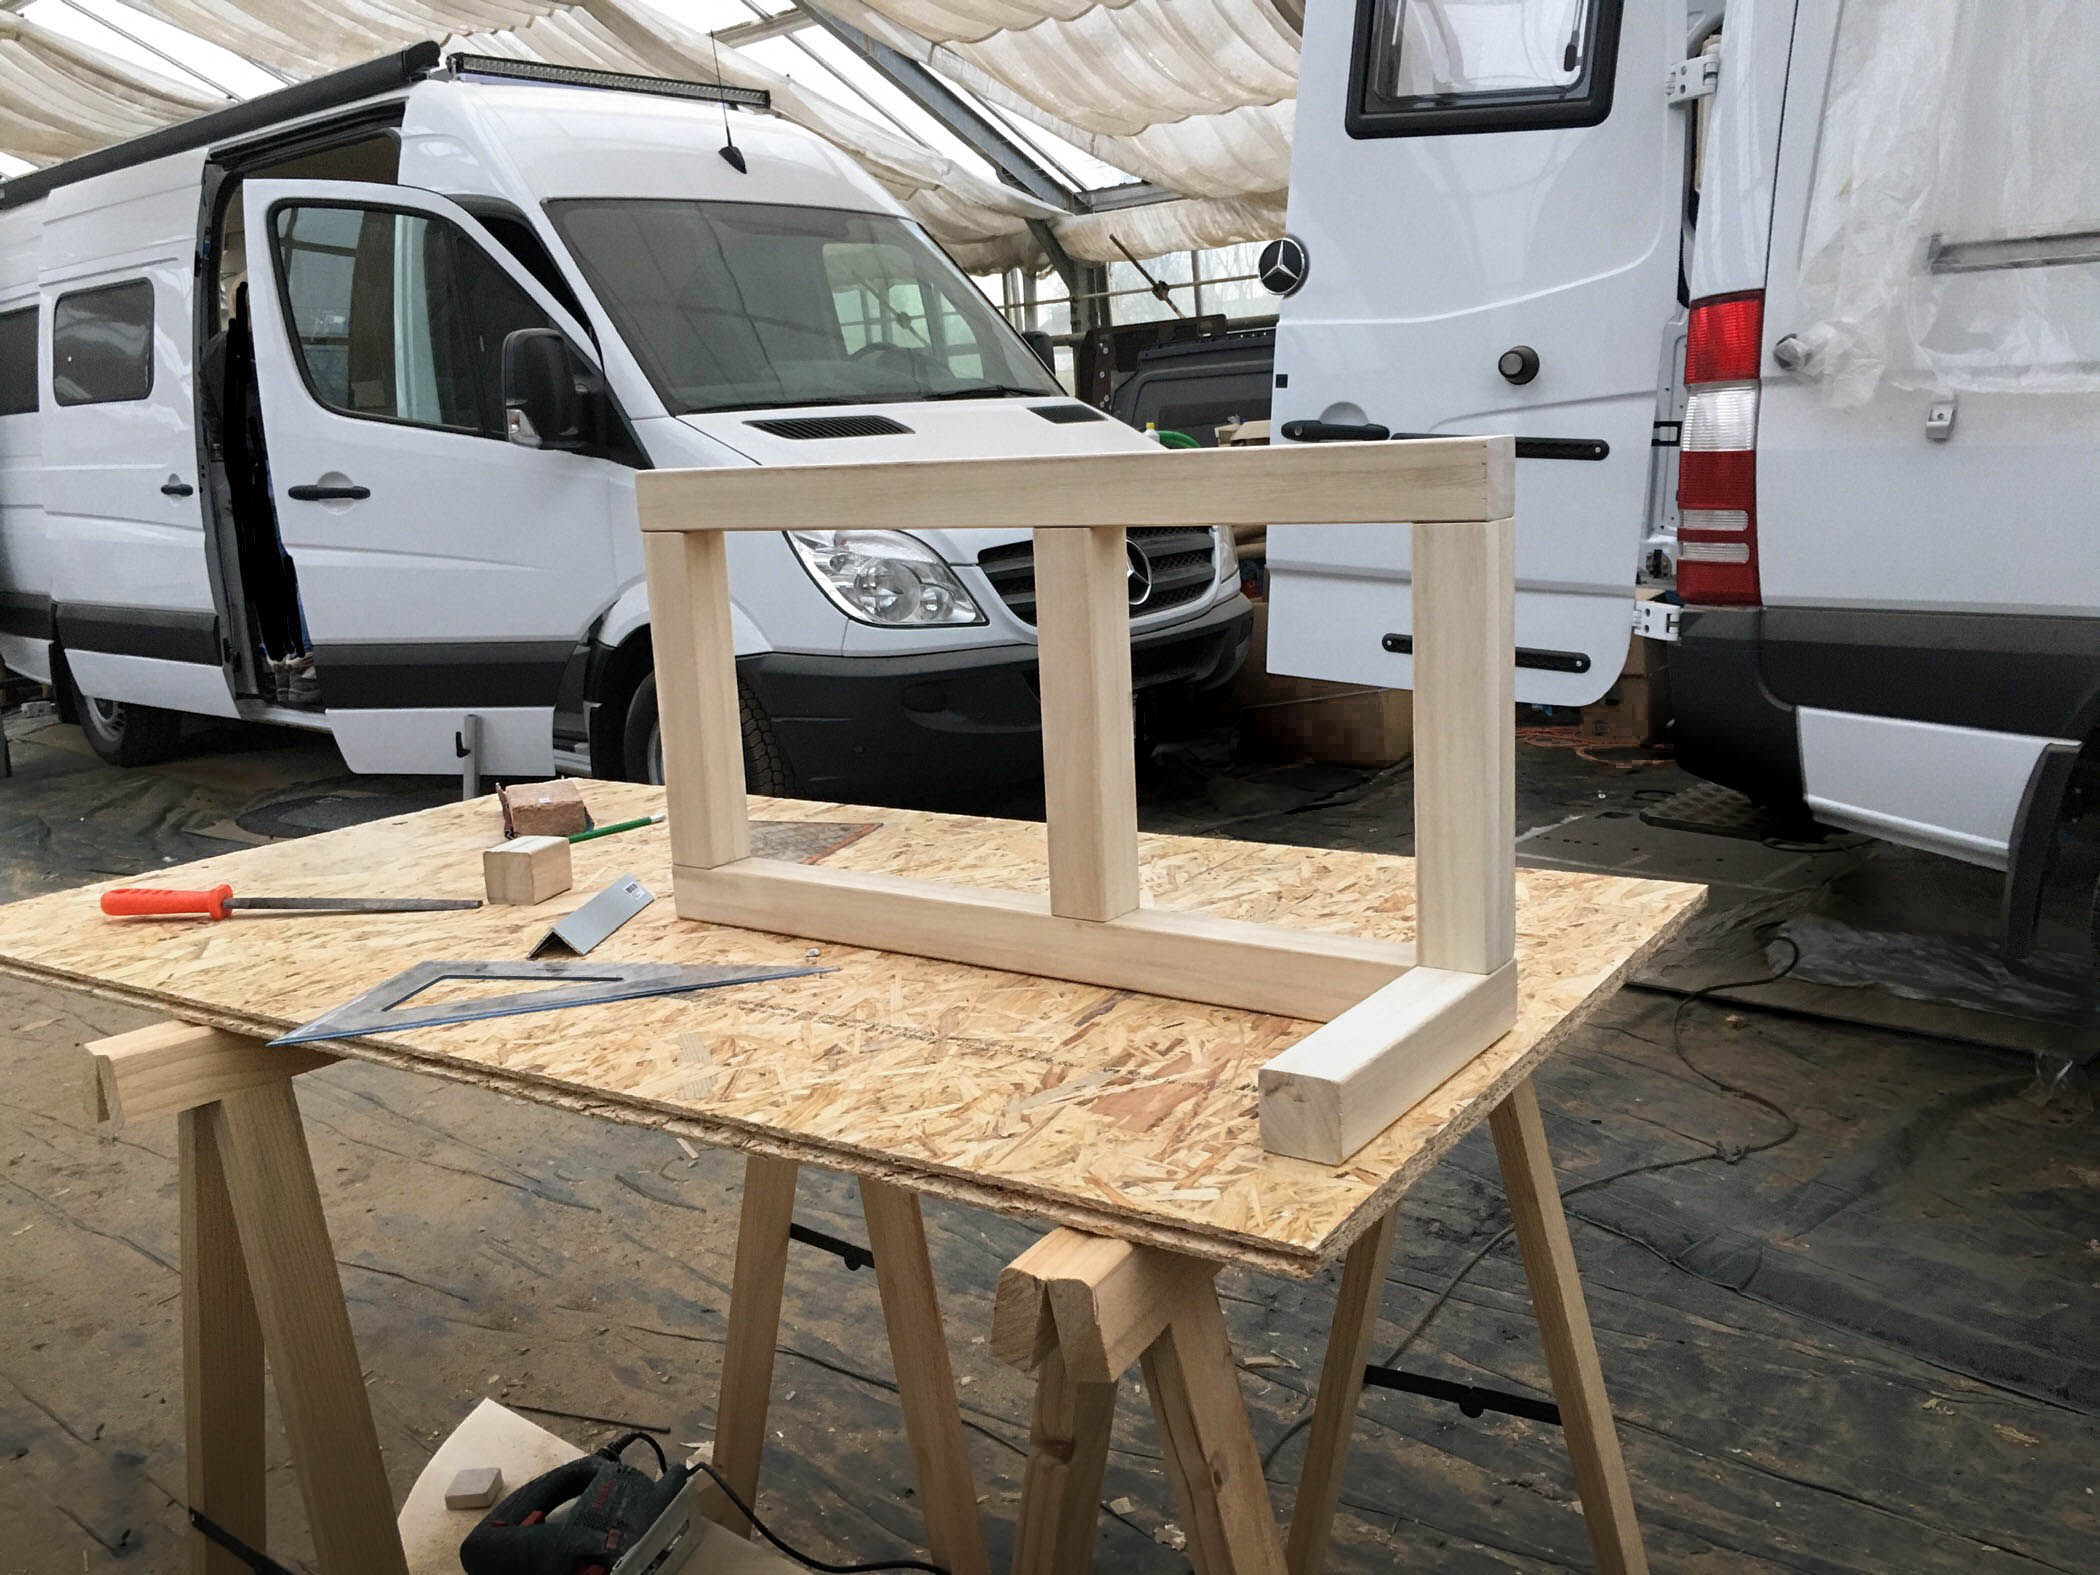
So this is what he finished framework looks like!
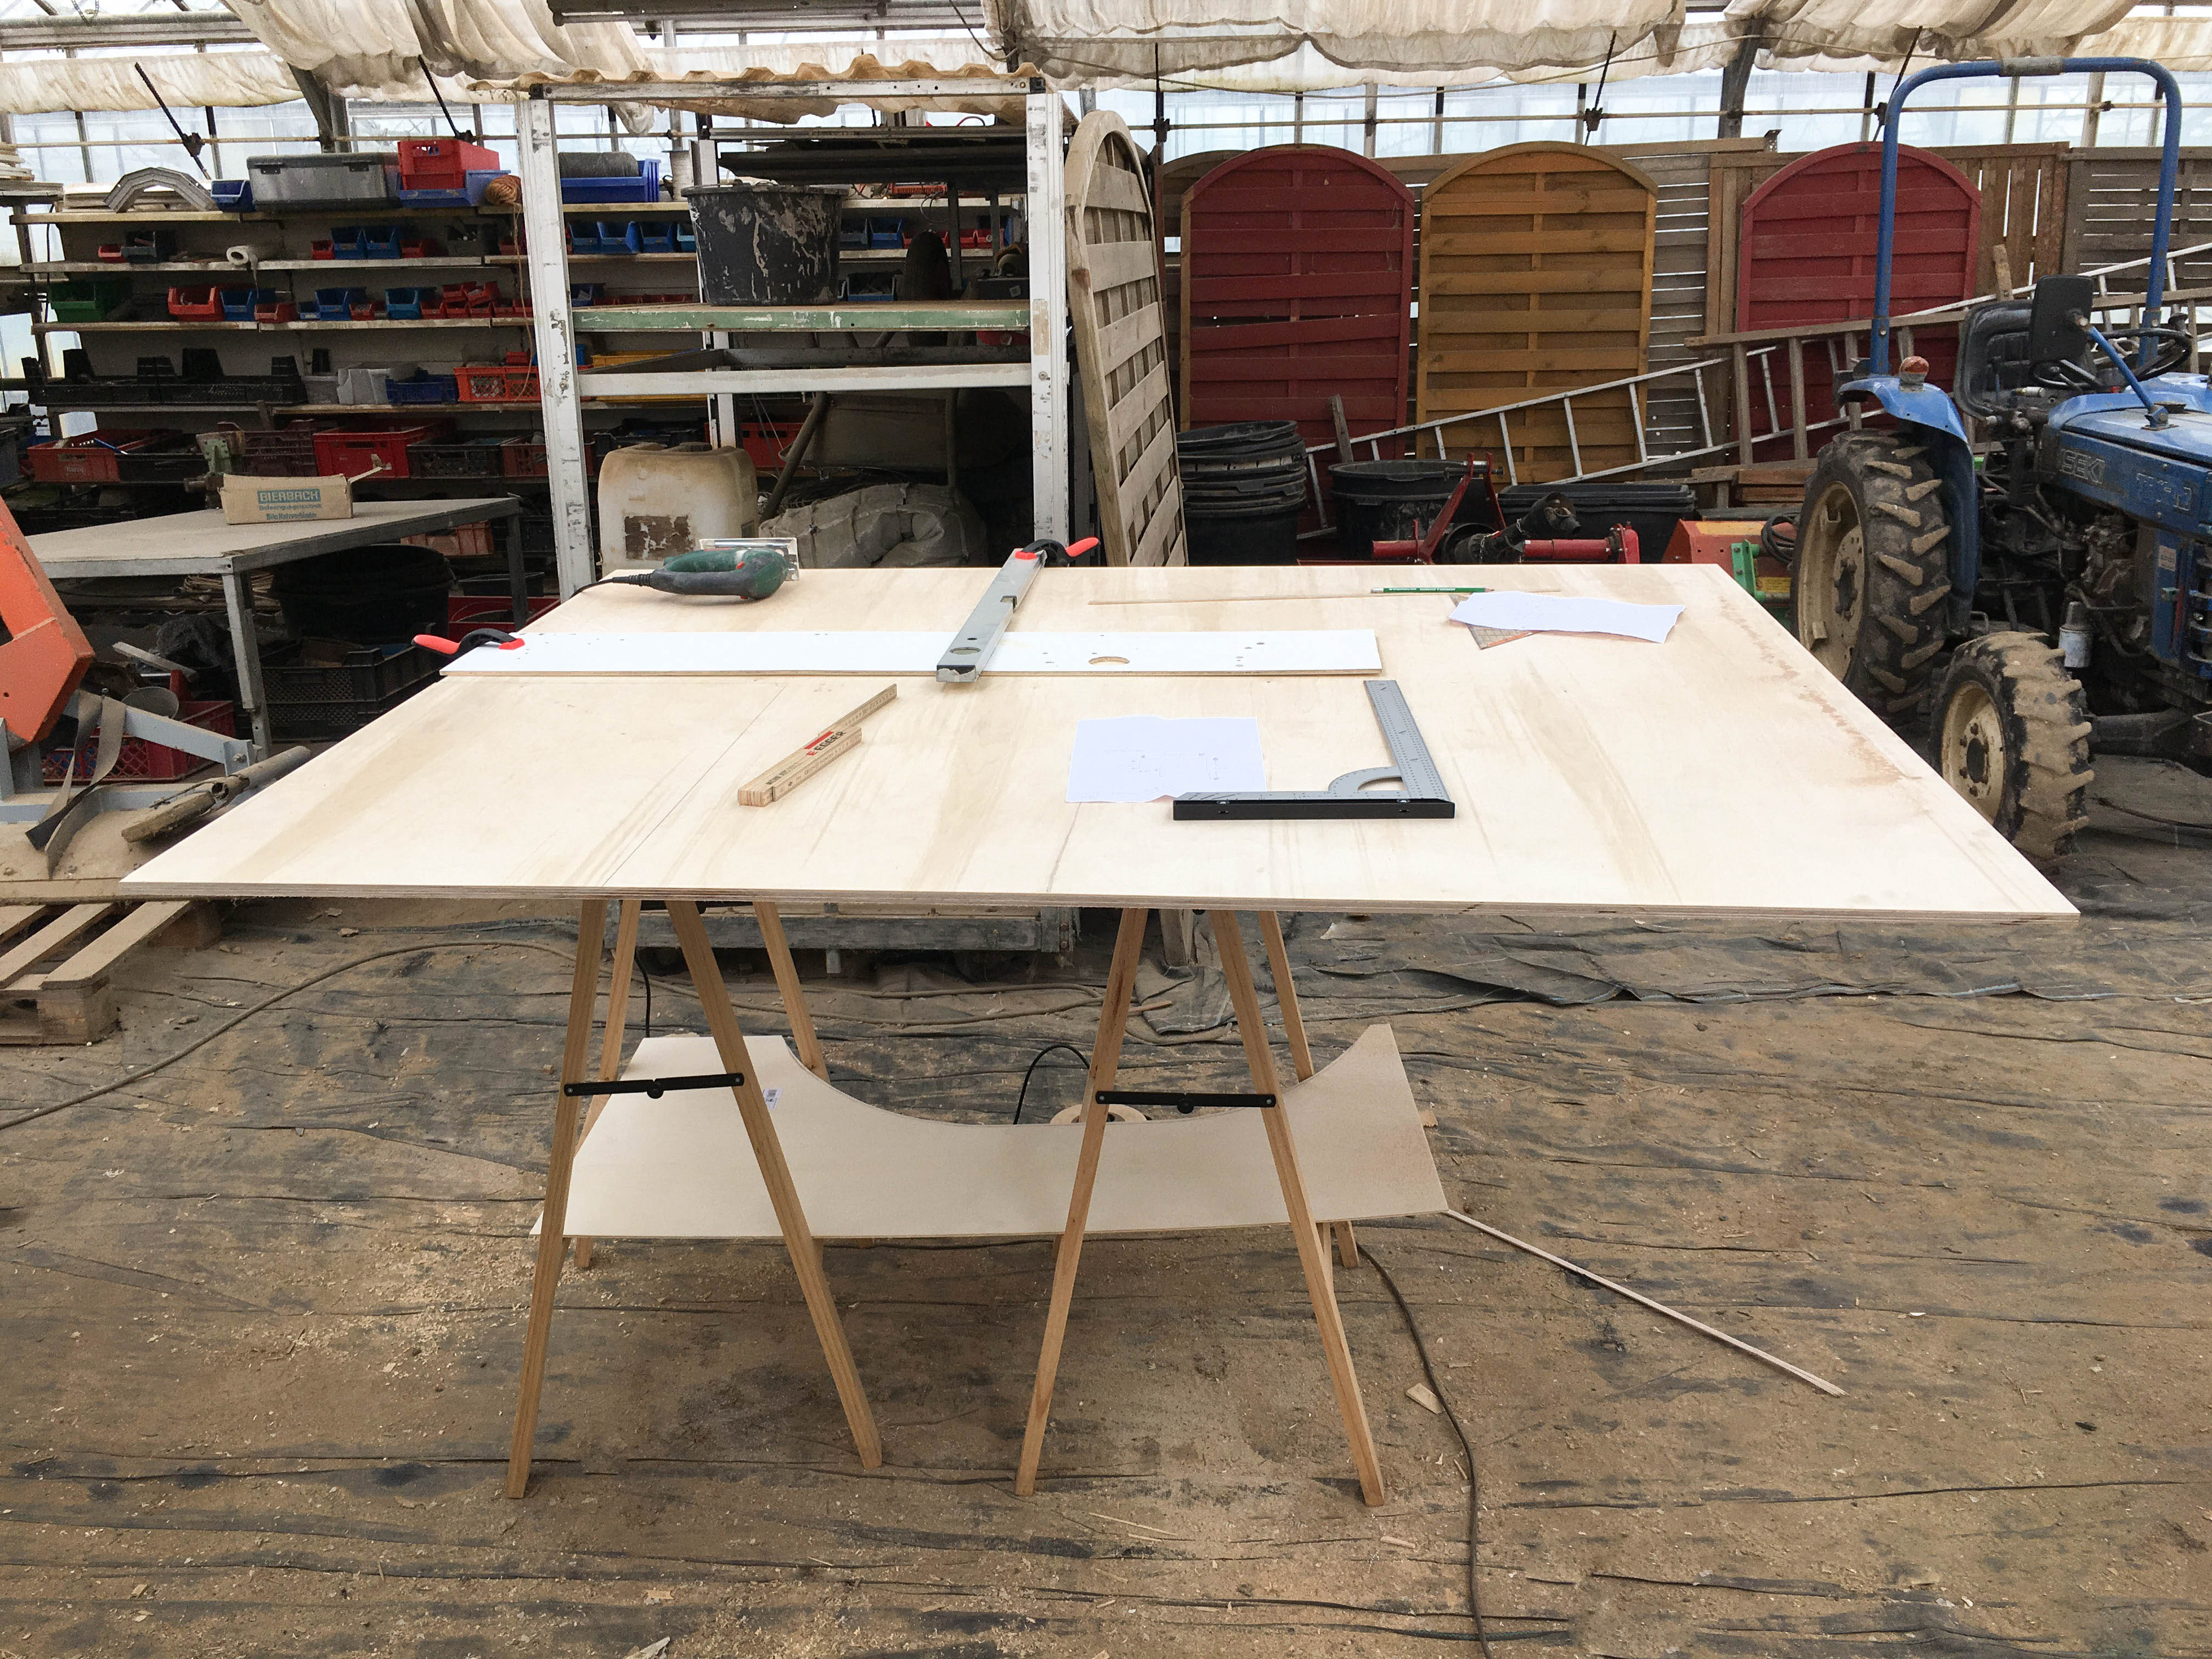
The platform plate
On top of the frame made of Paulownia wooden-struts we mount the platform plate made of 12 mm Multiplex (veneer plywood). Find out more about different wood types here.
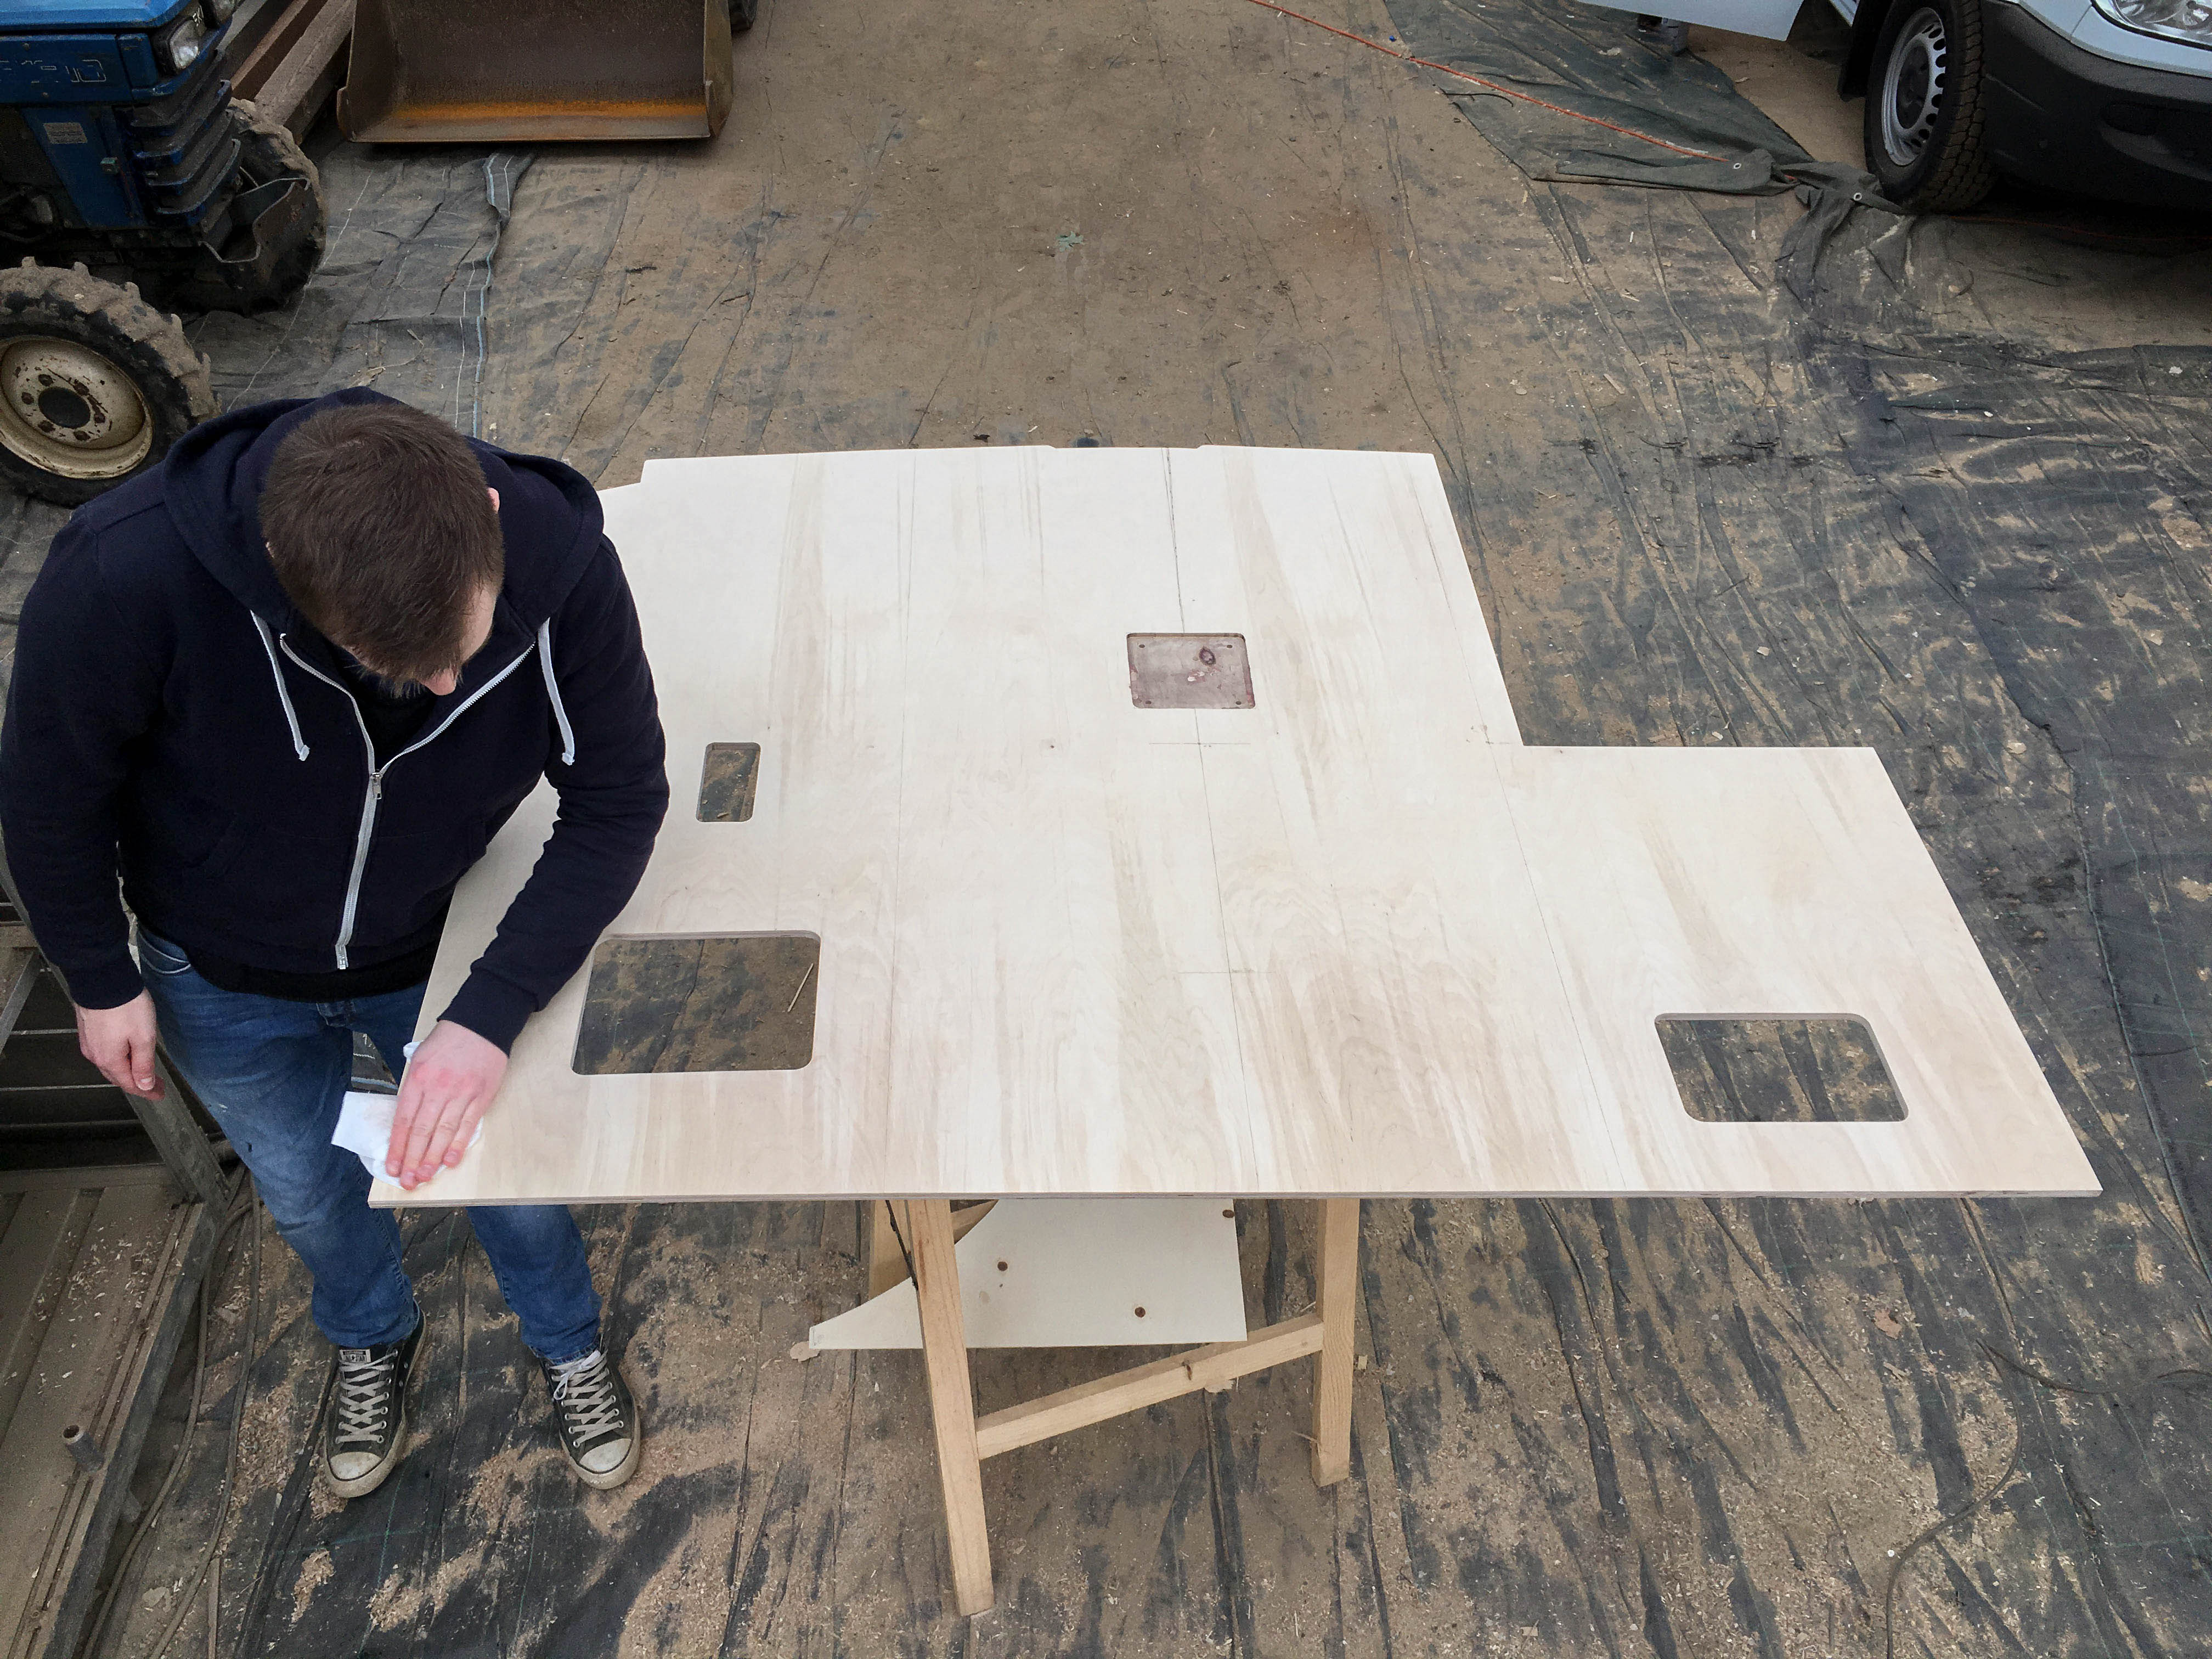
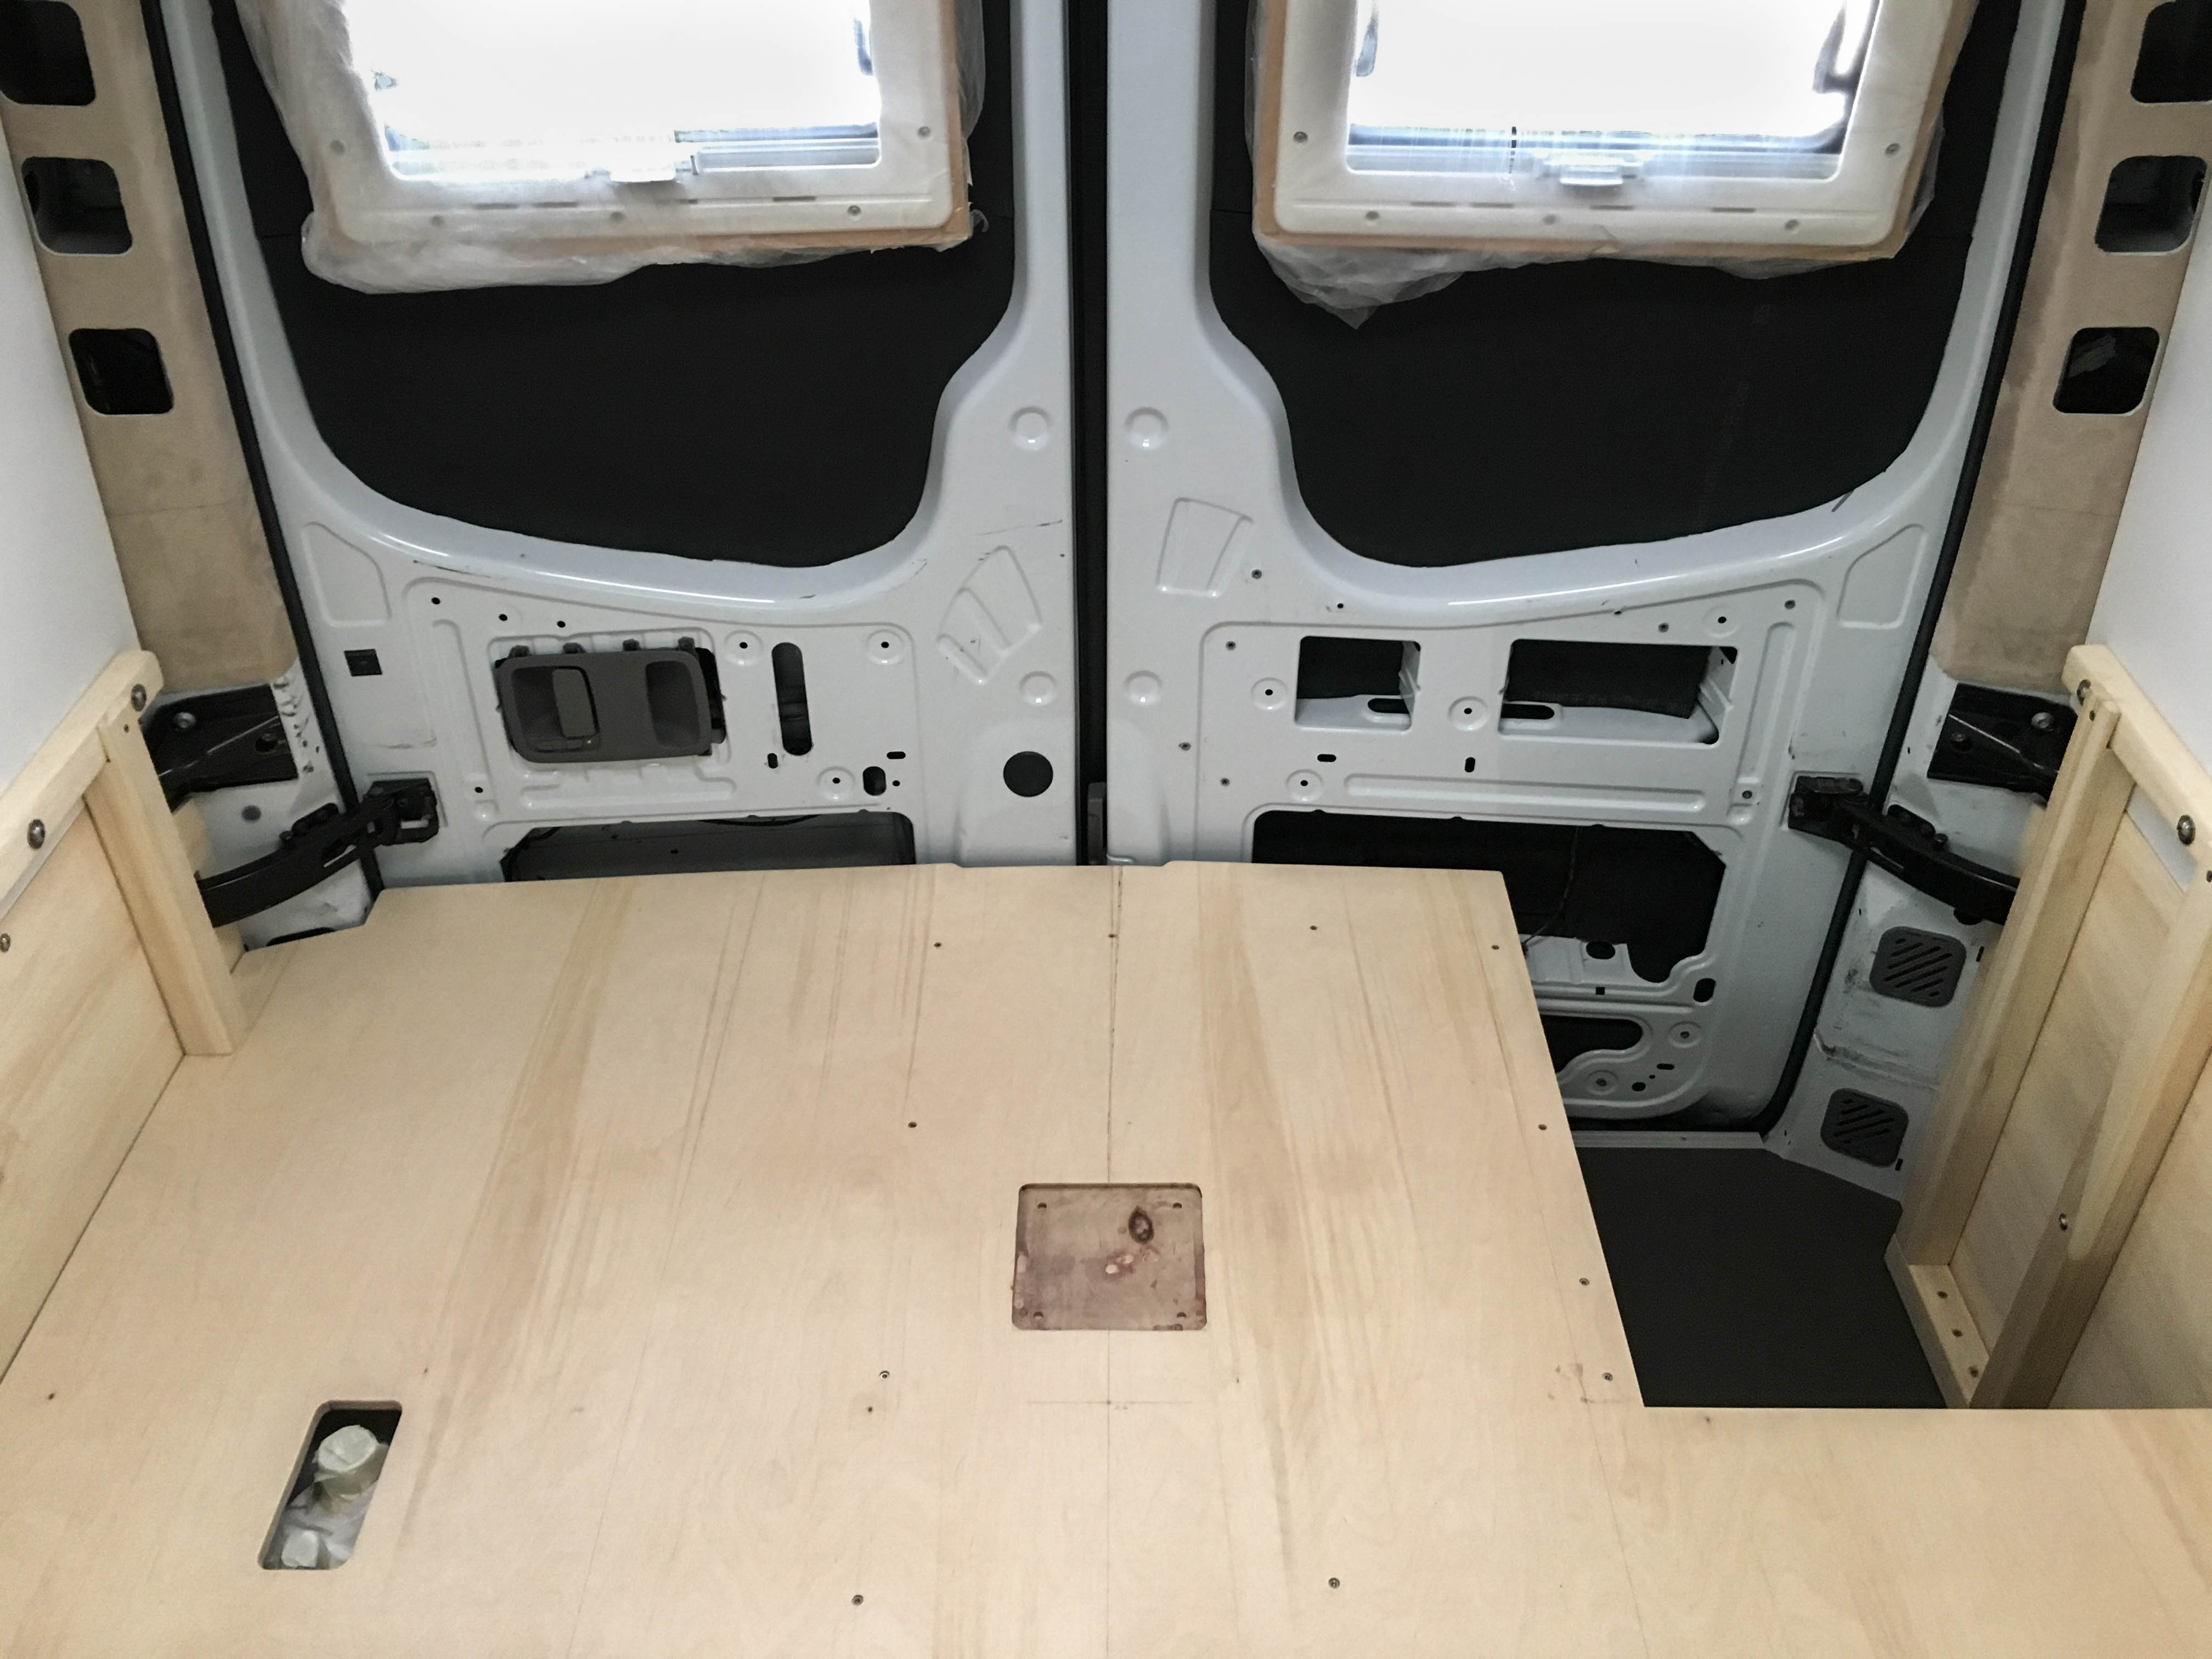
On the driver’s side we do not only want to have the height of the platform as storage, but the height from the bench to the floor to also be able to store bigger things like camp chairs 😉 So we sawed a cutout into the plate.

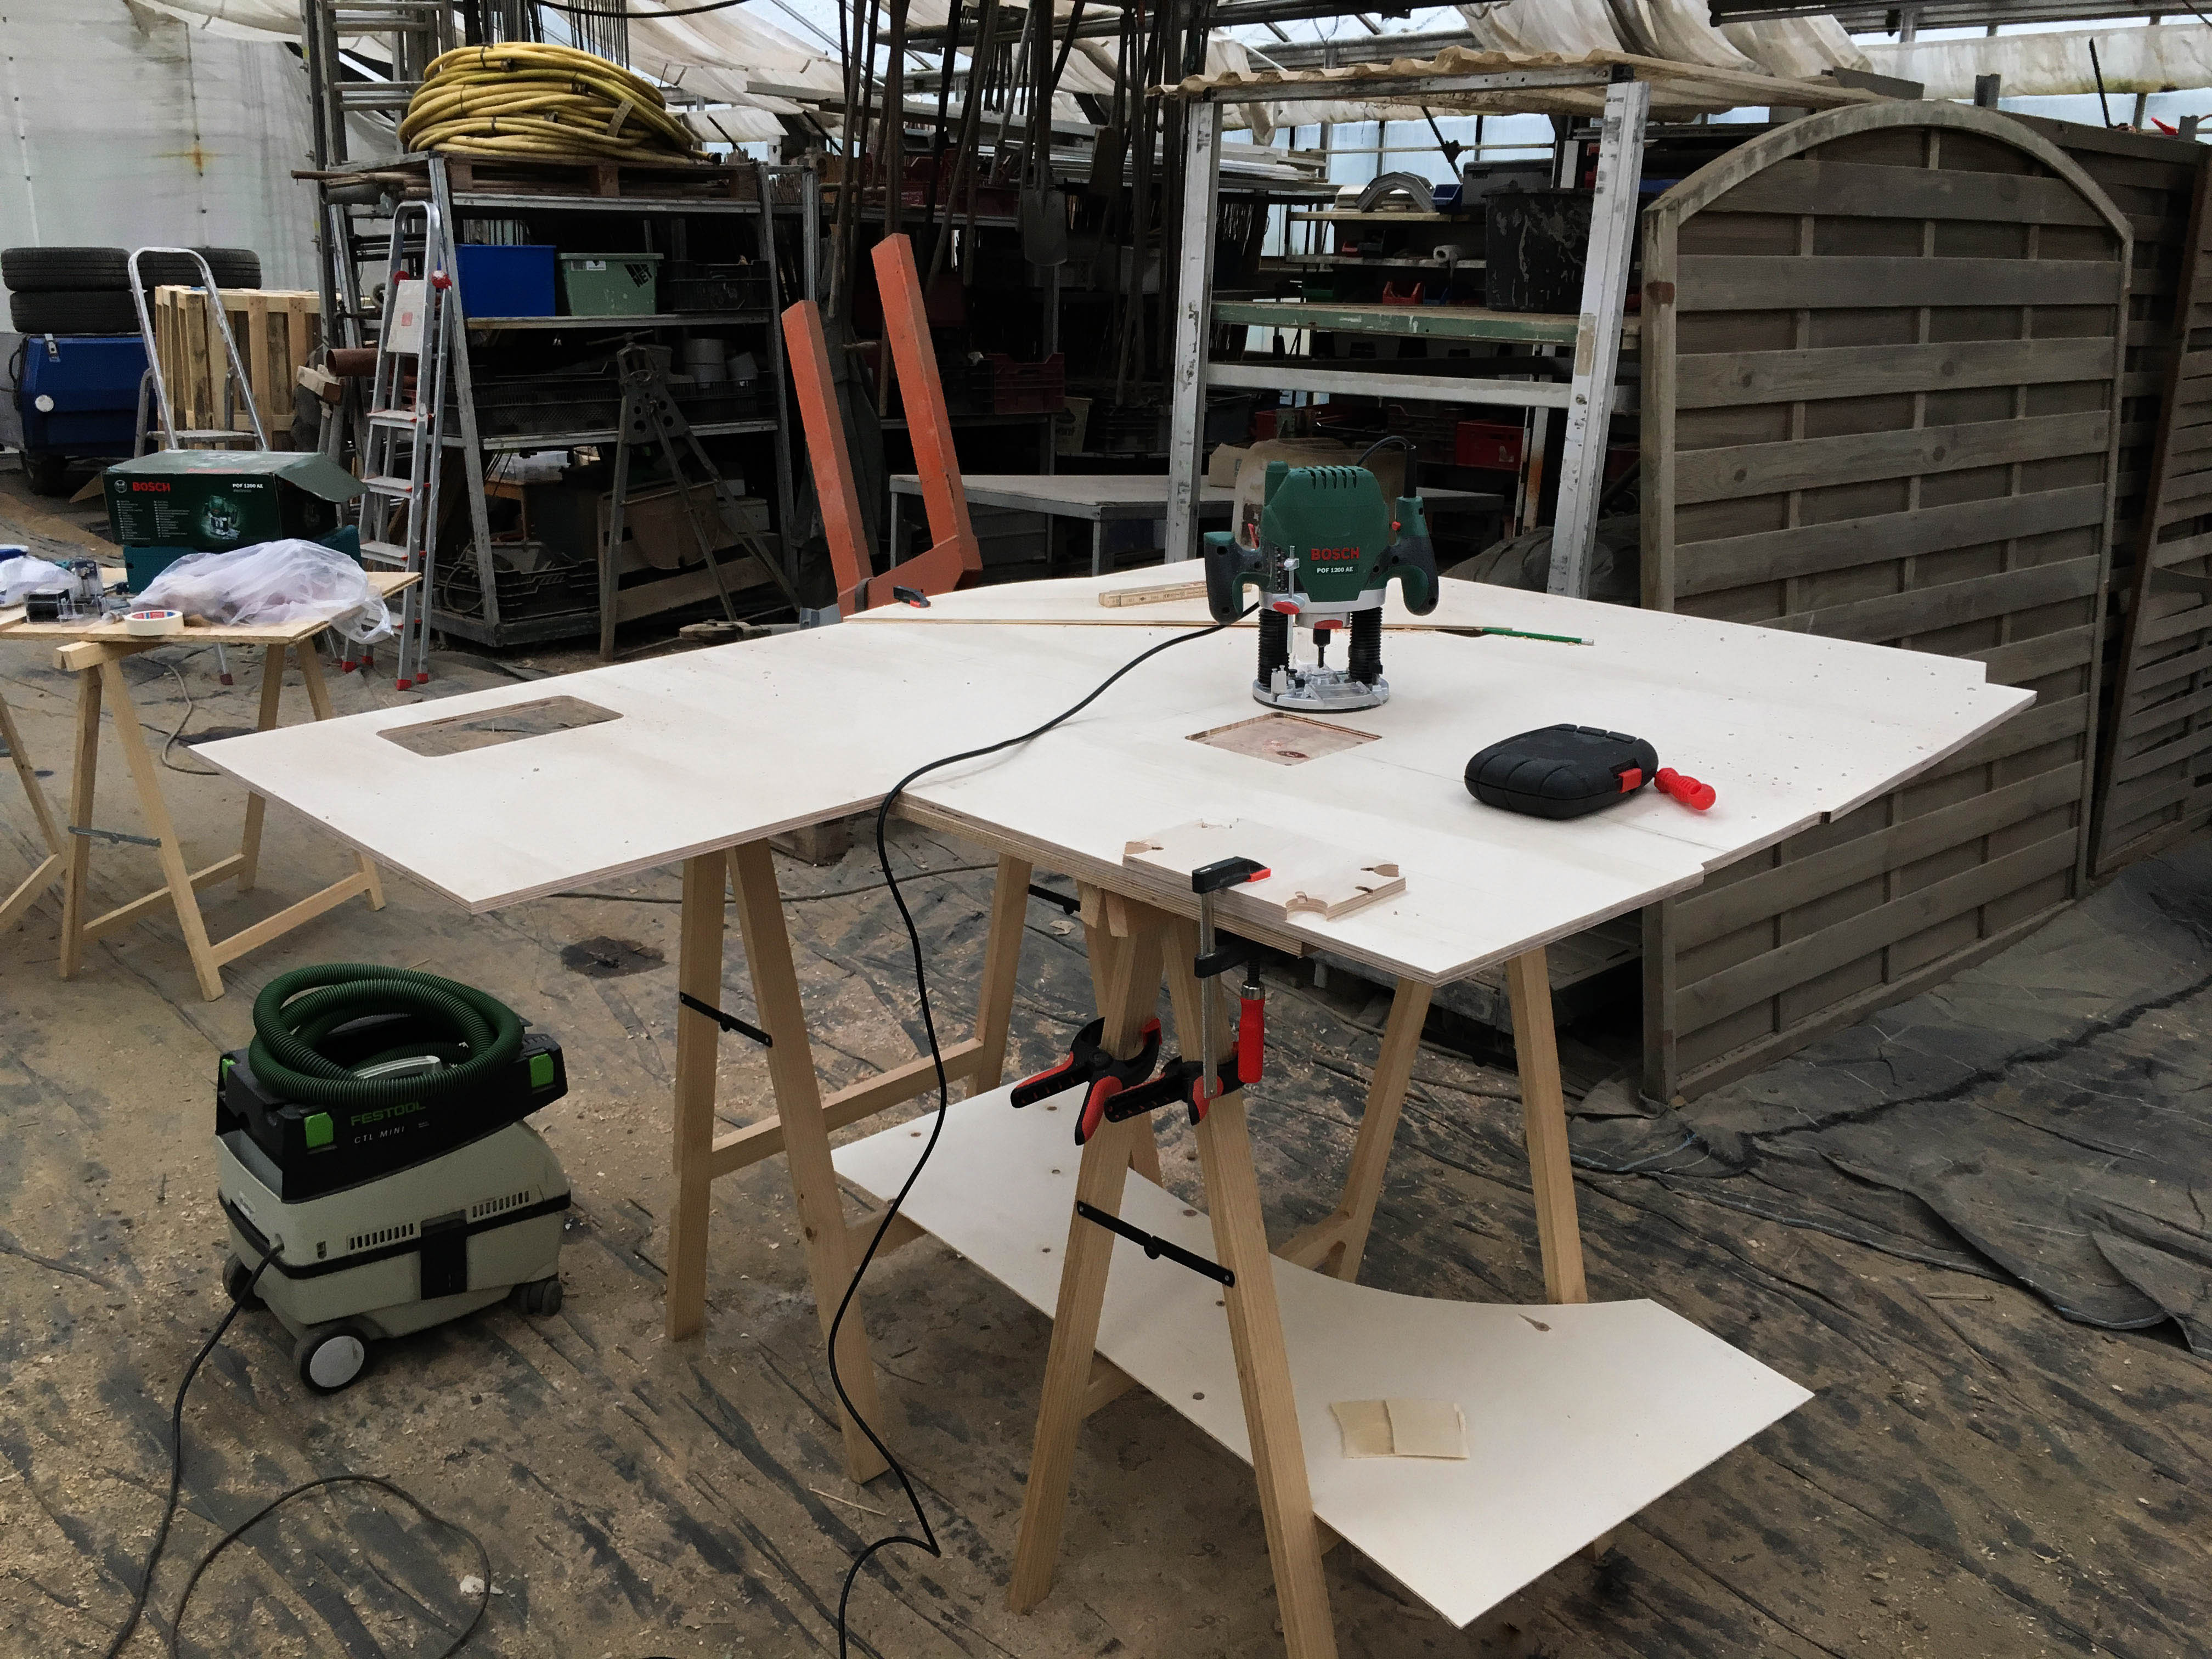
The back of the vehicle or rather the doors are arched, so we recreated this arch on the platform plate. Therefore we put the plate in and copied the arch with a transfer scribe. Keep in mind that the vehicle is a little more narrow in the back when adjusting the plate.

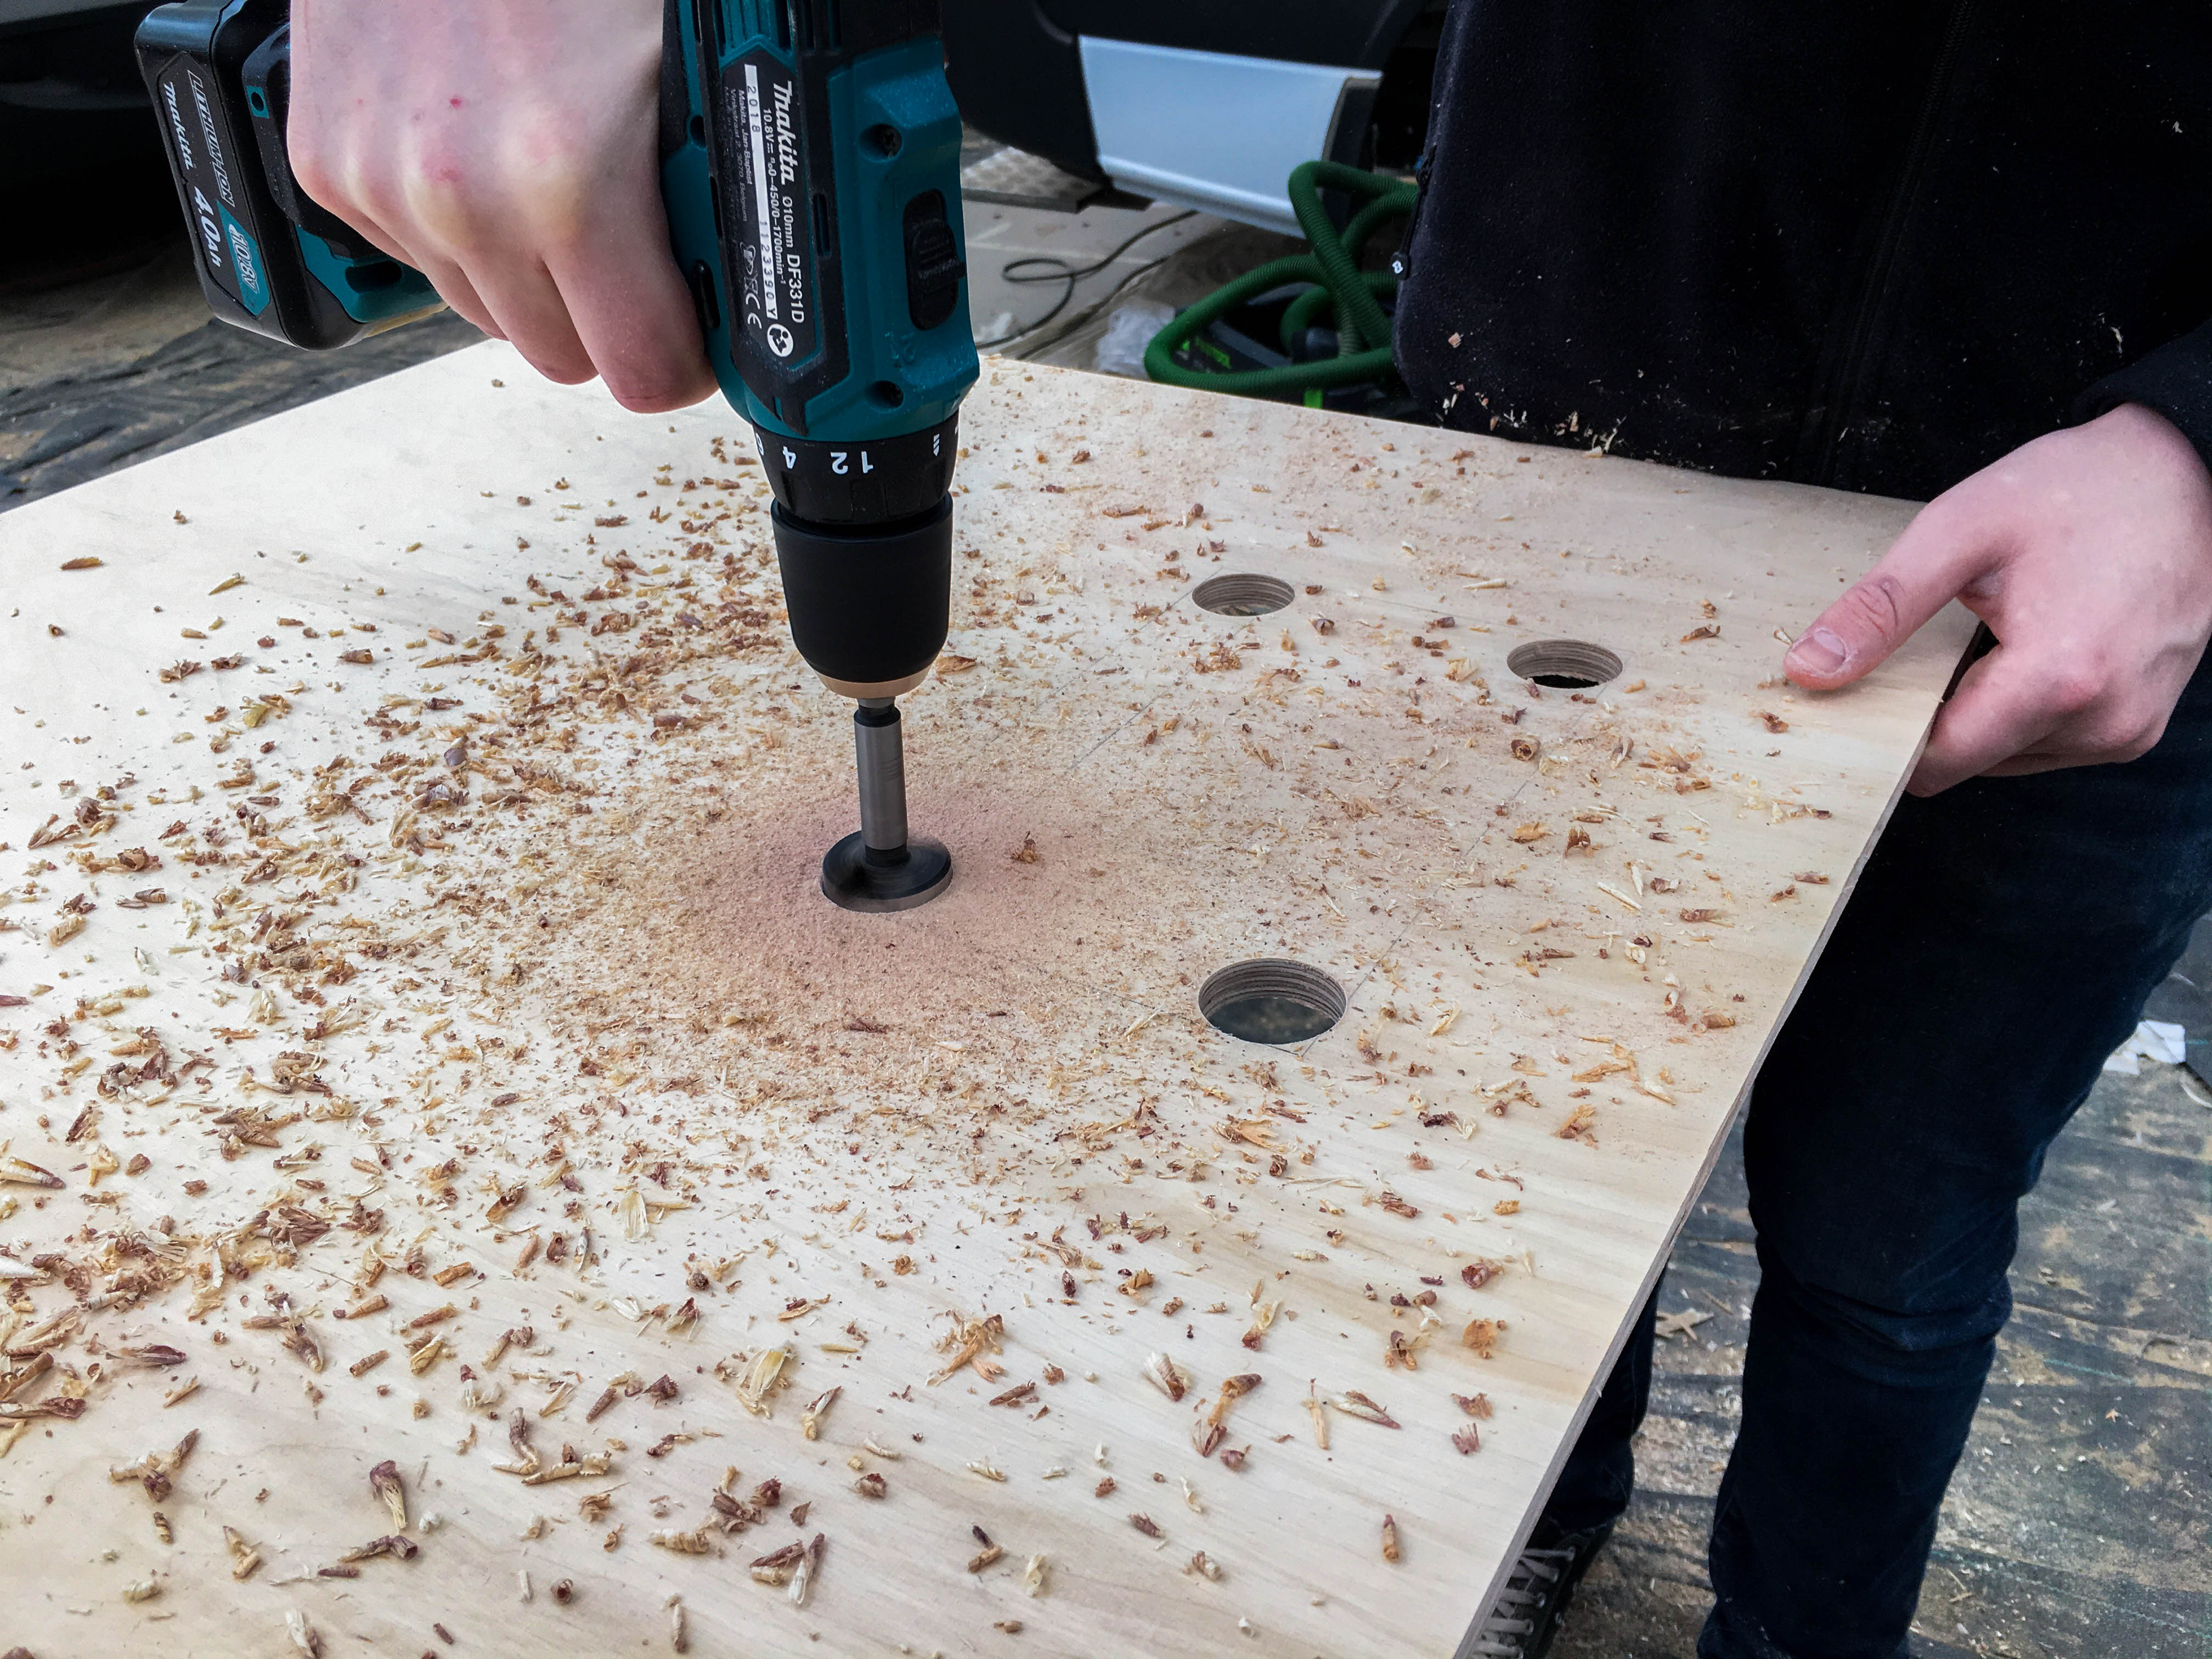
To still be able to reach the batteries and the freshwater tank and to allow for the water supply to flow, we mad small cutouts. To get a nice rounding at the corners, we drilled holes with a forestner bit and then connected them with the jigsaw and thereby created the big holes.
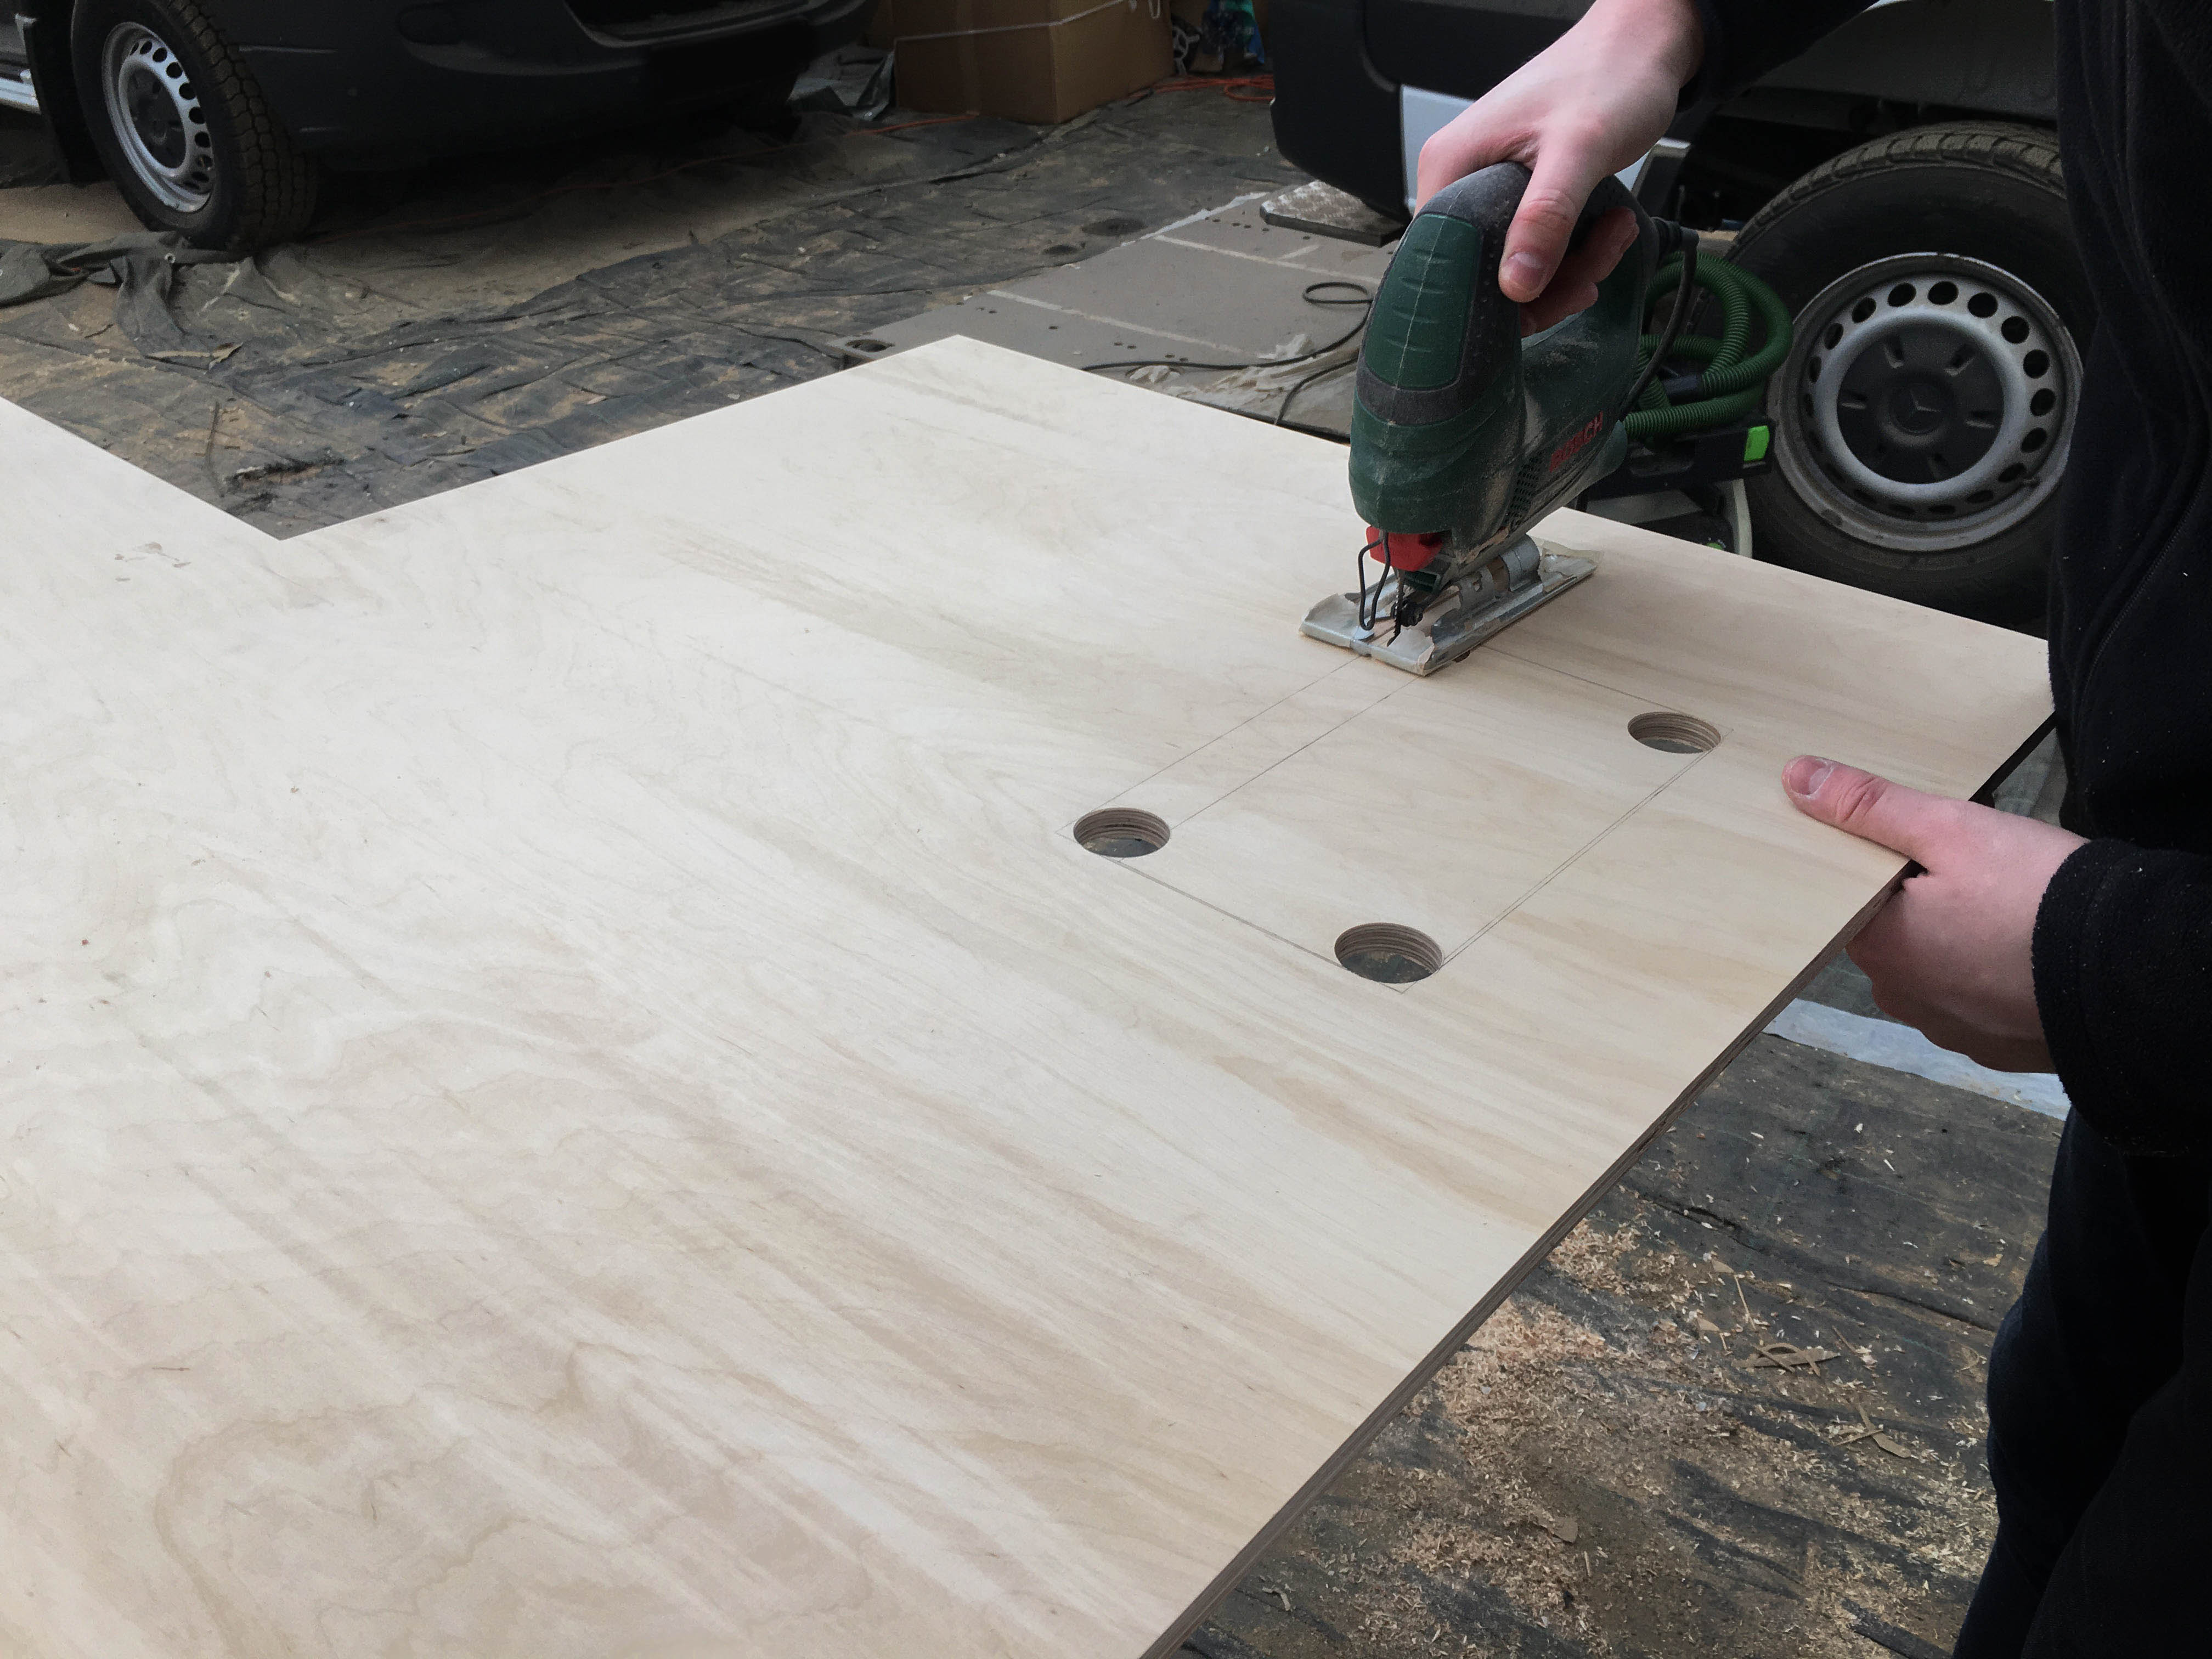
Our table will be mounted to the platform plate. We don’t want the table leg to be a hem though so it will be lowered into the plate, therefore we made a mill in the plate. This will also add more stability to the table. By milling, the plate loses weight so we made a couple more in places that won’t be weighed down later, on the lower surface of the plate.
After sanding all the edges our individualized platform plate was ready to be put in!
Carrying the plate inside the vehicle, we held it sideways and then carefully put it down. Then, we mounted it to the frame with screws.
Done ist our platform and our storageroom!
Also the arch wich we copied with the transfer scribe fits perfectly 😉
Next we will add our benches with even more storage as well as the closet which will only be storage!