
Our self-converted campervan will have a flexible solution of a steplessly adjustable lift table which can turn the sitting- and dining area into a flat bed surface – lots of storage room incluced!
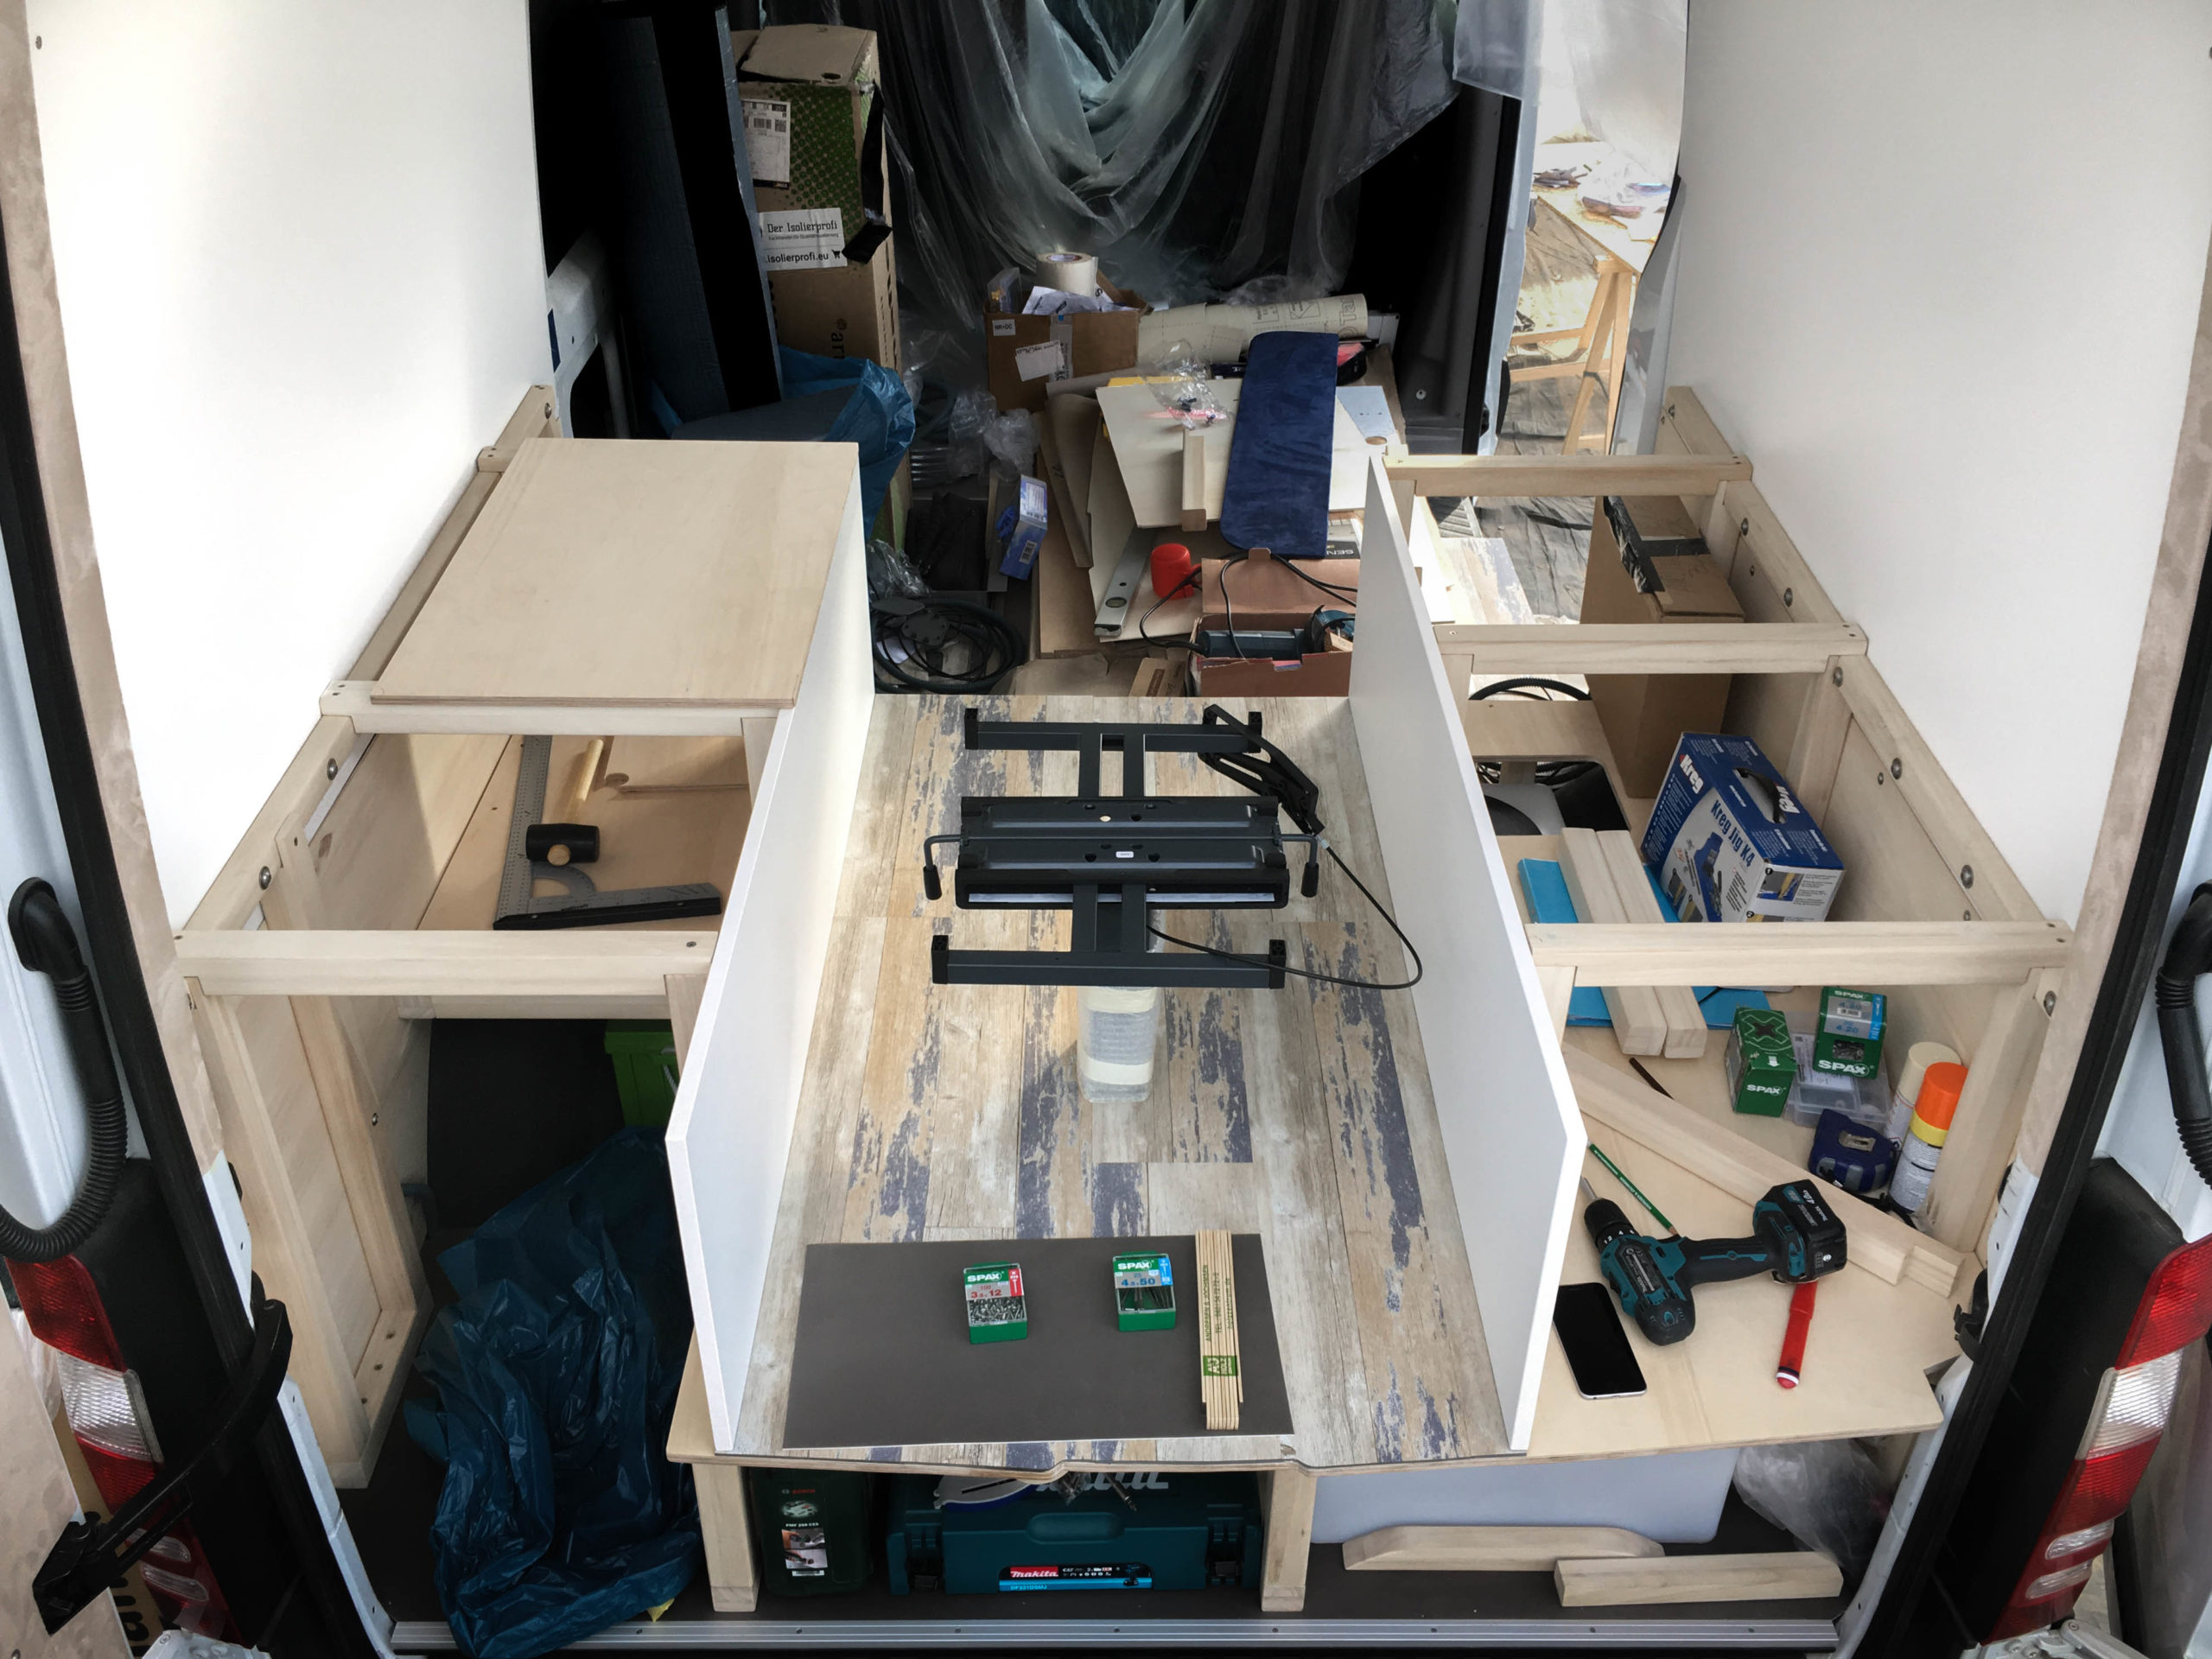
After the first step of building the frame construction for our benches and mounting the lift table, the next step is adding front panels and seating surfaces. The seats have flaps to reach into the storage compartments below.
The front panels
Just like with the interior paneling, we again use white HPL-coating for the fronts of the benches, but this time we are using Banova-wood. Banova is a lightweight plywood made of balsa veneers. We will use this often in our vanbuild 😉
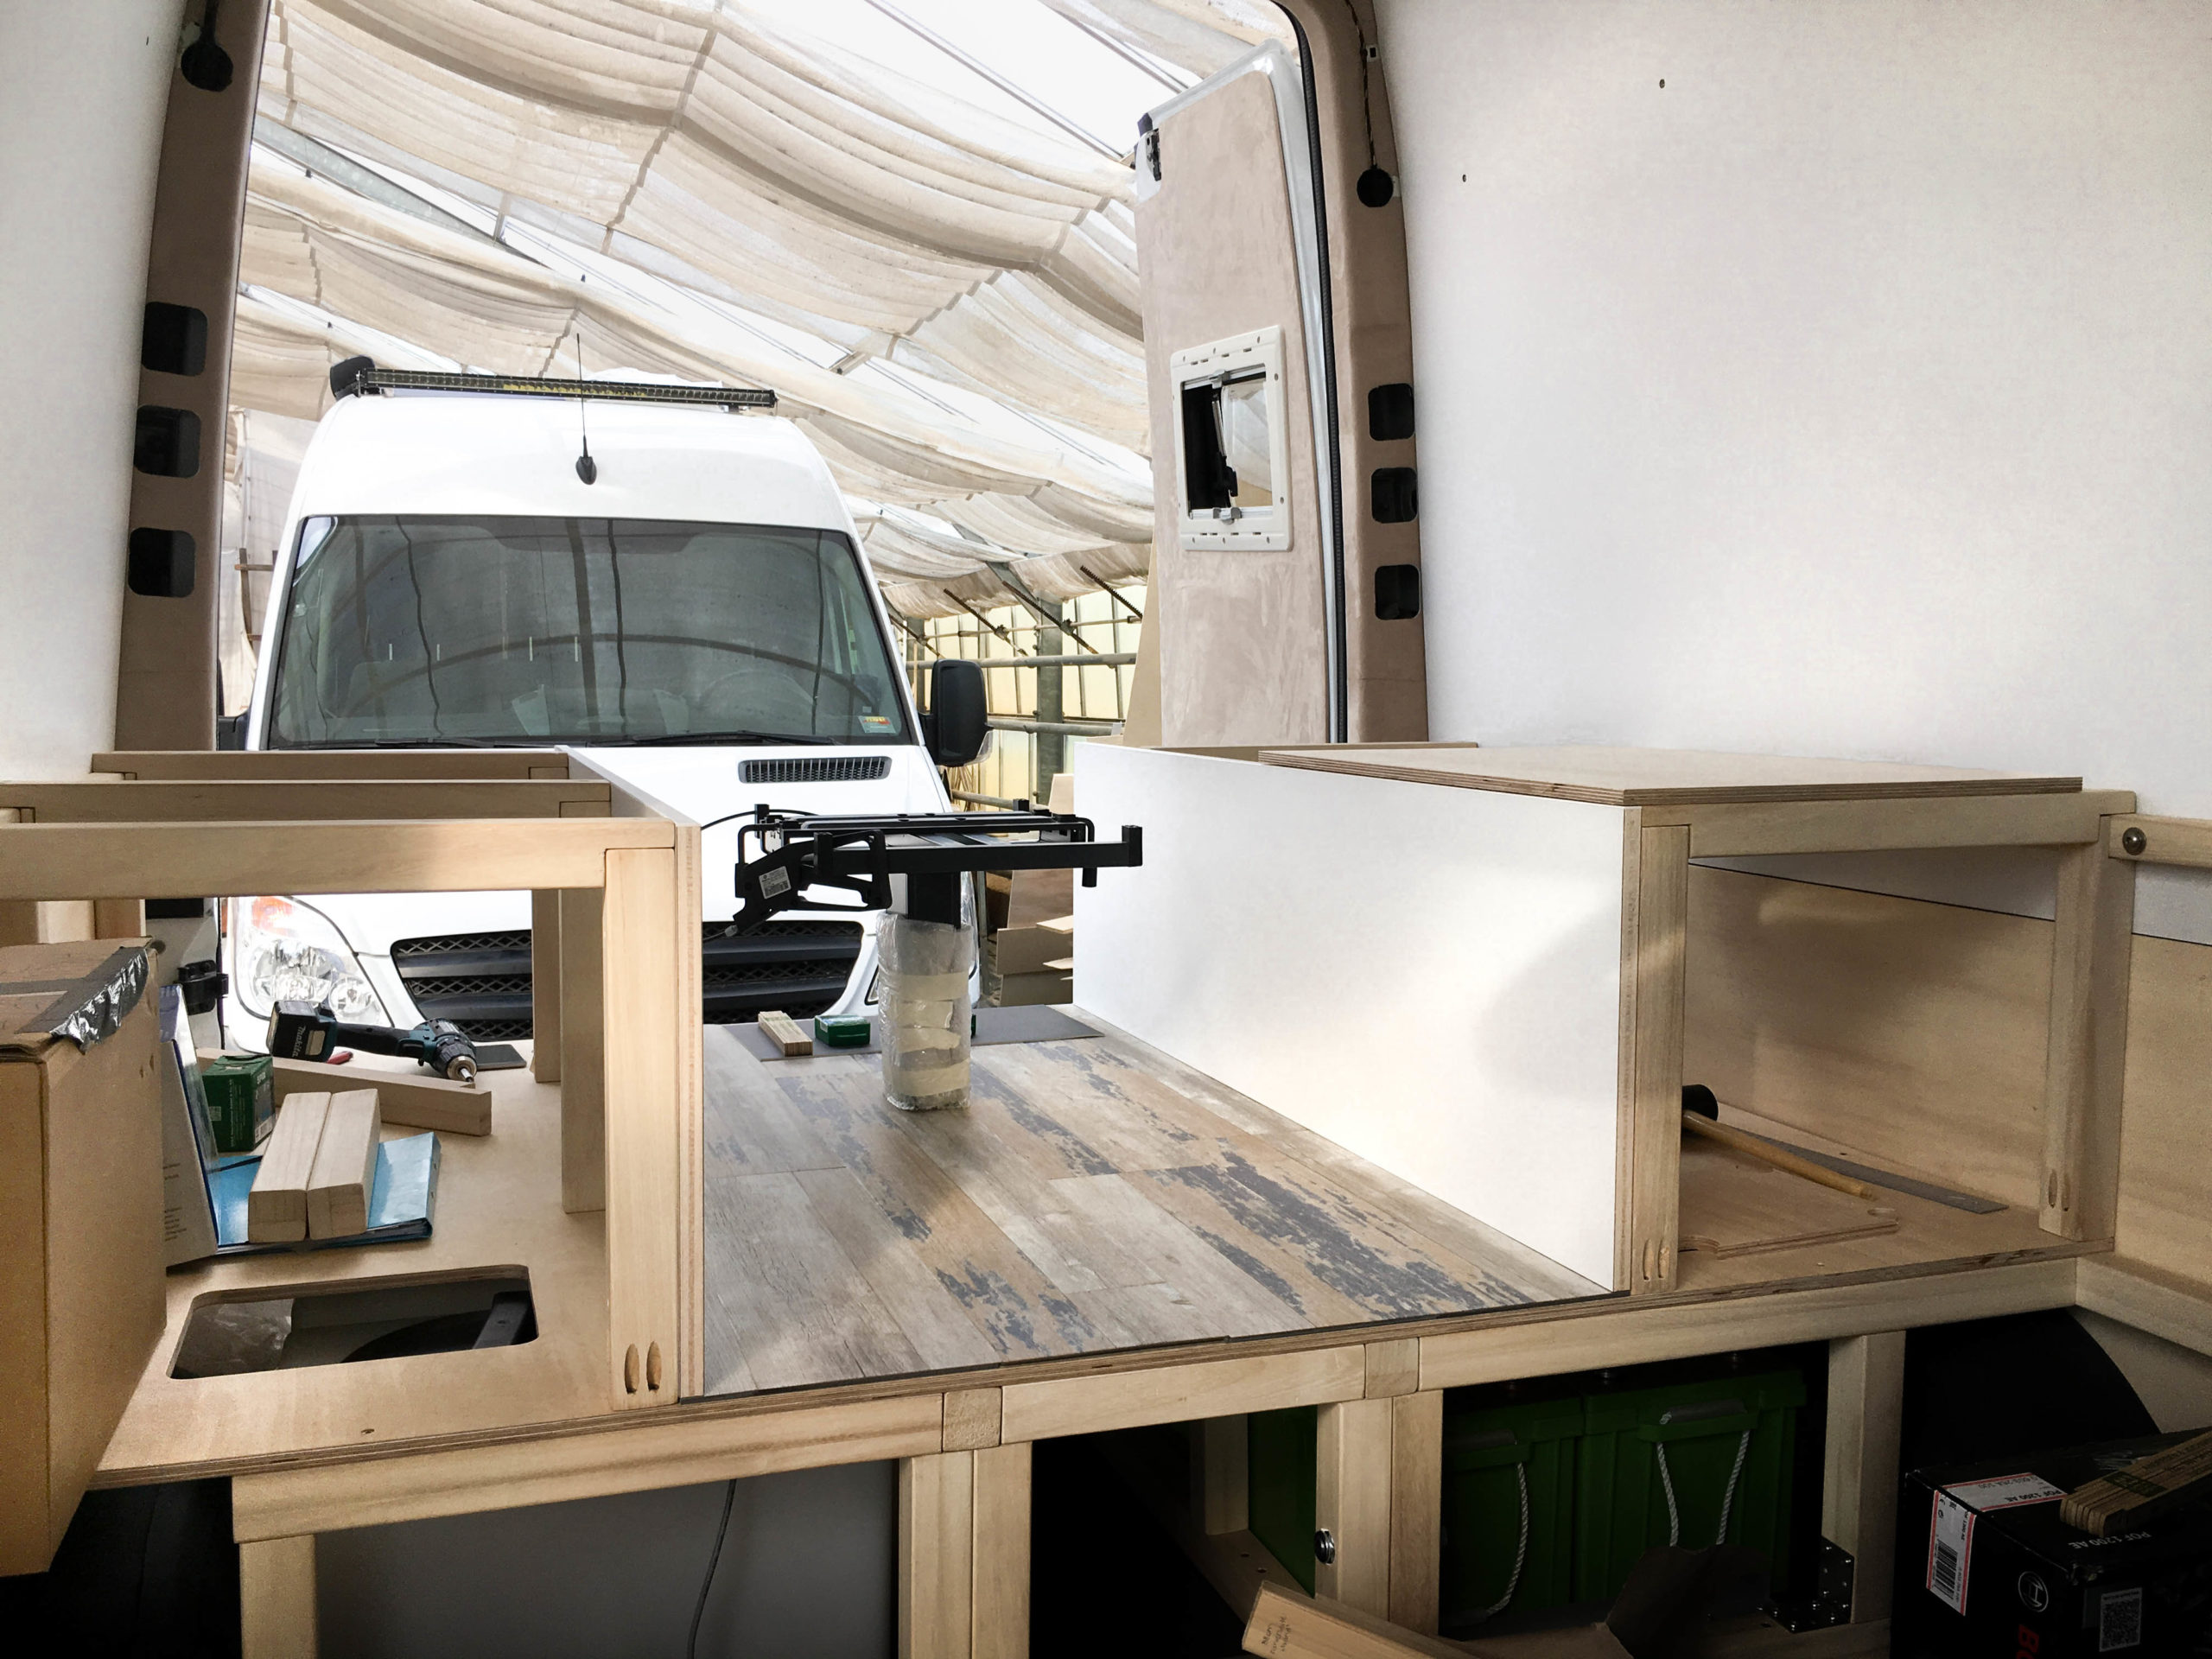
We had the visible edgebands professionally coated at our local lumber yard. You could also use edgebands from the hardware store and apply it with a hair dryer or a flat iron. We like this one better though, because it’s thicker and more stable than the standard edgebands. We fastened the plates to the frame by using screws from the back or inside of the benches.
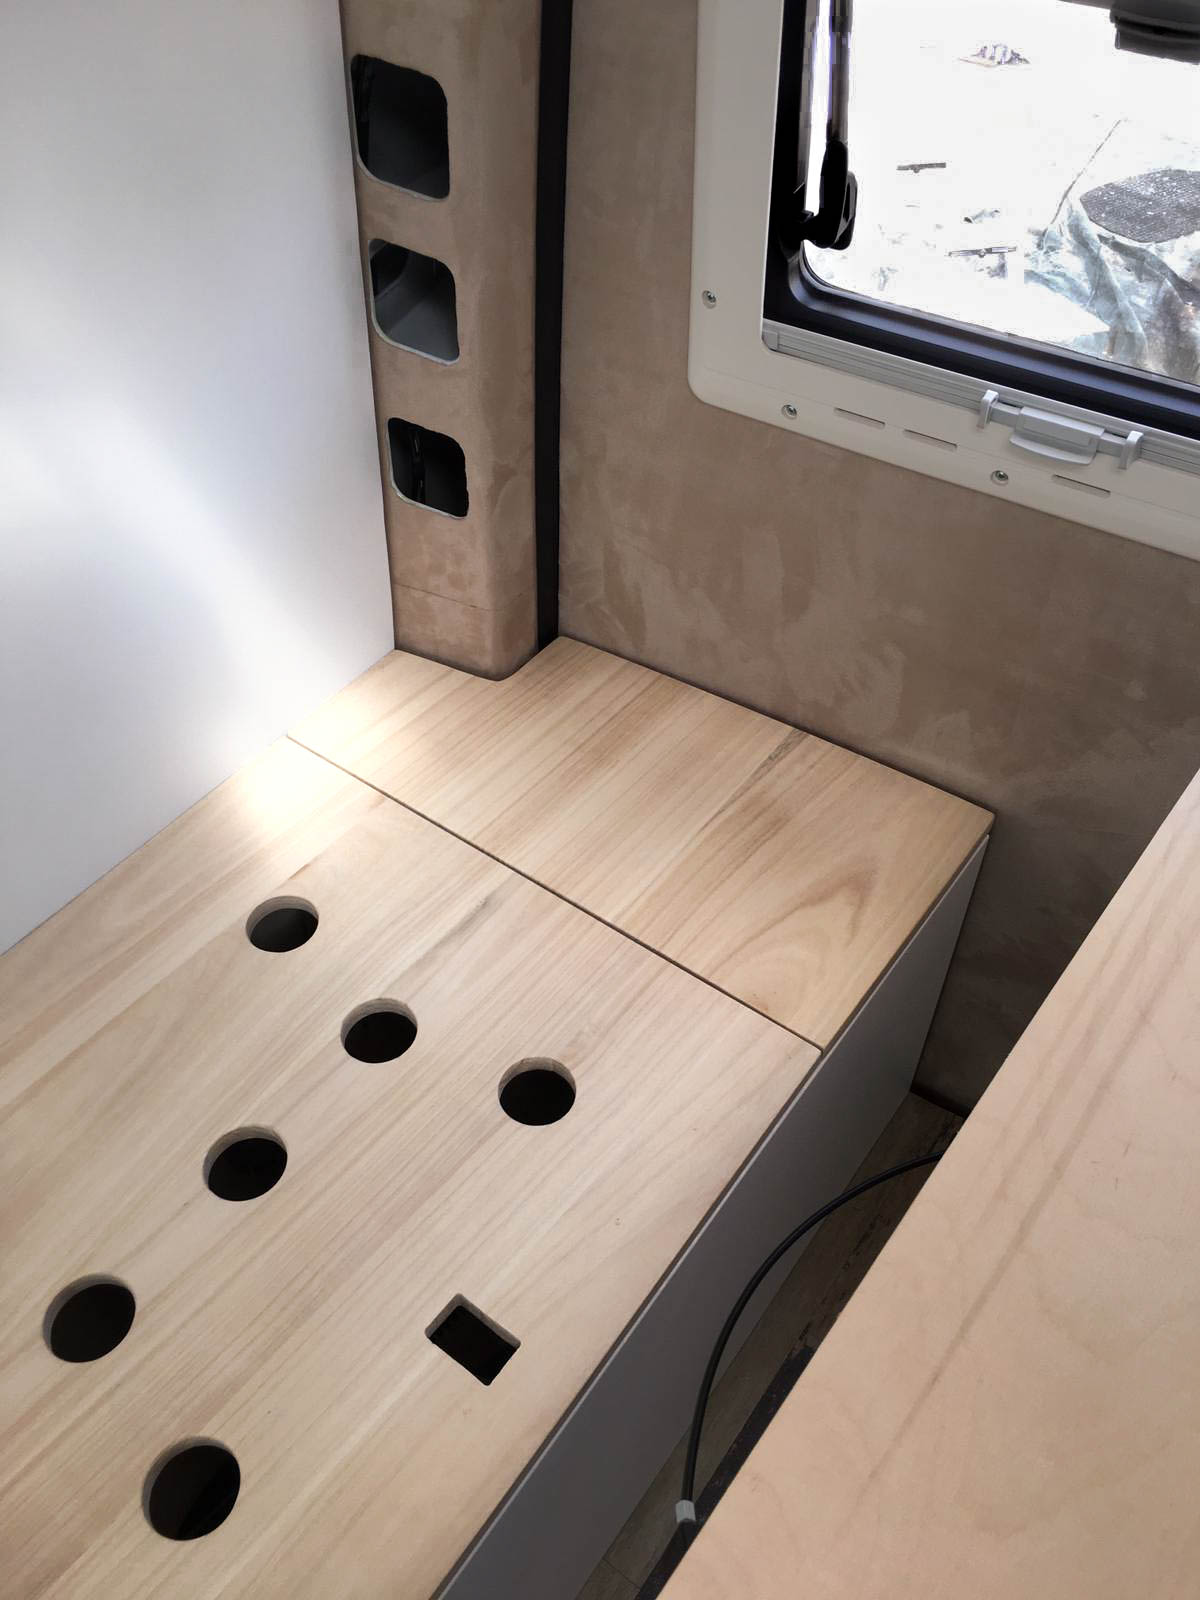
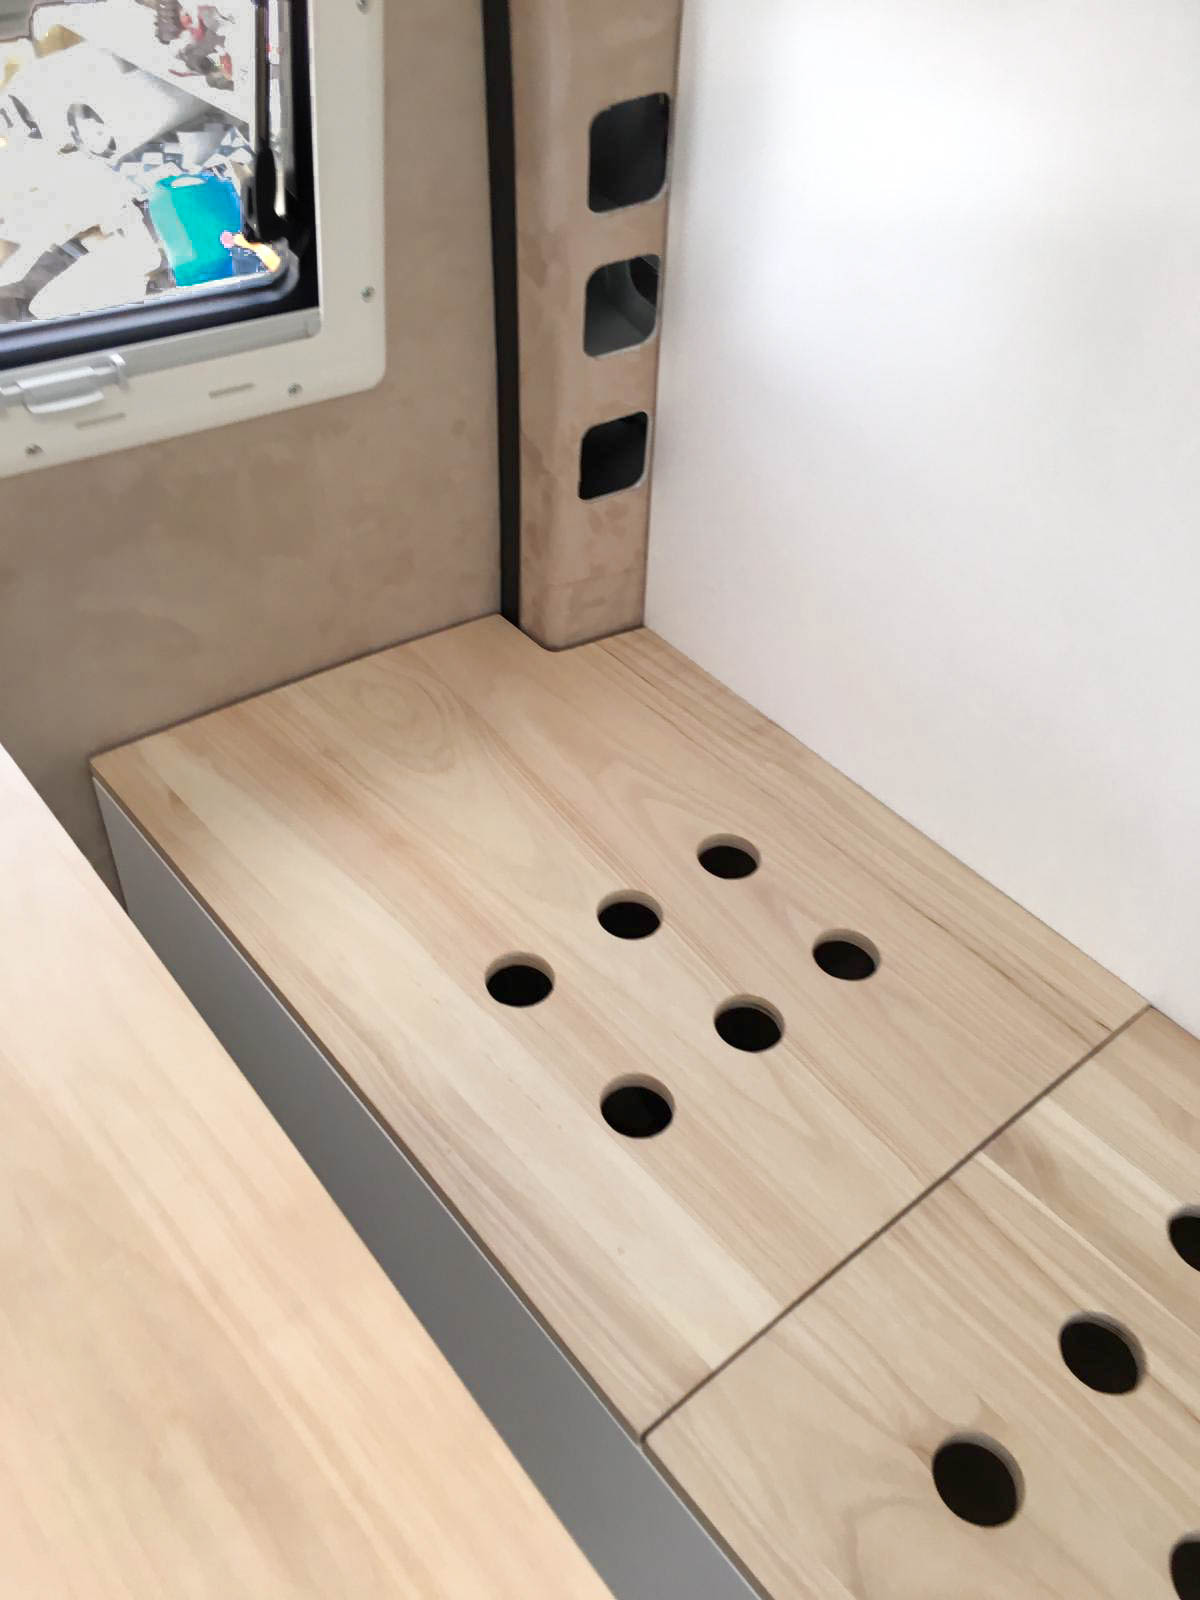
The seating surface
For the seating surfaces we used lightweight glued boards of Paulownia-wood. We cut them to size and added ventilation holes, sanded the edges and used hardwax-oil. After two coats of oil and a drying time of 24 hours per coat, we installed the plates.

We tailored the rear plates to fit the rounding of the vehicle doors as well as the D-pillar and screwed them tight.
The bench on the passenger side has two flaps, the bench on the drivers side has one flap. This way you can reach into the benches and use the divided compartments as storage.
Only the big rear compartment on the drivers side, which reaches all the way down into the platform, doesn’t have an own flap. It’s accessible either from the back by opening the back doors or you can reach into it diagonally from the top do
To make the flaps function, the back edge of the plate had to be tapered. To steplessly adjust the flaps we used automatic flap hinges and also added openers.

The filler inlet
As we already mentioned in our blog post about the freshwater tank, we did not want to add another hole to the outside of the vehicle. So we installed the filler inlet in a compartment in the bench which is accessible from the back.

To protect the area against water and spillovers, we added leftover PVC from the flooring. And we have room for e.g. the fire extinguisher 😉

The benches are finished!
The tabletop is only temporary, we’ll add the real one later which will then complete the bed surface!

Here you can read about building the frame construction for the benches and the table!