
In every house belongs a closet, a drawer as well as a storage room and a shelf, of course. All of this but much smaller will fit in our Campervan, too!
Because of its compactness, maneuverability and ground clearance, we chose a small or rather short Sprinter with 6 square meters of „living space“. If you only use the van on the weekends or short trips you need much less luggage than if you want to live in the van full time, like we will. We already created lots of storage room with the platform and the room beneath but the freshwater tank and the batteries already take up lots of that space.
We create more storage with a closet (it’s not only for clothes though). Anyways, we do not want to build a big piece of furniture which will take up all of the living space and reduce incidence of light. So our closet is made of various elements with different depths which will create an open view and a feeling of space.

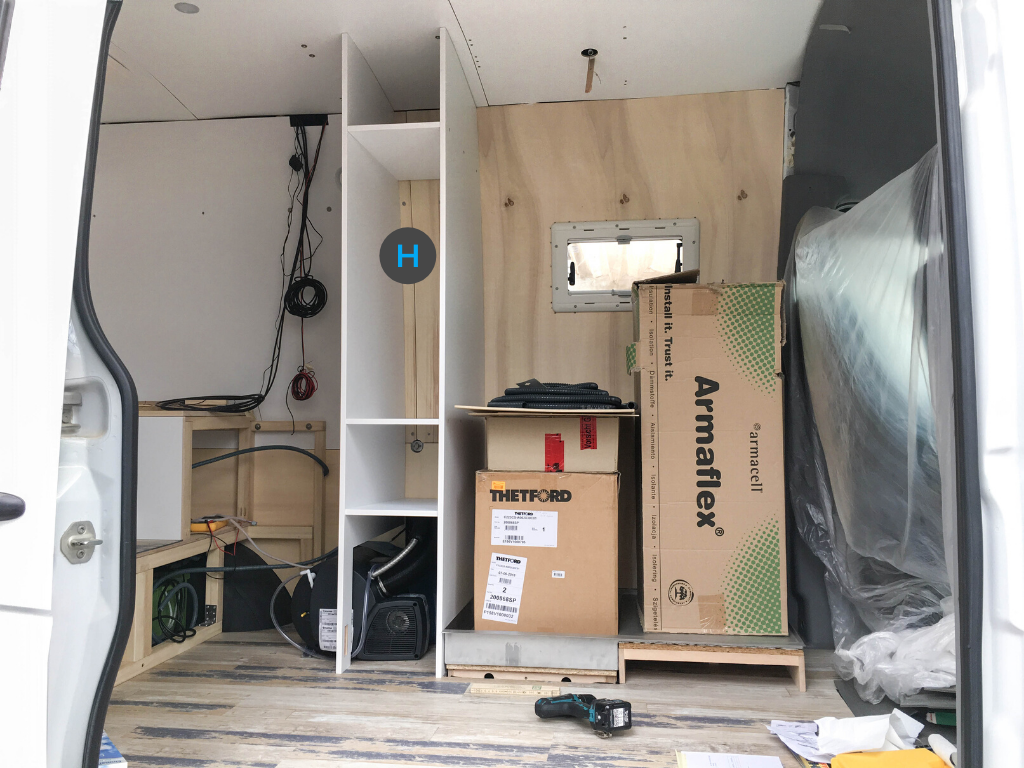
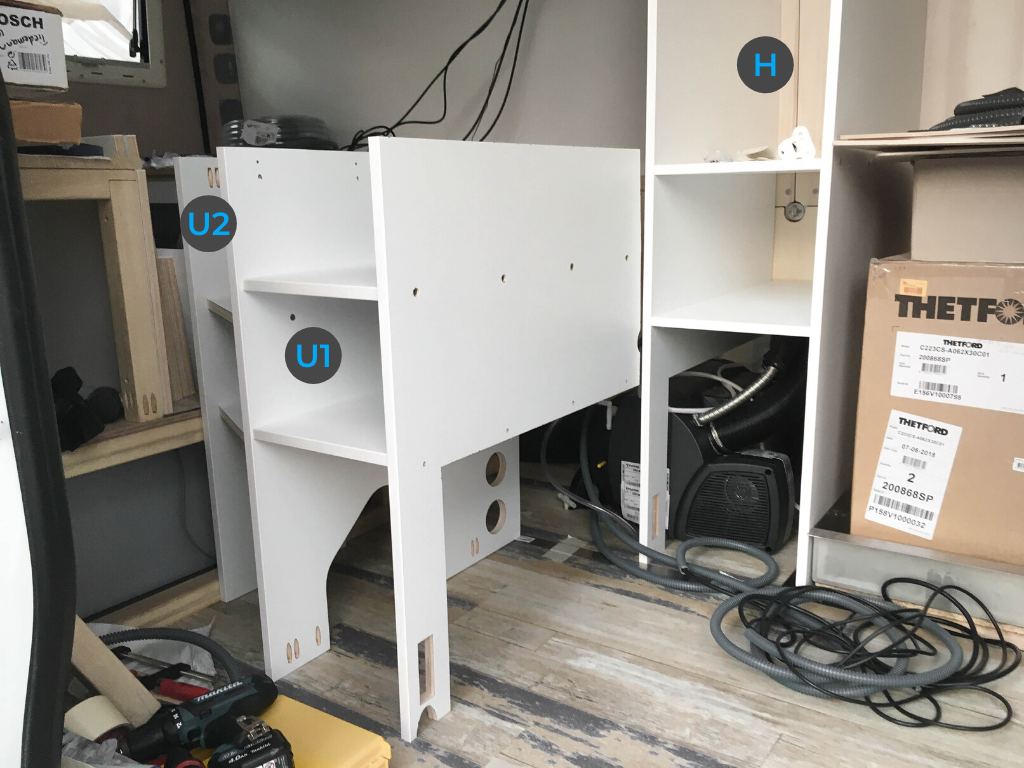
To better understand what we’re talking about, we’re using this drawing and name the different elements of the closet. This way we hope to make it easier for you to follow along whilst reading this blog post.
H = tall cabinet
U1 = lower middle cabinet
U2 = lower left cabinet
AP = worktop
O1 = upper middle cabinet
O2 = upper left cabinet
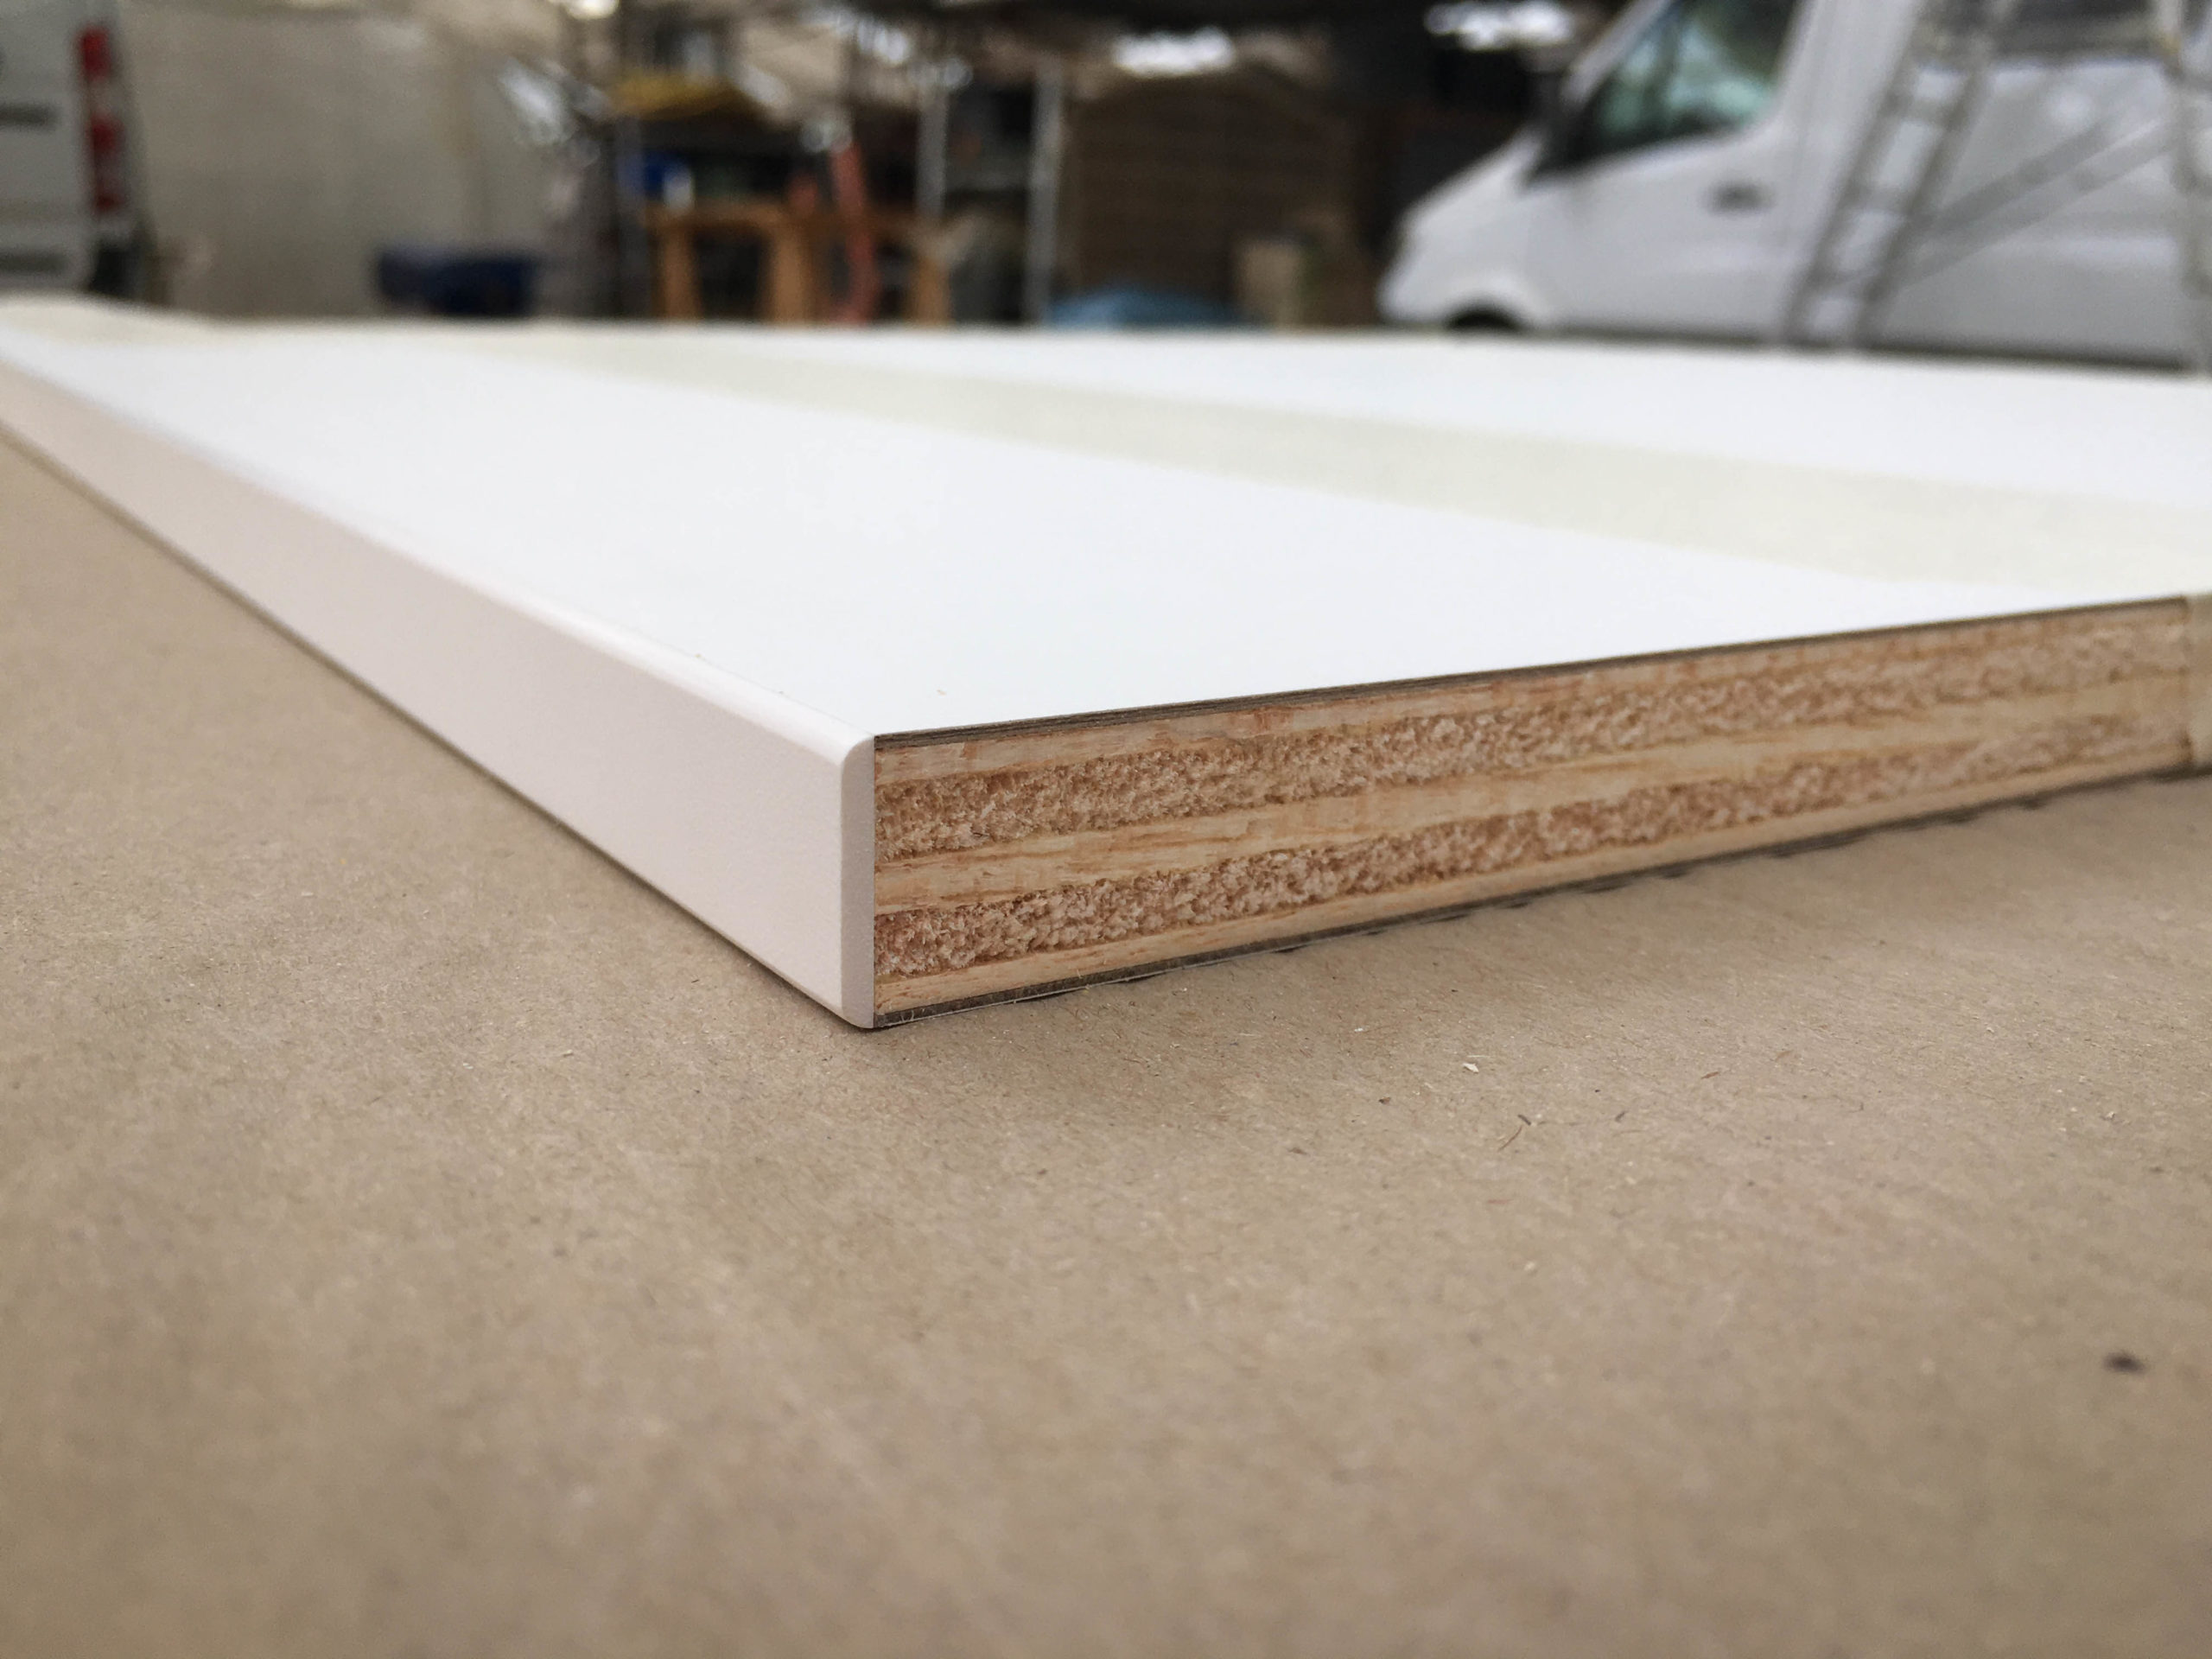
We build the closet, as well as all other furniture, mainly with Banova, a very lightweight plywood made of balsa veneers which we had coated with white HPL and side-edged at our local lumber yard. Note: the wood currently has limited availability (at least at our wood store).
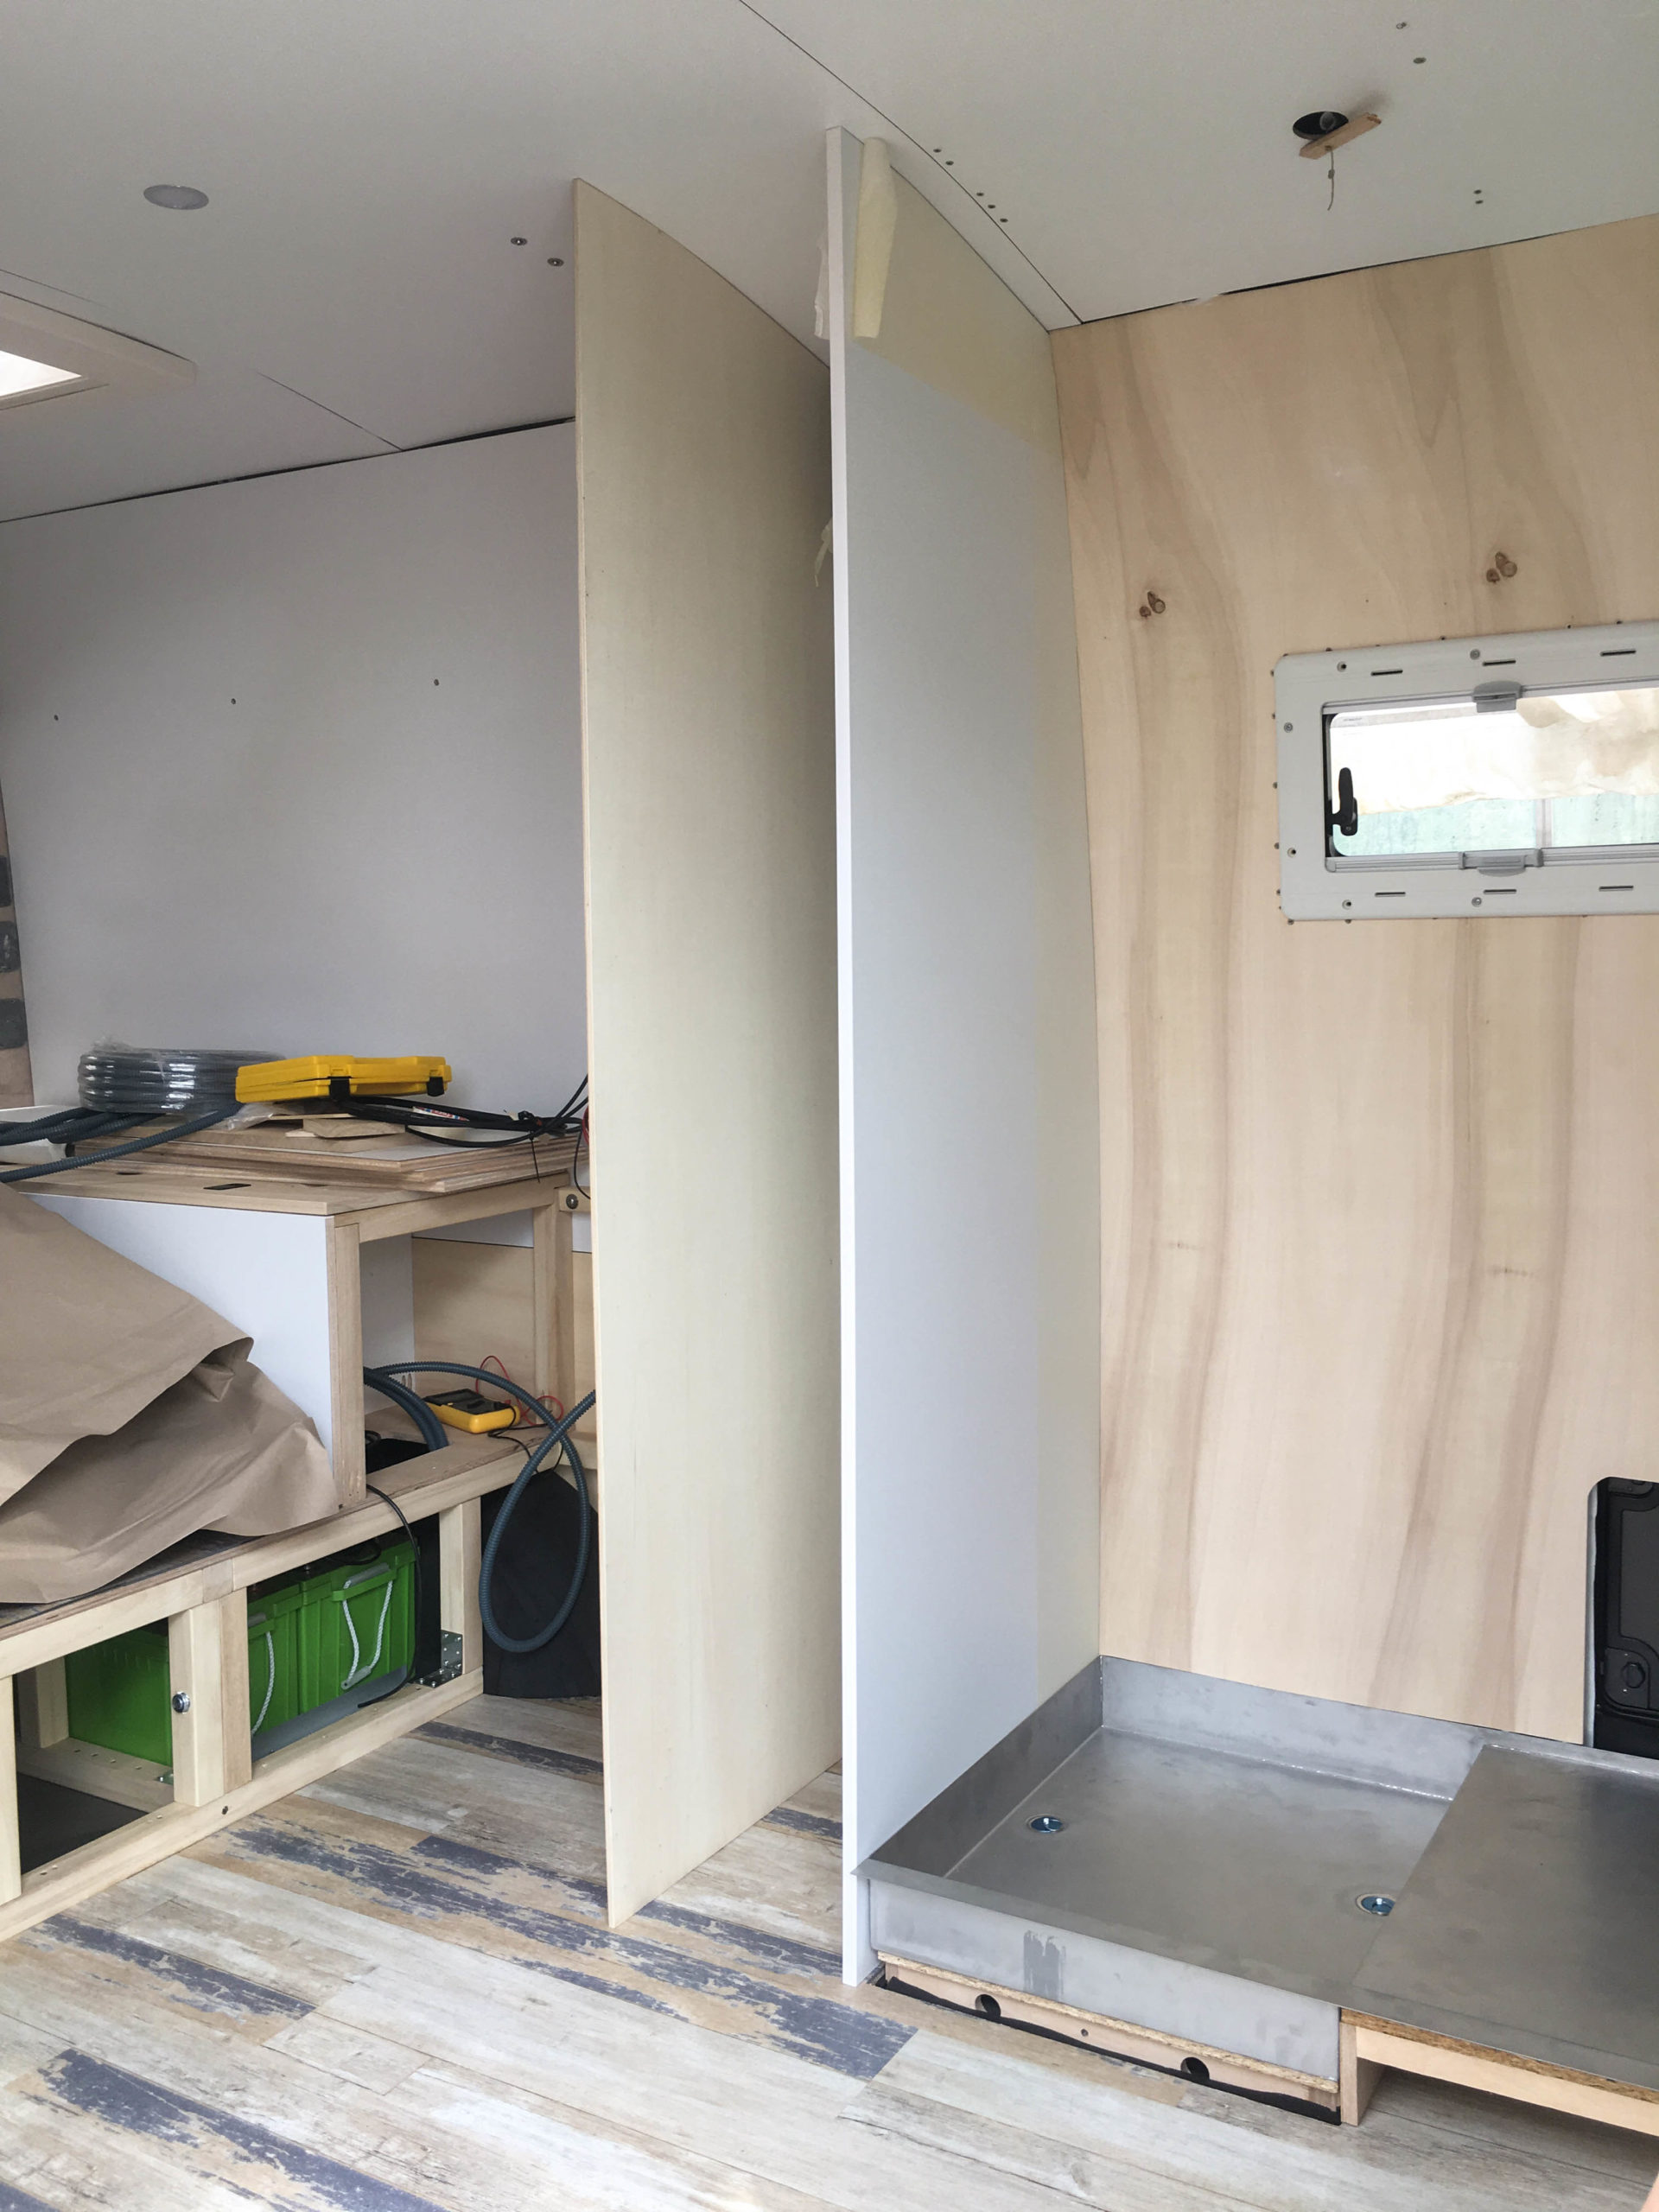
The tall cabinet (H)
The biggest and deepest element is the tall cabinet, which will also feature a hanging rail so we can hang clothes.
The right wall of the cabinet unit is at the same time the left bathroom wall. So the depth of the closet was already defined beforehand by the measurements of the bathroom or rather the shower tray.
Because of the curve of the vehicle wall, we made templates of poplar plywood using the already tried and tested transfer scribe. Then we used transfer paper to transfer the fitted templates to the white Banova-plates and then cut them with a jigsaw.
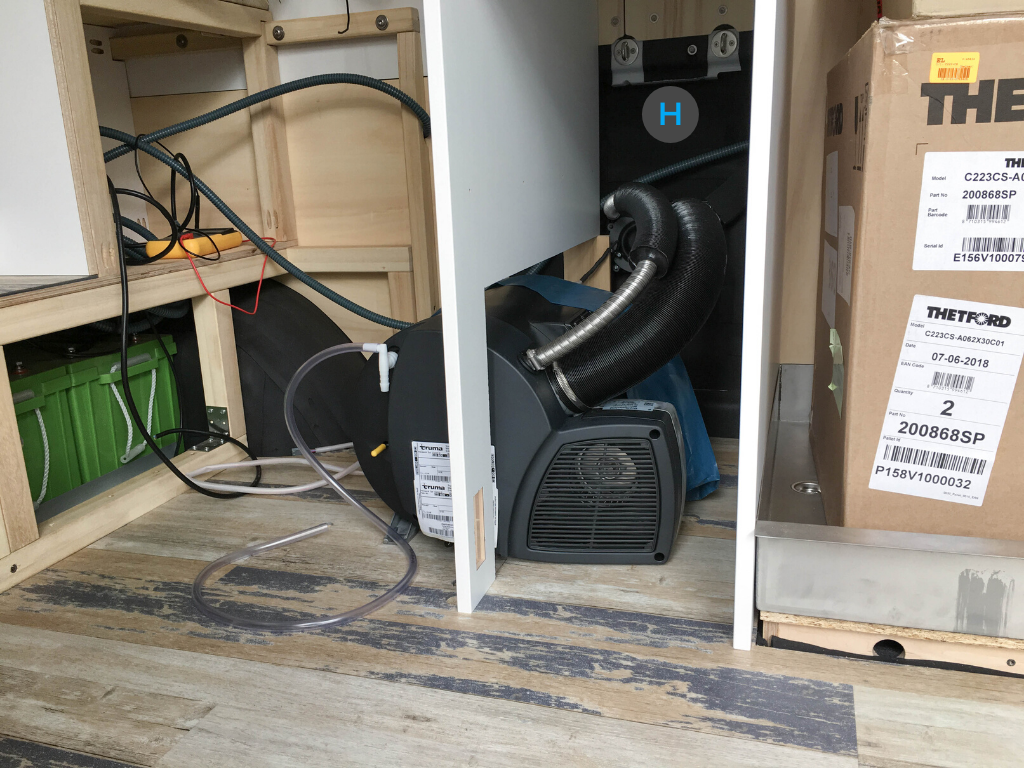
To the lower part of the closet we add our heater. The chimney had to be installed to the outside vehicle wall and connected to the device before building the closet, because it would be difficult to install it after the closet is in. We only mounted the heater and screwed it into the floor but did not connect it to the diesel tank yet. Then we more or less built the walls of the closet around the heater 😉
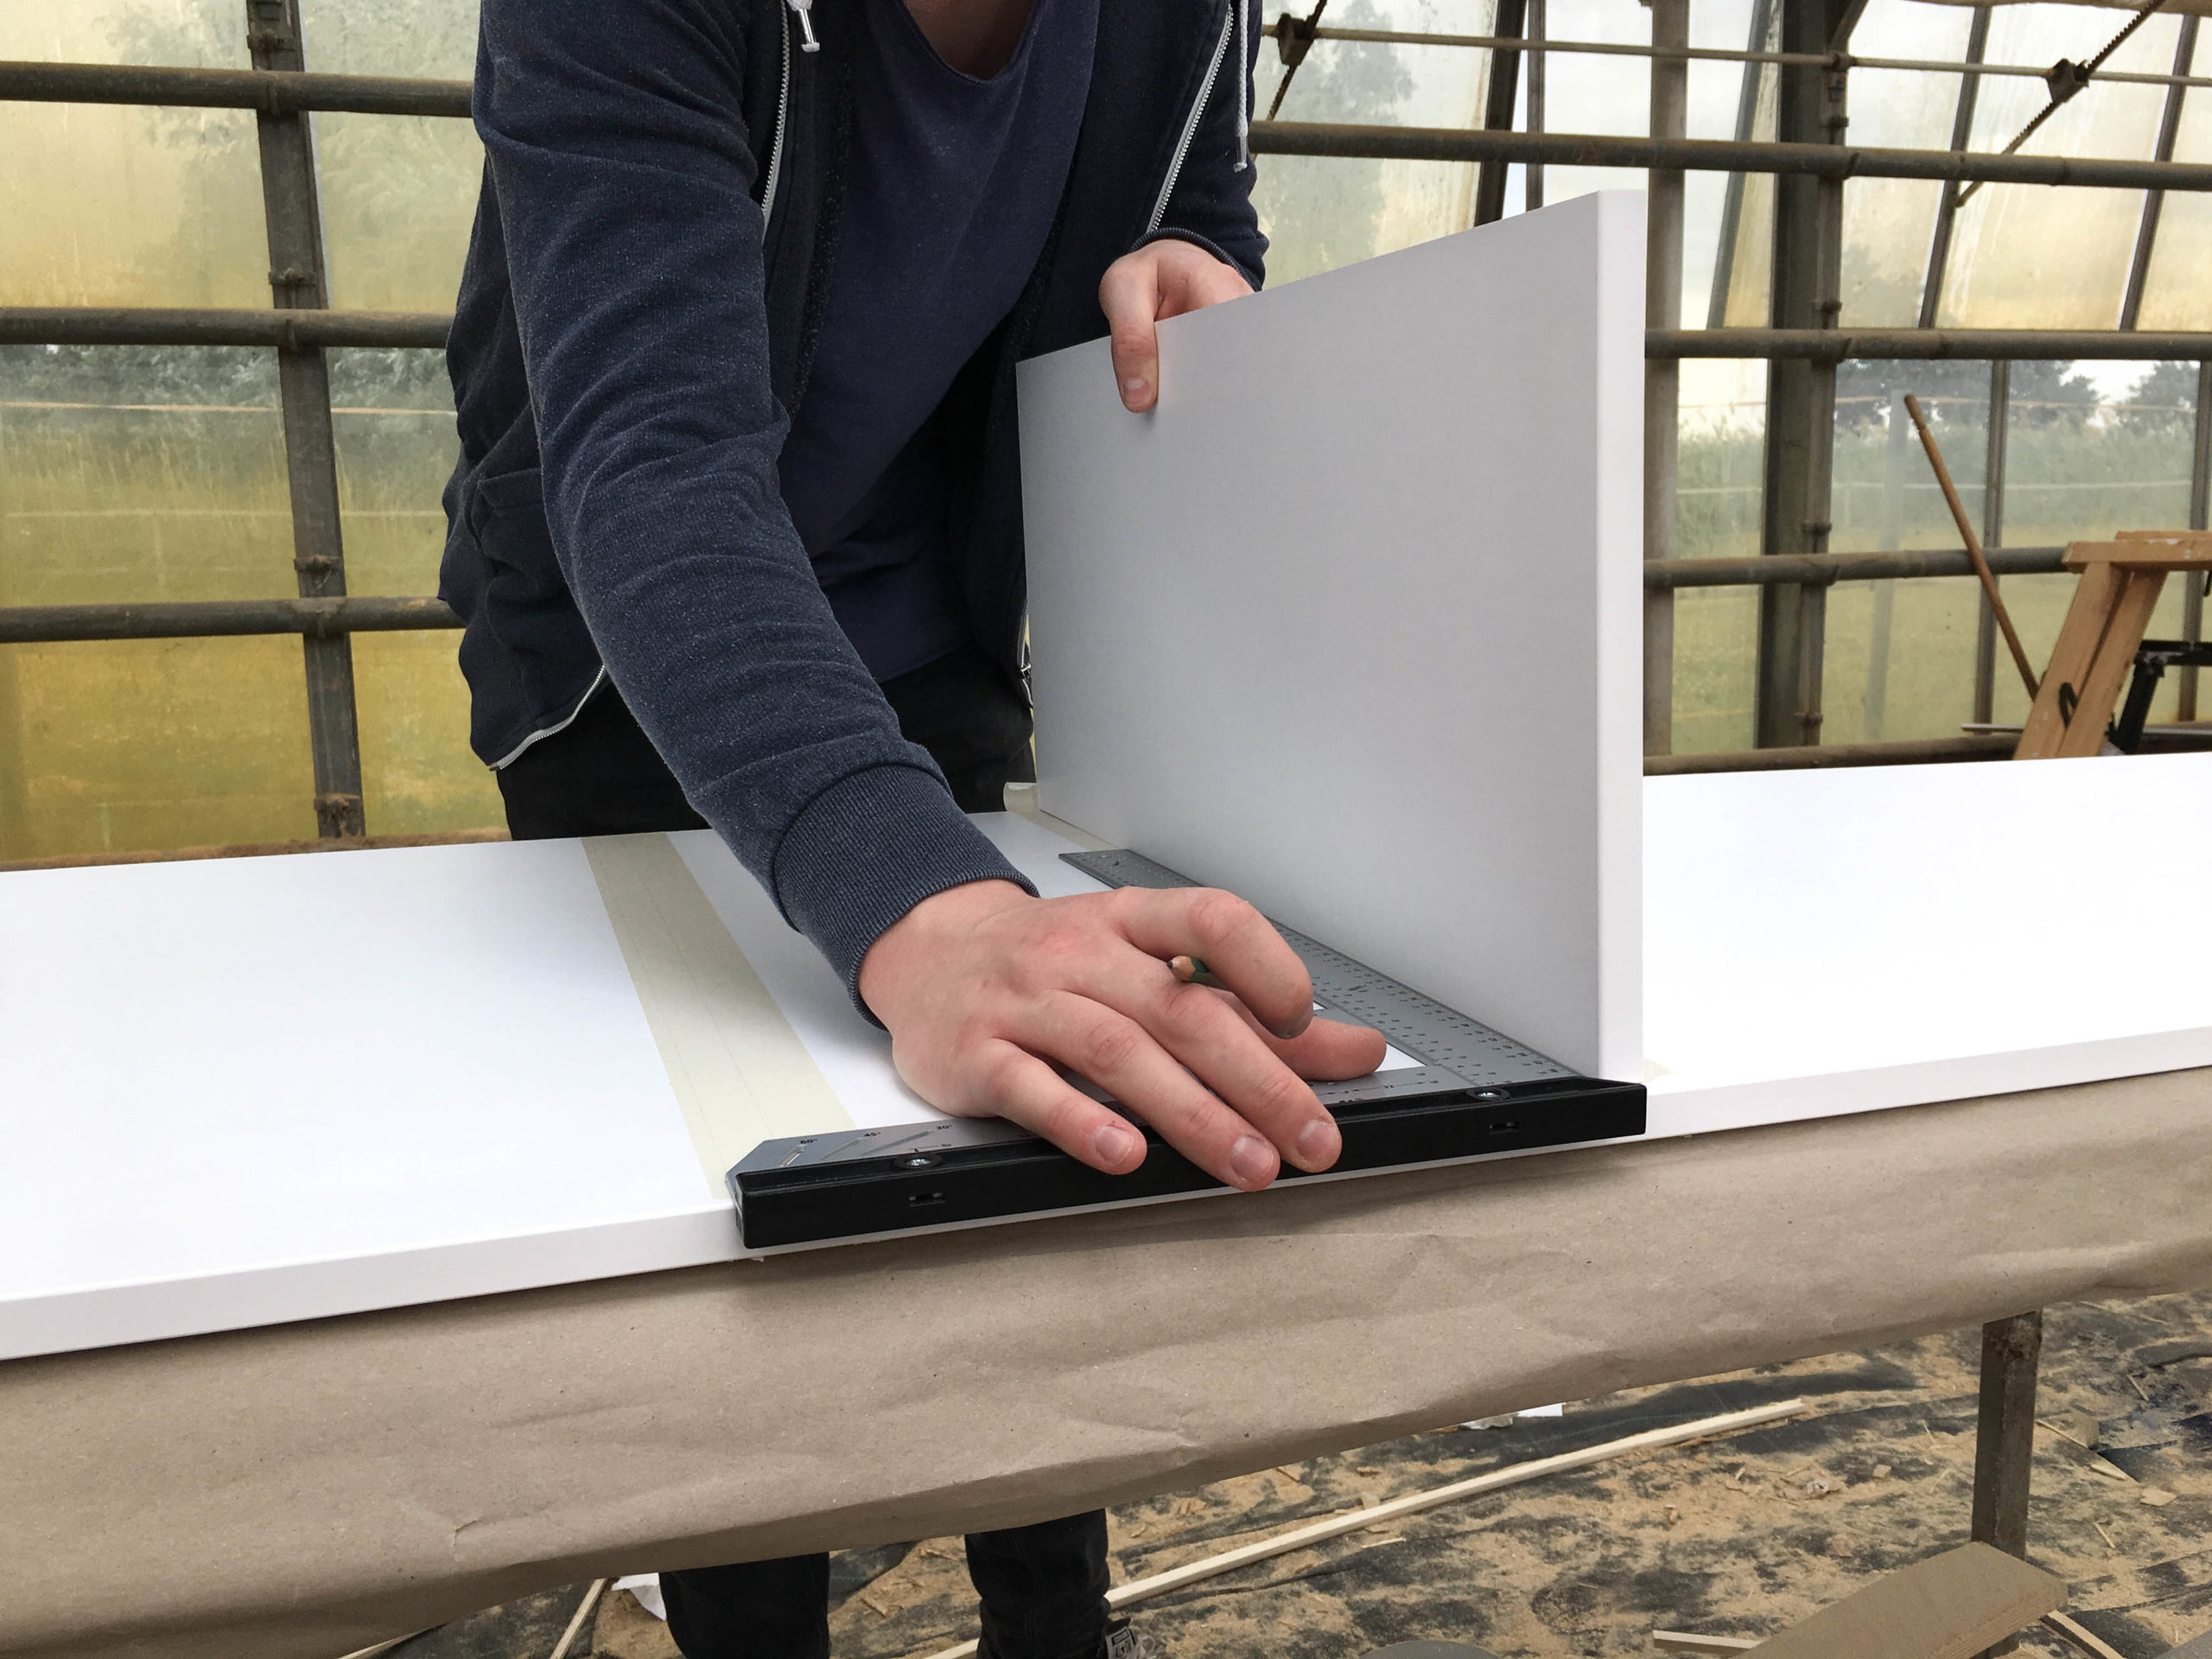
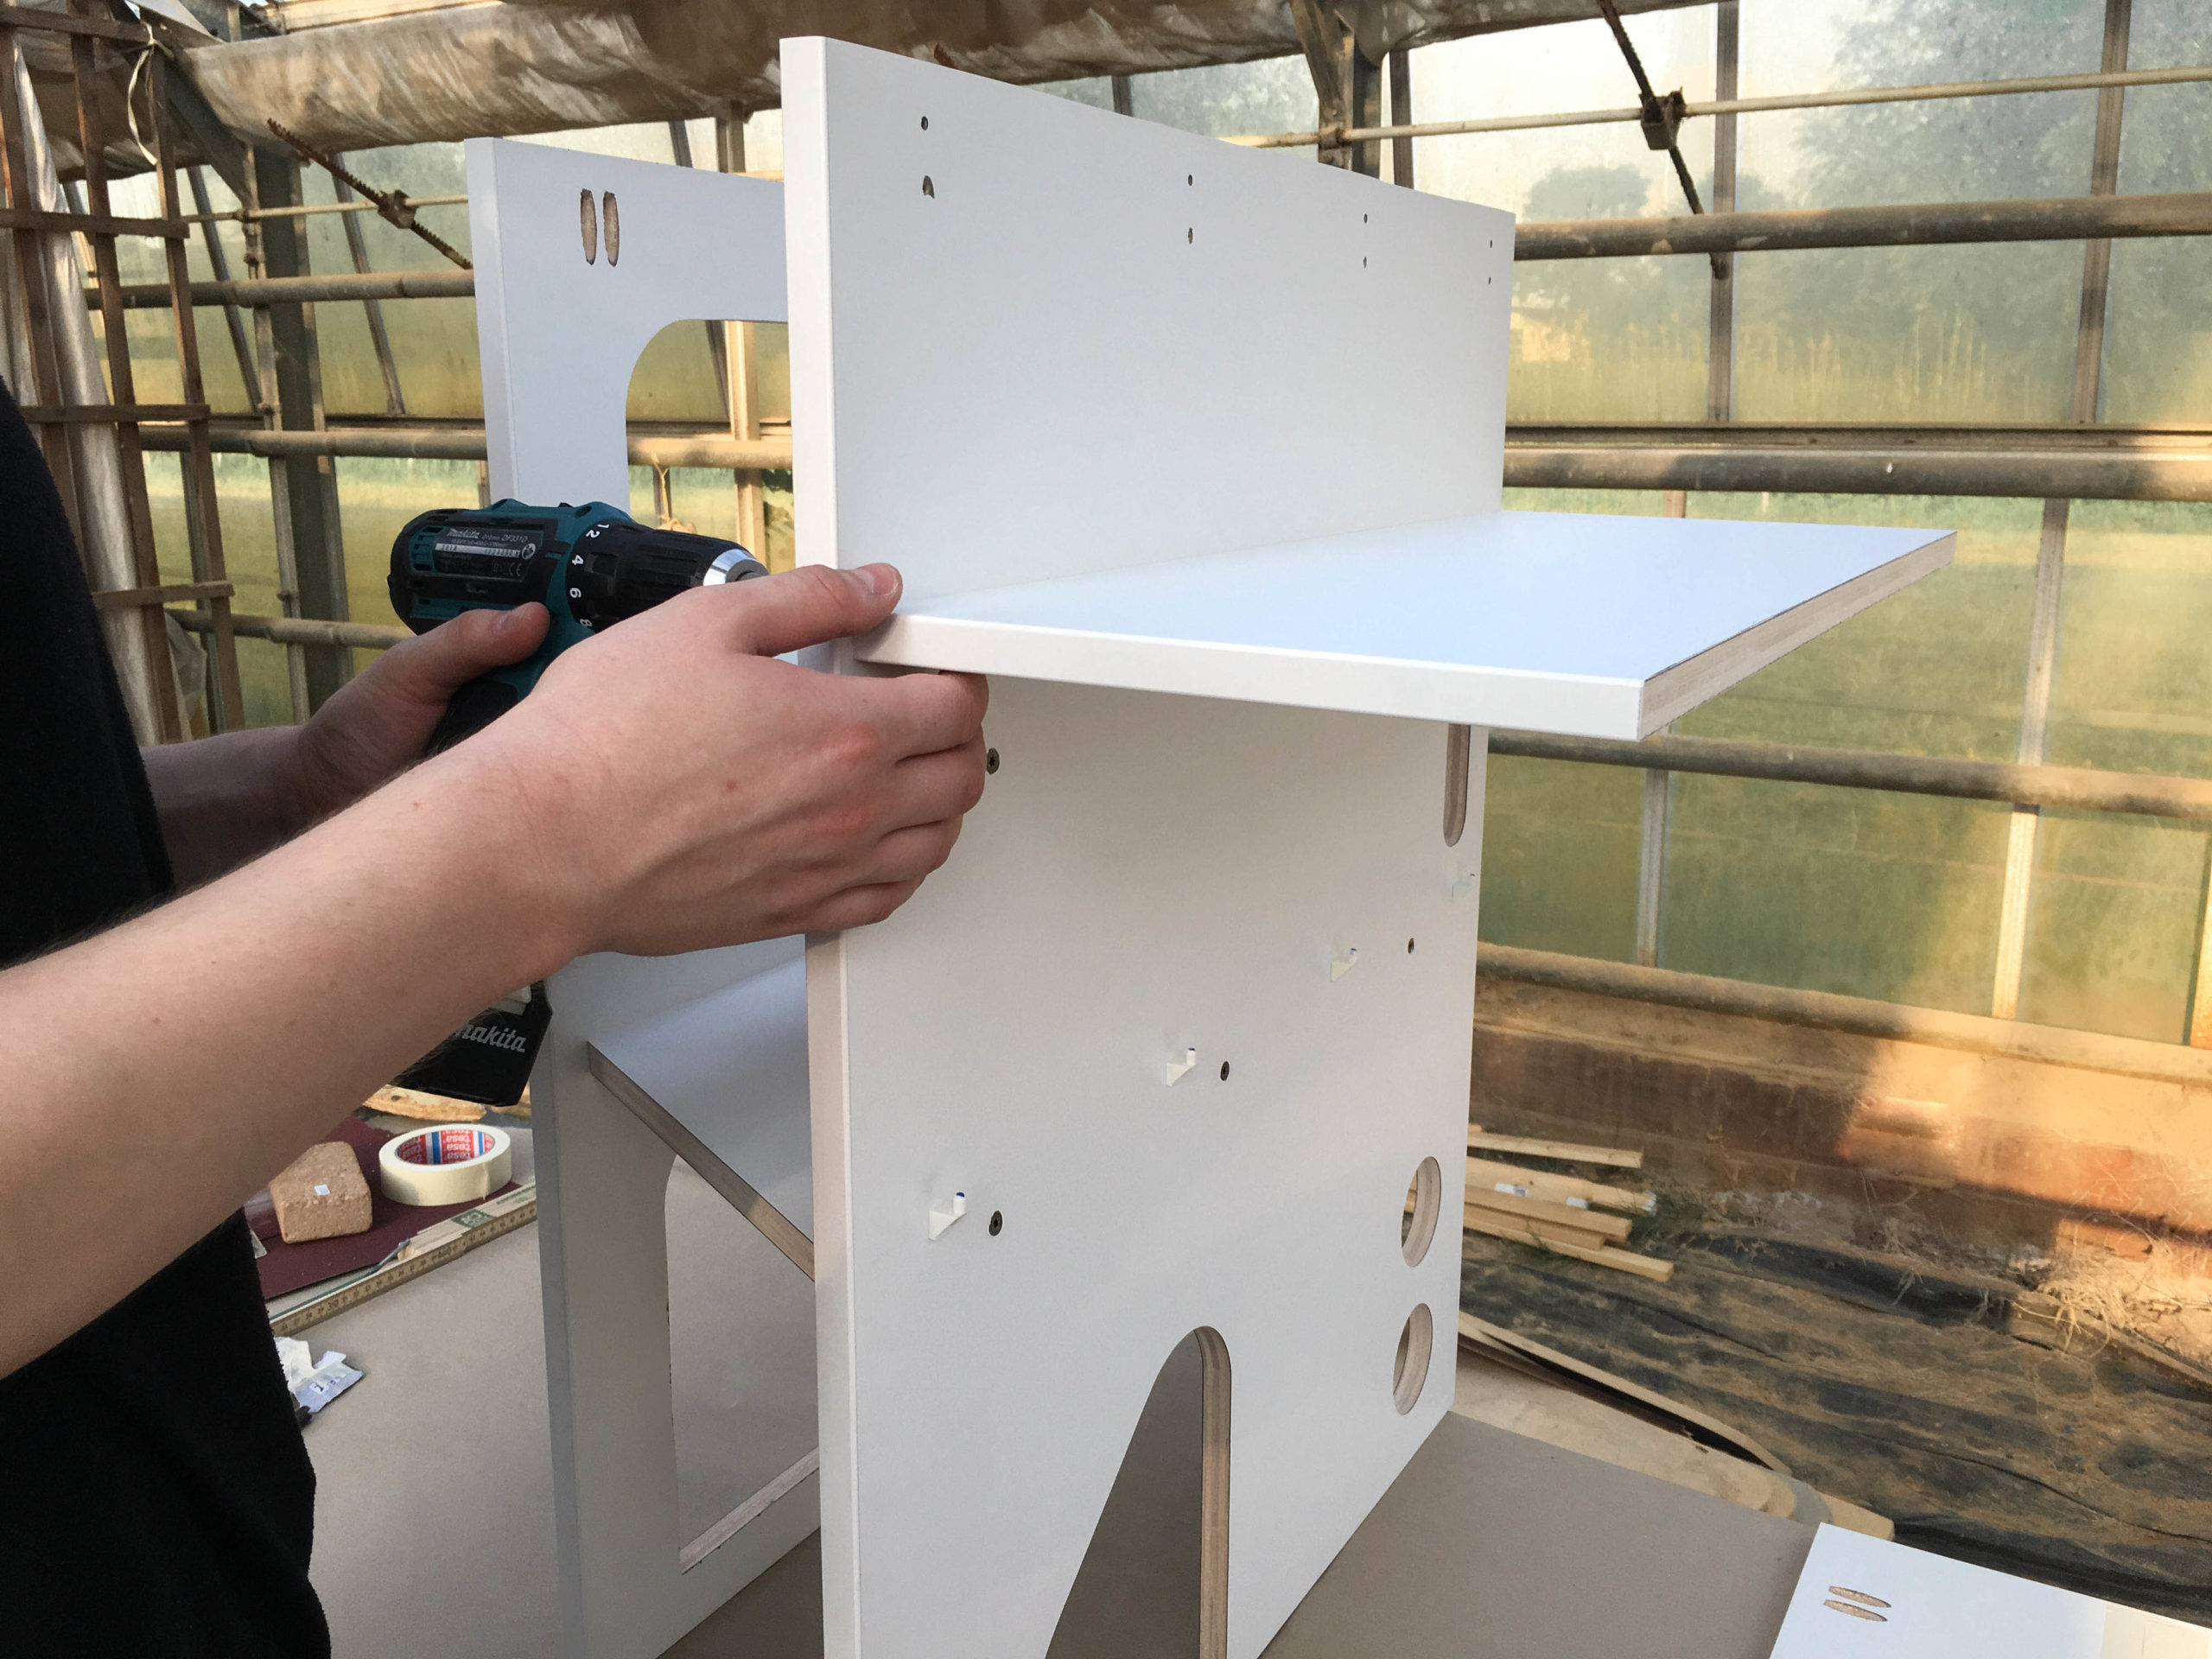
Before adding the shelves to the cabinet, we marked them to the left wall with tape, then aligned them in a 90 degree angle and screwed them tight from the outside.
It is quite good and stable to fasten the boards with screws, but the visible screw head is not nice to look at (even though it’s lowered). That’s why we only did it like this in places you will not see later, e.g. the bathroom wall which will be covered, or inside of the cabinets. As an alternative you could use metal brackets or like we did, glue and dowels. We did this mainly with the upper cabinets – read more in Part 2/2 of the closet.
This is what the first finished closet element looks like! We only have to add the hanging rail 😉
The lower cabinets (U1 and U2)
The lower element is made of three side walls to which we added various cutouts, for example to reach from the closet into the bench (from U2 into the bench), power cords or the safety-/drain valve of the heater.
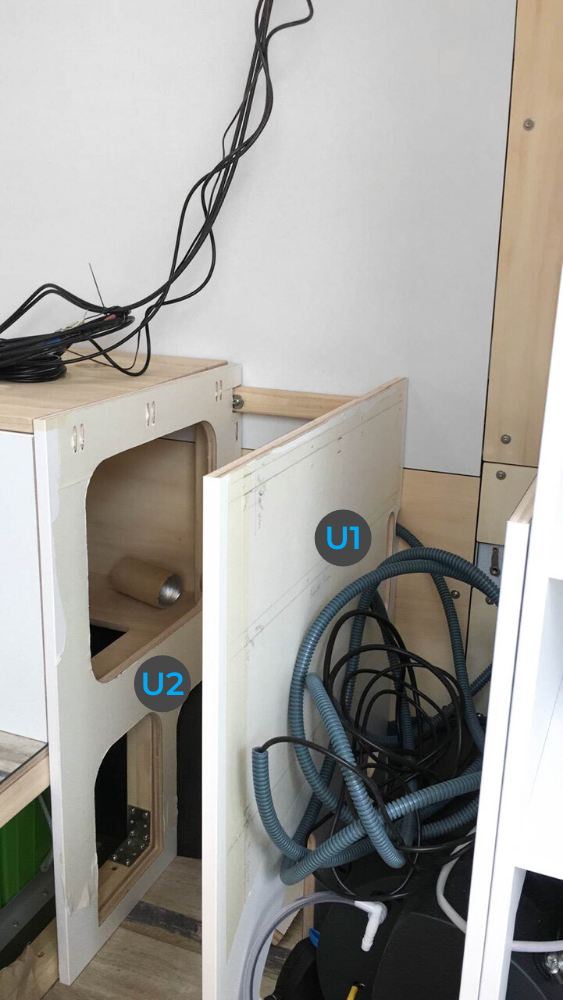
This is one element but two cabinets. U2 is less deep than U1 and the tall cabinet (H) by which we want to create a more open feeling. The shelves for U2 have to be cut diagonally to fit.
We assembled U1 and U2 as one piece or element. The shelves are mainly screwed. To still have access to the heater, the lowest shelf of U1 is removable, because we used shelf support.
To the top of the lower cabinets we will add a worktop (AP). To screw it into the lower cabinets (U1 & U2) we already prepared pocket holes with the Kreg Jig. The same applies for the screw connection from the cabinets to the floor.
This is what the finished element for the lower cabinets (U1 & U2) as well as its cutouts looks like!
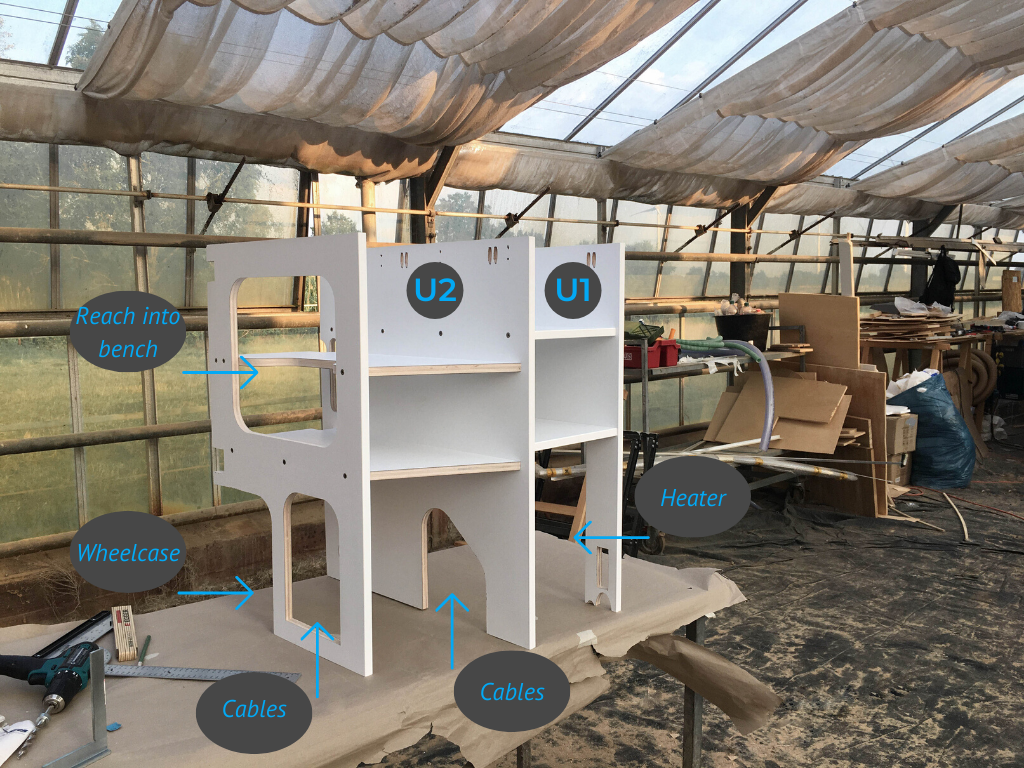
Then we carried the finished element (U1 & U2) into the vehicle and placed it in its designated place.
We had to measure a lot and and precisely to make everything fit. Not only did we have to take into consideration the width and depth, but also the thickness of the doors which we will add to the cabinets, and they should level with the shower tray 😉
The worktop (AP)
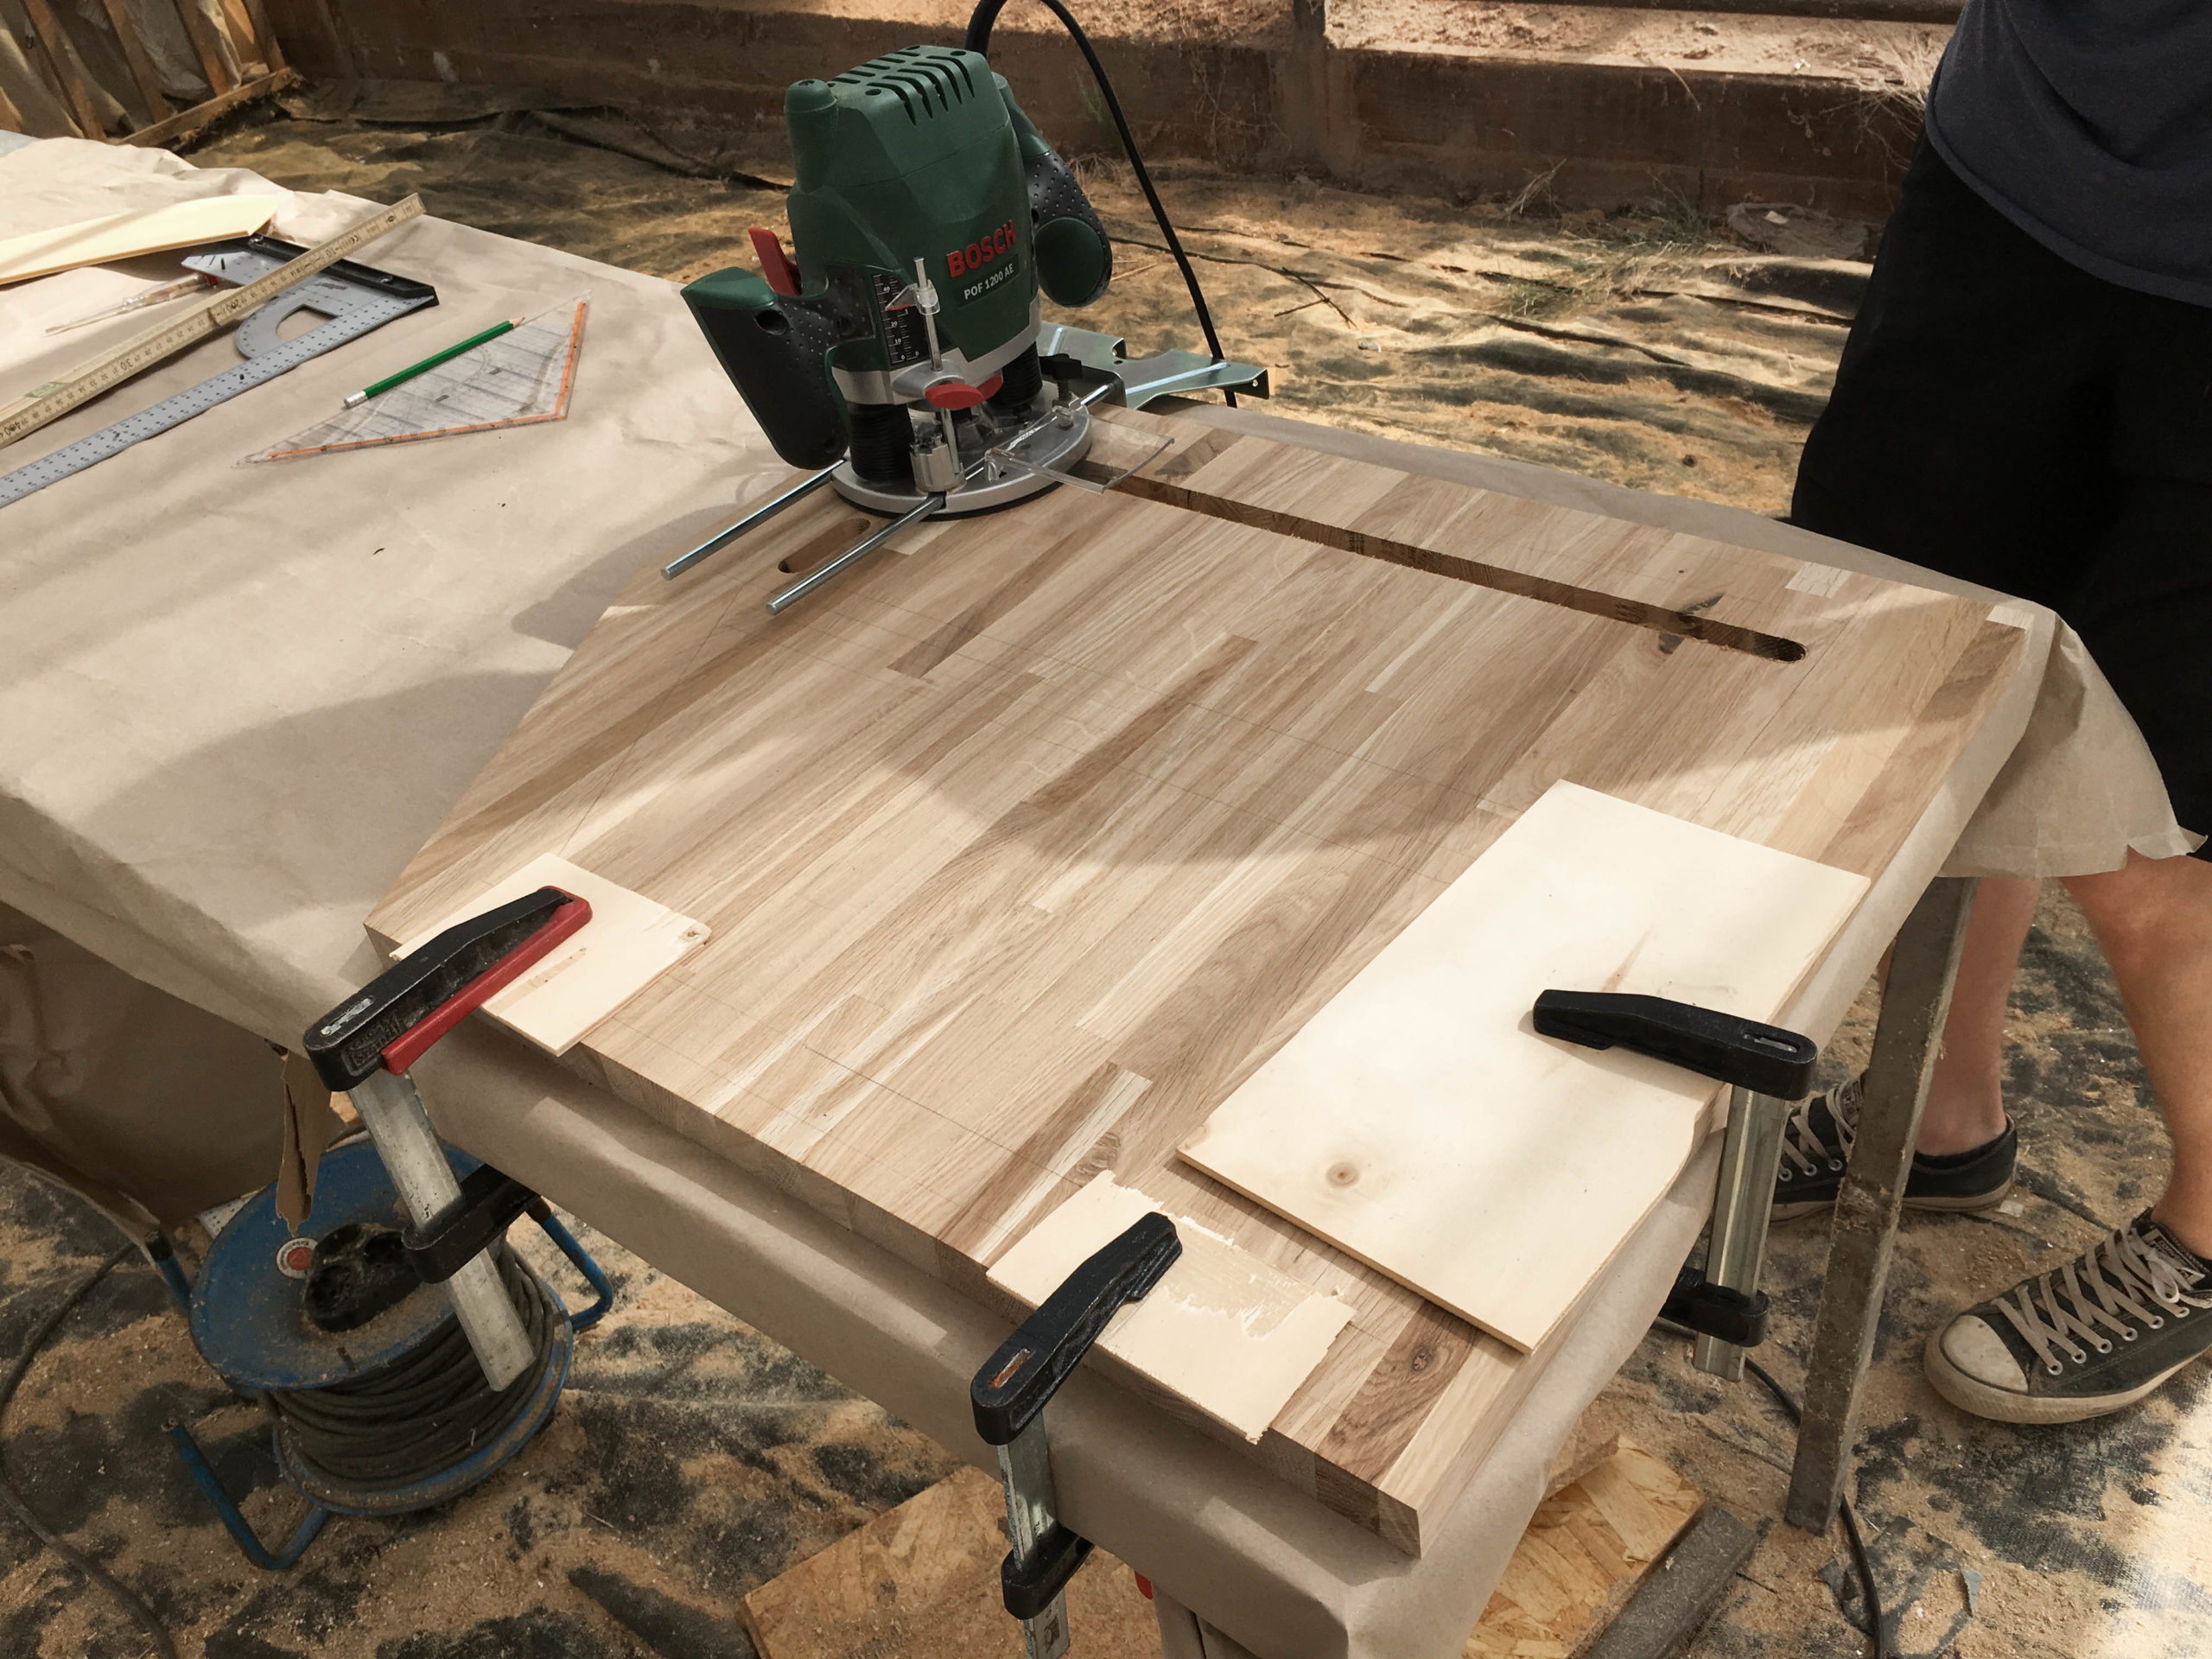
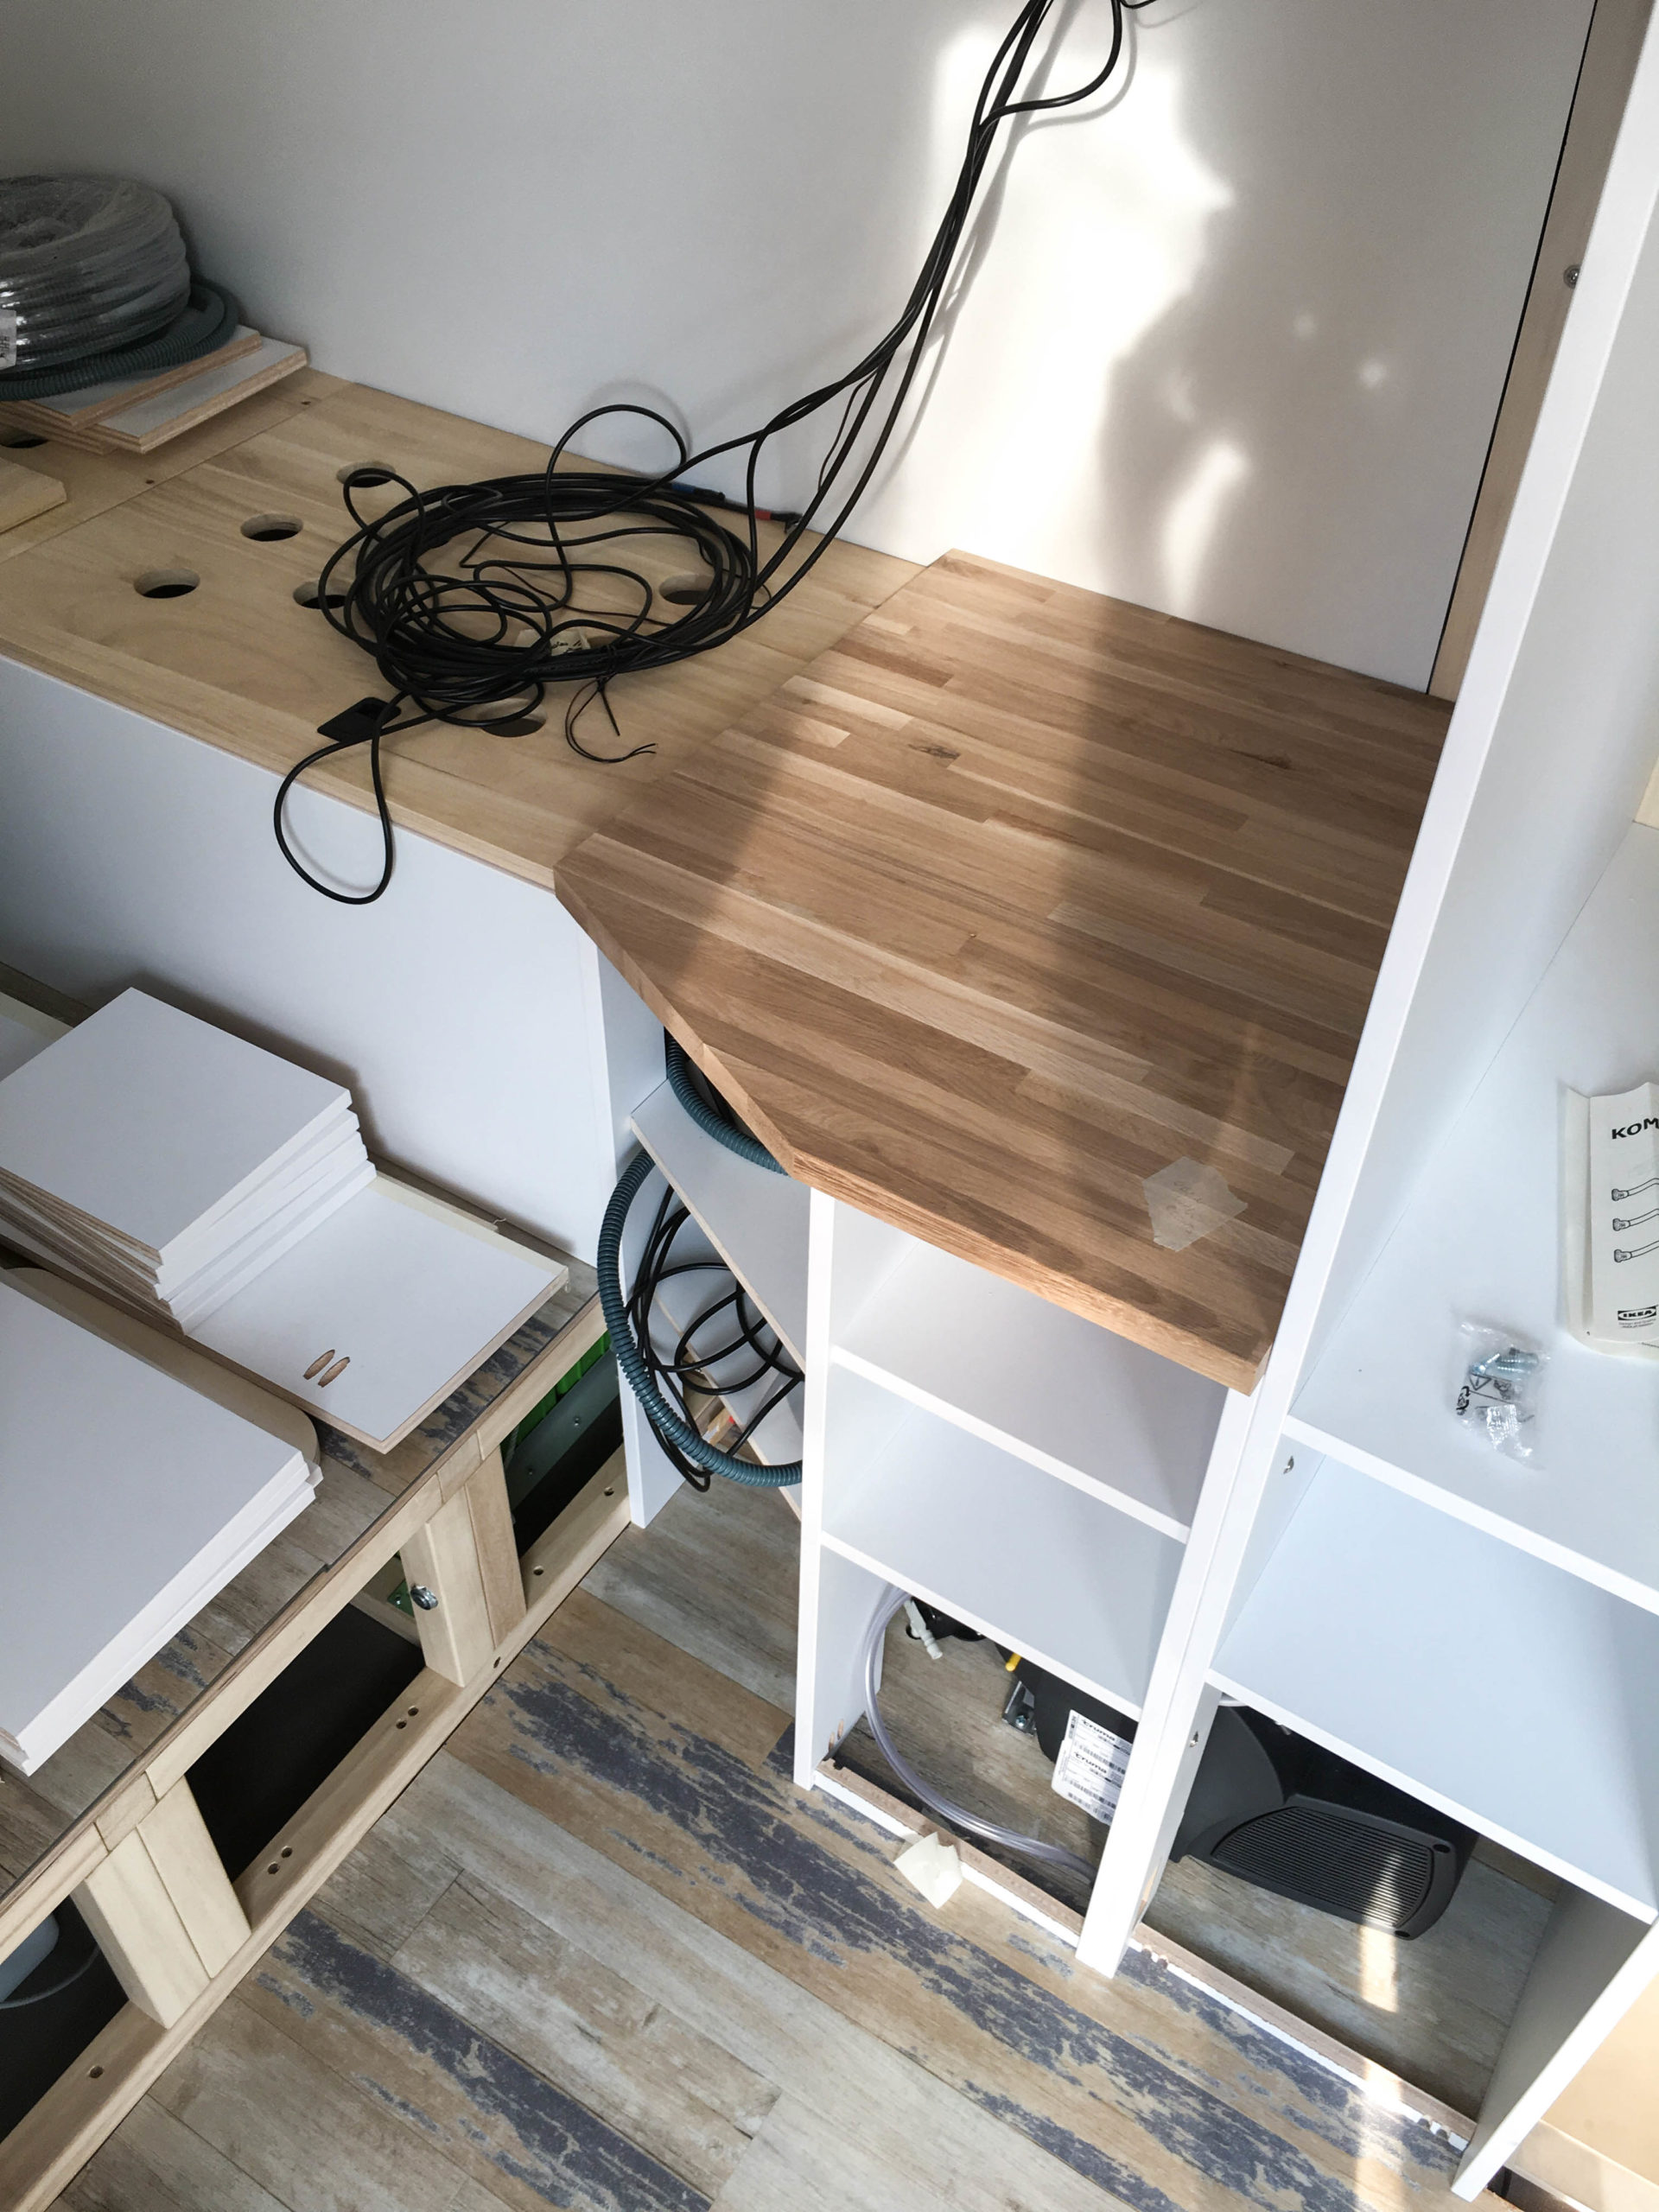
On top of the lower cabinets we add a small worktop made of solid oakwood, which we will also use for our kitchen. First things first, we cut it to size and had to factor in the diagonal of U2.
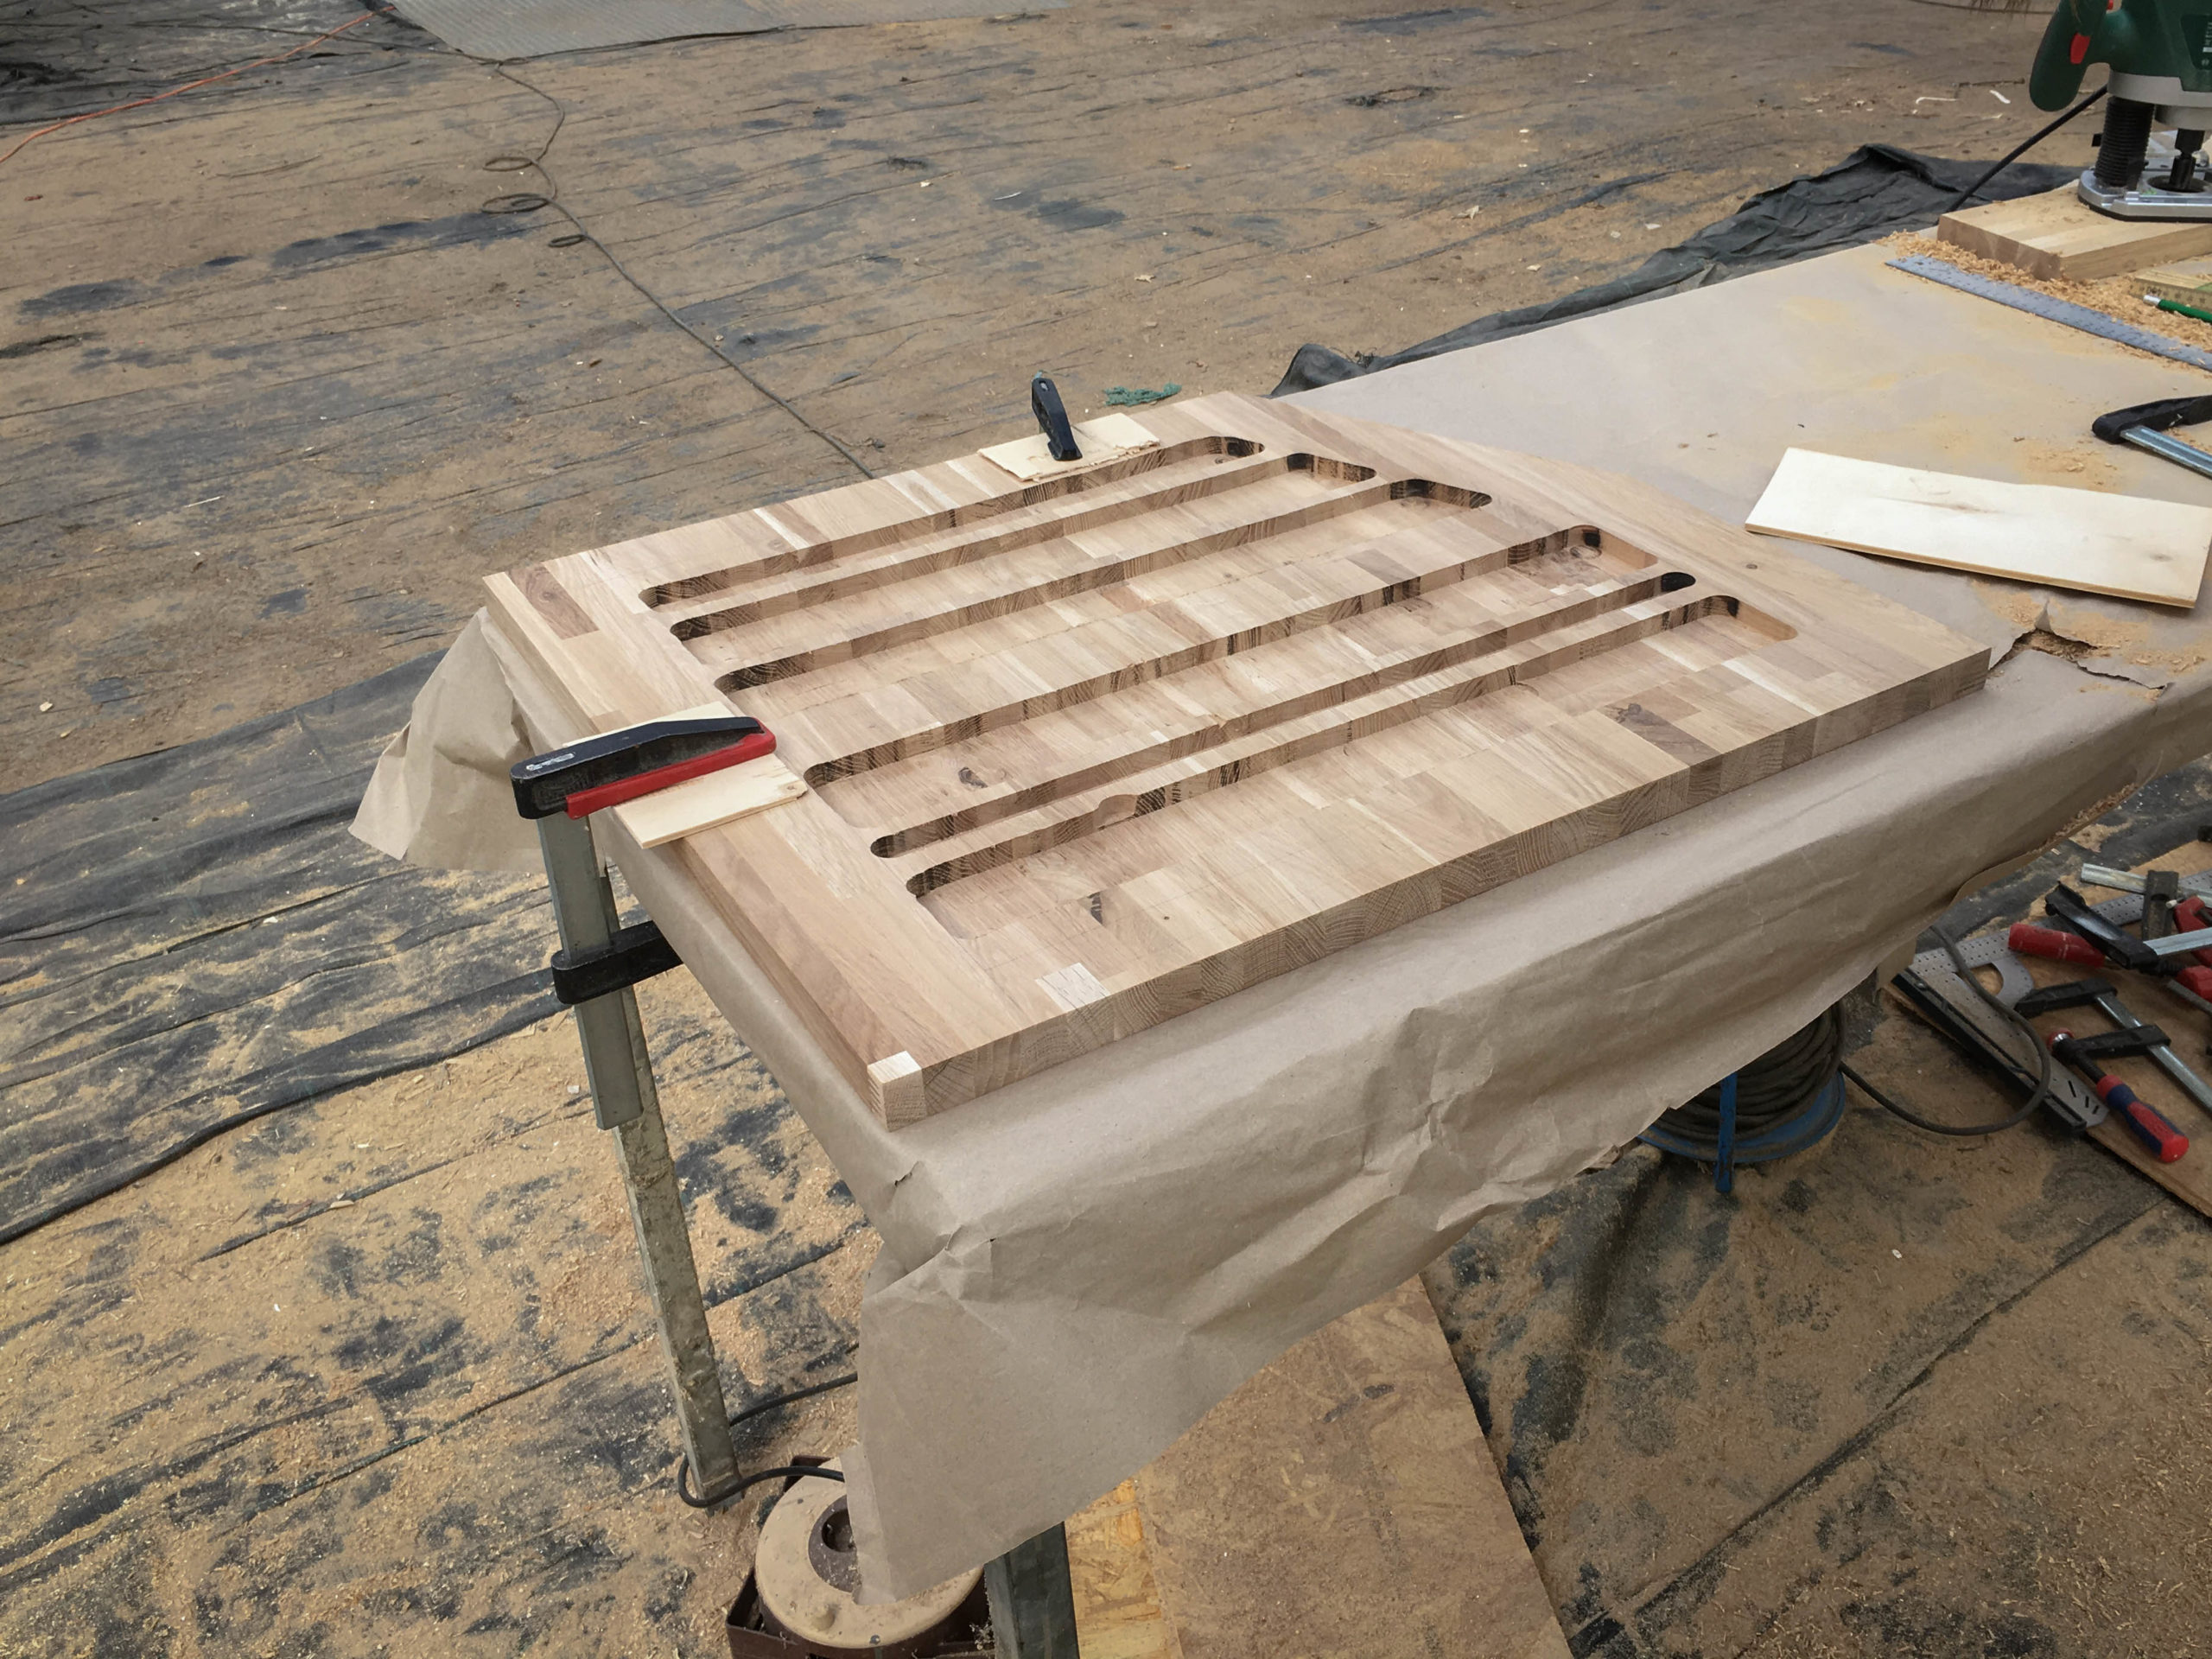
Because oakwood is quite heavy, we did what we already did to the platform plate and milled the underside of the plate to reduce weight.
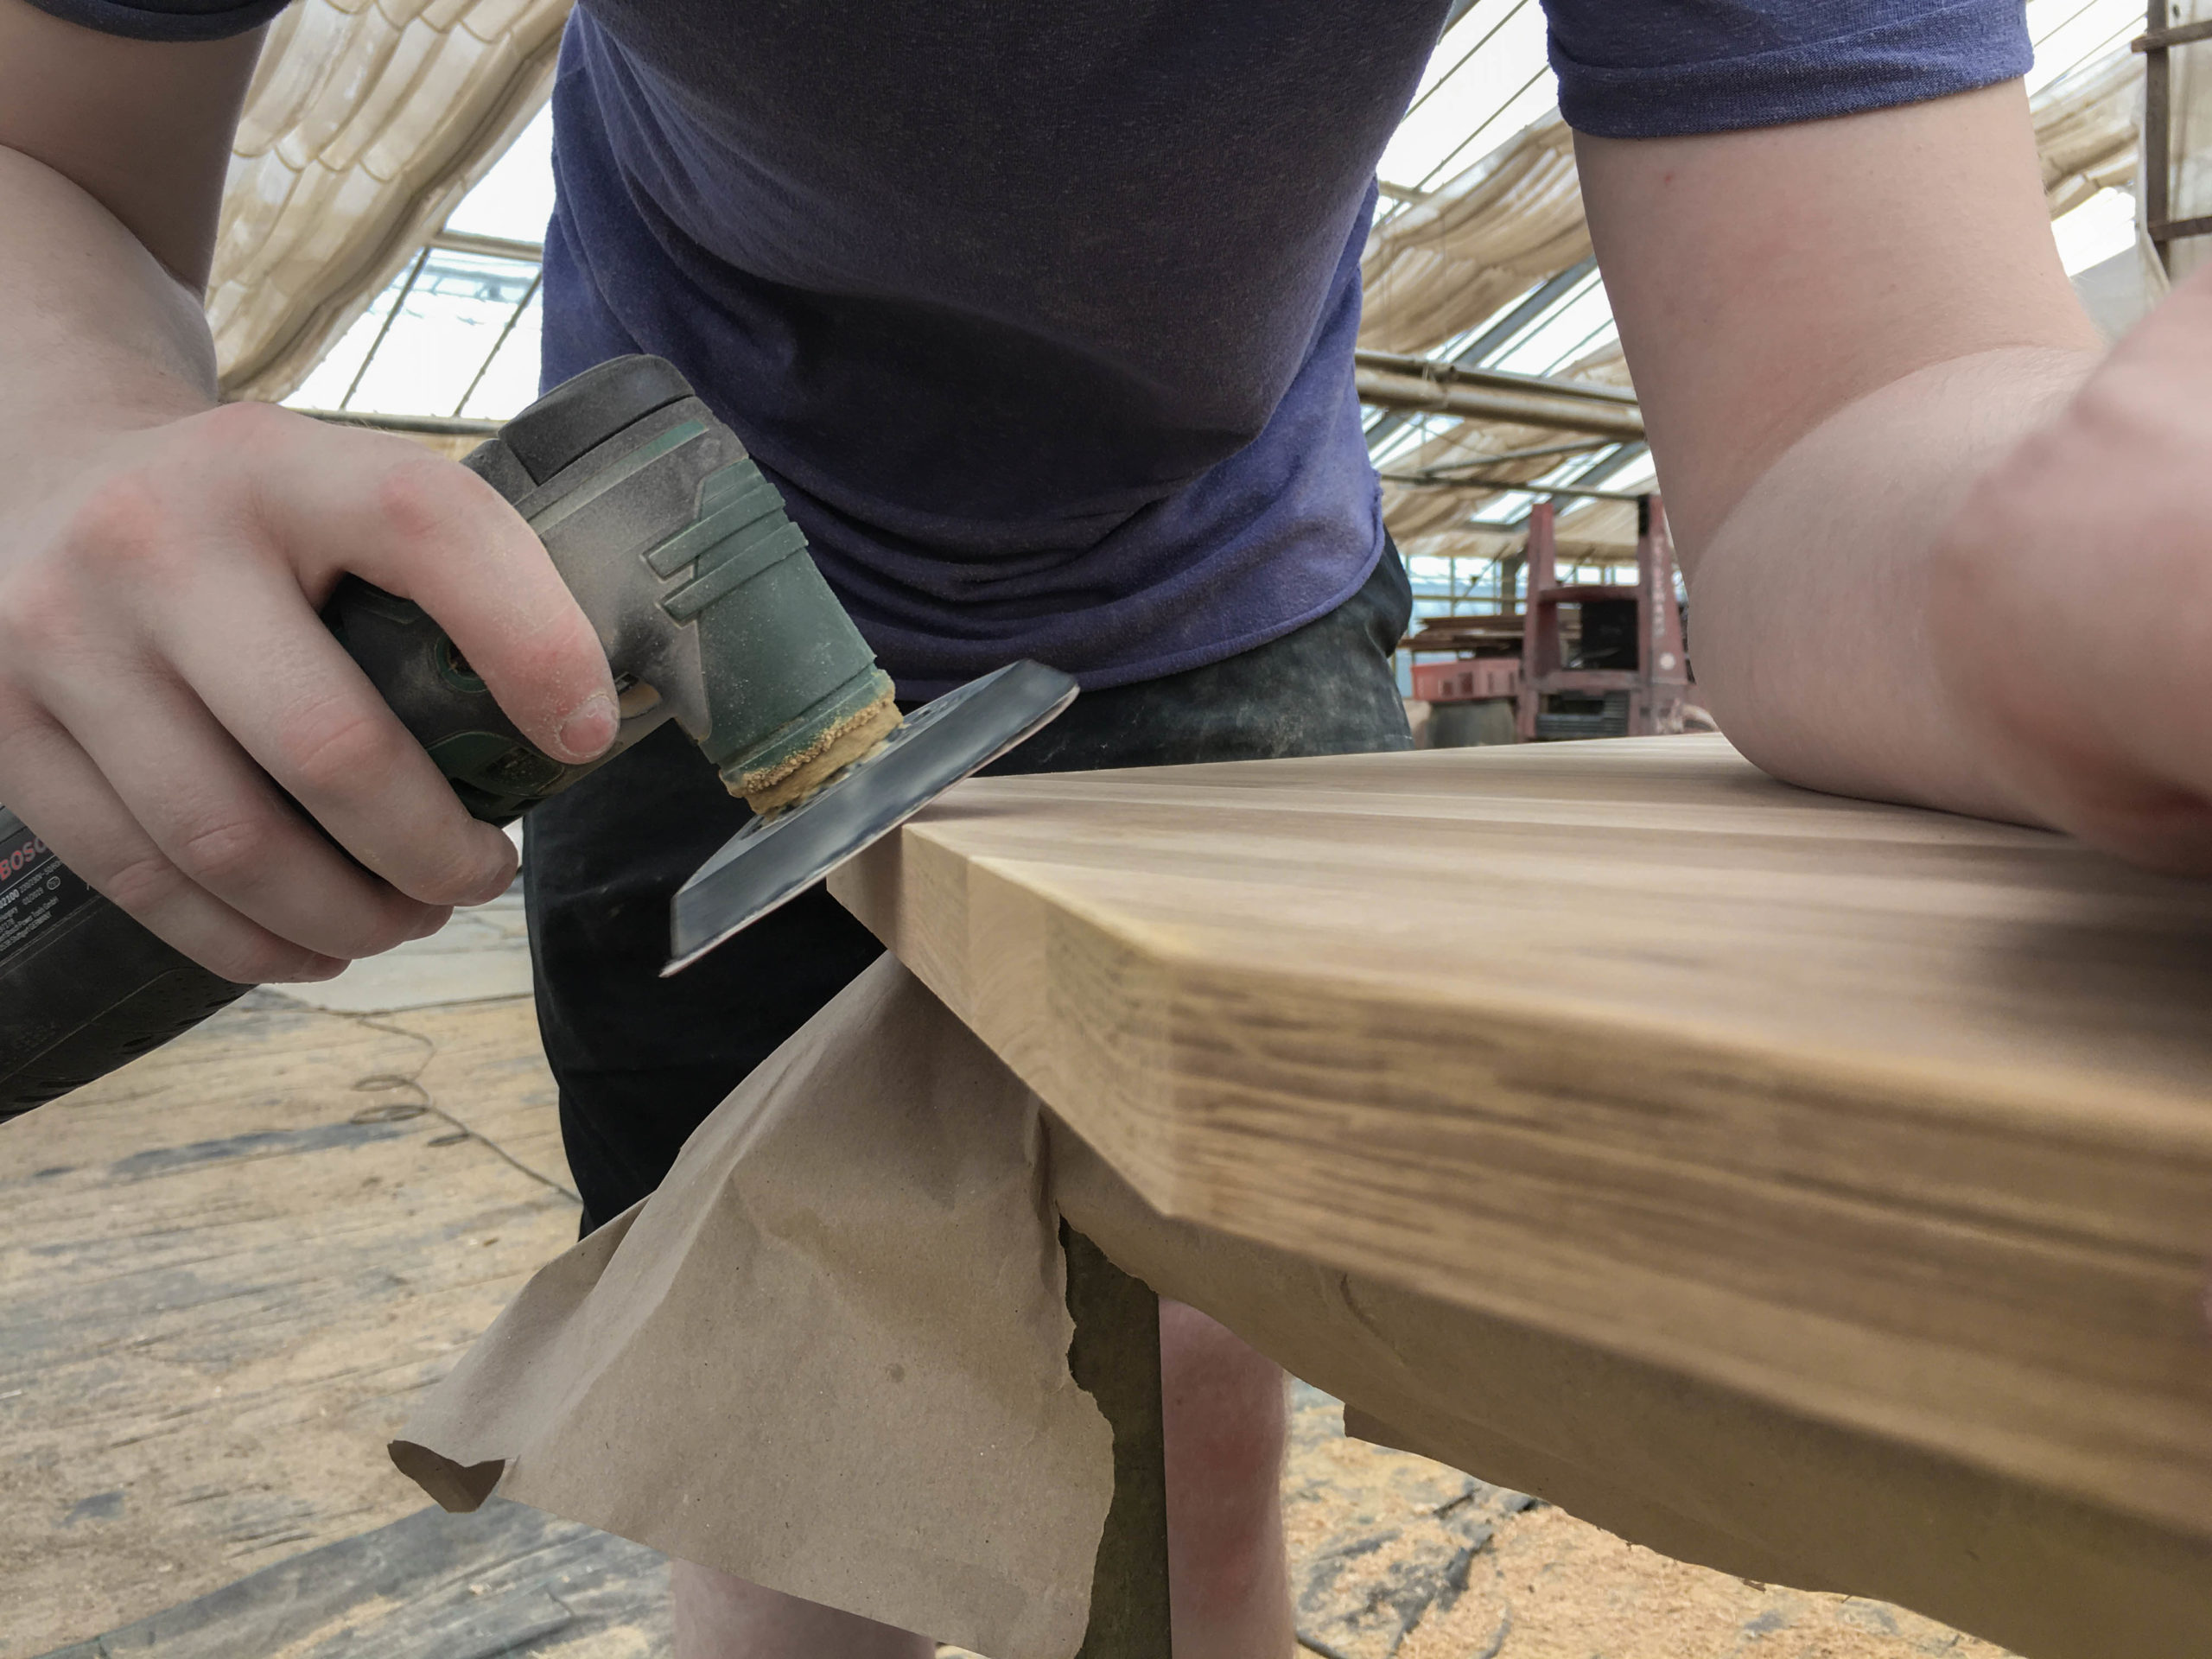
Then we sanded the plate to later prime and paint it. Check your time management because the different coats have to dry off at least 12 hours each!
Et voilà – the fitted plate (which still has to be painted ) 😉
Read more about the upper cabinets (O1 & O2) and doors in Part 2/2 of the closet!