
Cabin style or plain and simple – our choice for the interior paneling is the latter. We install white HPL coated poplar plywood to the ceiling of our campervan!
The interior paneling in a campervan can be compared to the wallpaper or wall color in an apartment, but in this case it also adds more insulation. Common materials used for interior paneling in a mobile home are felt or velour, fabric, carpet or wood.
We went for wood, you might have already seen rustic wooden panels some people use in their vans. But we will use a material both DIY van builders and professional van builders often use; 6 mm poplar plywood. Poplar plywood has a high firmness, great shape stability, it is relatively light and soft but unfortunately not water repellant. That’s why it needs to be treated or painted beforehand.
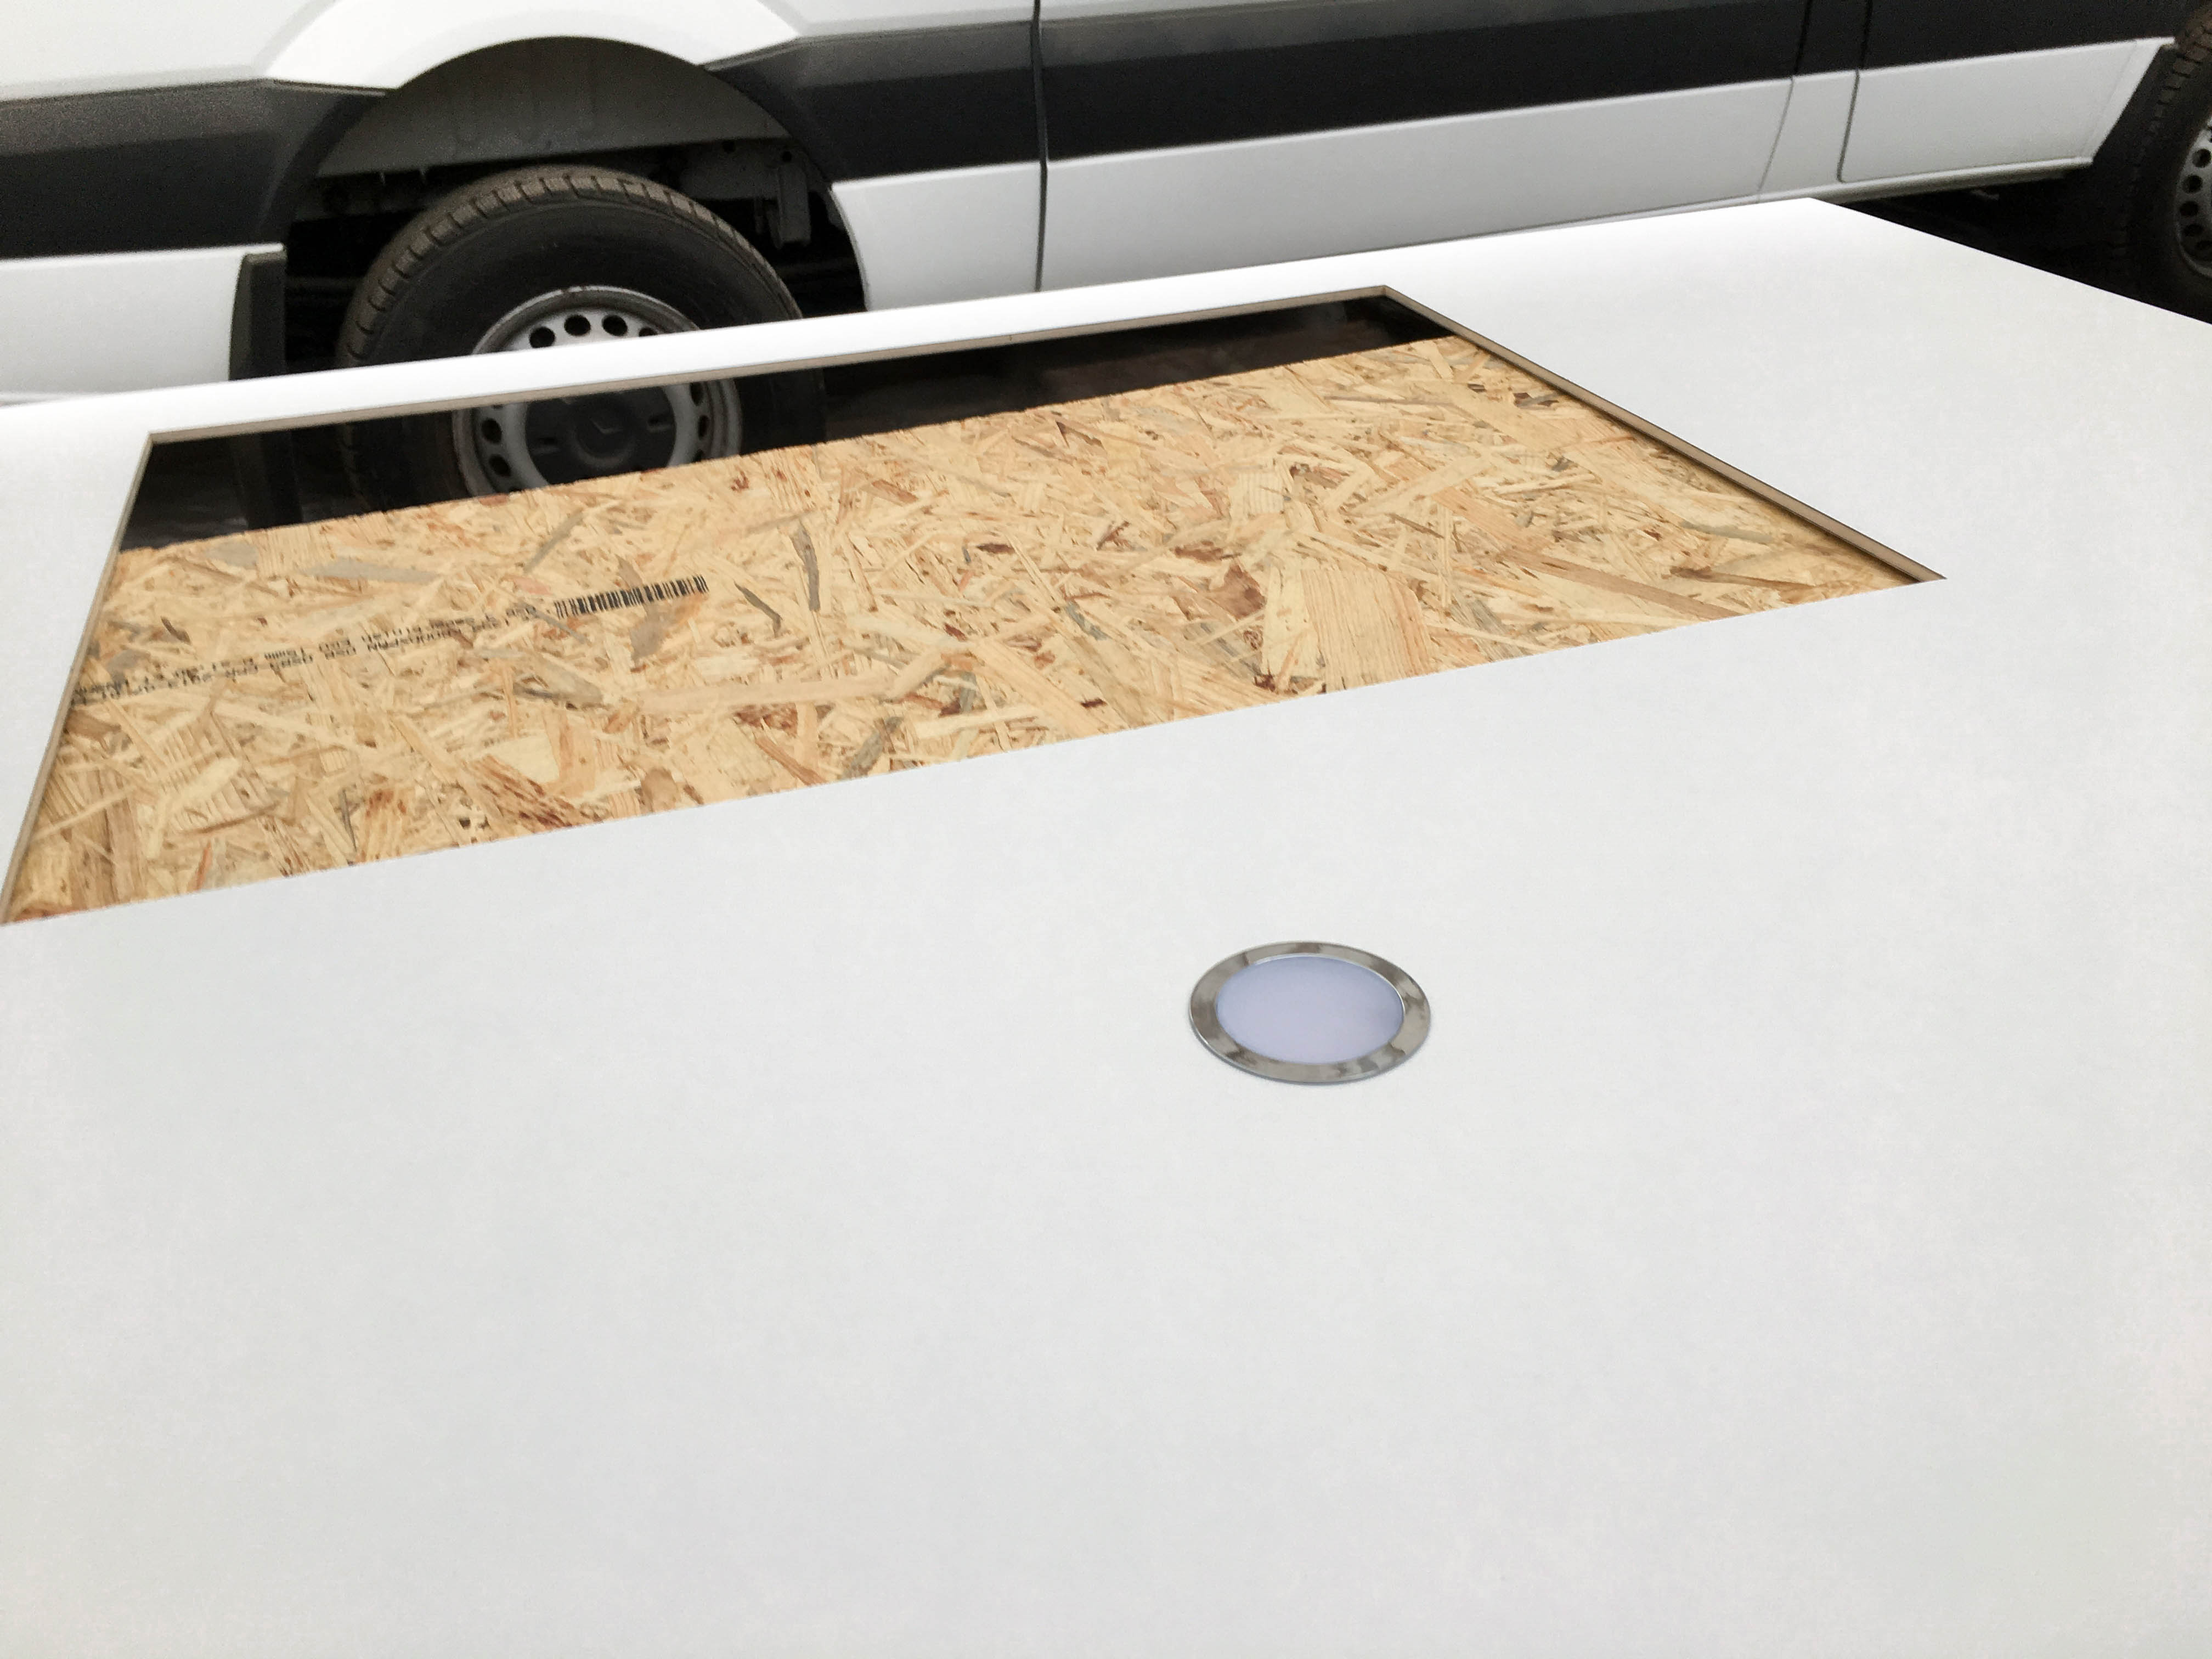
We like it simple so we use panels with a white HPL-coating, this way we do not have to treat or paint them. HPL stands for High Pressure Laminate, which means that the poplar plywood is laminated with plastic; always on both sides, otherwise the plates would bend. The perk of HPL is that moisture cannot get into the wood, but at the same time they can easily be wiped clean with a damp cloth; which is great in a camper.
Because of the coating the plates are less flexible, but still flexible enough to adjust them to the natural curve of the Sprinter. Our ceiling is made of three separate panels which we had coated at our local lumber yard.
First panel
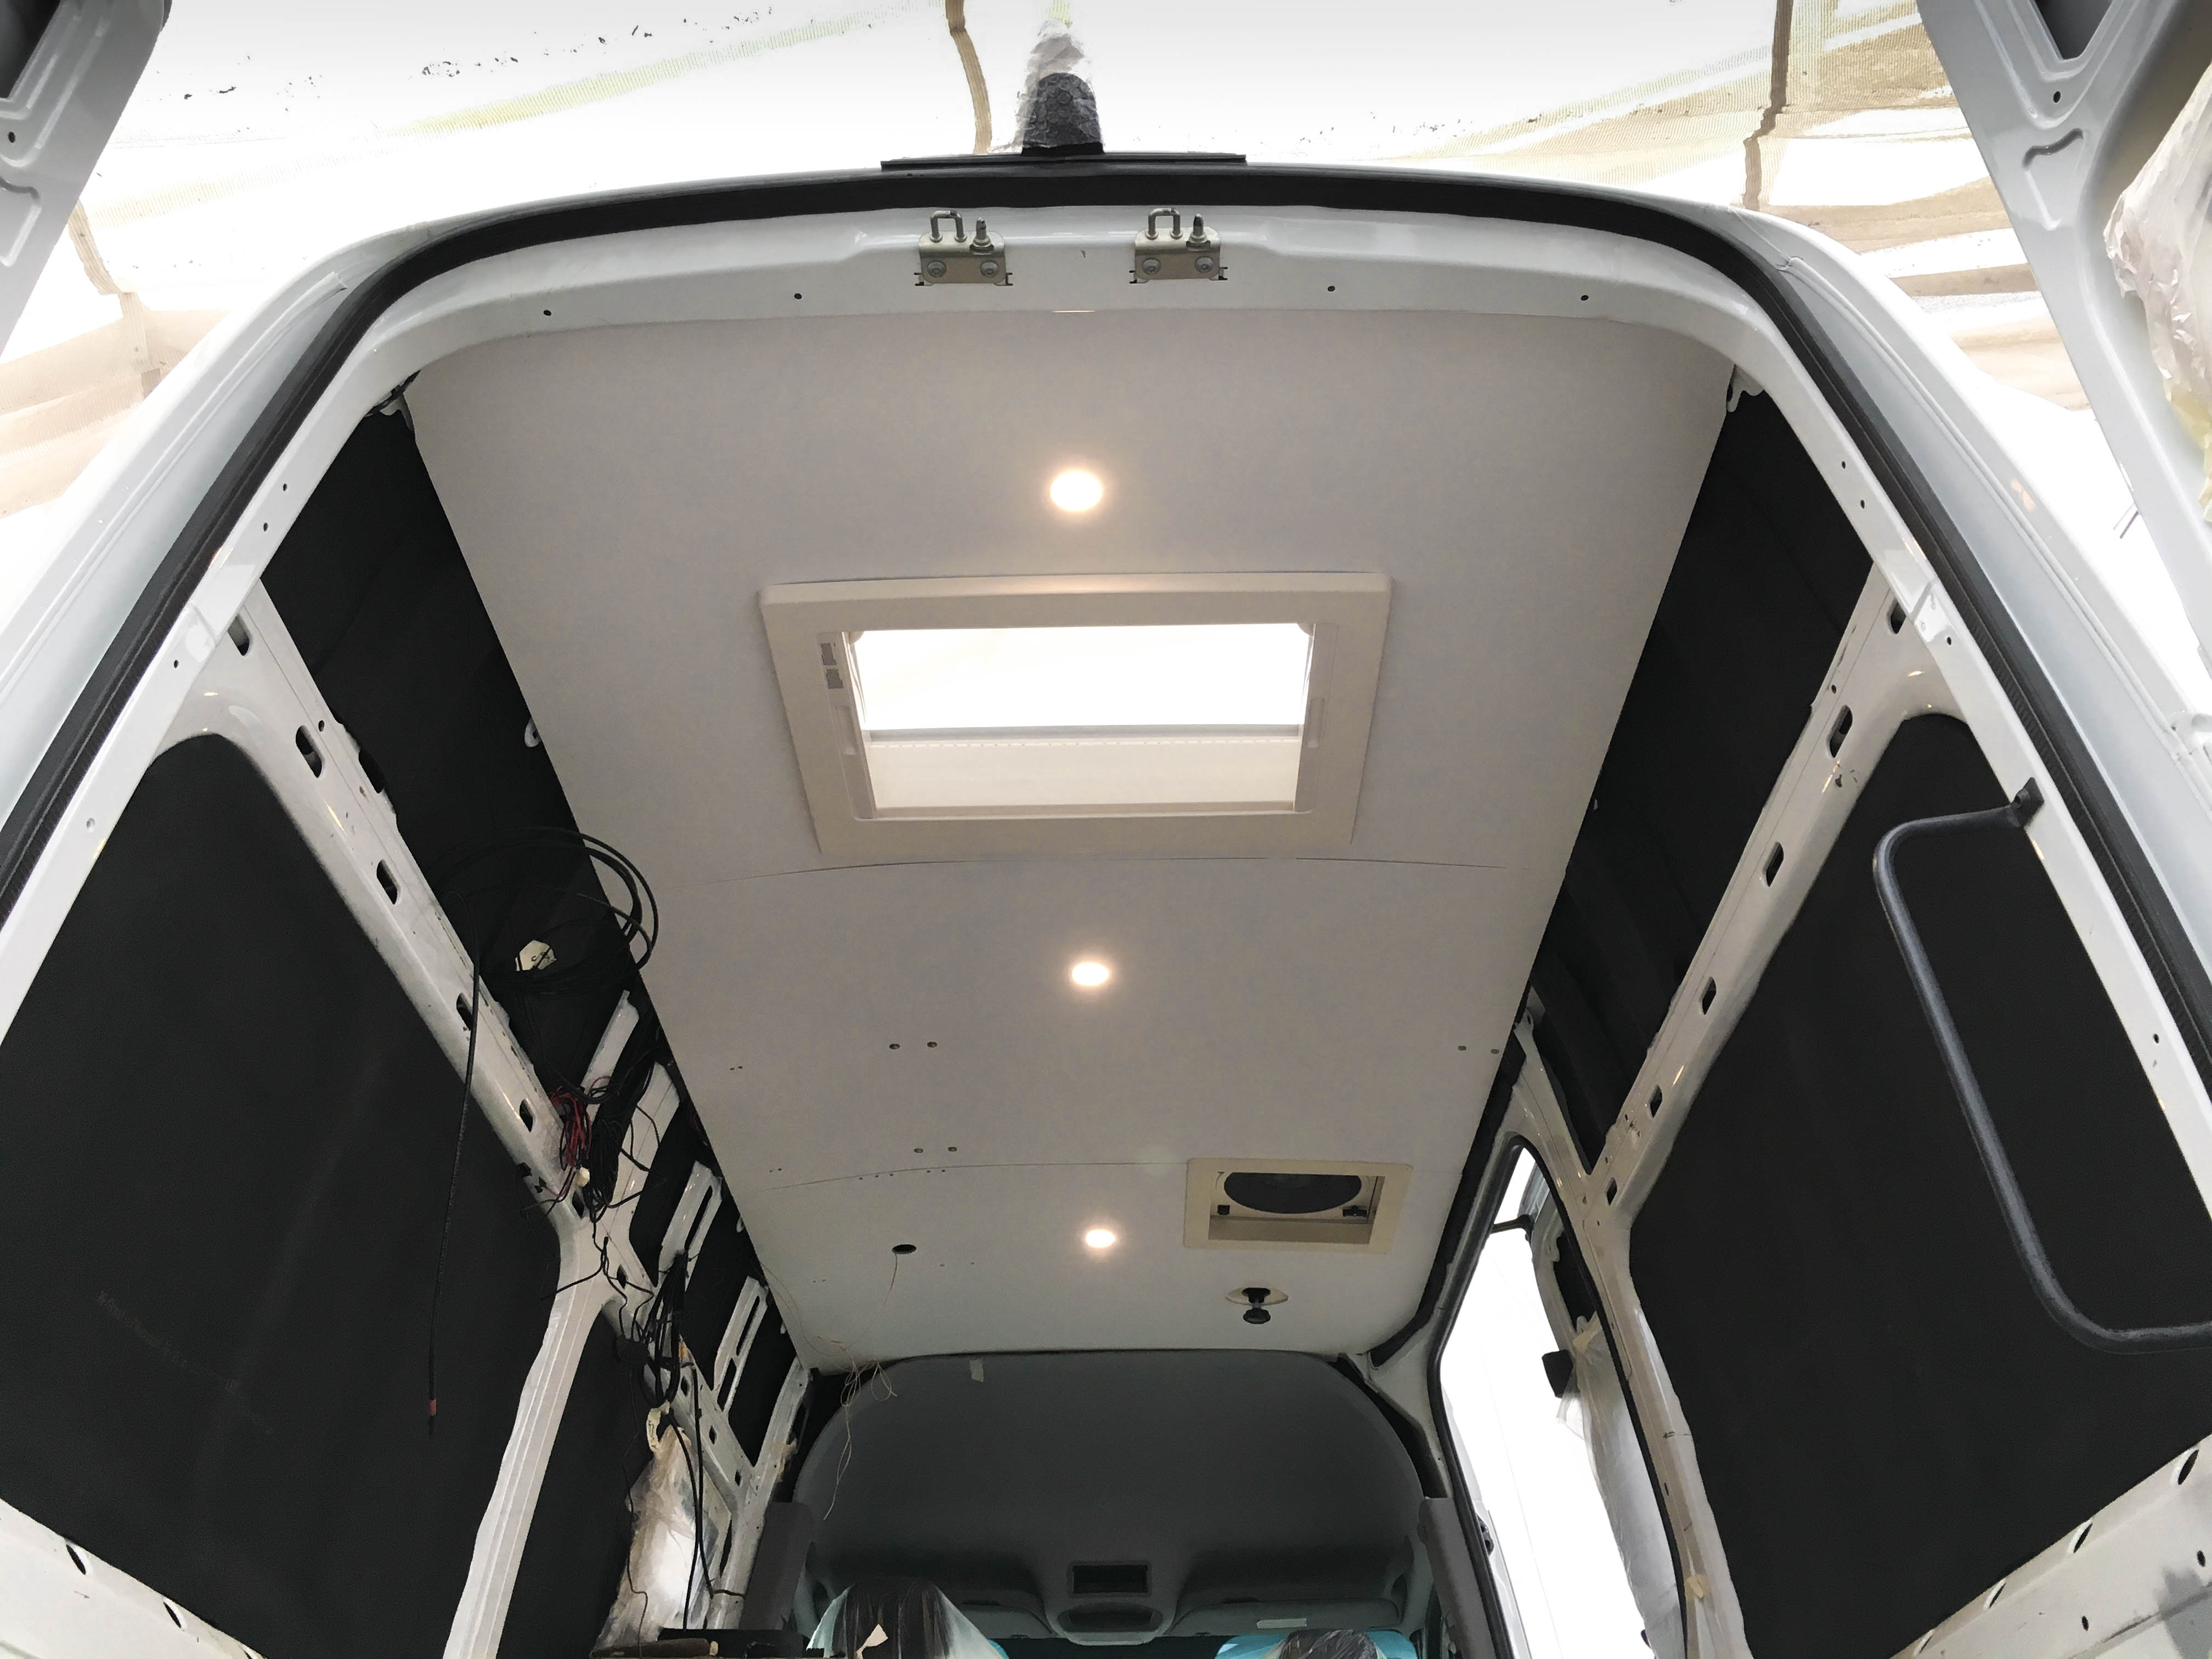
We started with the panel in the back, the difficulty with this plate is the arch of the Sprinter, the wiring harness and the cutout for the roof window. We actually made a template of cardboard first. To copy the arch of the back we highly recommend using a transfer scribe! To copy the template to the panel we used transfer paper which also keeps the HPL from splintering while cutting it.
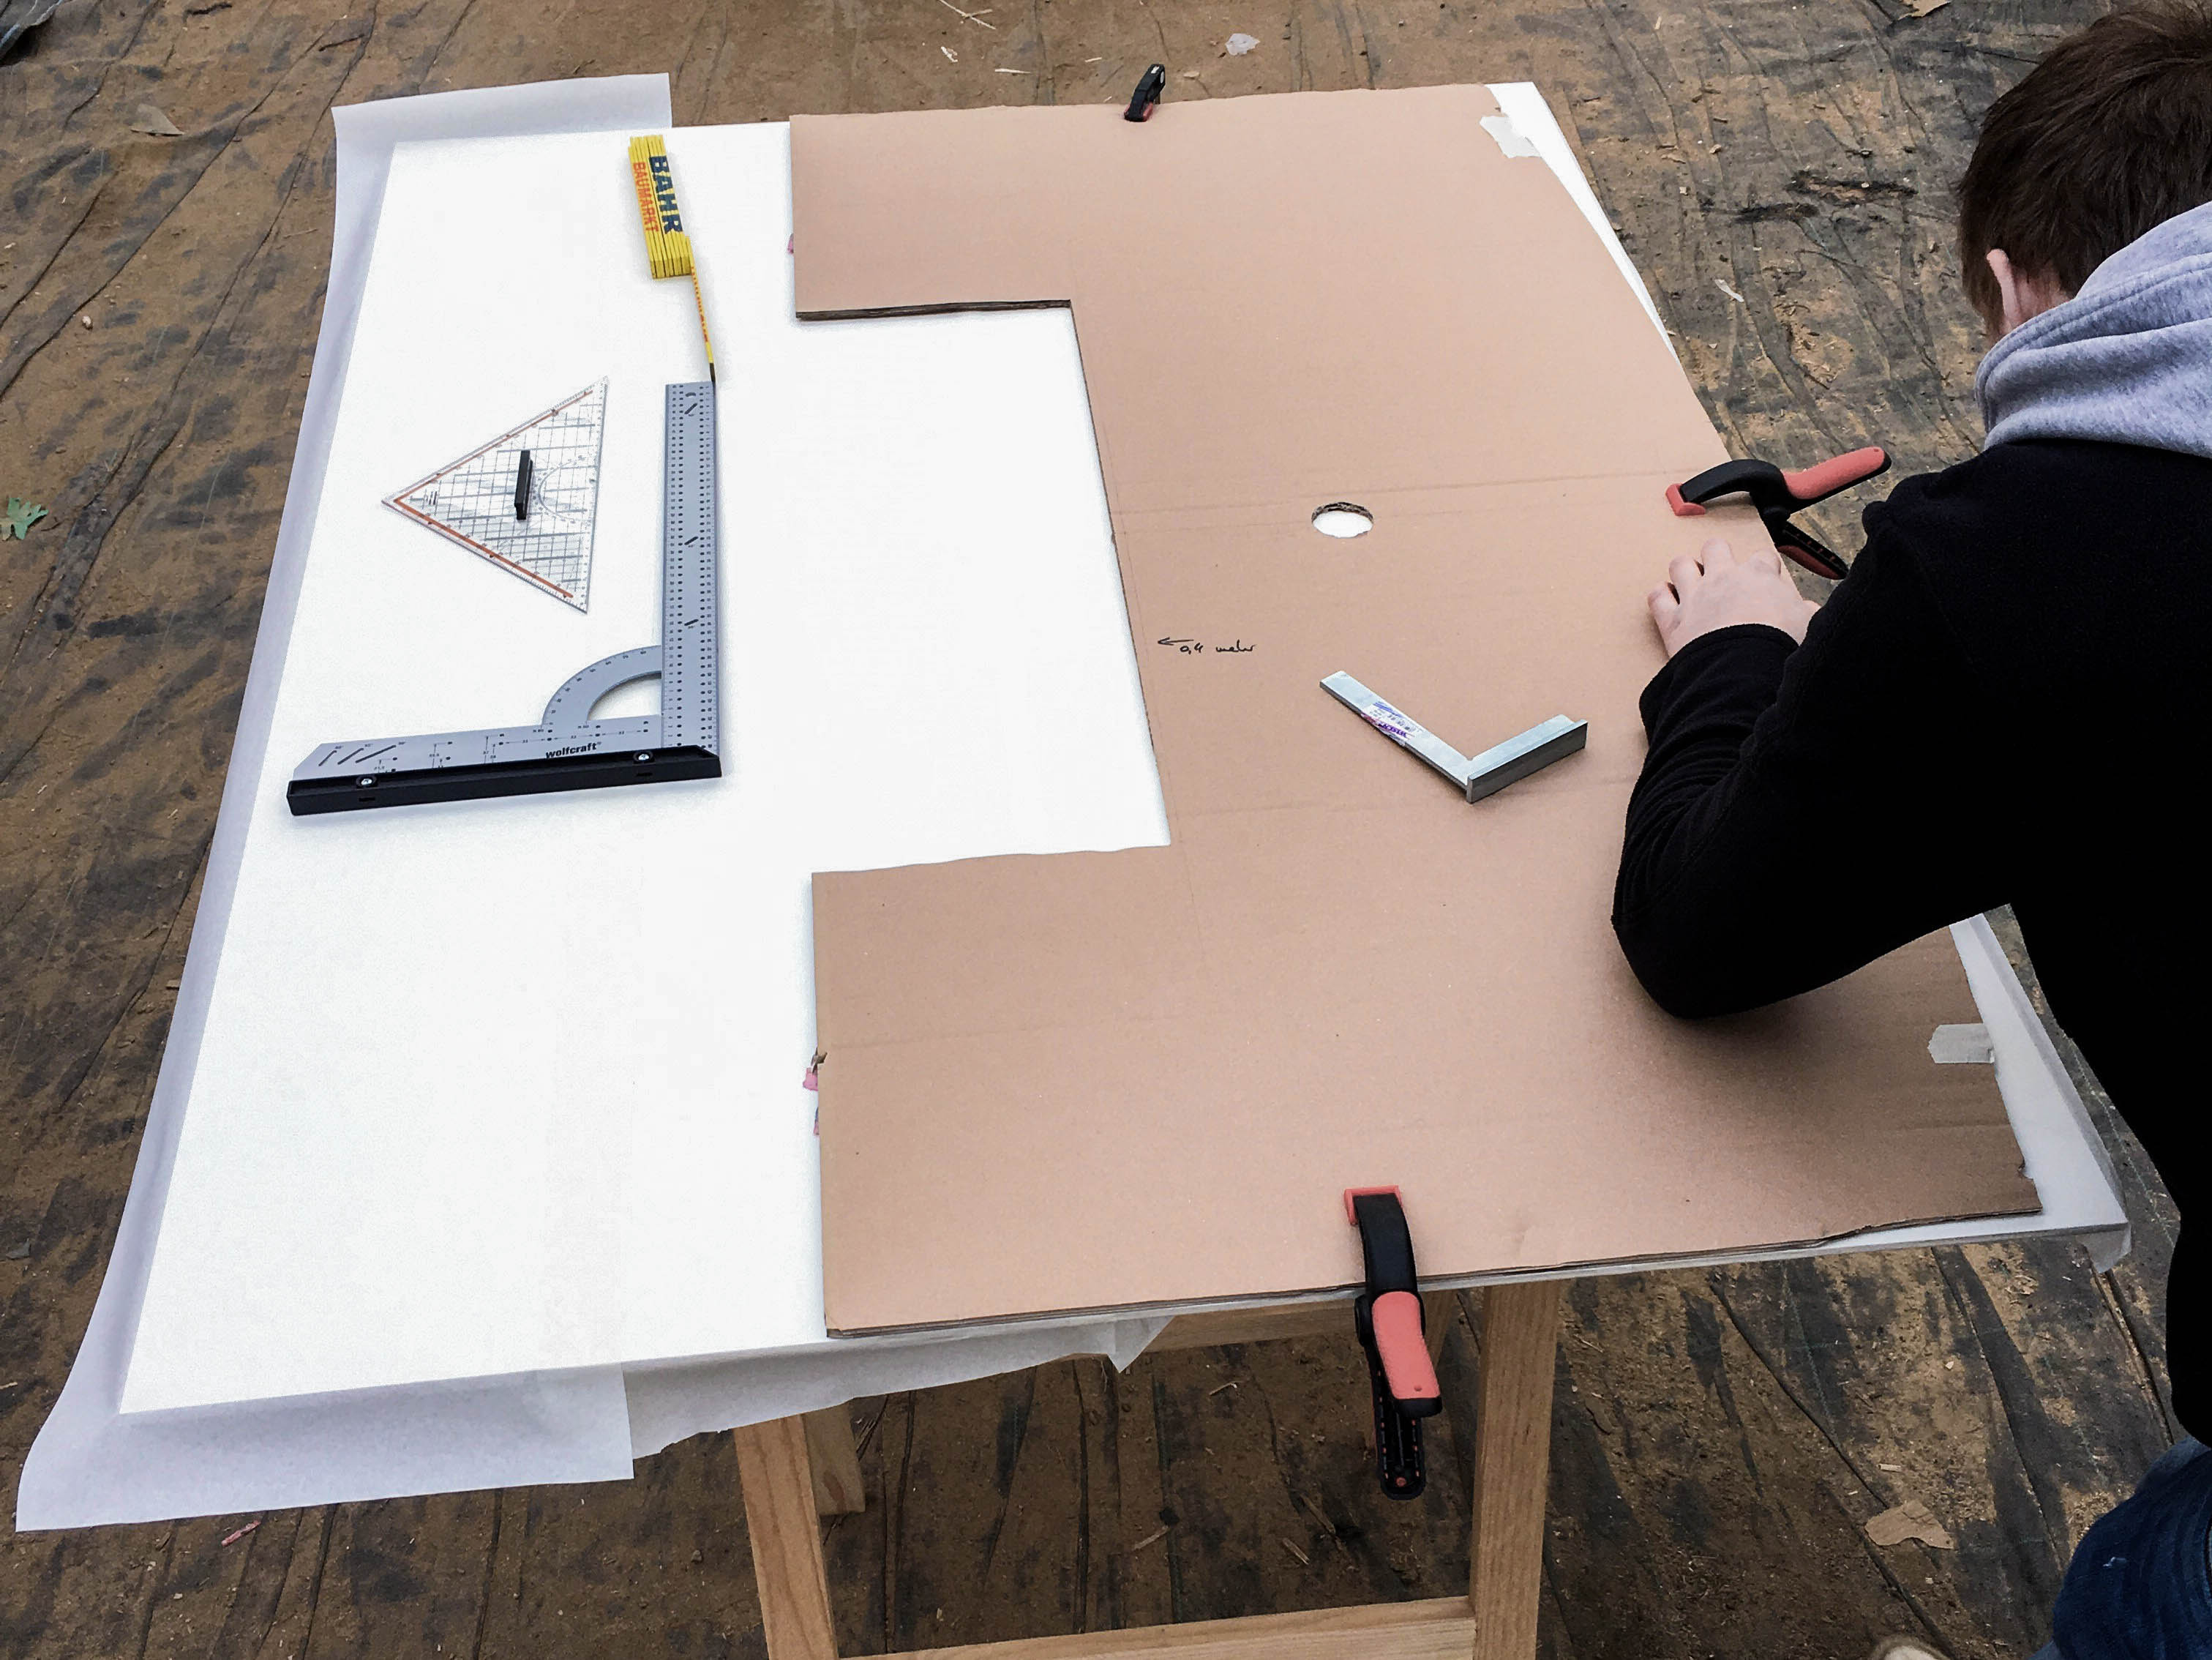
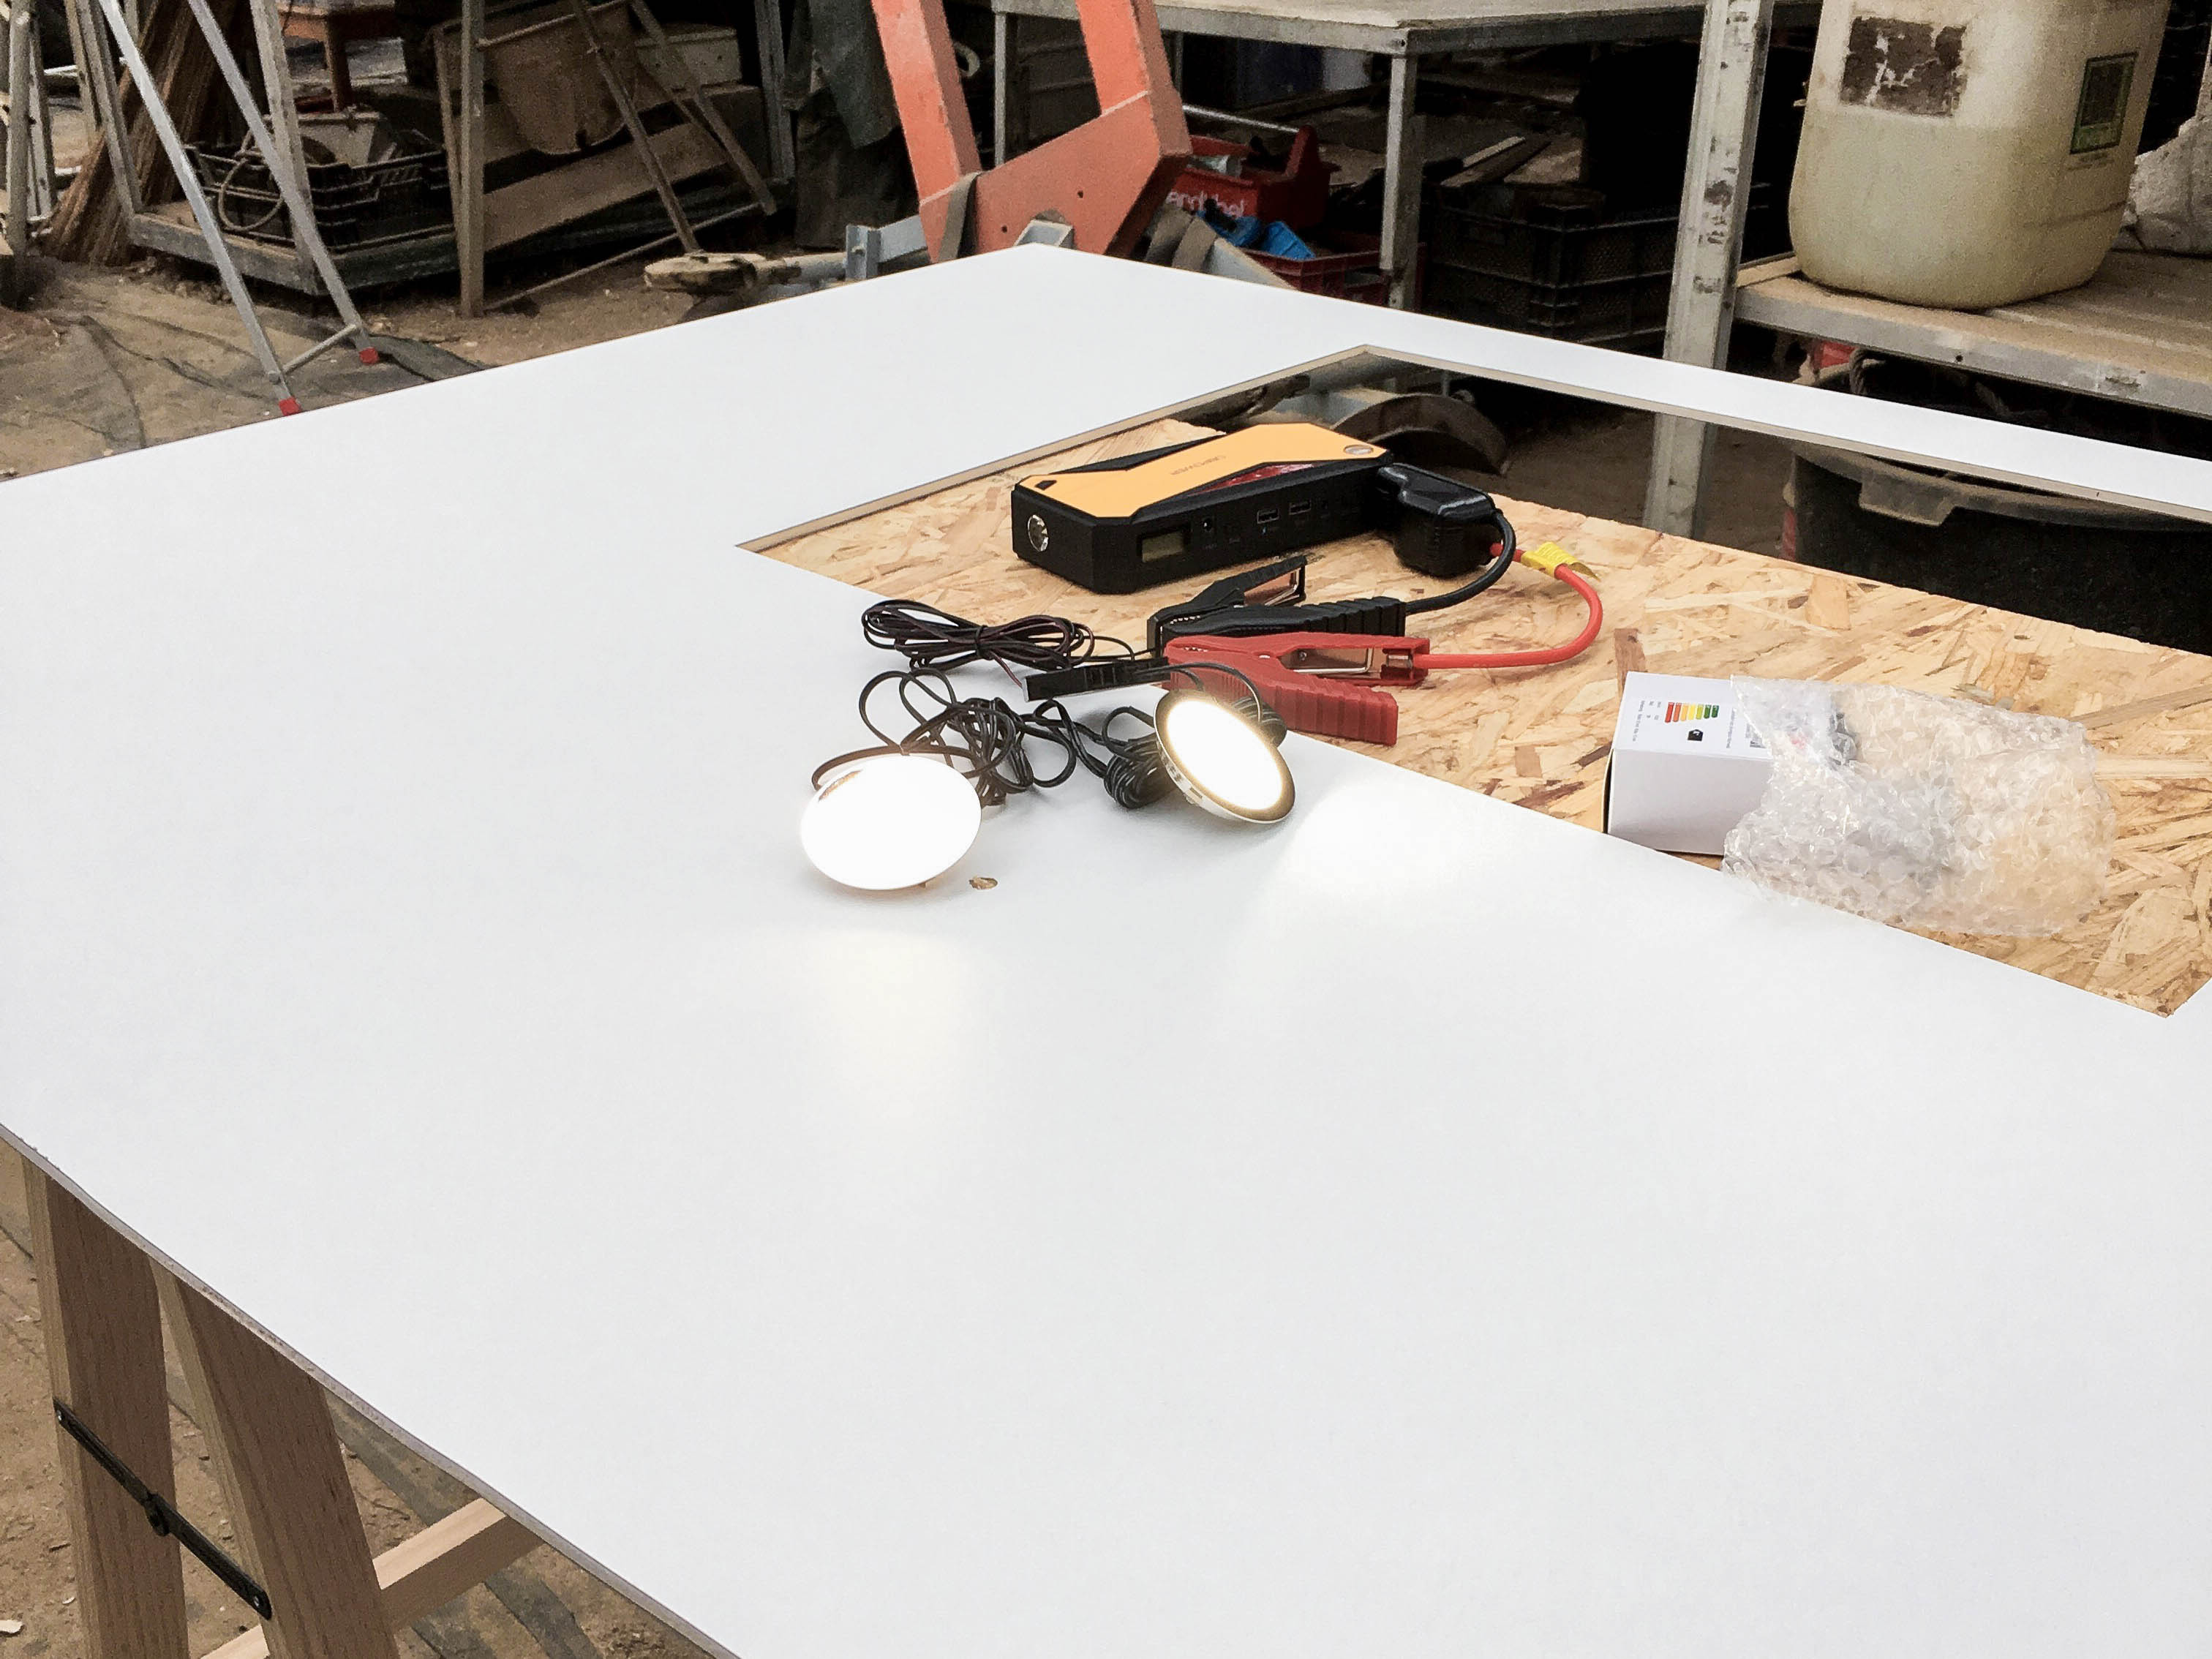
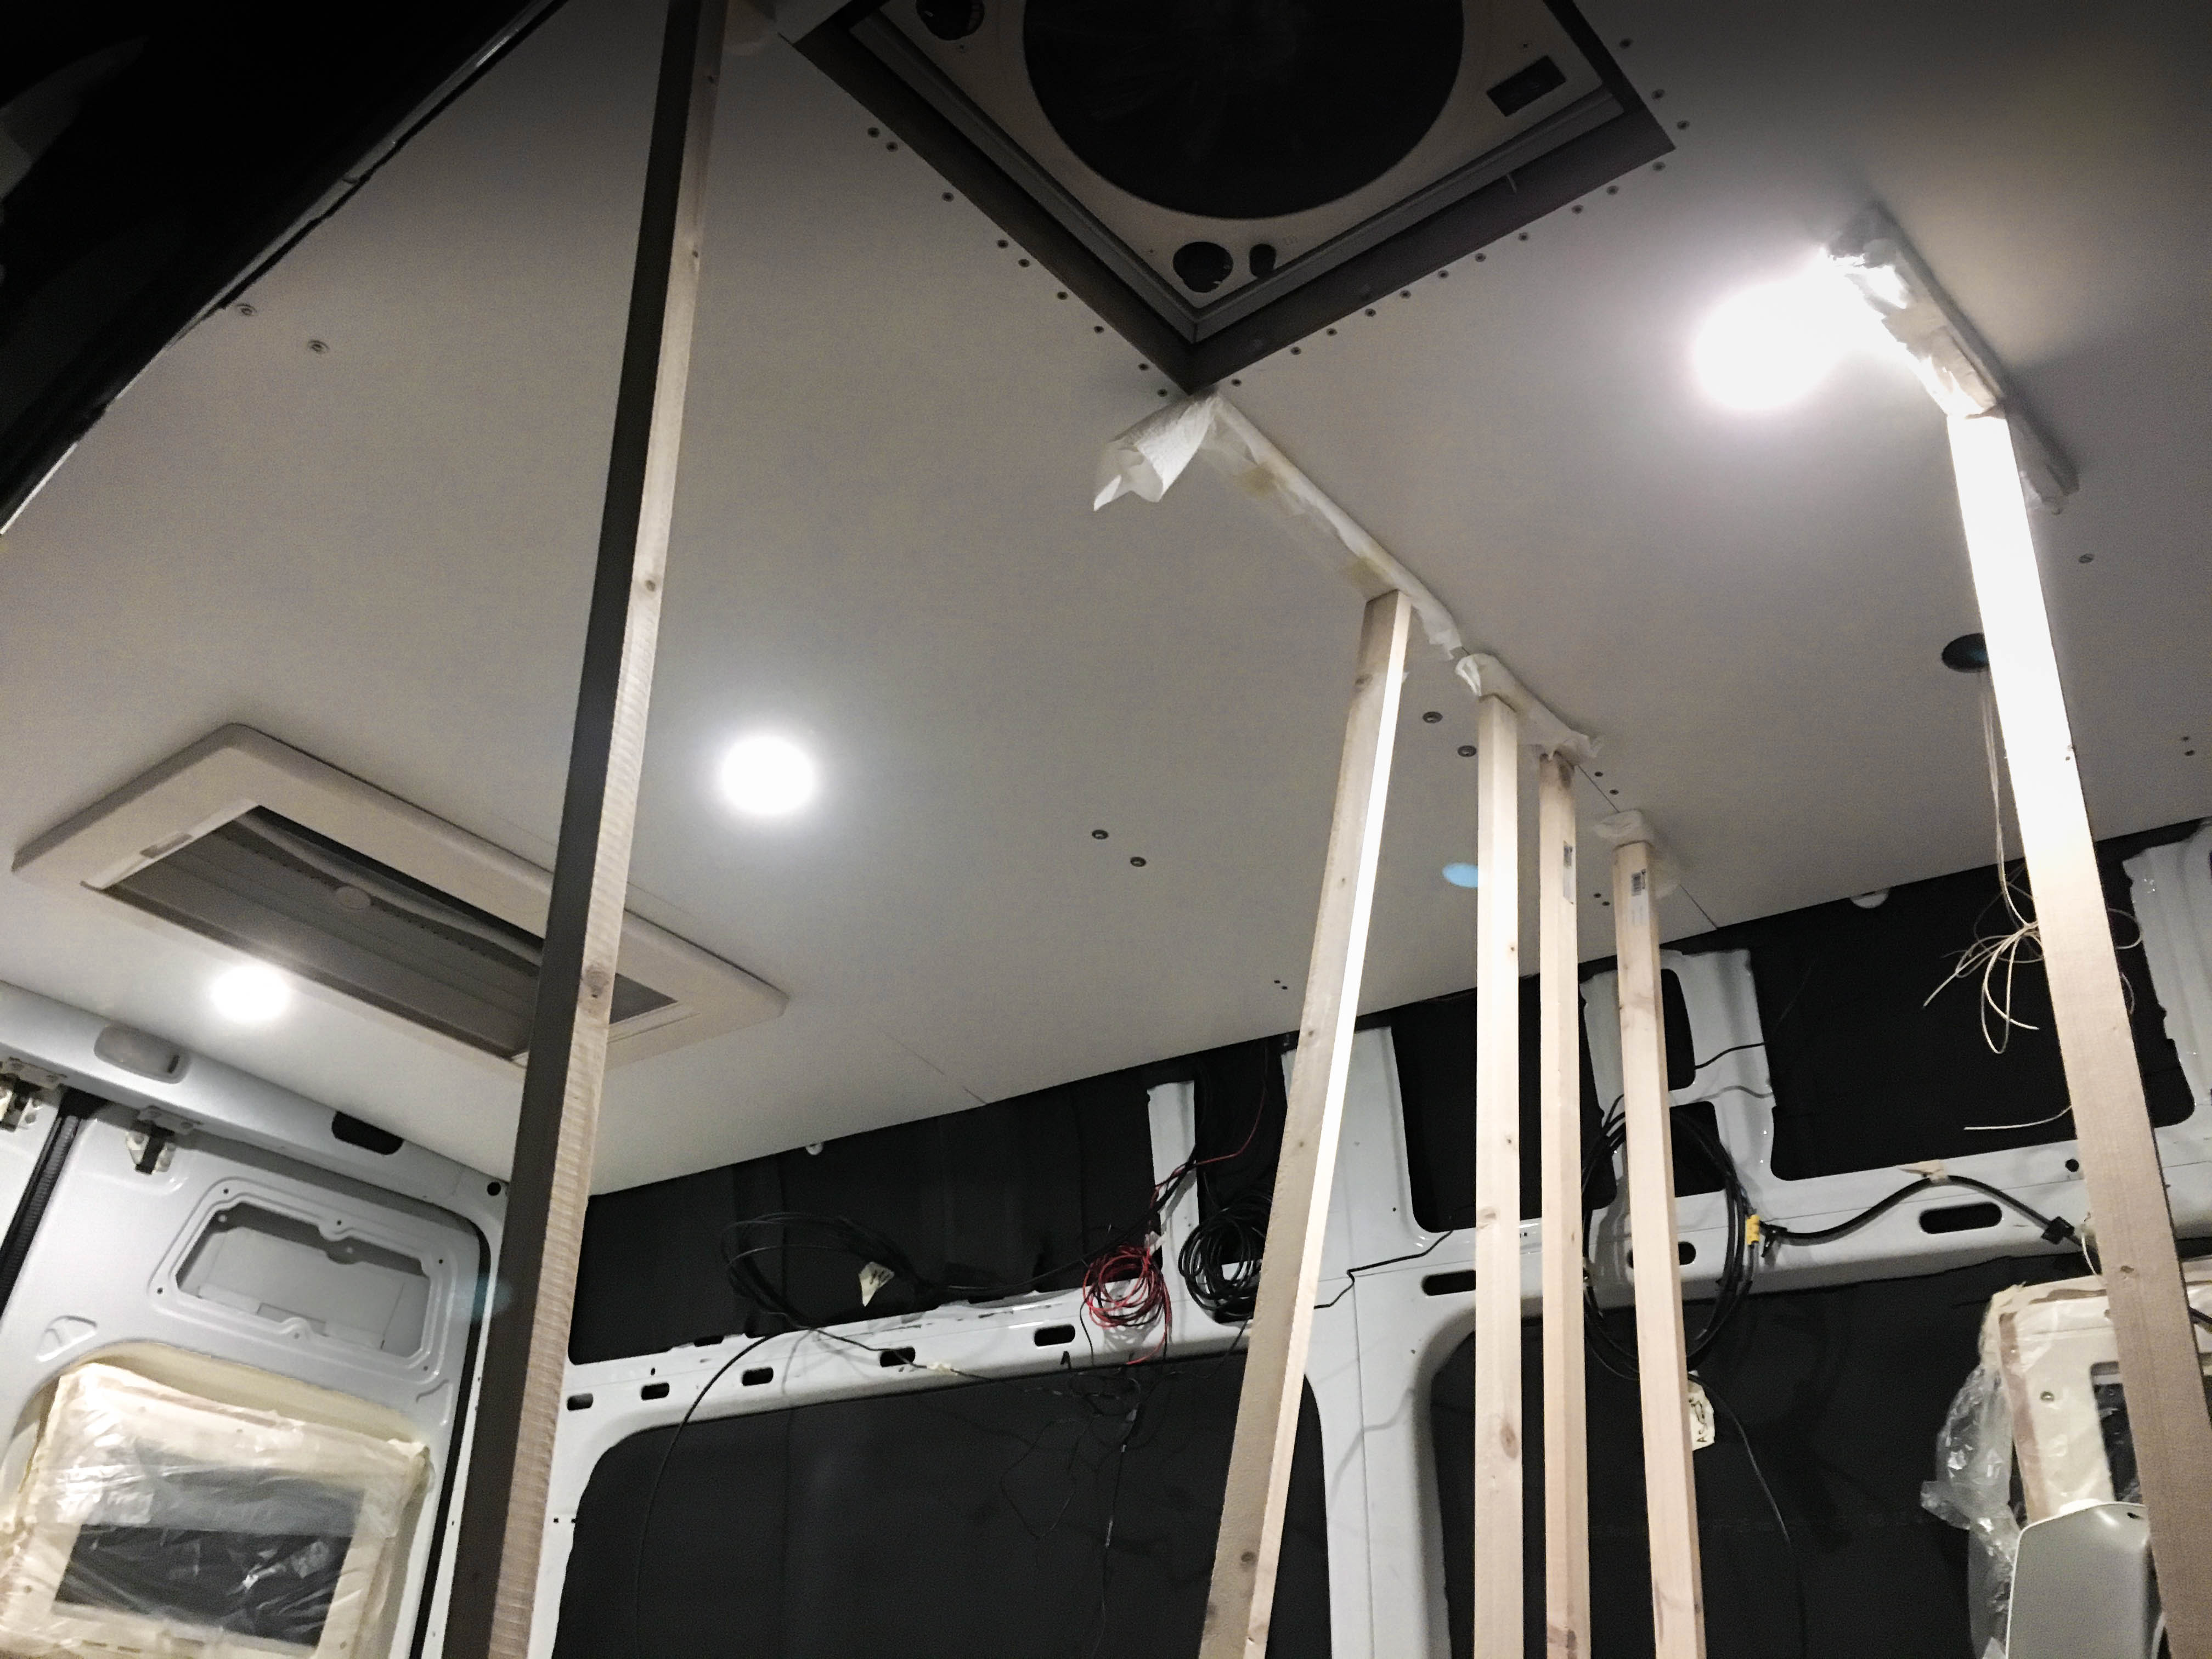
After mounting the ceiling panels to the ceiling, we won’t have access to behind the panels anymore, so we already installed the ceiling lamps and put the cables to the side so we can plug them in later.
To mount the panel to the ceiling we used the construction glue Sikaflex 252i on the crossbeams and also screwed it into the wooden frame of the roof window. The screws will later be hidden underneath the frame of the window.

Thanks to the flexibility of the wood we could also already „hide“ the wiring harness of the Sprinter.
Second panel
The middle panel doesn’t have any cutouts, that’s why it was easily cut to size. Therefore we again used transfer foil to prevent the HPL from splintering by the saw blade of the jigsaw. To mount the panel to the ceiling we used screws in the blind rivet nuts we installed beforehand in the crossbeams and also screwed in the wooden frame of the vent. The screws and nuts will later be hidden in or rather behind the closet and cabinets.
In addition to the screw connection, we again used Sikaflex 252i on the crossbeams. During the drying phase we added wooden slats to push the panel to the ceiling. We also installed the second ceiling lamp.
Third panel
The panel in the front is the most difficult one because it hast the most cutouts; the vent, the Sortimo-ventilation (which we did not chose to have but it was already there when we got the Sprinter) and the arch of the sliding door. Also, the panel should hide under the car headliner or rather end at the bar to which the headliner is mounted to. Because of so many things we again made a template of cardboard, before making a template of another piece of poplar plywood – just to be certain 😉

Just like with the other panels we used transfer foil and installed the third ceiling lamp. For the fourth lamp, in our future bathroom, we already made a cutout but the lamp will be close enough to the edge of the panel to install it later while building the bathroom.

This panel is also screwed into the wooden frame of the vent and screwed into blind rivet nuts installed beforehand. During the drying phase of the glue we also again set up wooden slats.
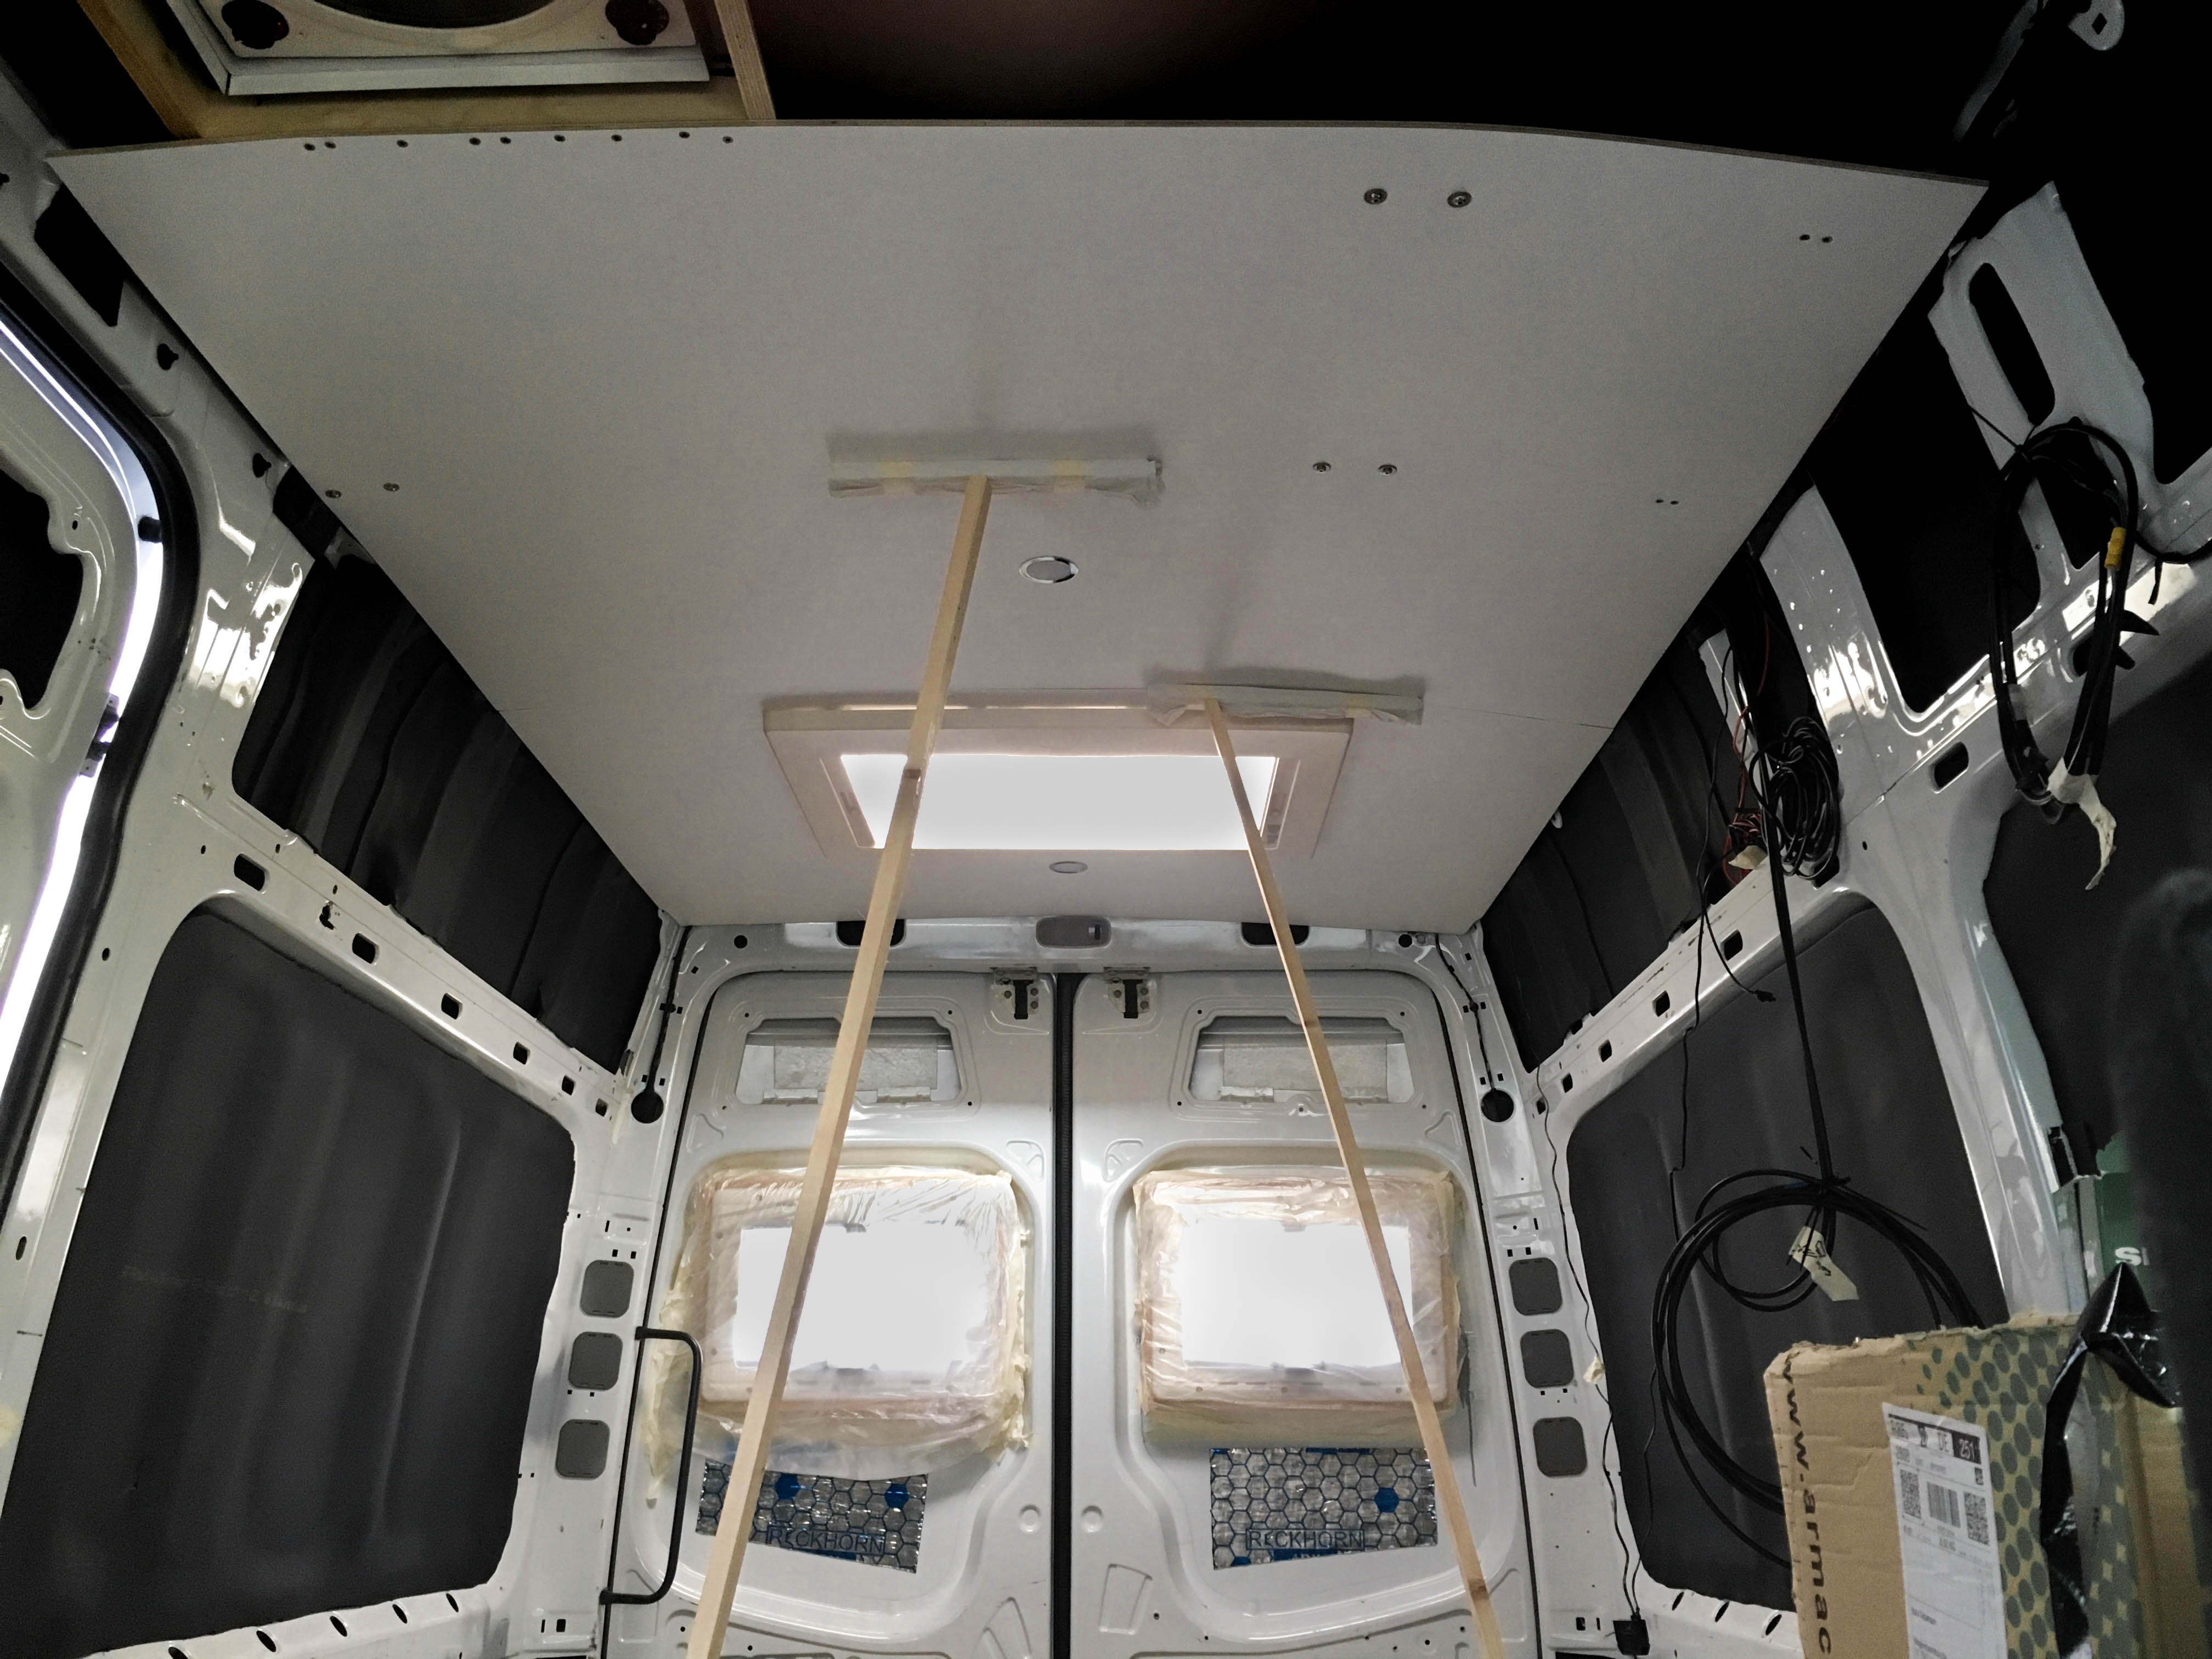
Done!
This is our final ceiling paneling! The edges where the panels meet will later be hidden with a strip or something similar. We already like the plainness and simplicity of the interior paneling and will continue with the wall panels and the back door panels as well as the sliding door!
We found these products to be helpful to adjust the panels:

