
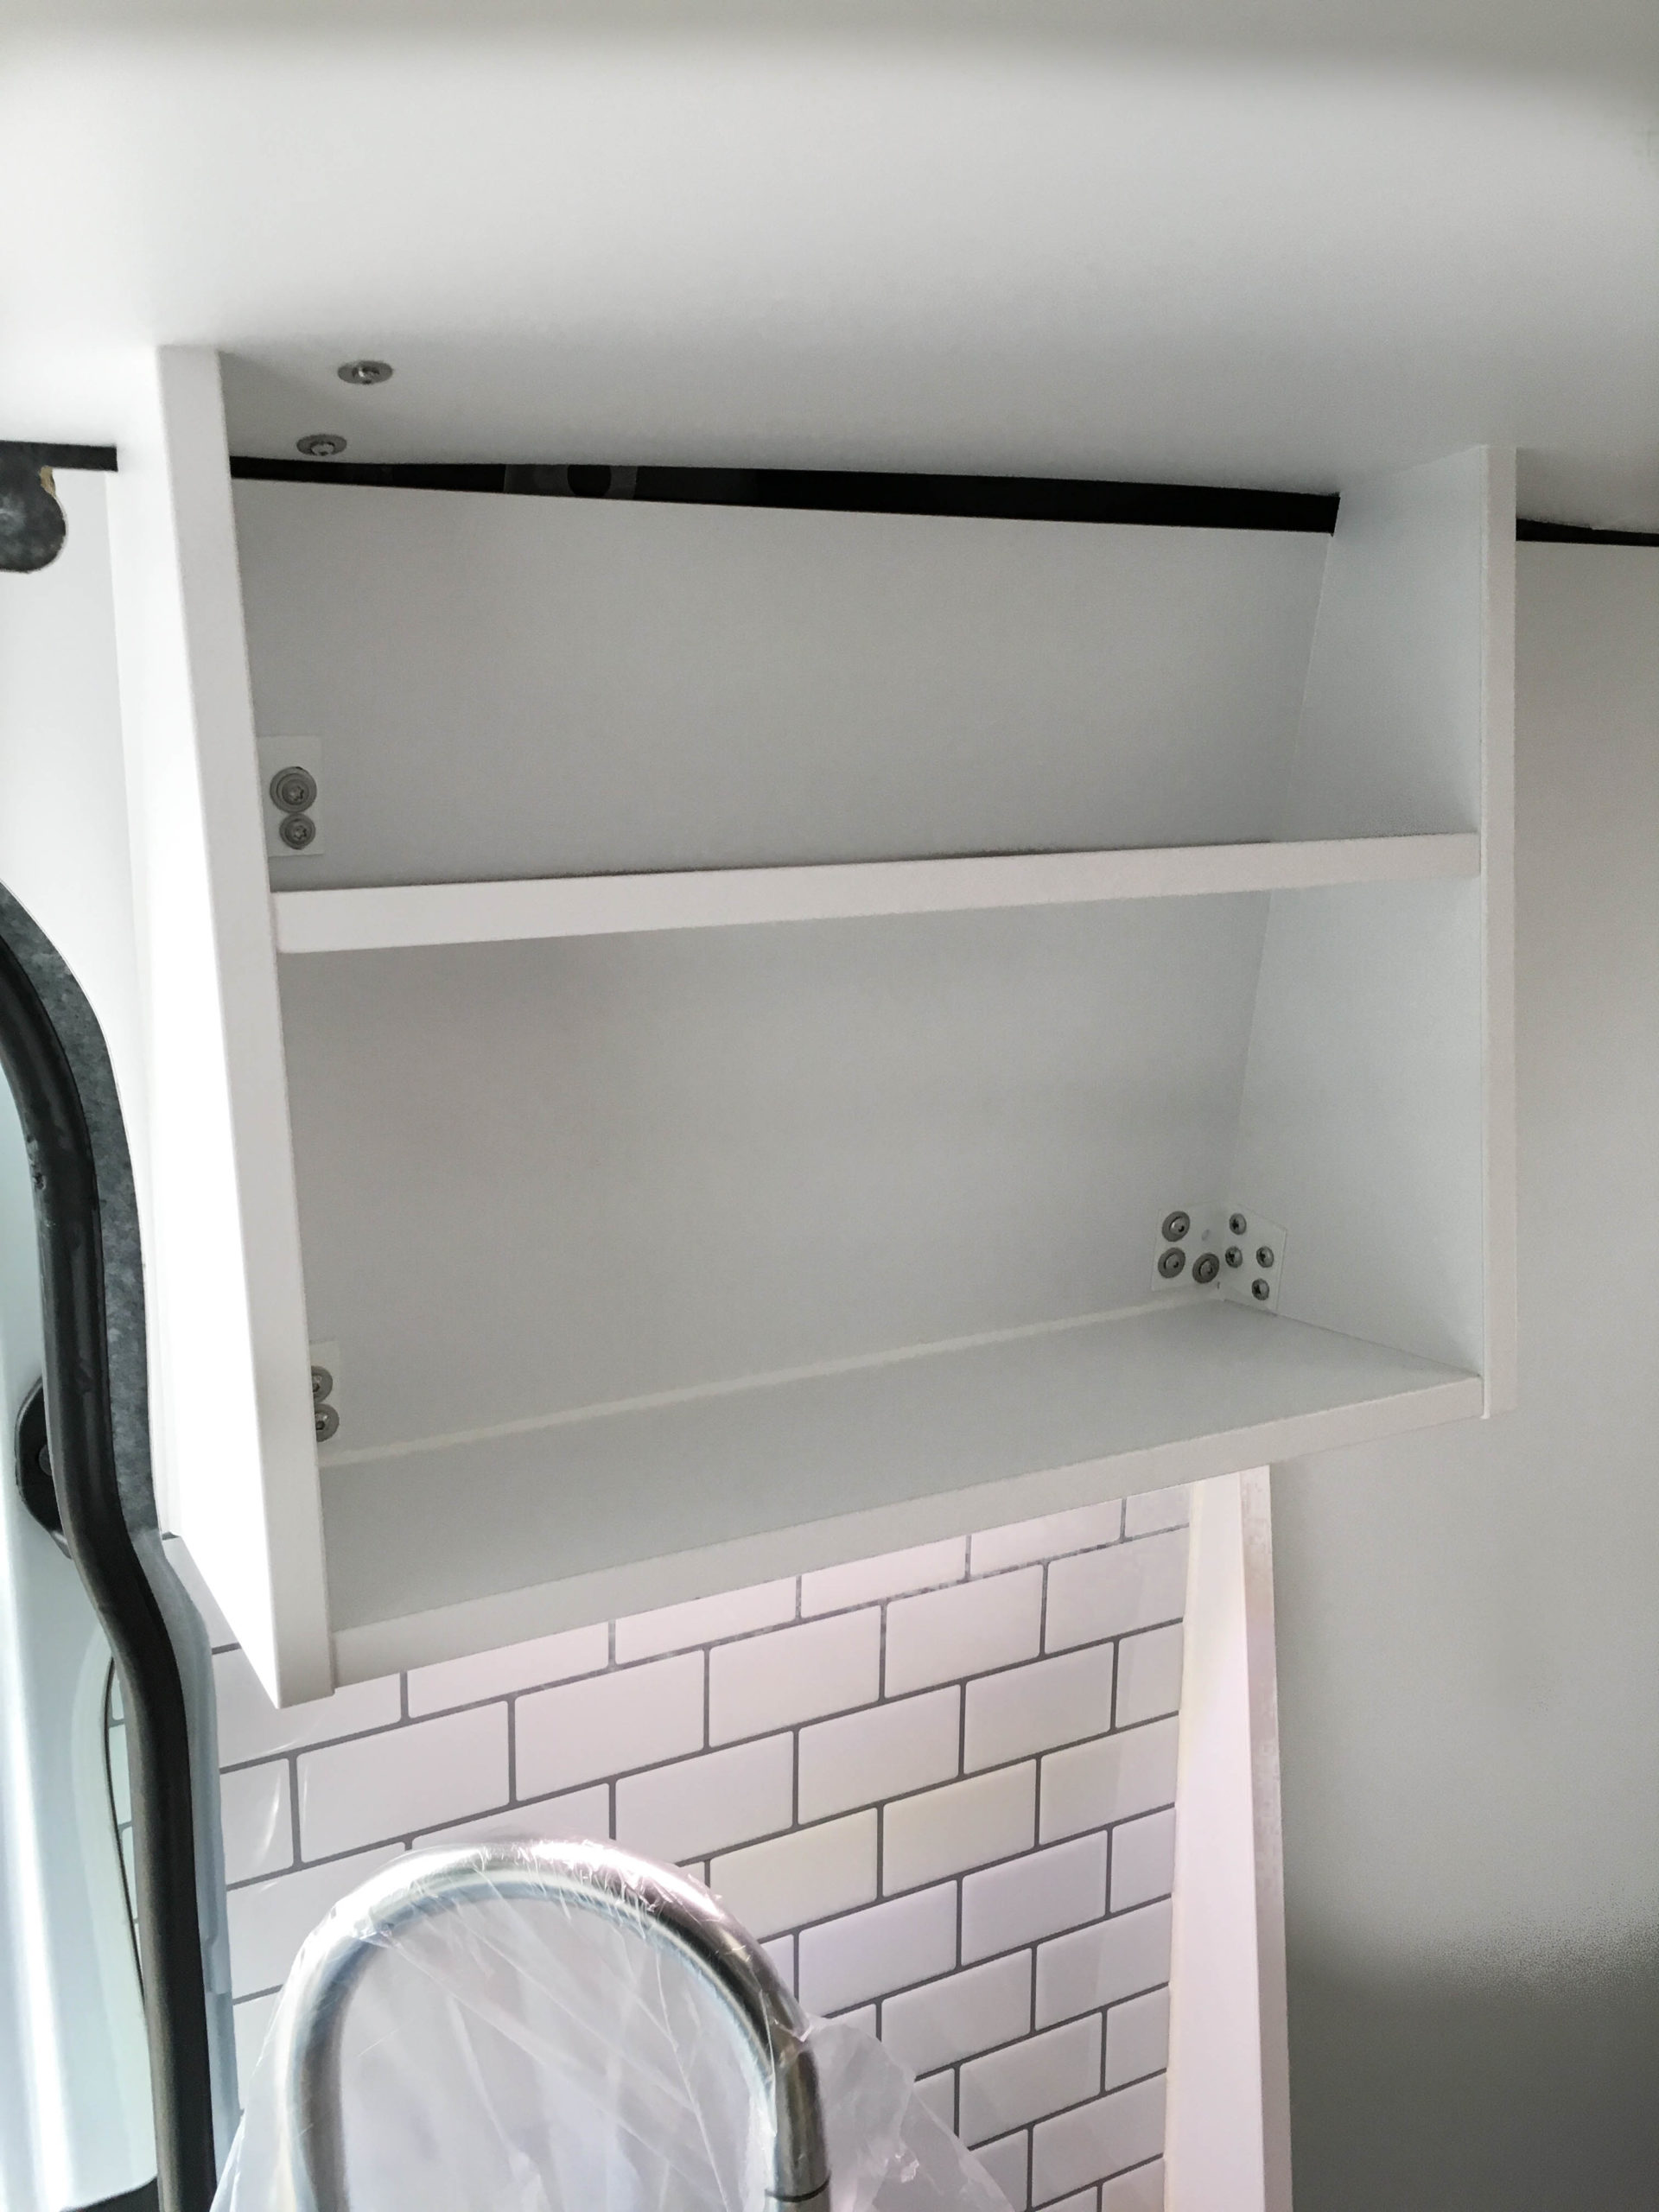
More cabinets means more storage! With a top cabinet in the kitchen we us all space available to make the most of the tiny house.
We built the top cabinet pretty much like we built the washbasin in the bathroom.
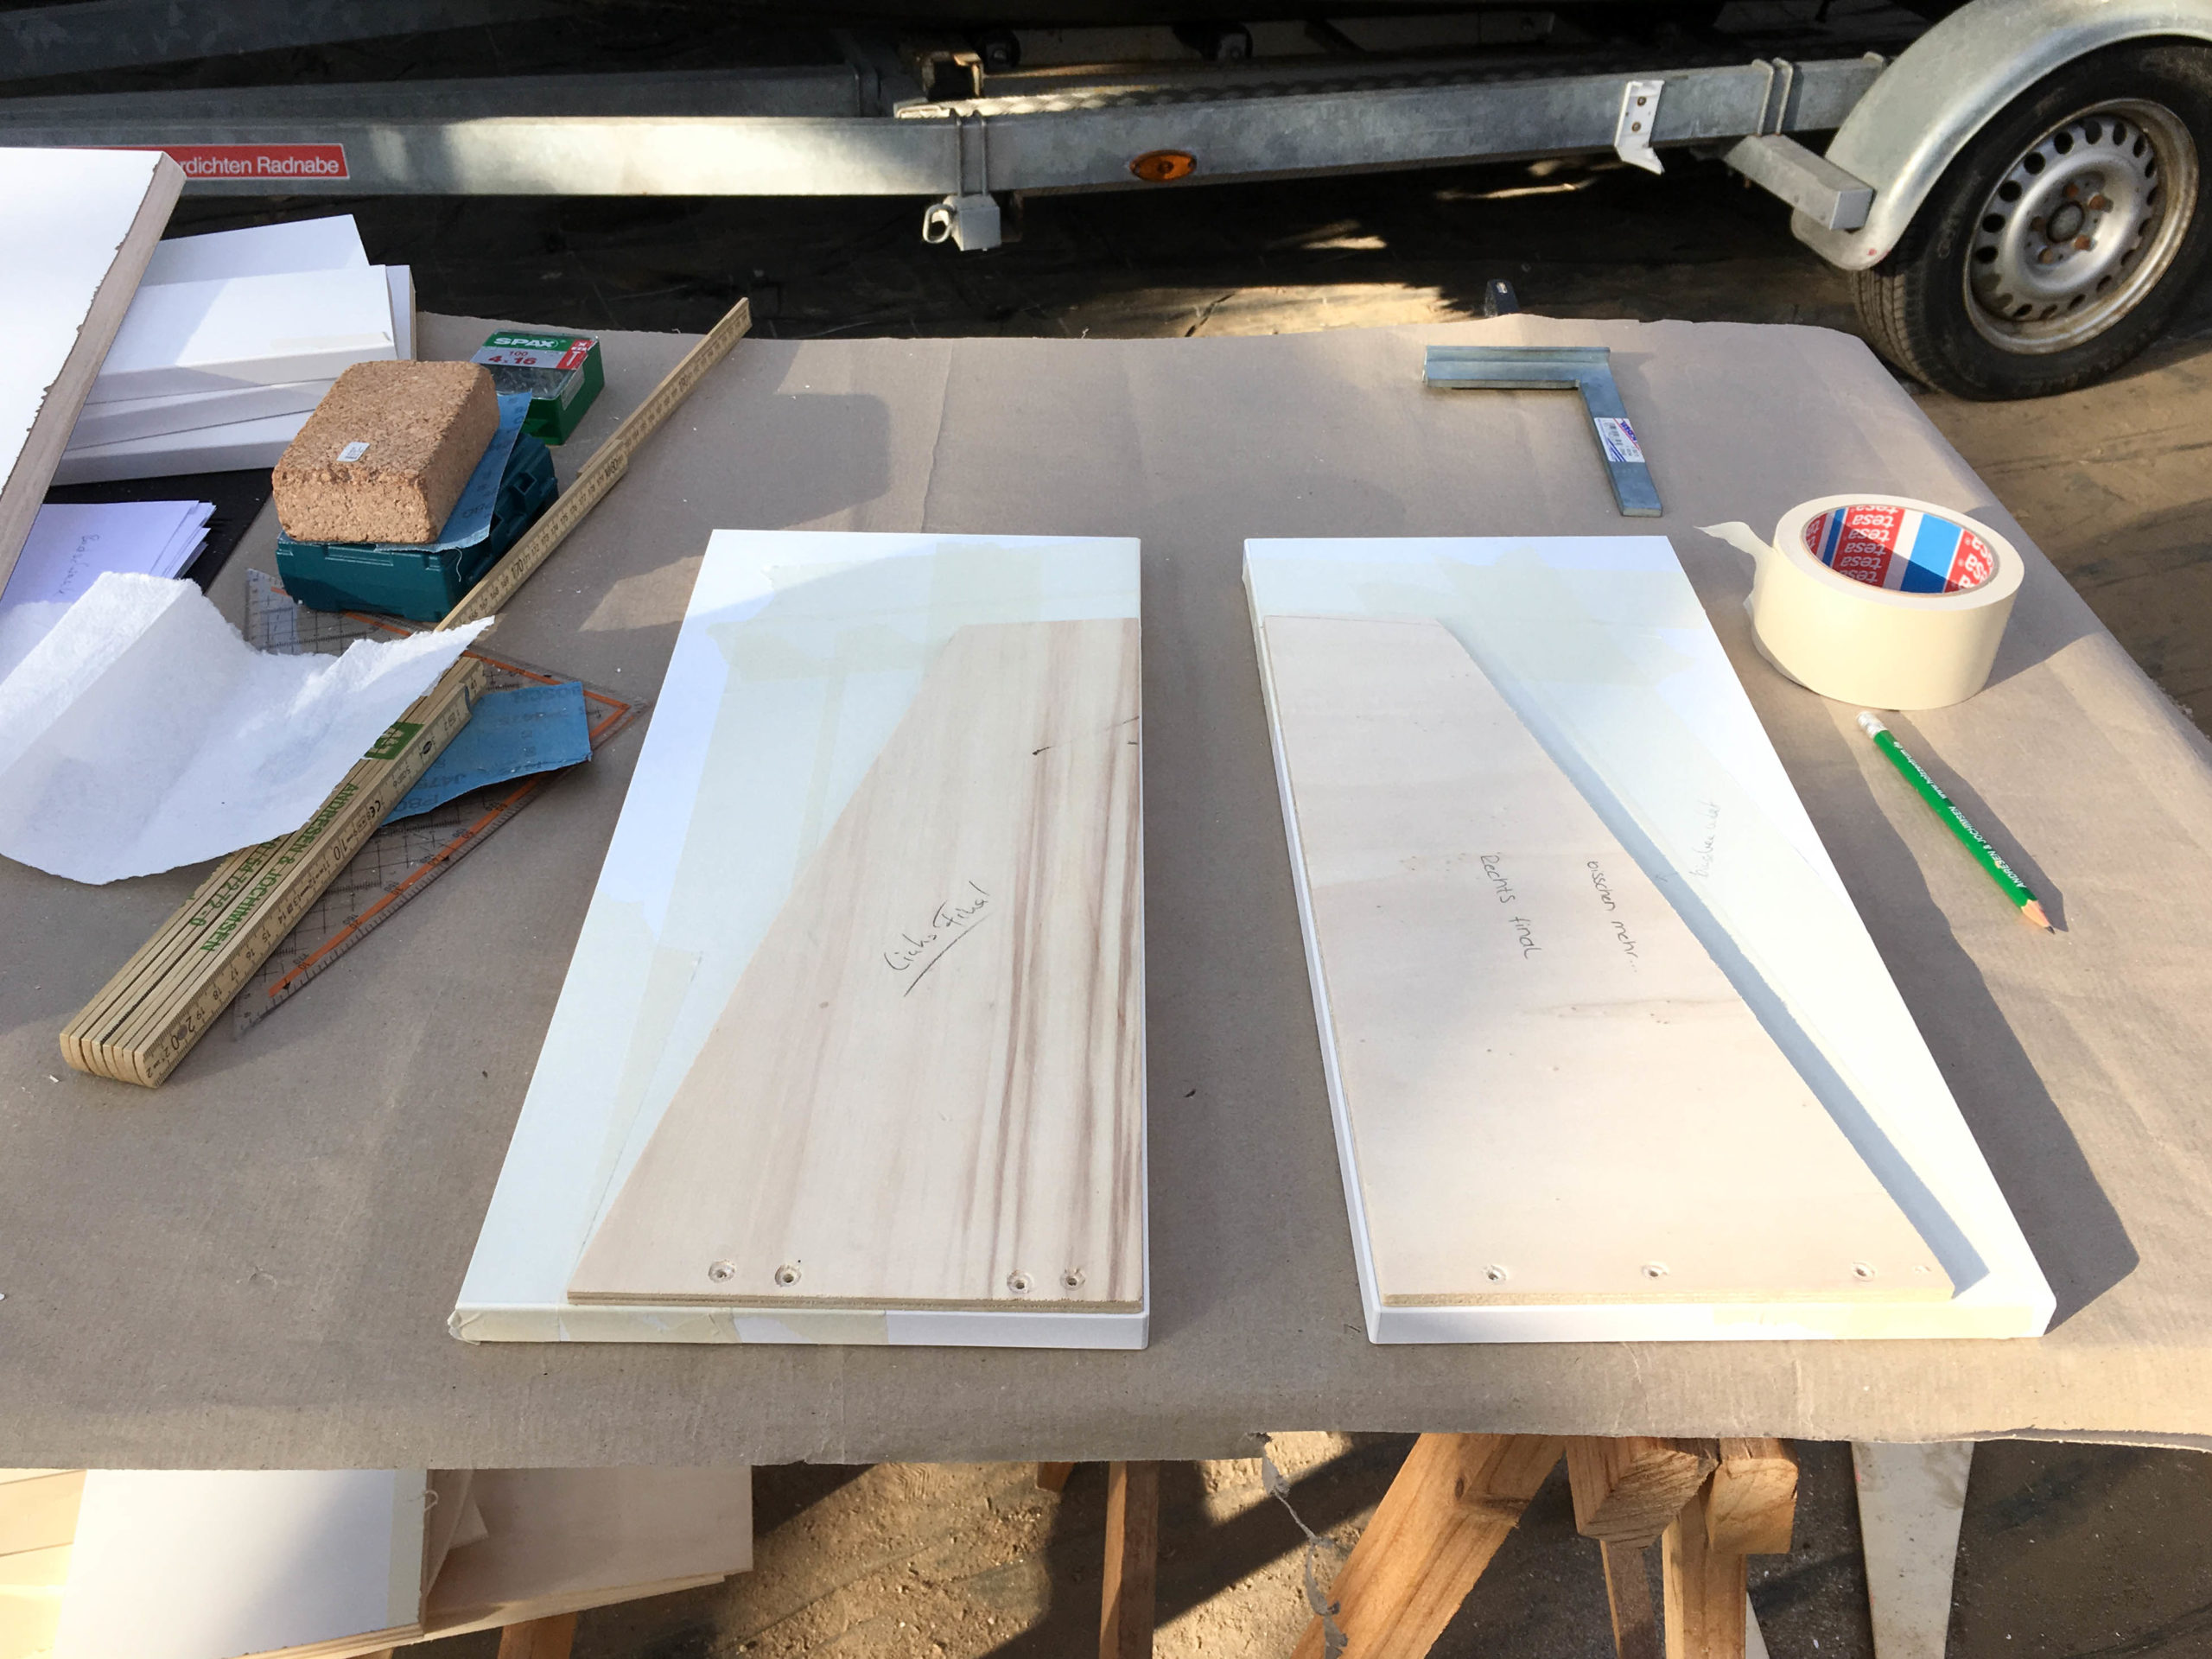
The body of the top cabinet, just like most of our furniture, is made of Banova plywood with white HPL covering. Up first we made templates of poplar plywood. Using the transfer scribe we copied the curve of the walls of the vehicle to the plates. When that was done we copied the templates to the final Banova plates.
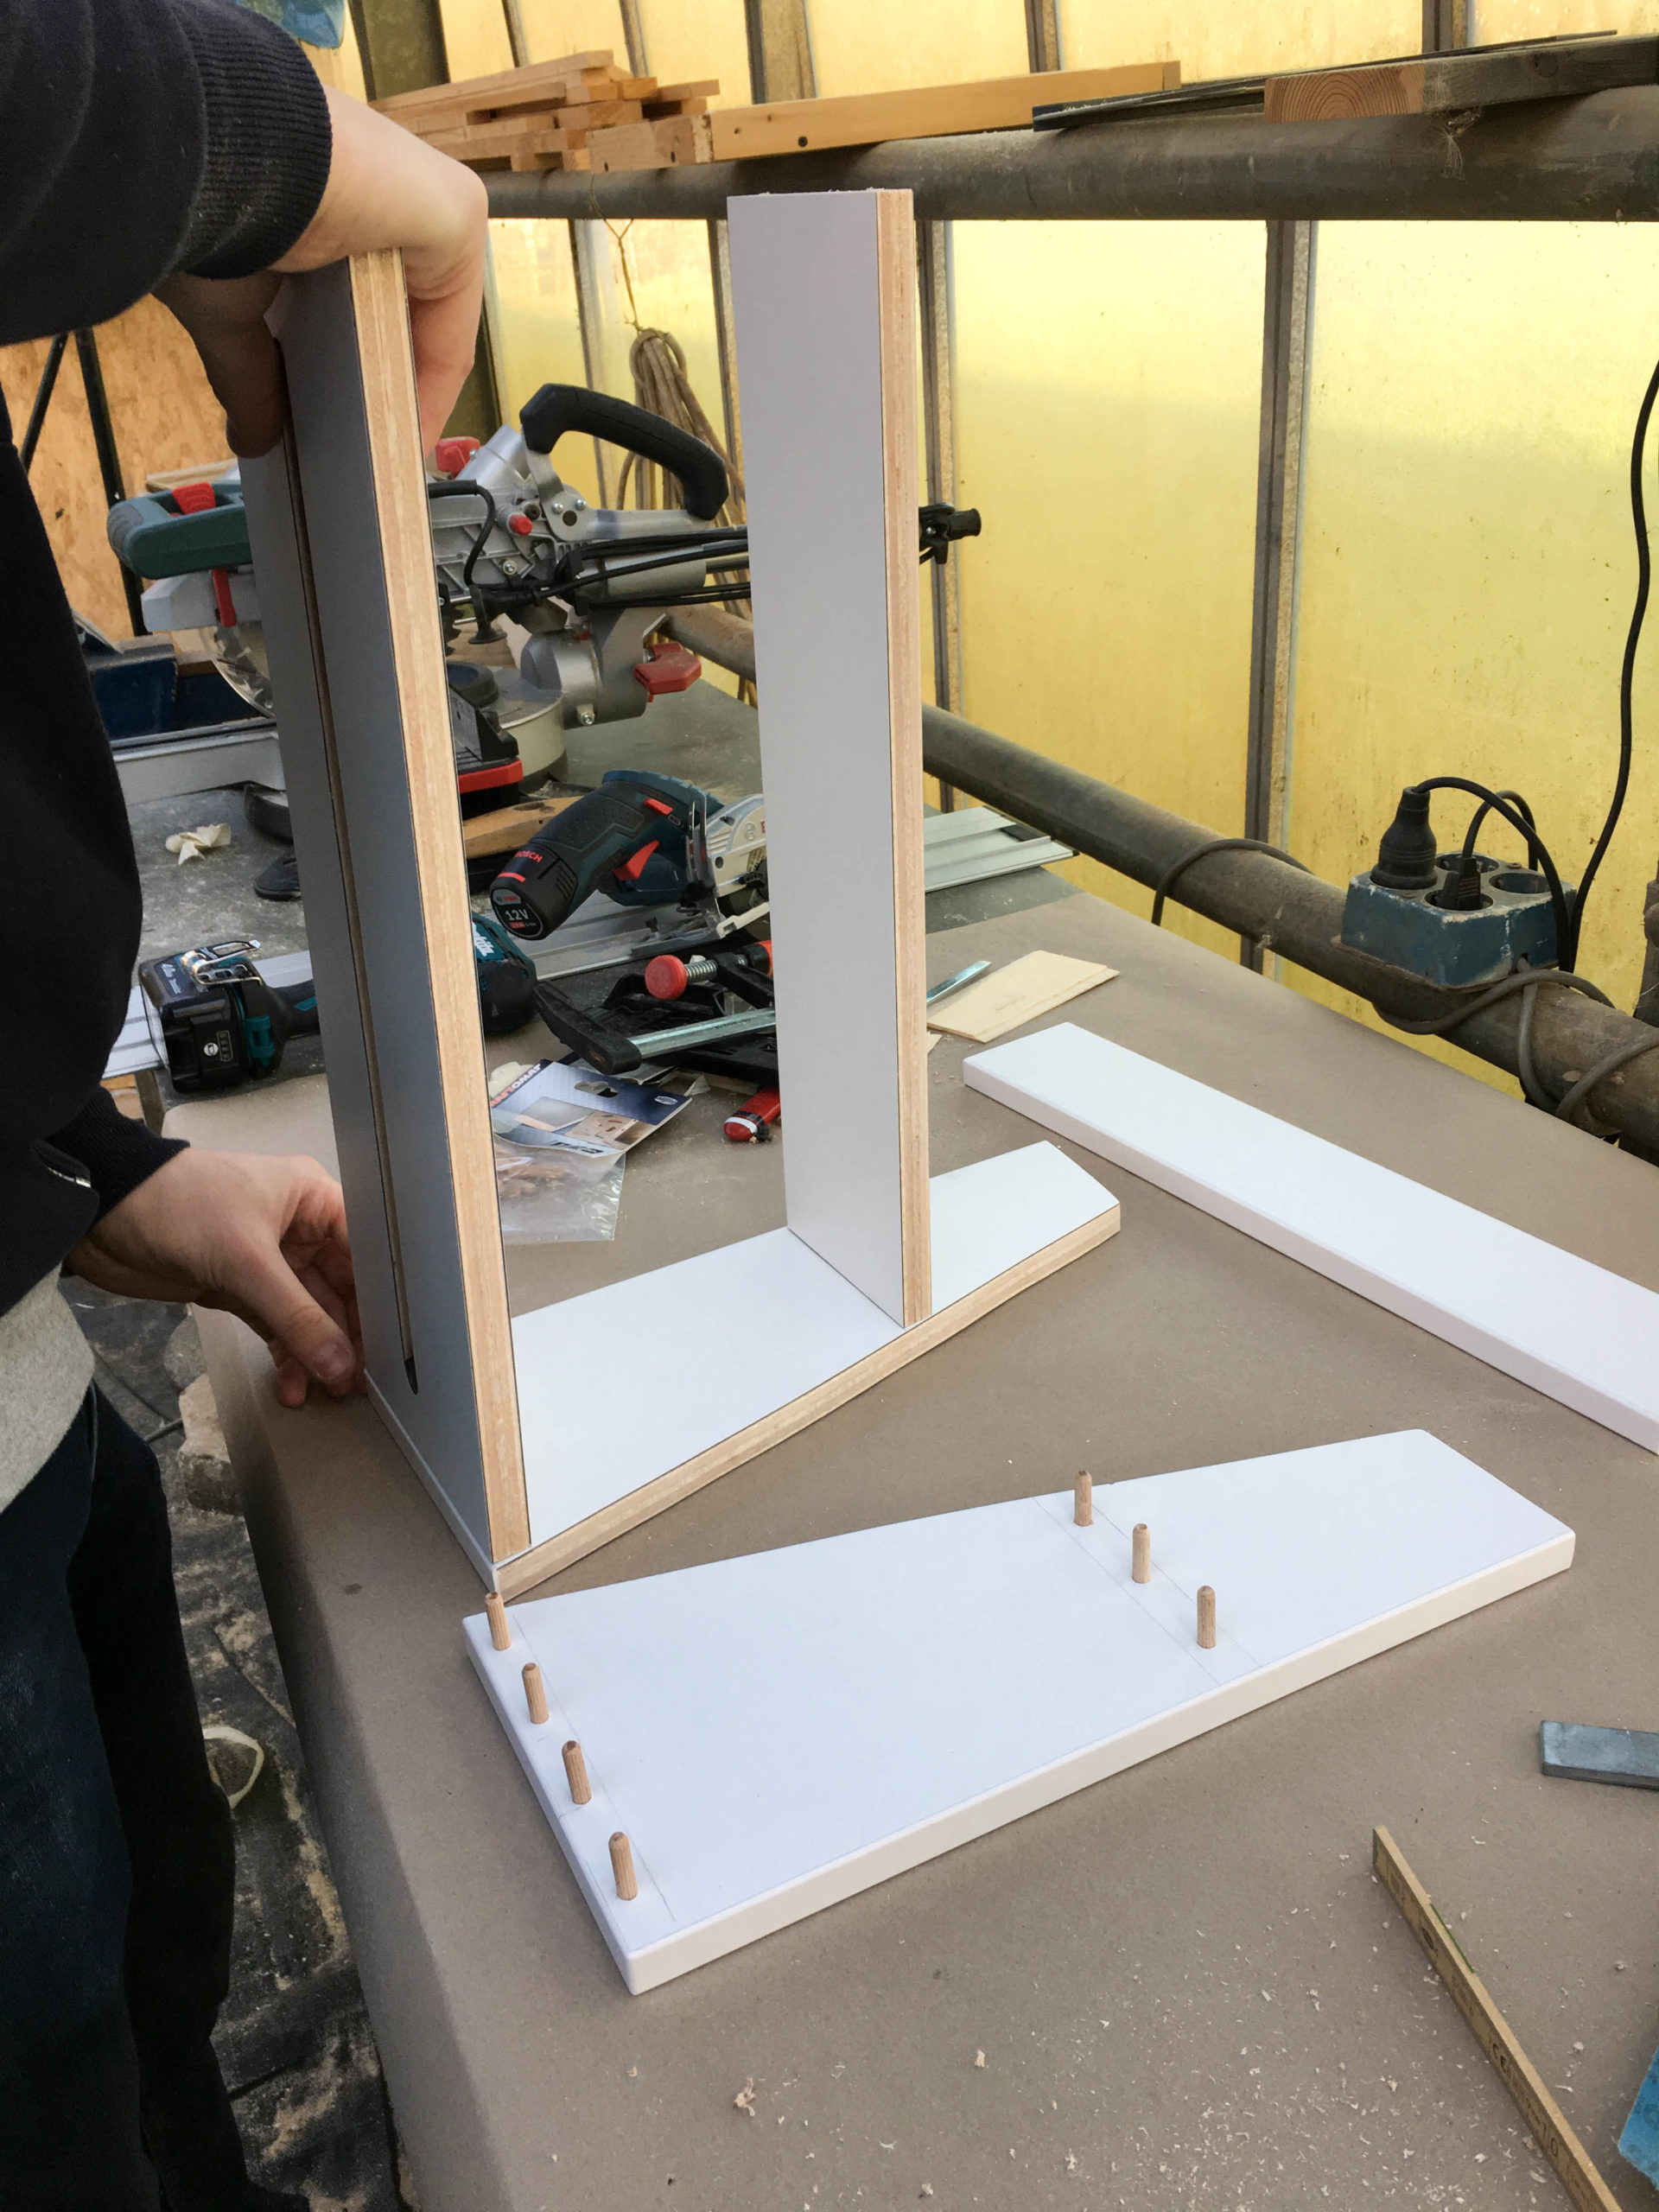
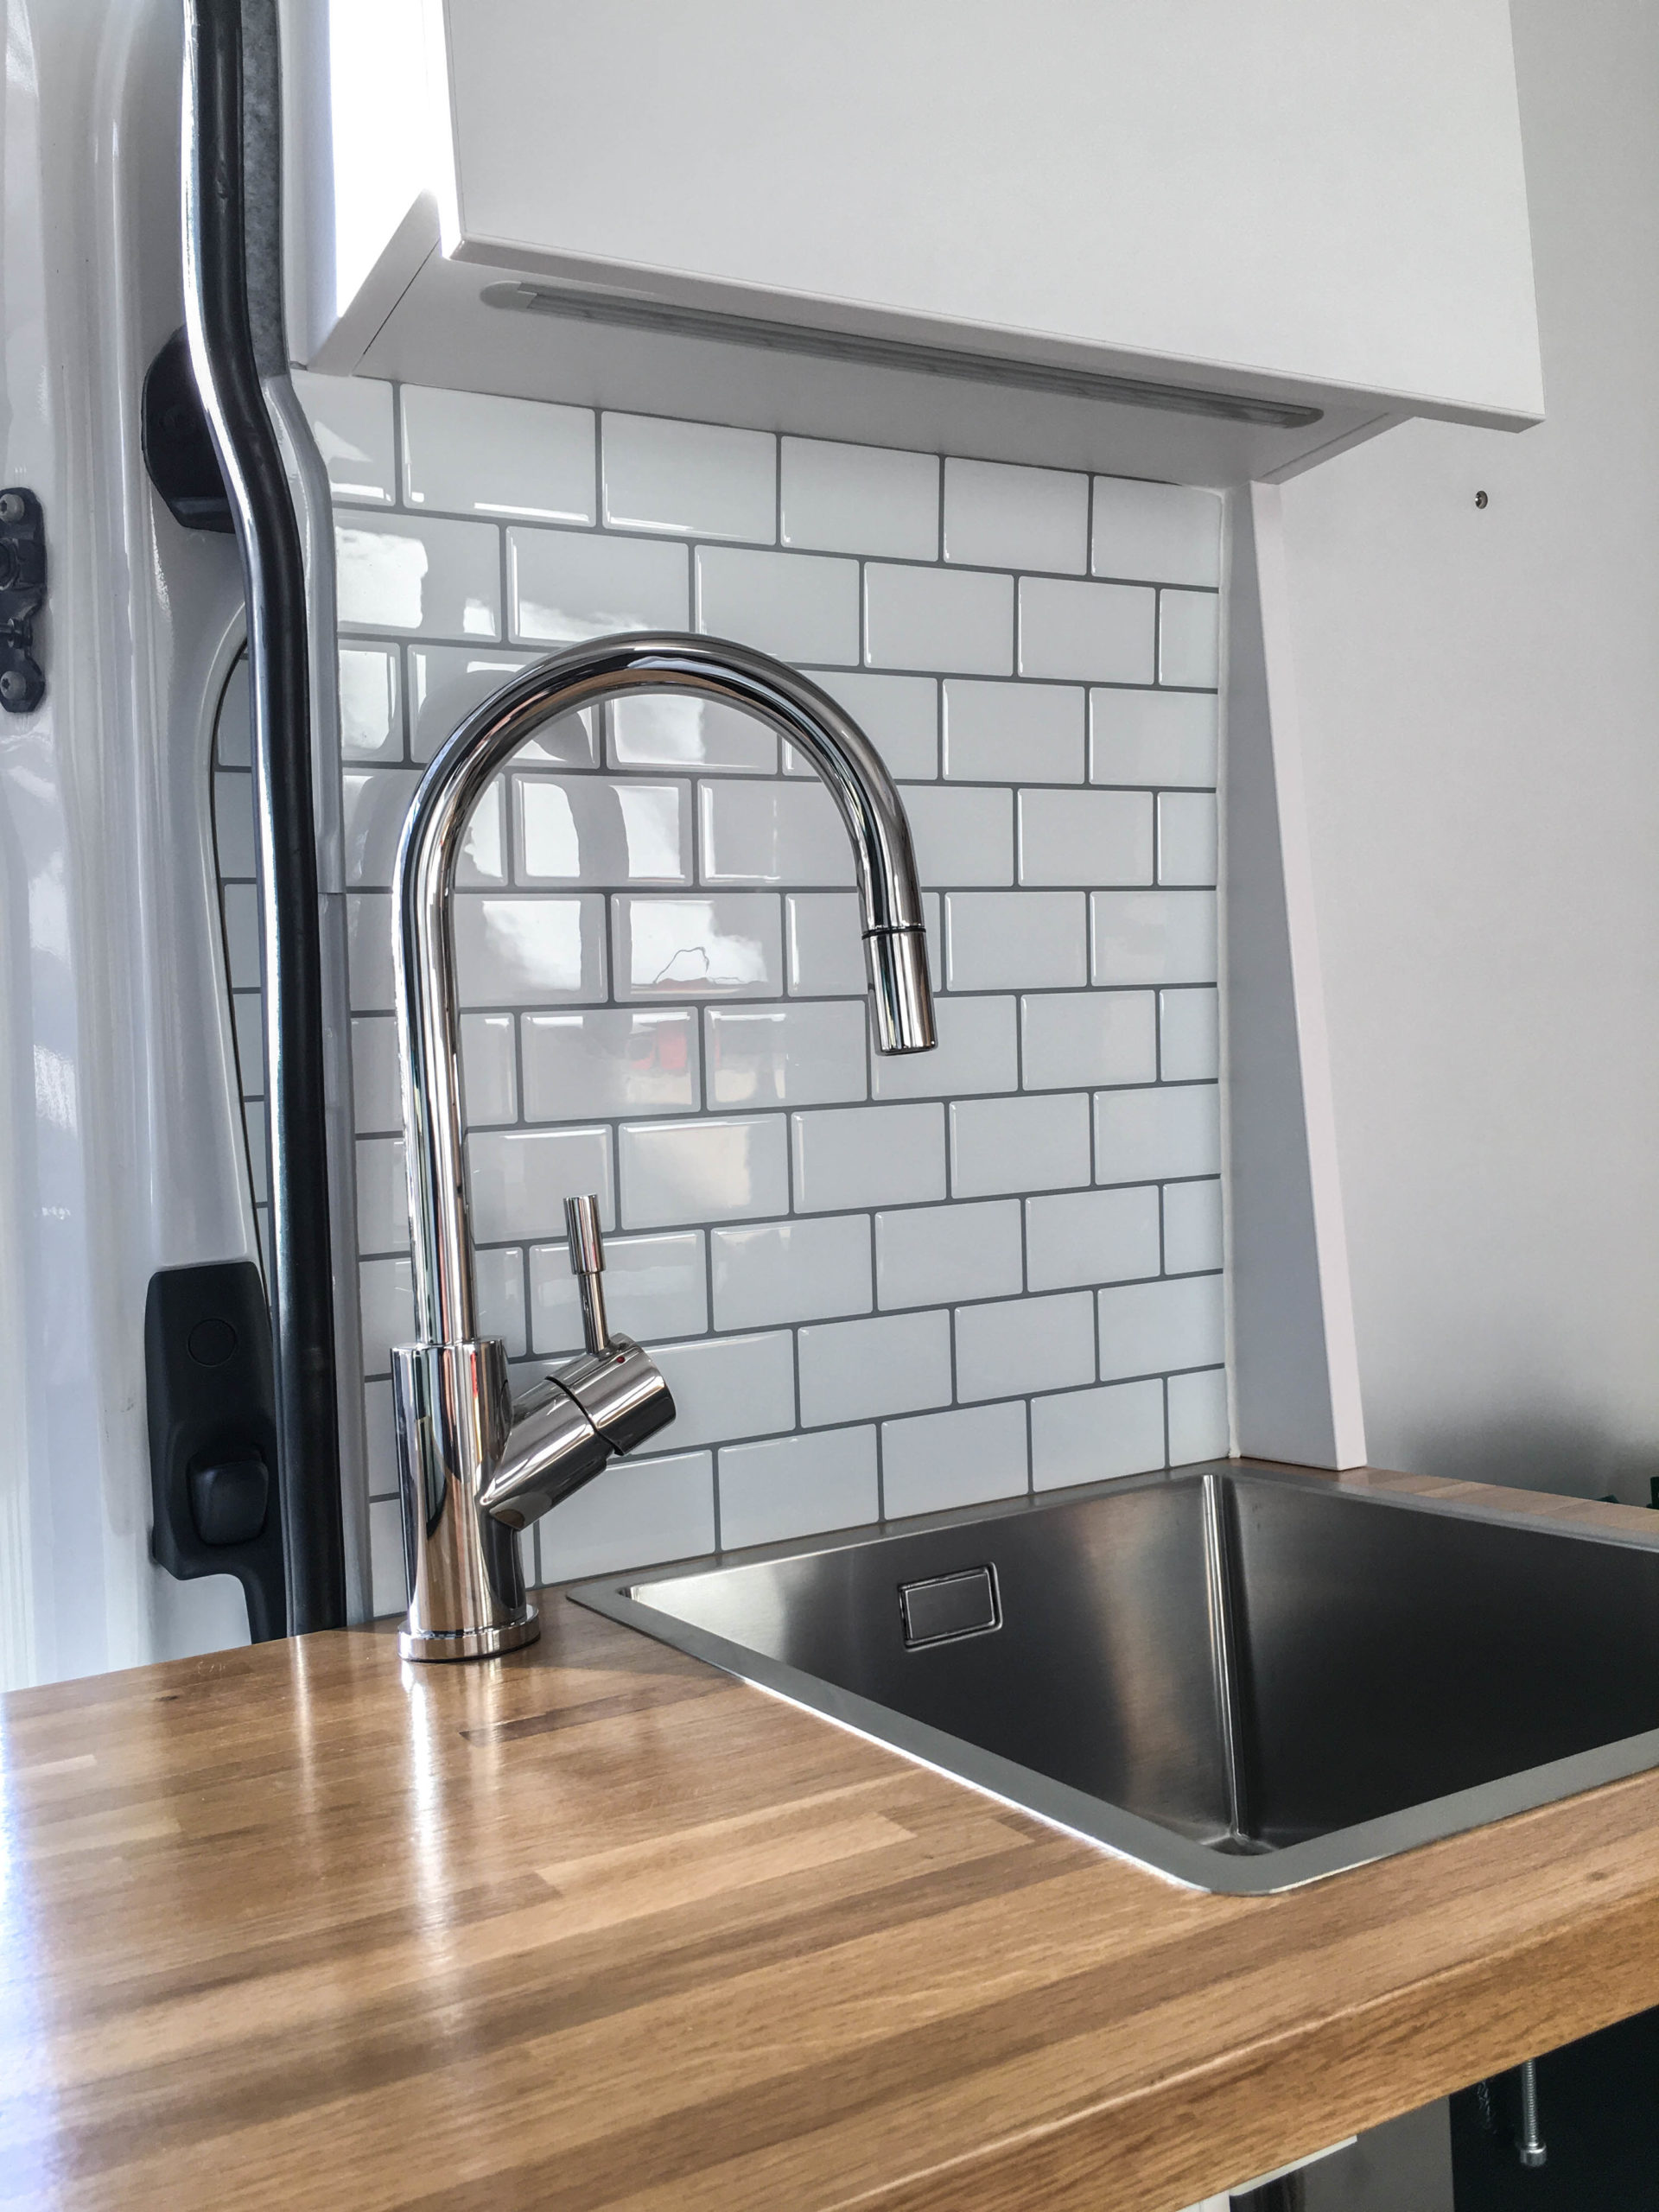
Because we did not want any screw heads to be seen on the side of the cabinet, we installed the shelves with glue and wooden dowels. We added a milling to the underside of the lower shelf for a small LED light bar for indirect ambient lightning, just like with the countertop in the kitchen.
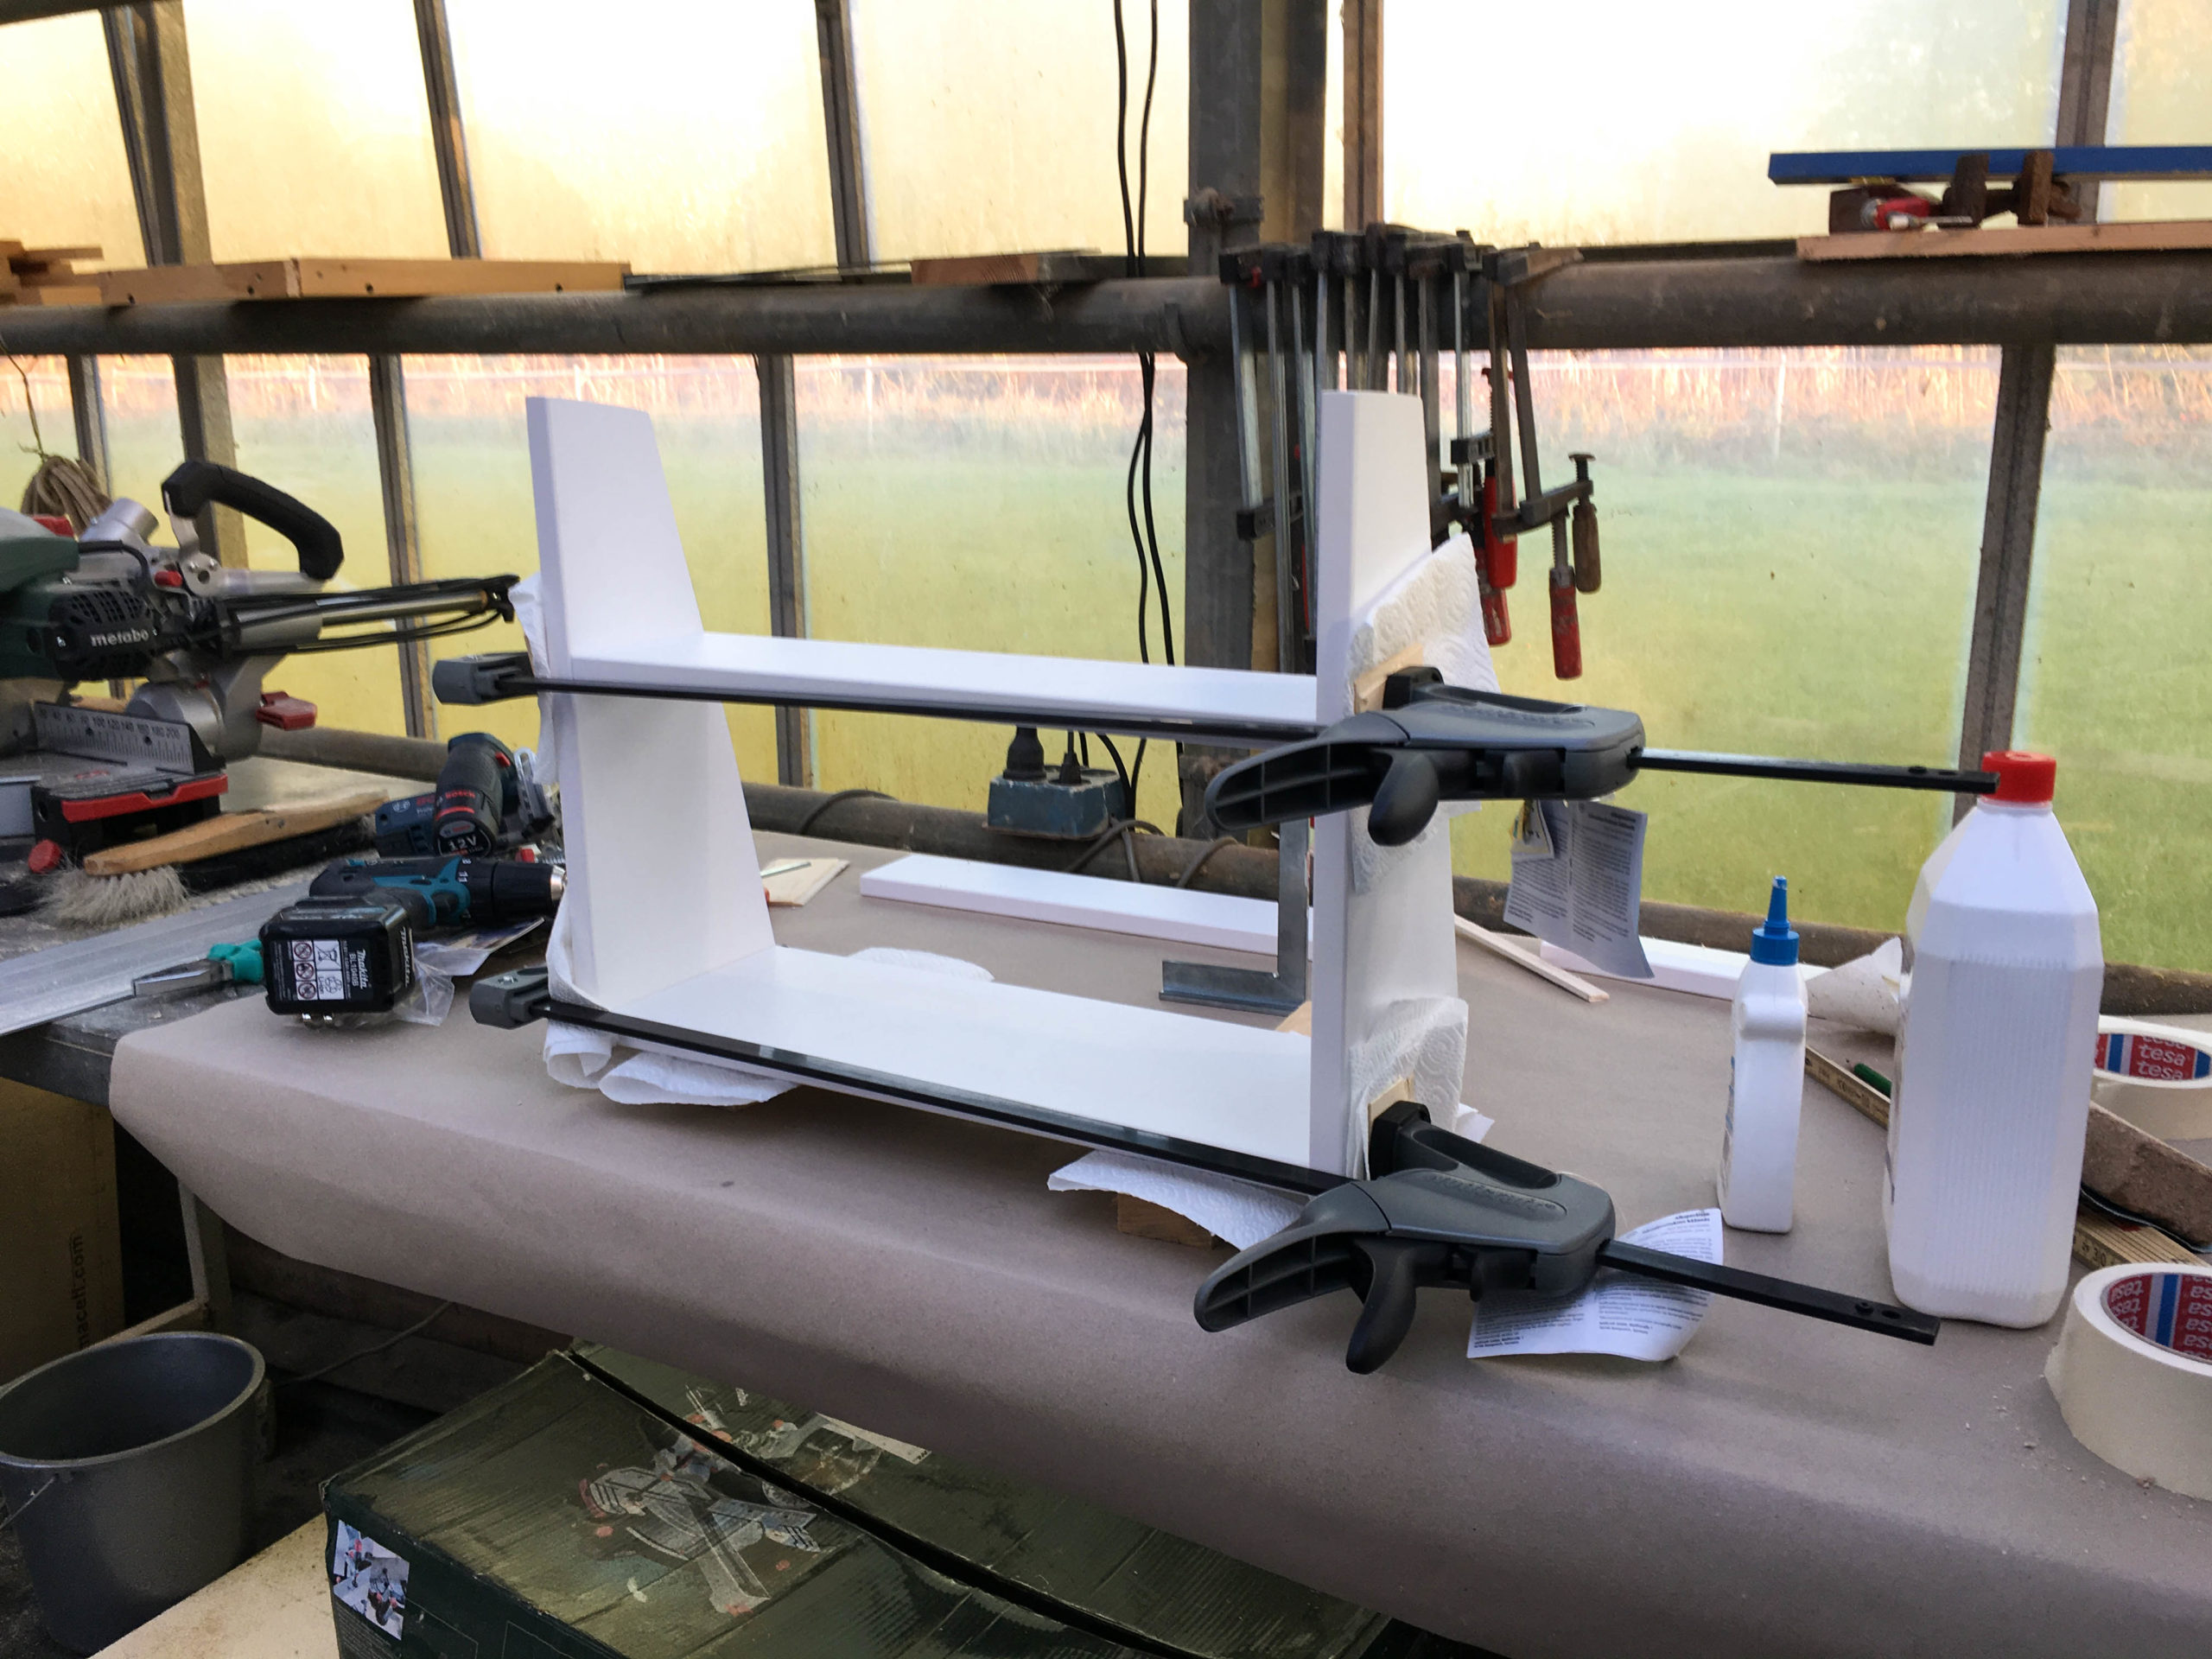
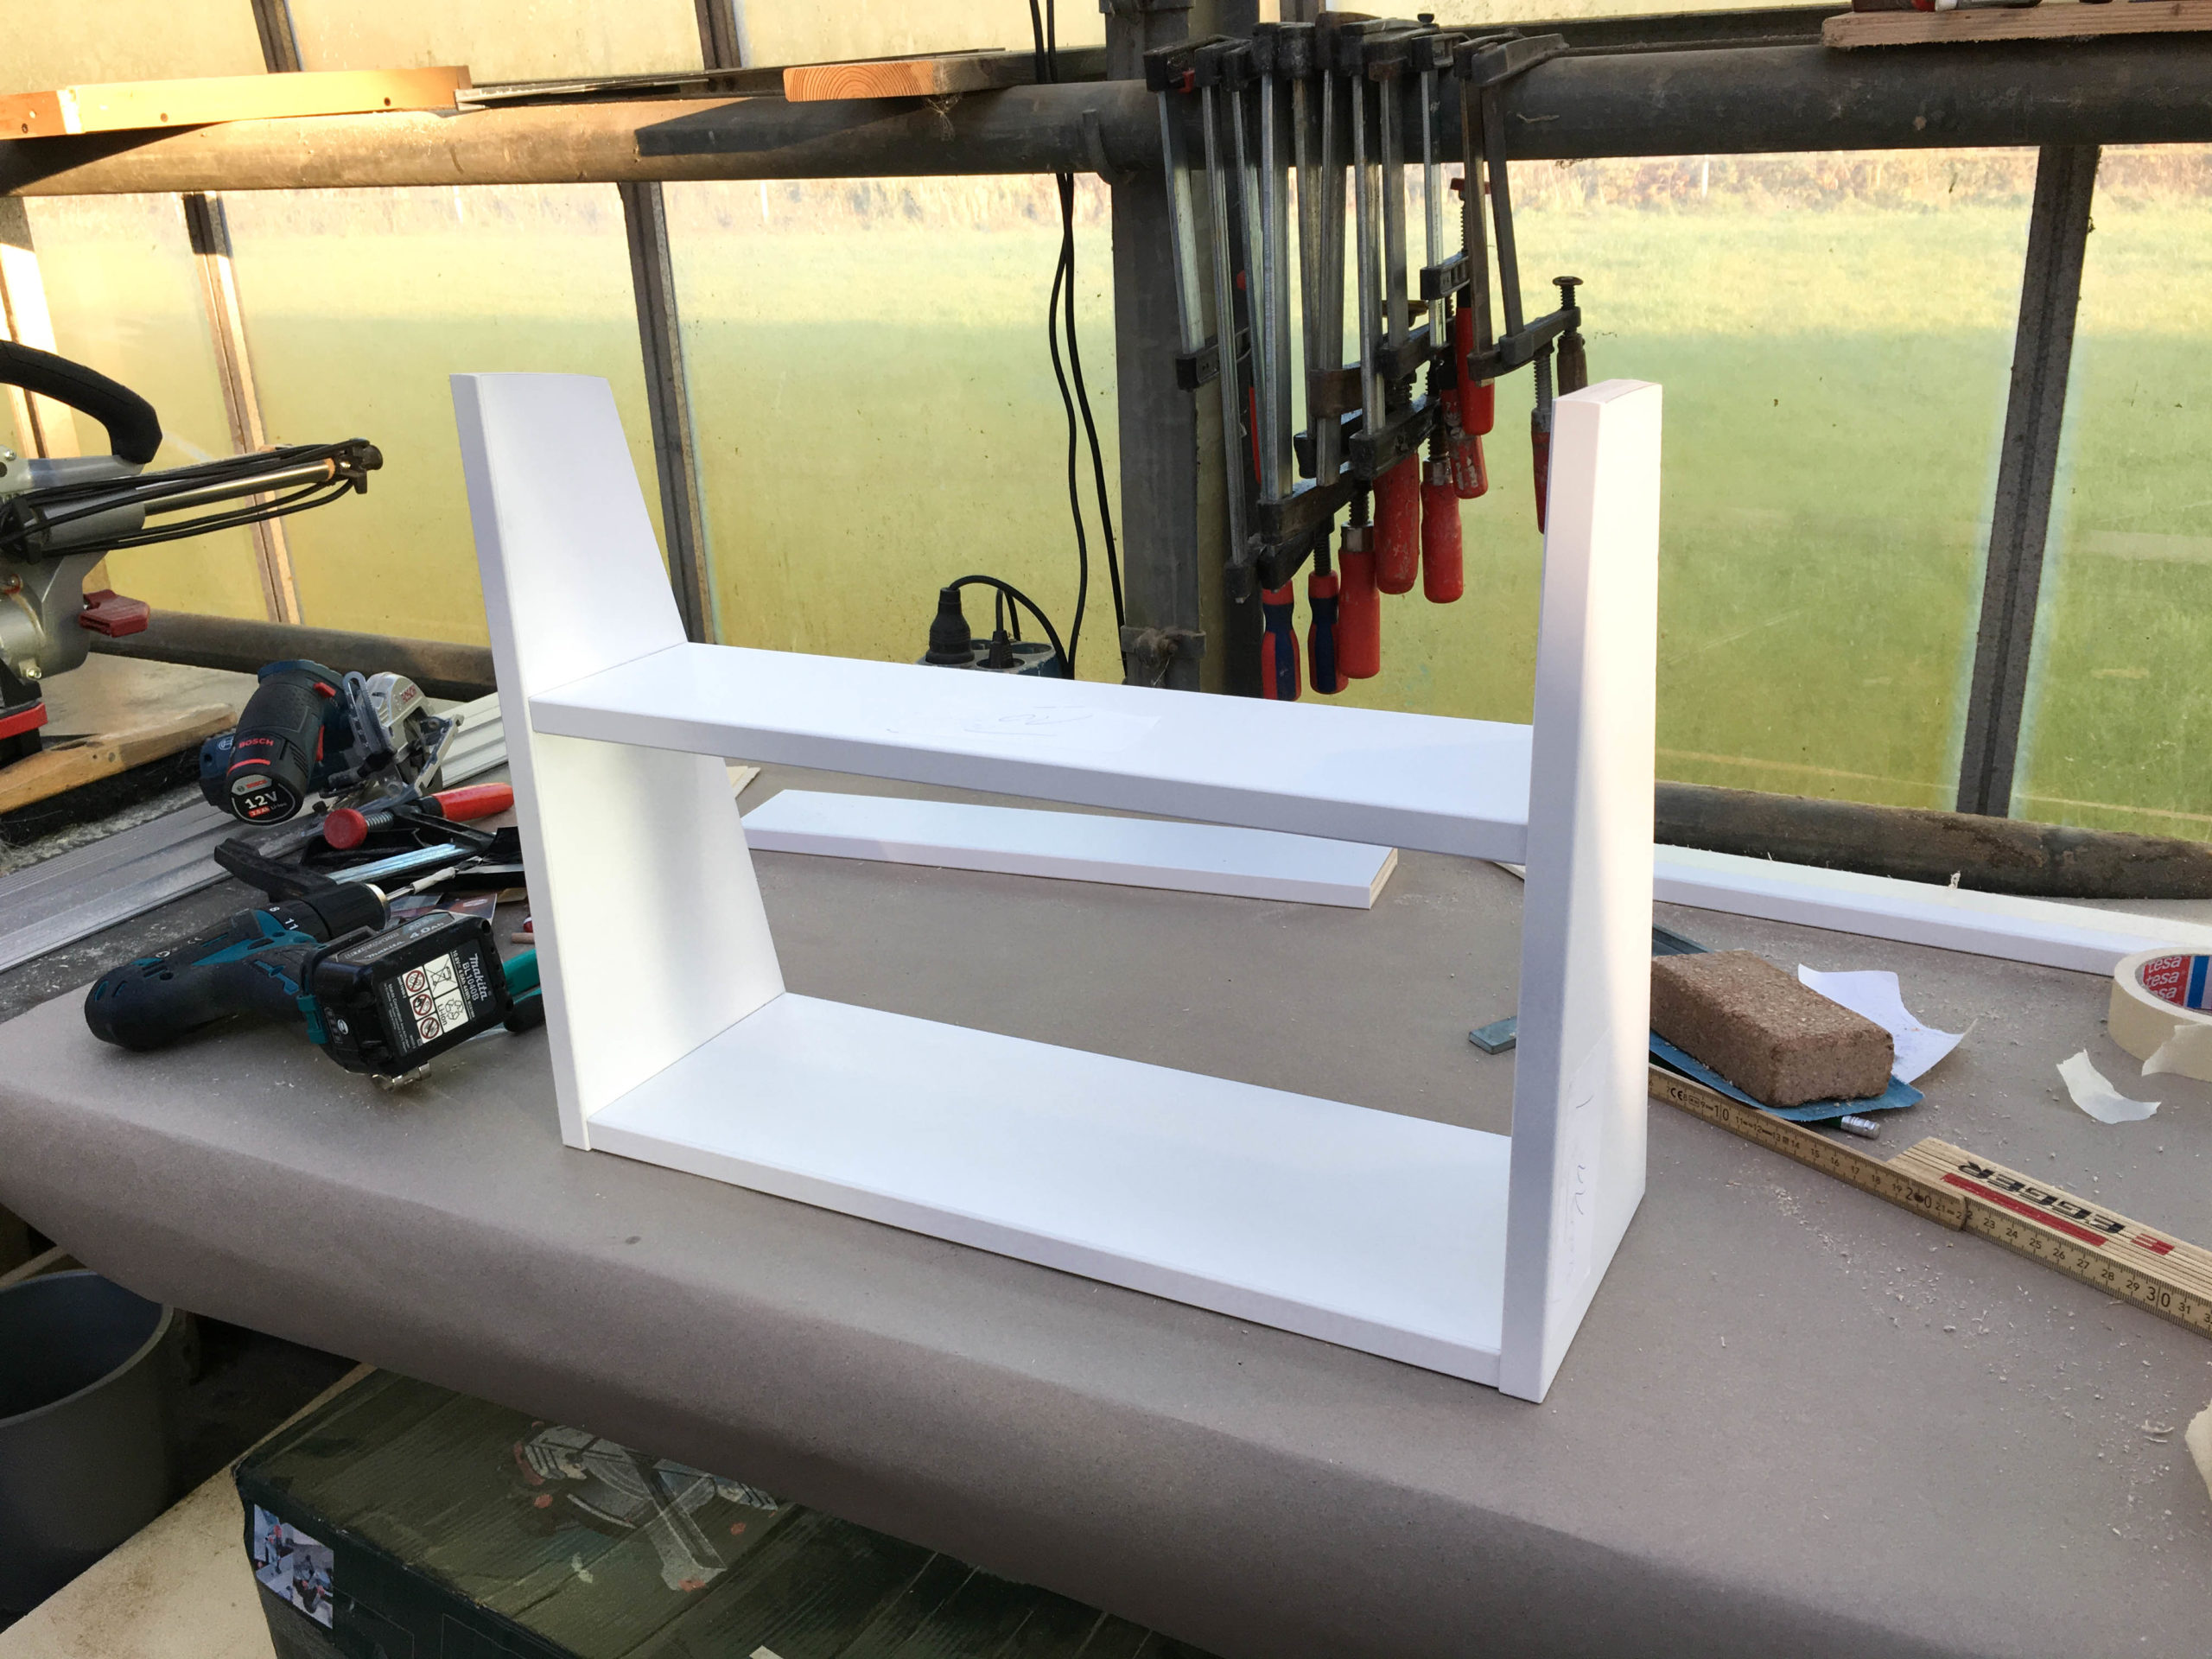
We stabilized the cabinet with clamps and left it to dry.
For a proper installation to the wall we added rivet nuts to the bars behind the wall panels. We then mounted the cabinet with angles in the rivet nuts to hold in the vehicle with 90° hinges.
Bonus: The gap between the ceiling panel and the wall panel is almost completely covered by the top cabinet 😉
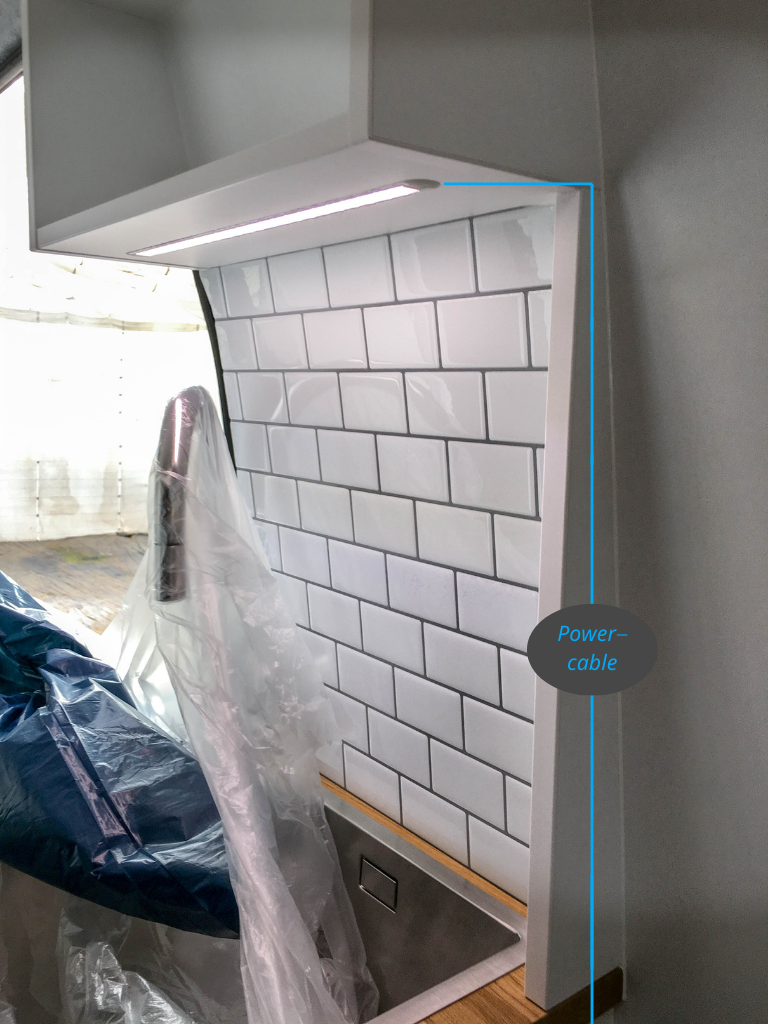
For the light in the kitchen we chose a cool light color with 5000K. The cable runs inside of the closing part on the side.
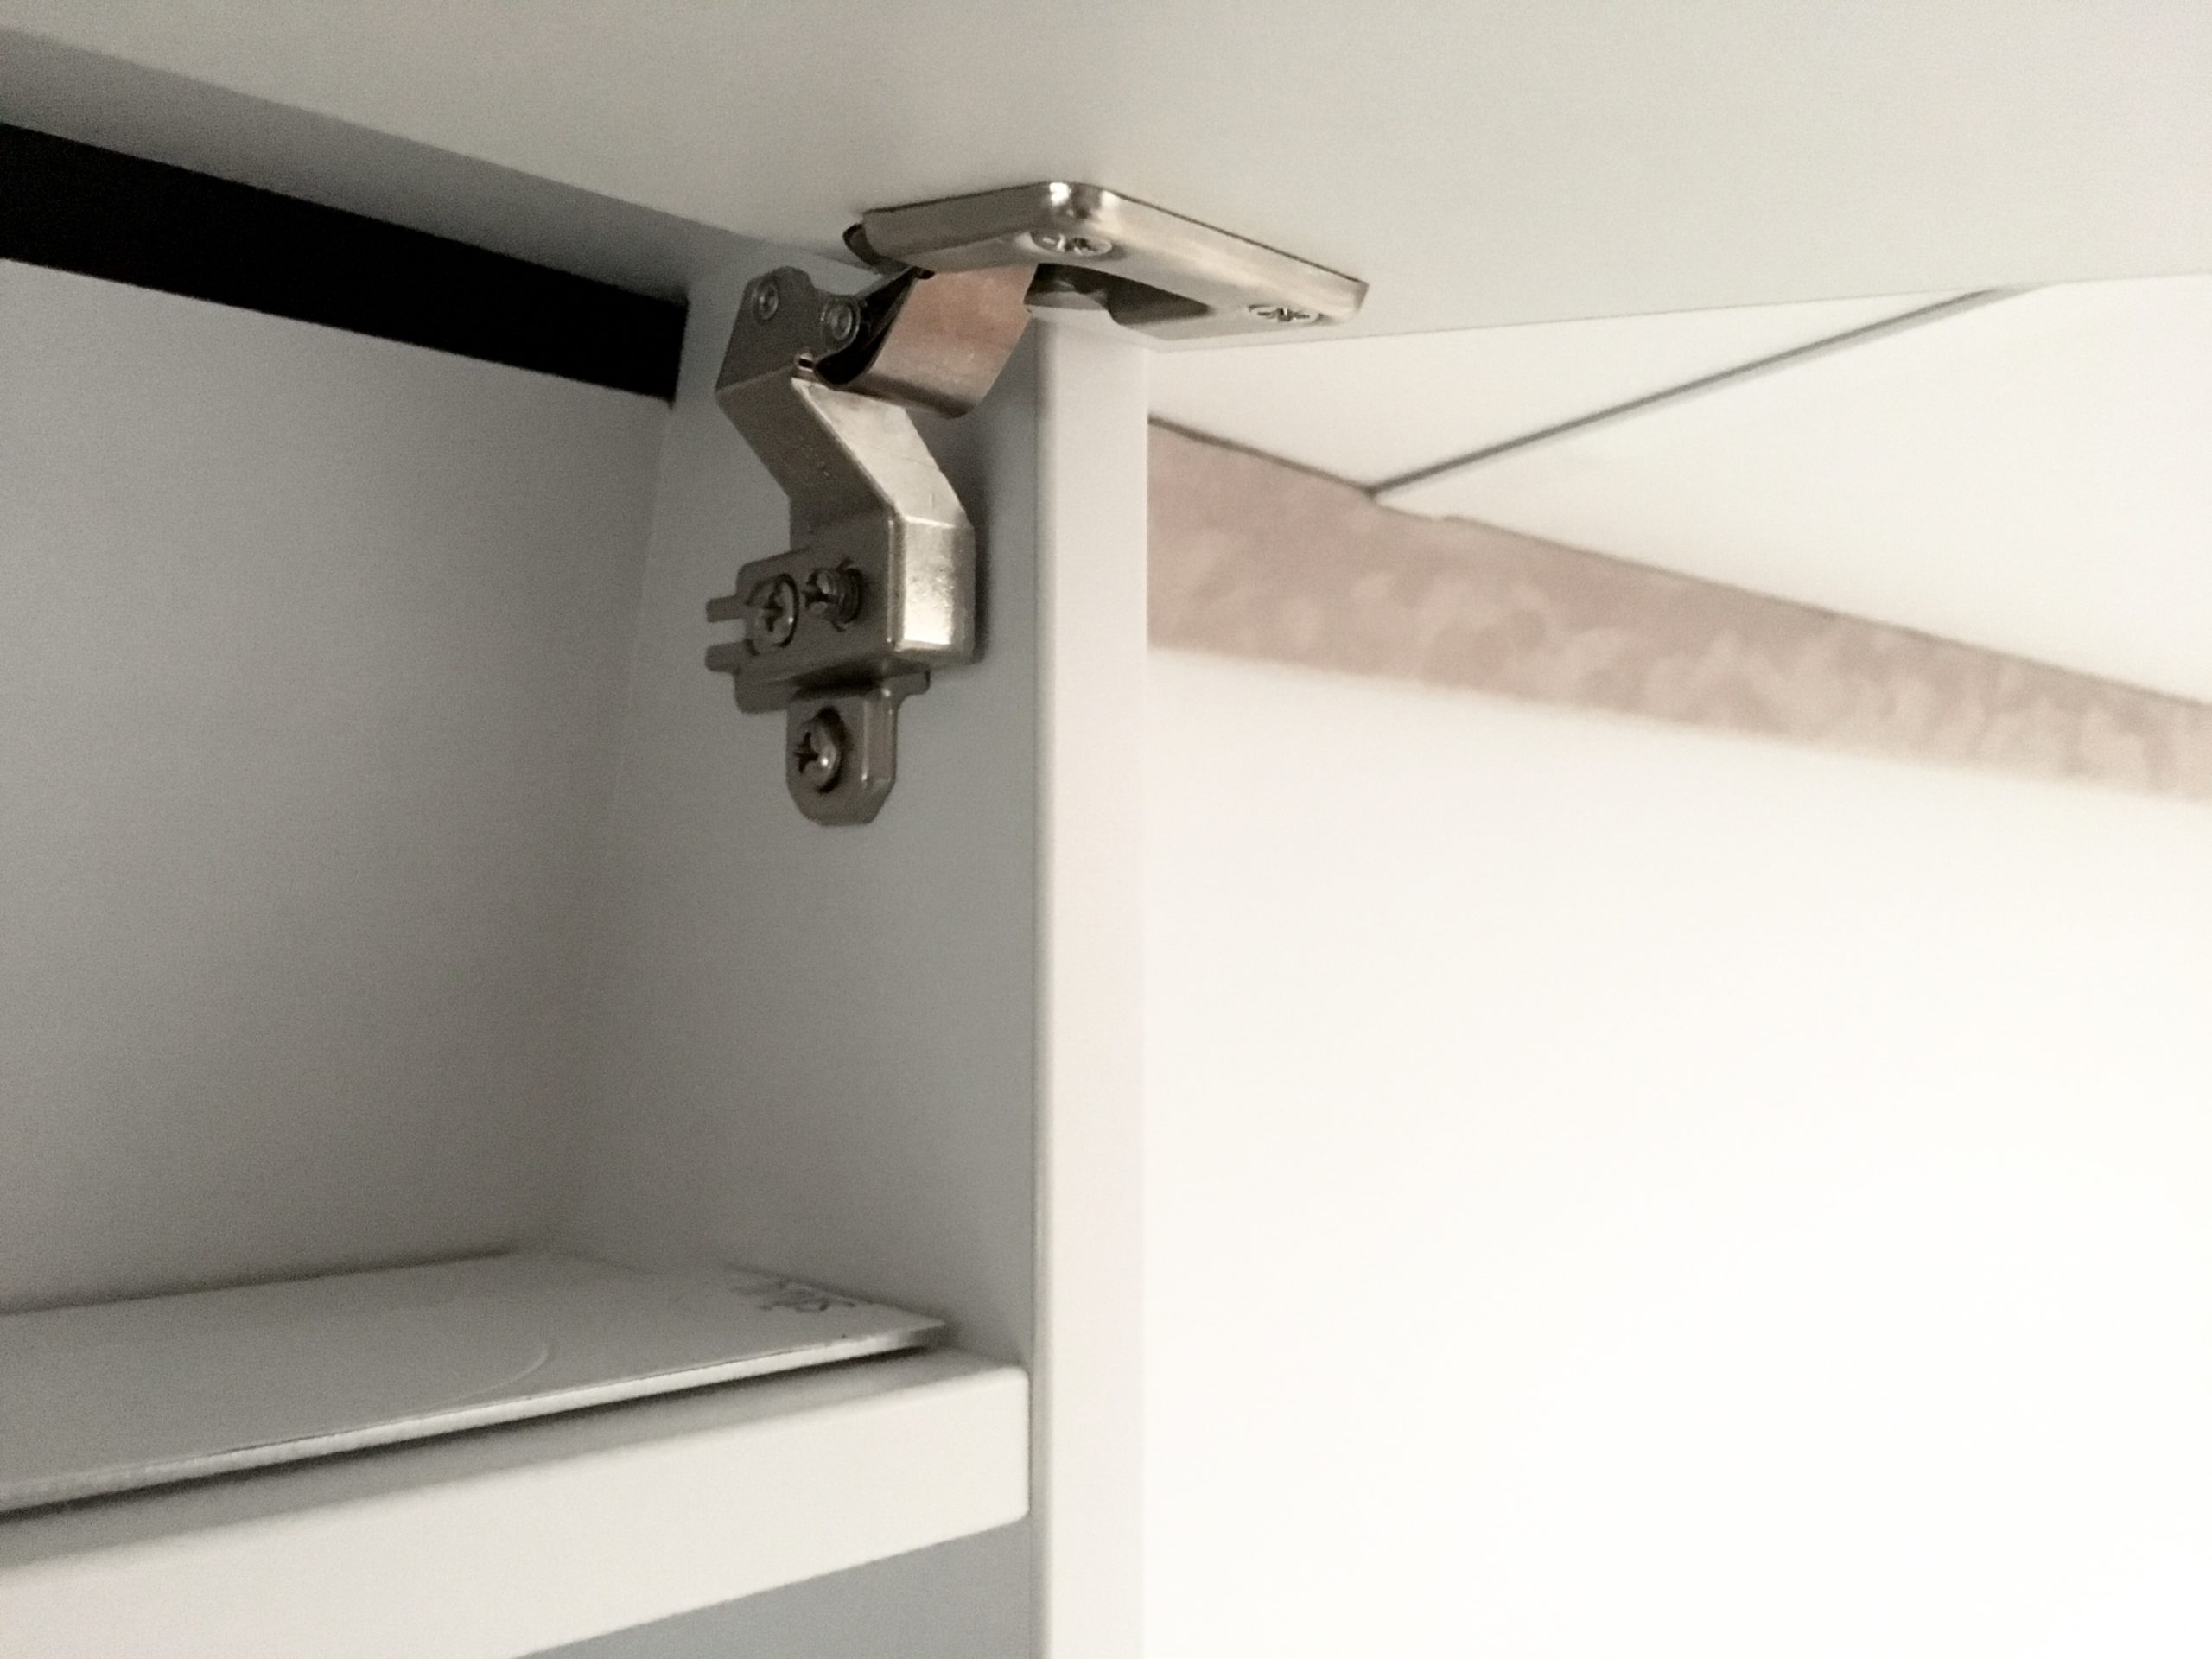
The flap of the cabinet can be opened to the top, even though the hinges are mounted to the side. Magnets keep the flap in place while driving so it won’t open.
To finish everything off we sealed the edges with Sikaflex 252i 😉
Click here to read more about our DIY Camper Kitchen!