
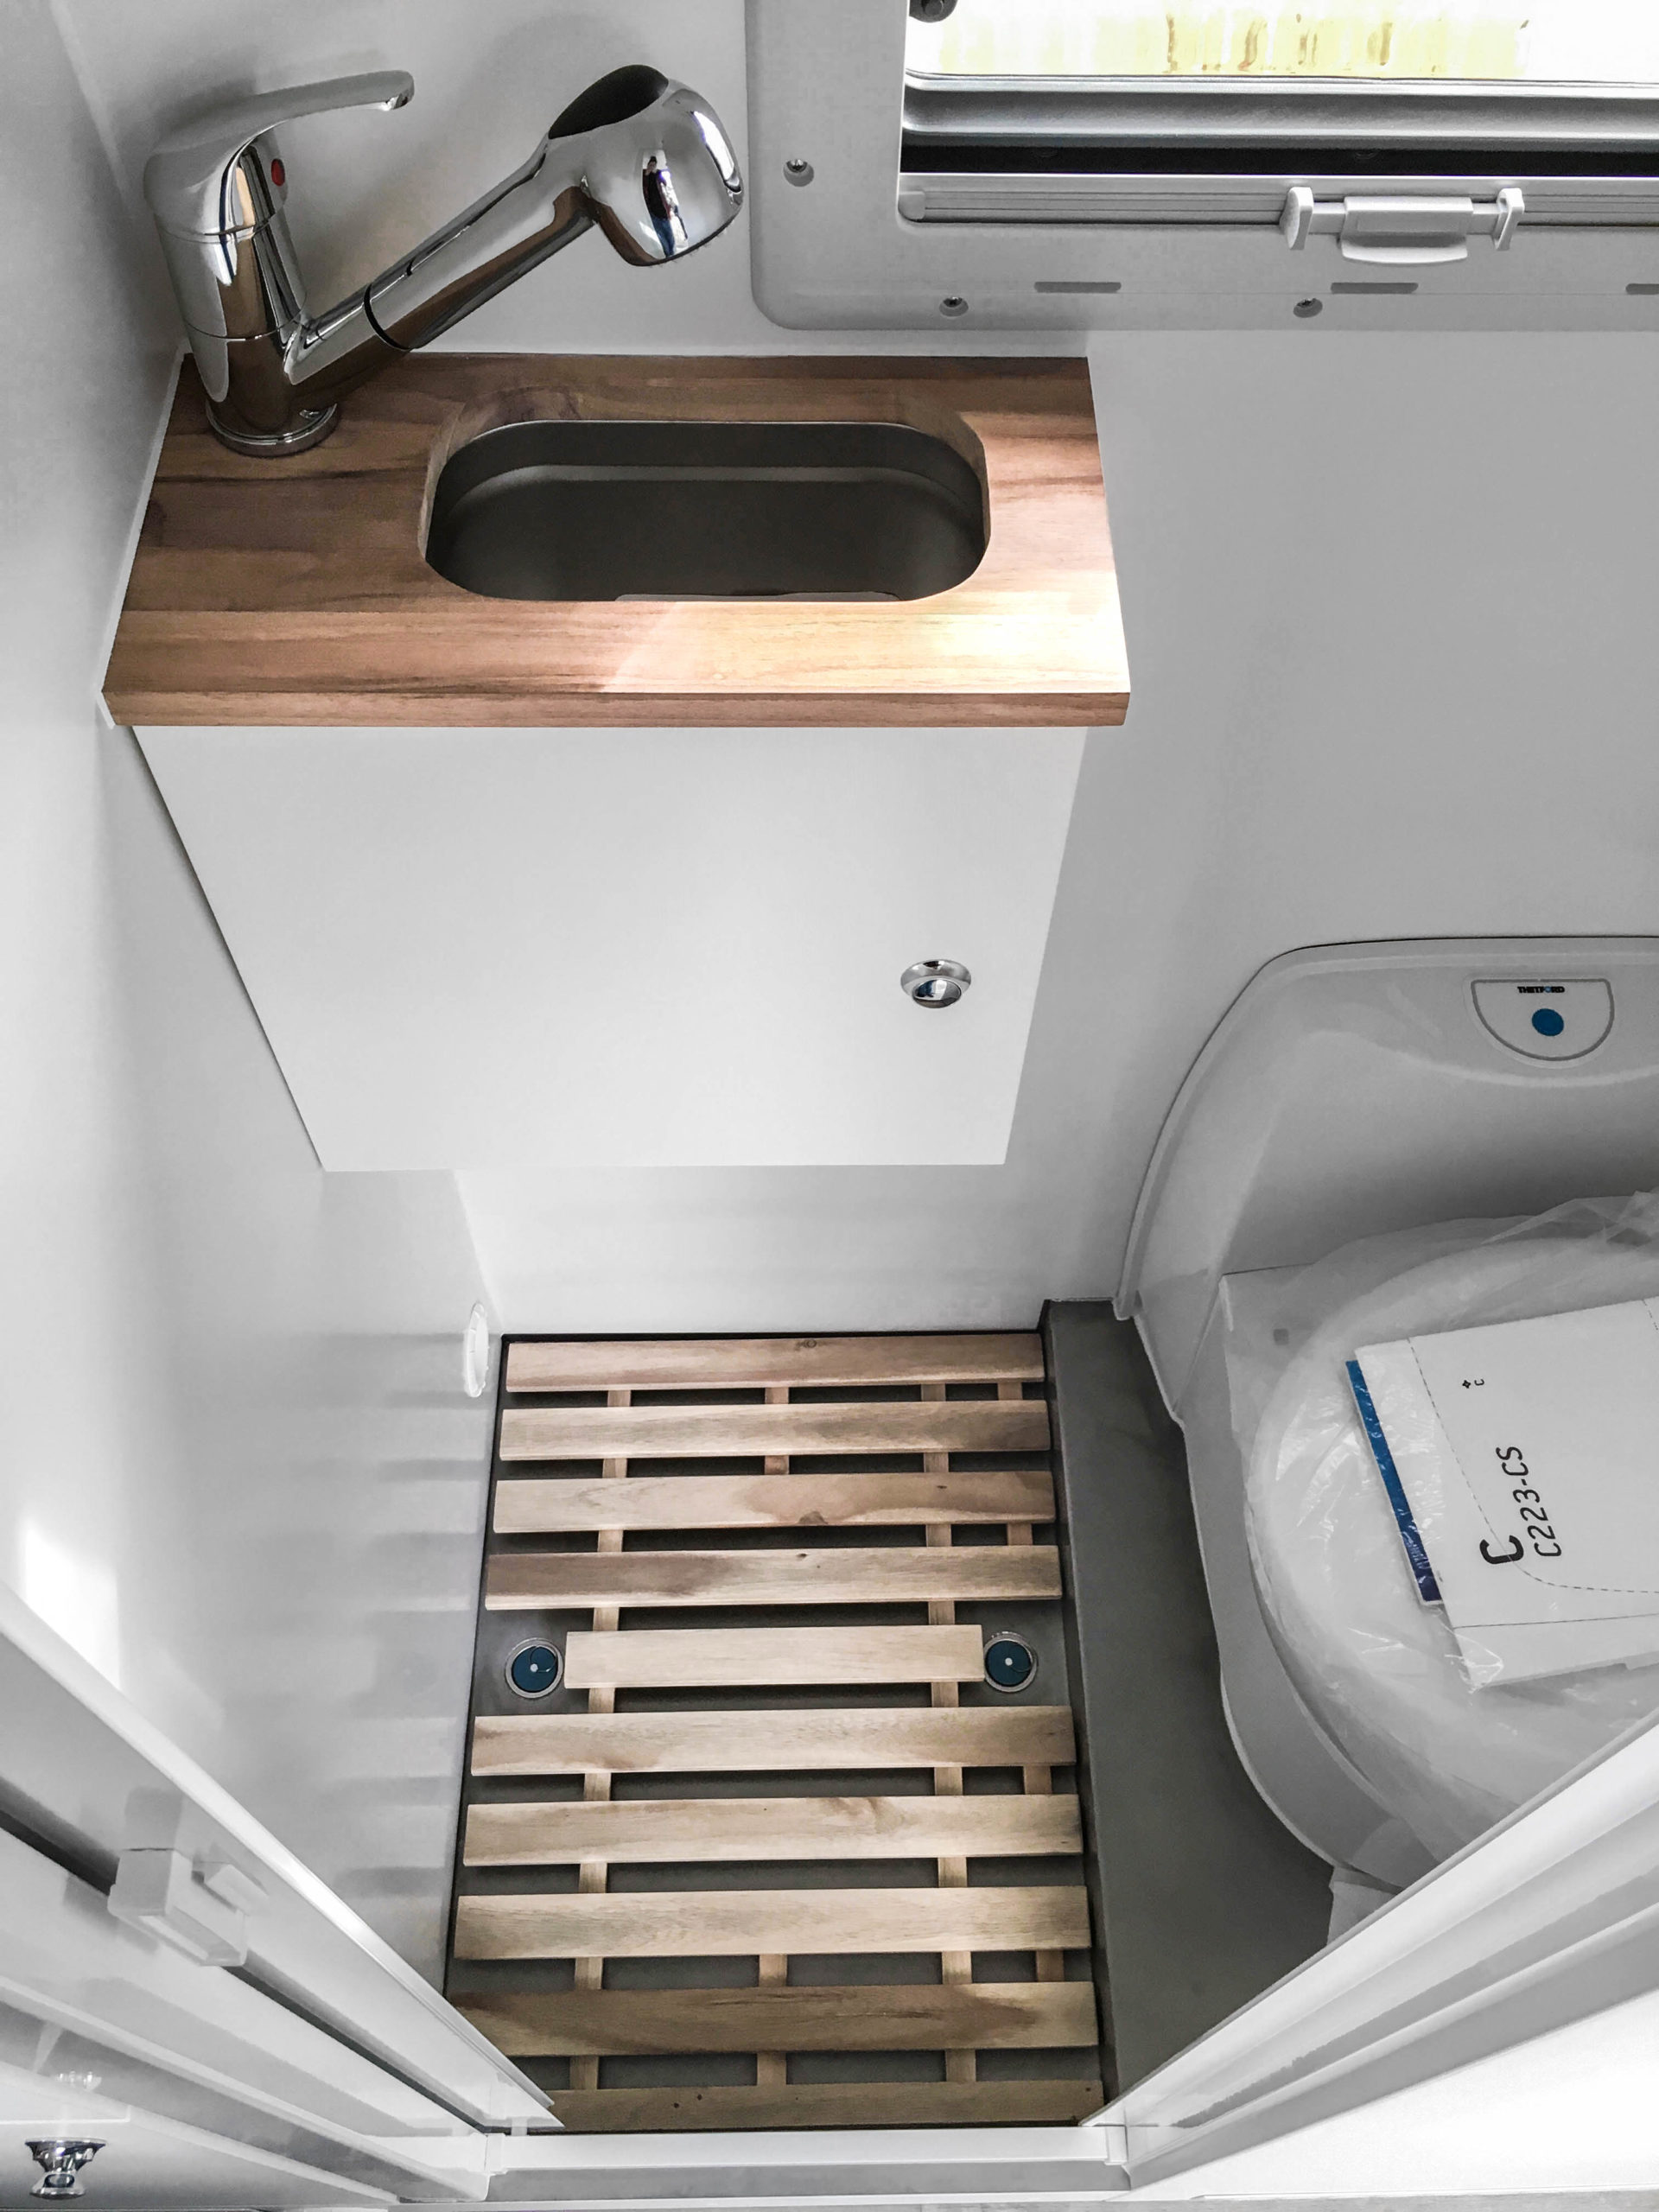
Our tiny house on wheels also has a washbasin and a shower in its bathroom! The extendable shower is a faucet and shower head at the same time – for inside as well as outside!
We already introduced you to all elements of our bathroom in the Camper, now we want to give some detailed information about how we built the washbasin!
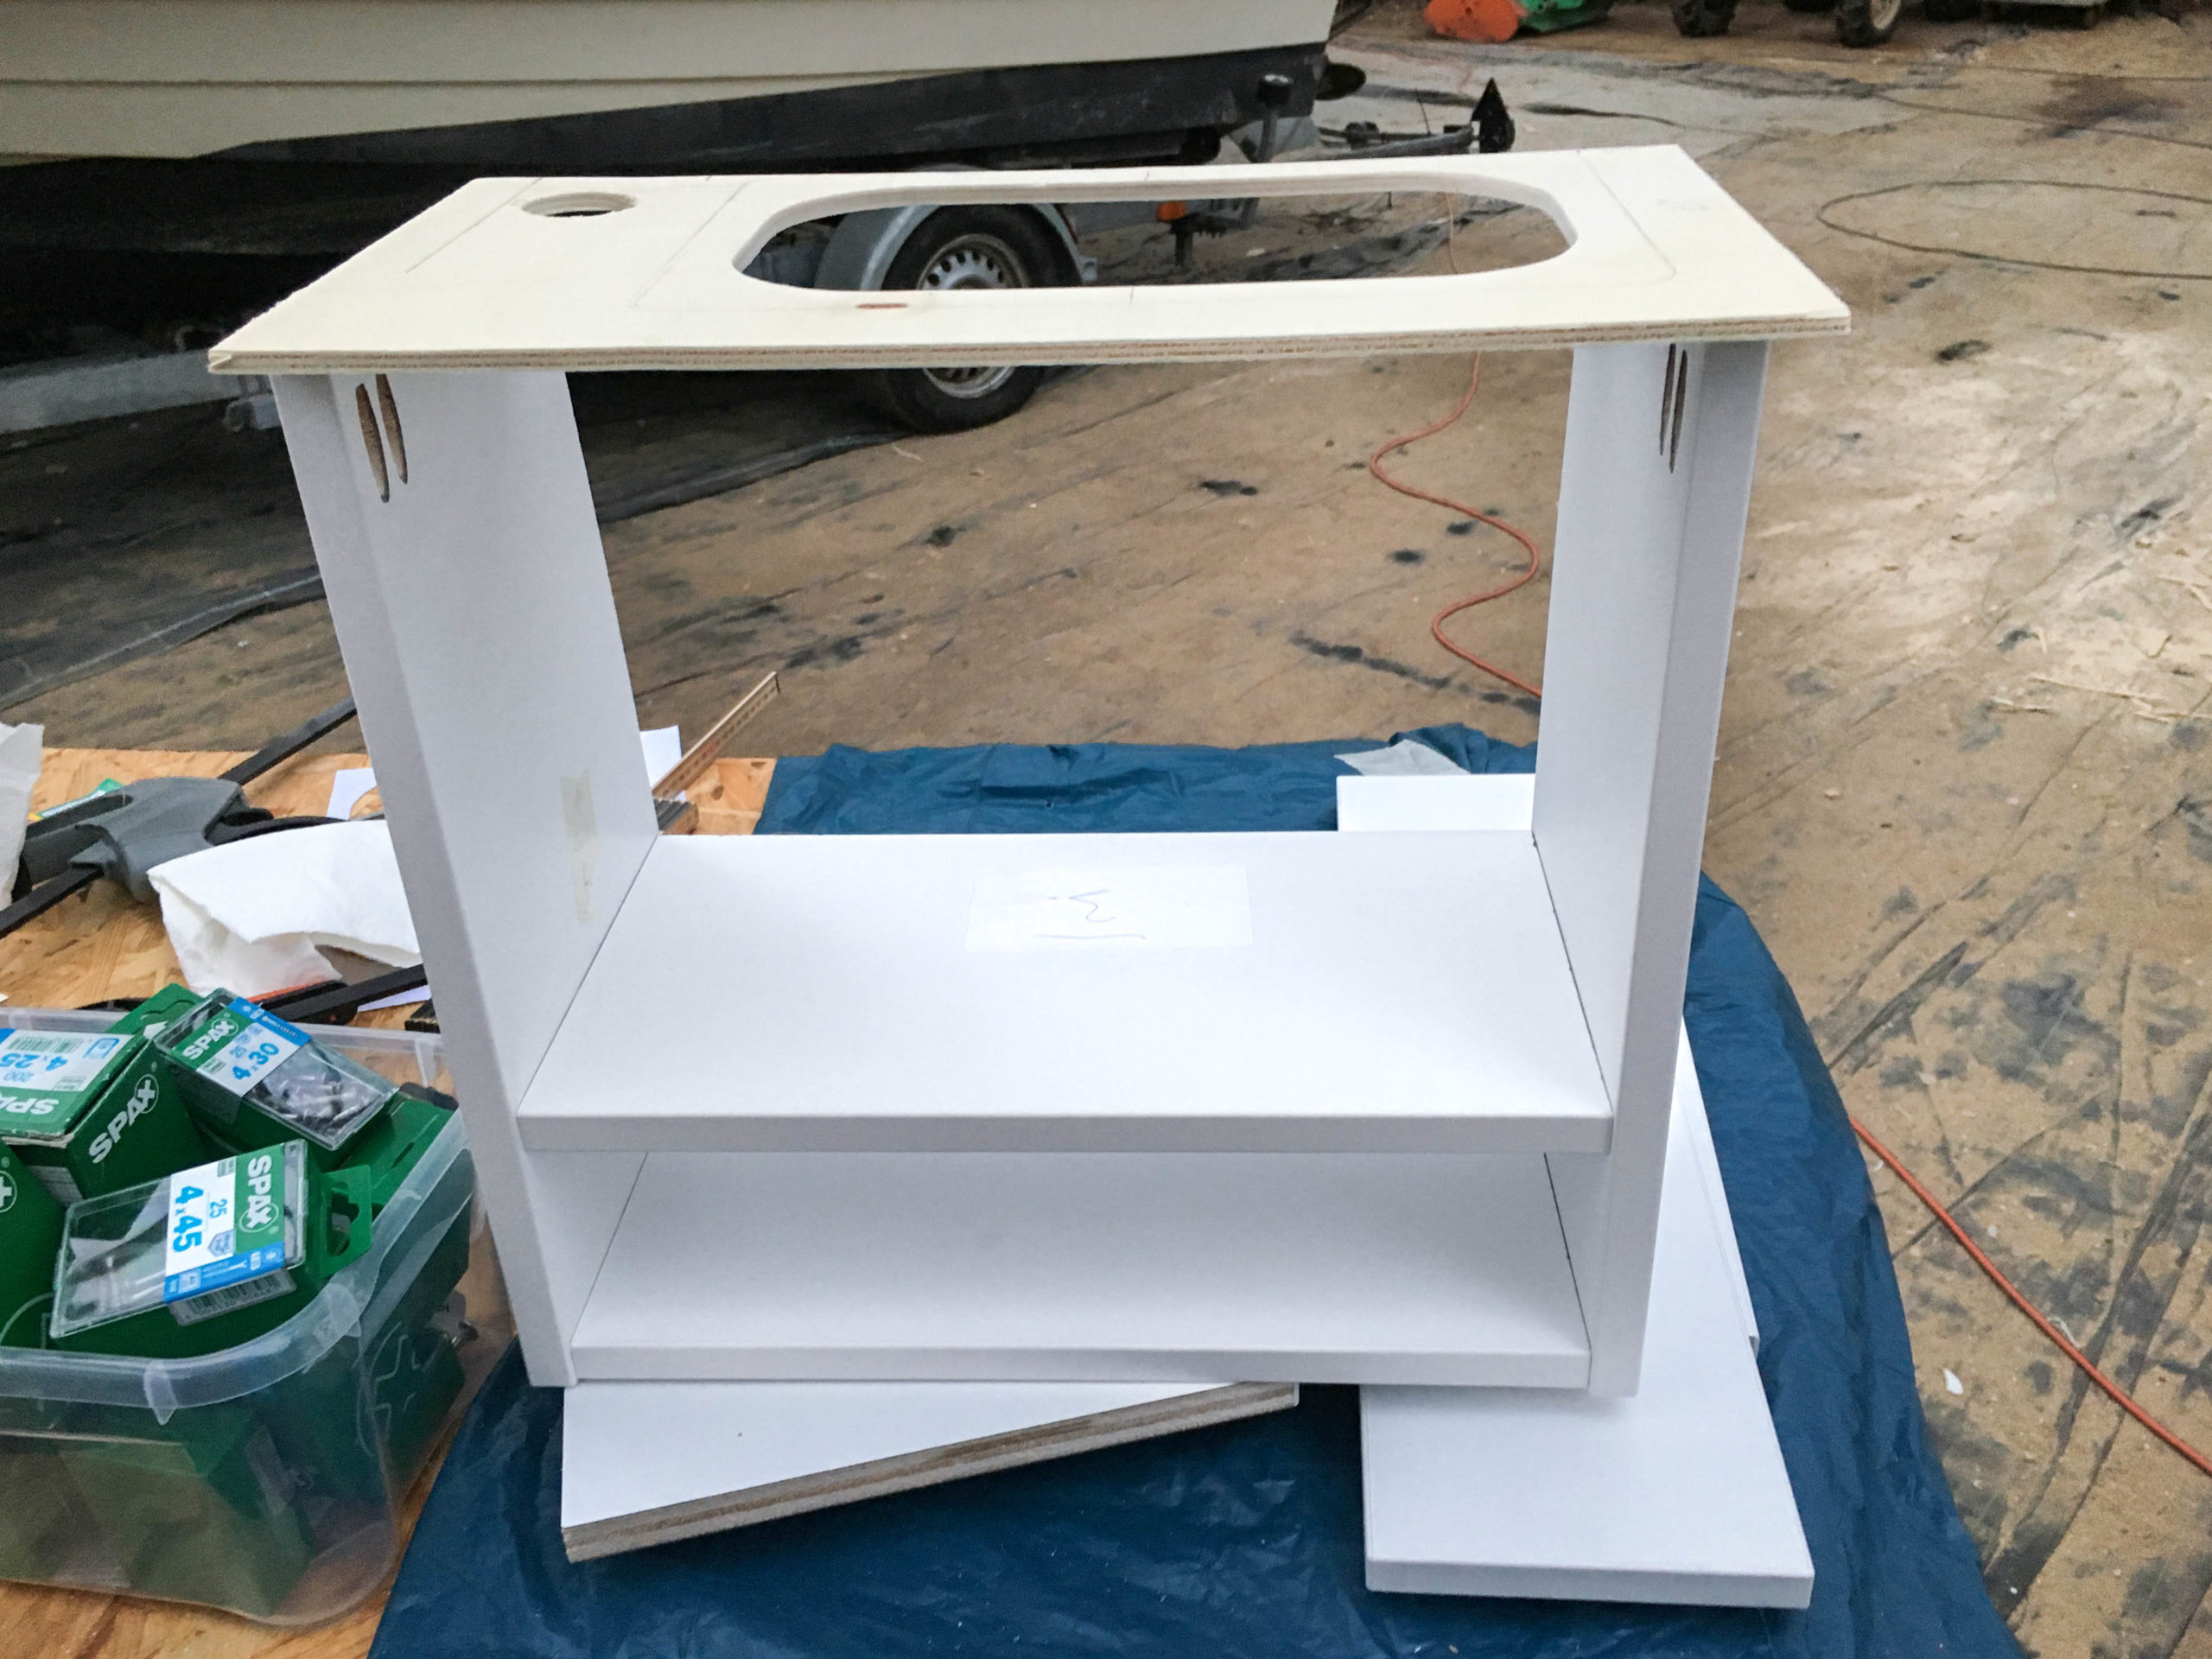
The body of the washbasin or the base cabinet is made of HPL coated Banova plywood. We fitted the side walls to the curvature of the bathroom or rather the vehicle wall using a transfer scribe.
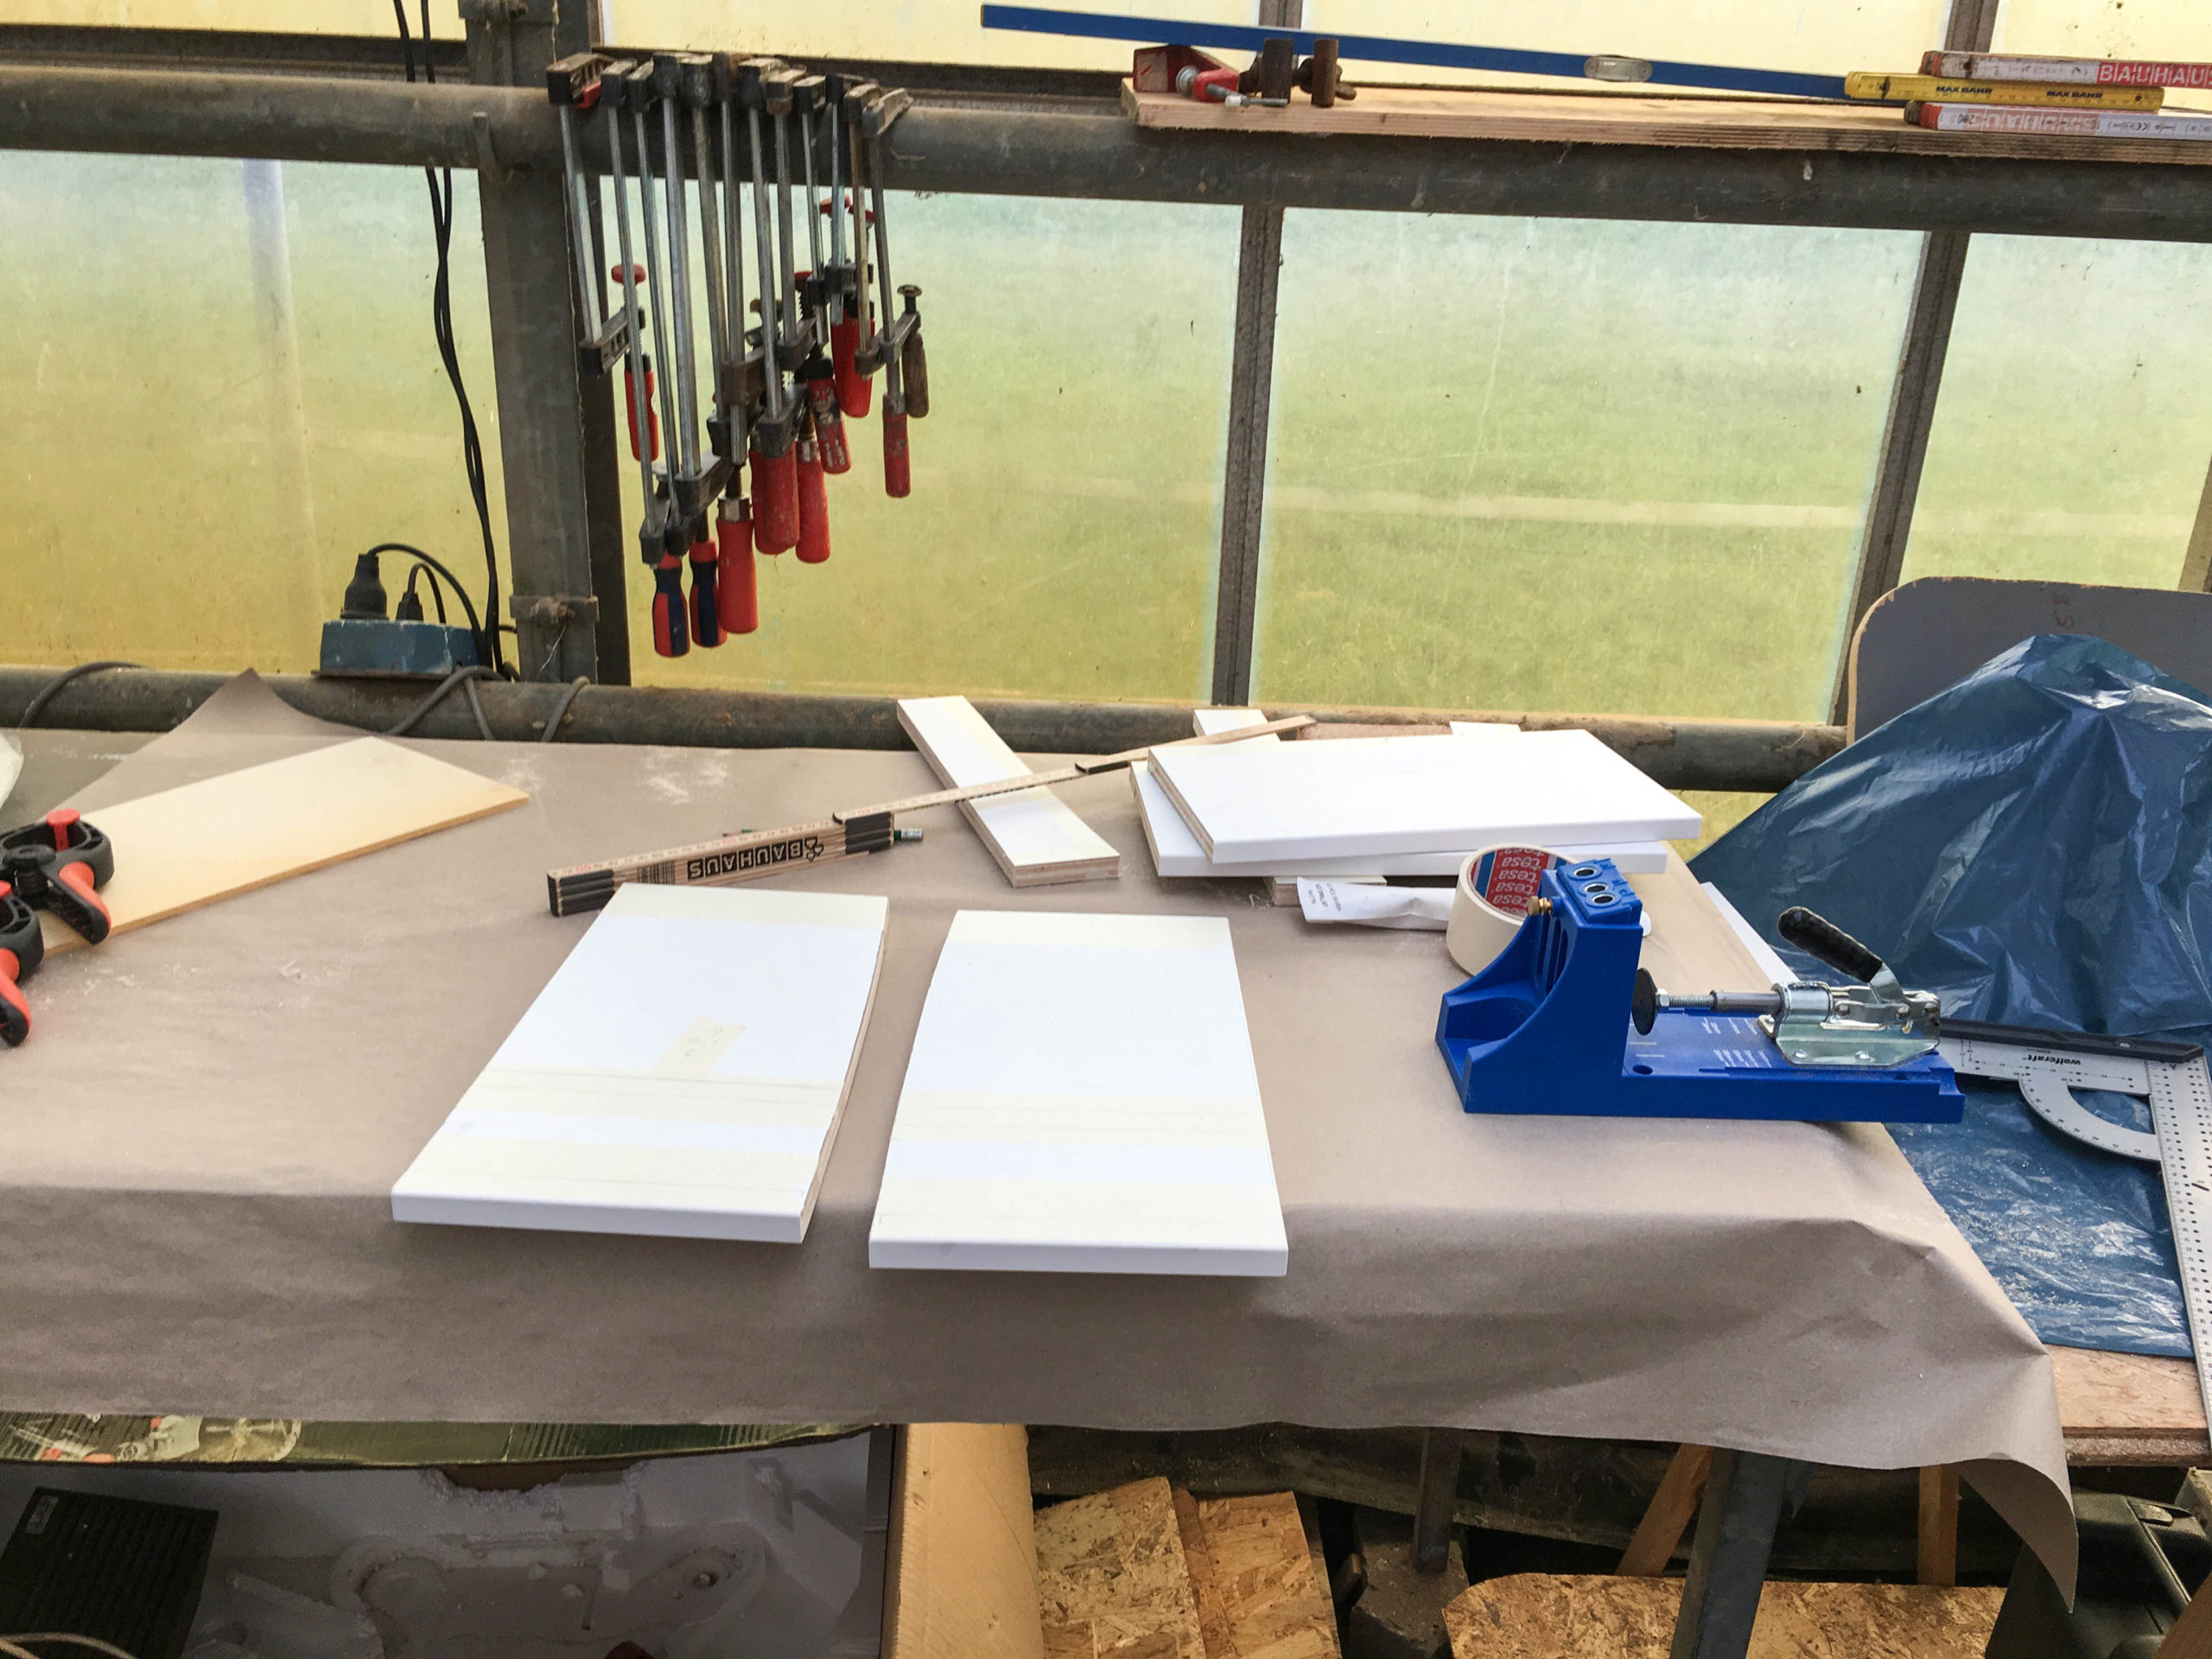
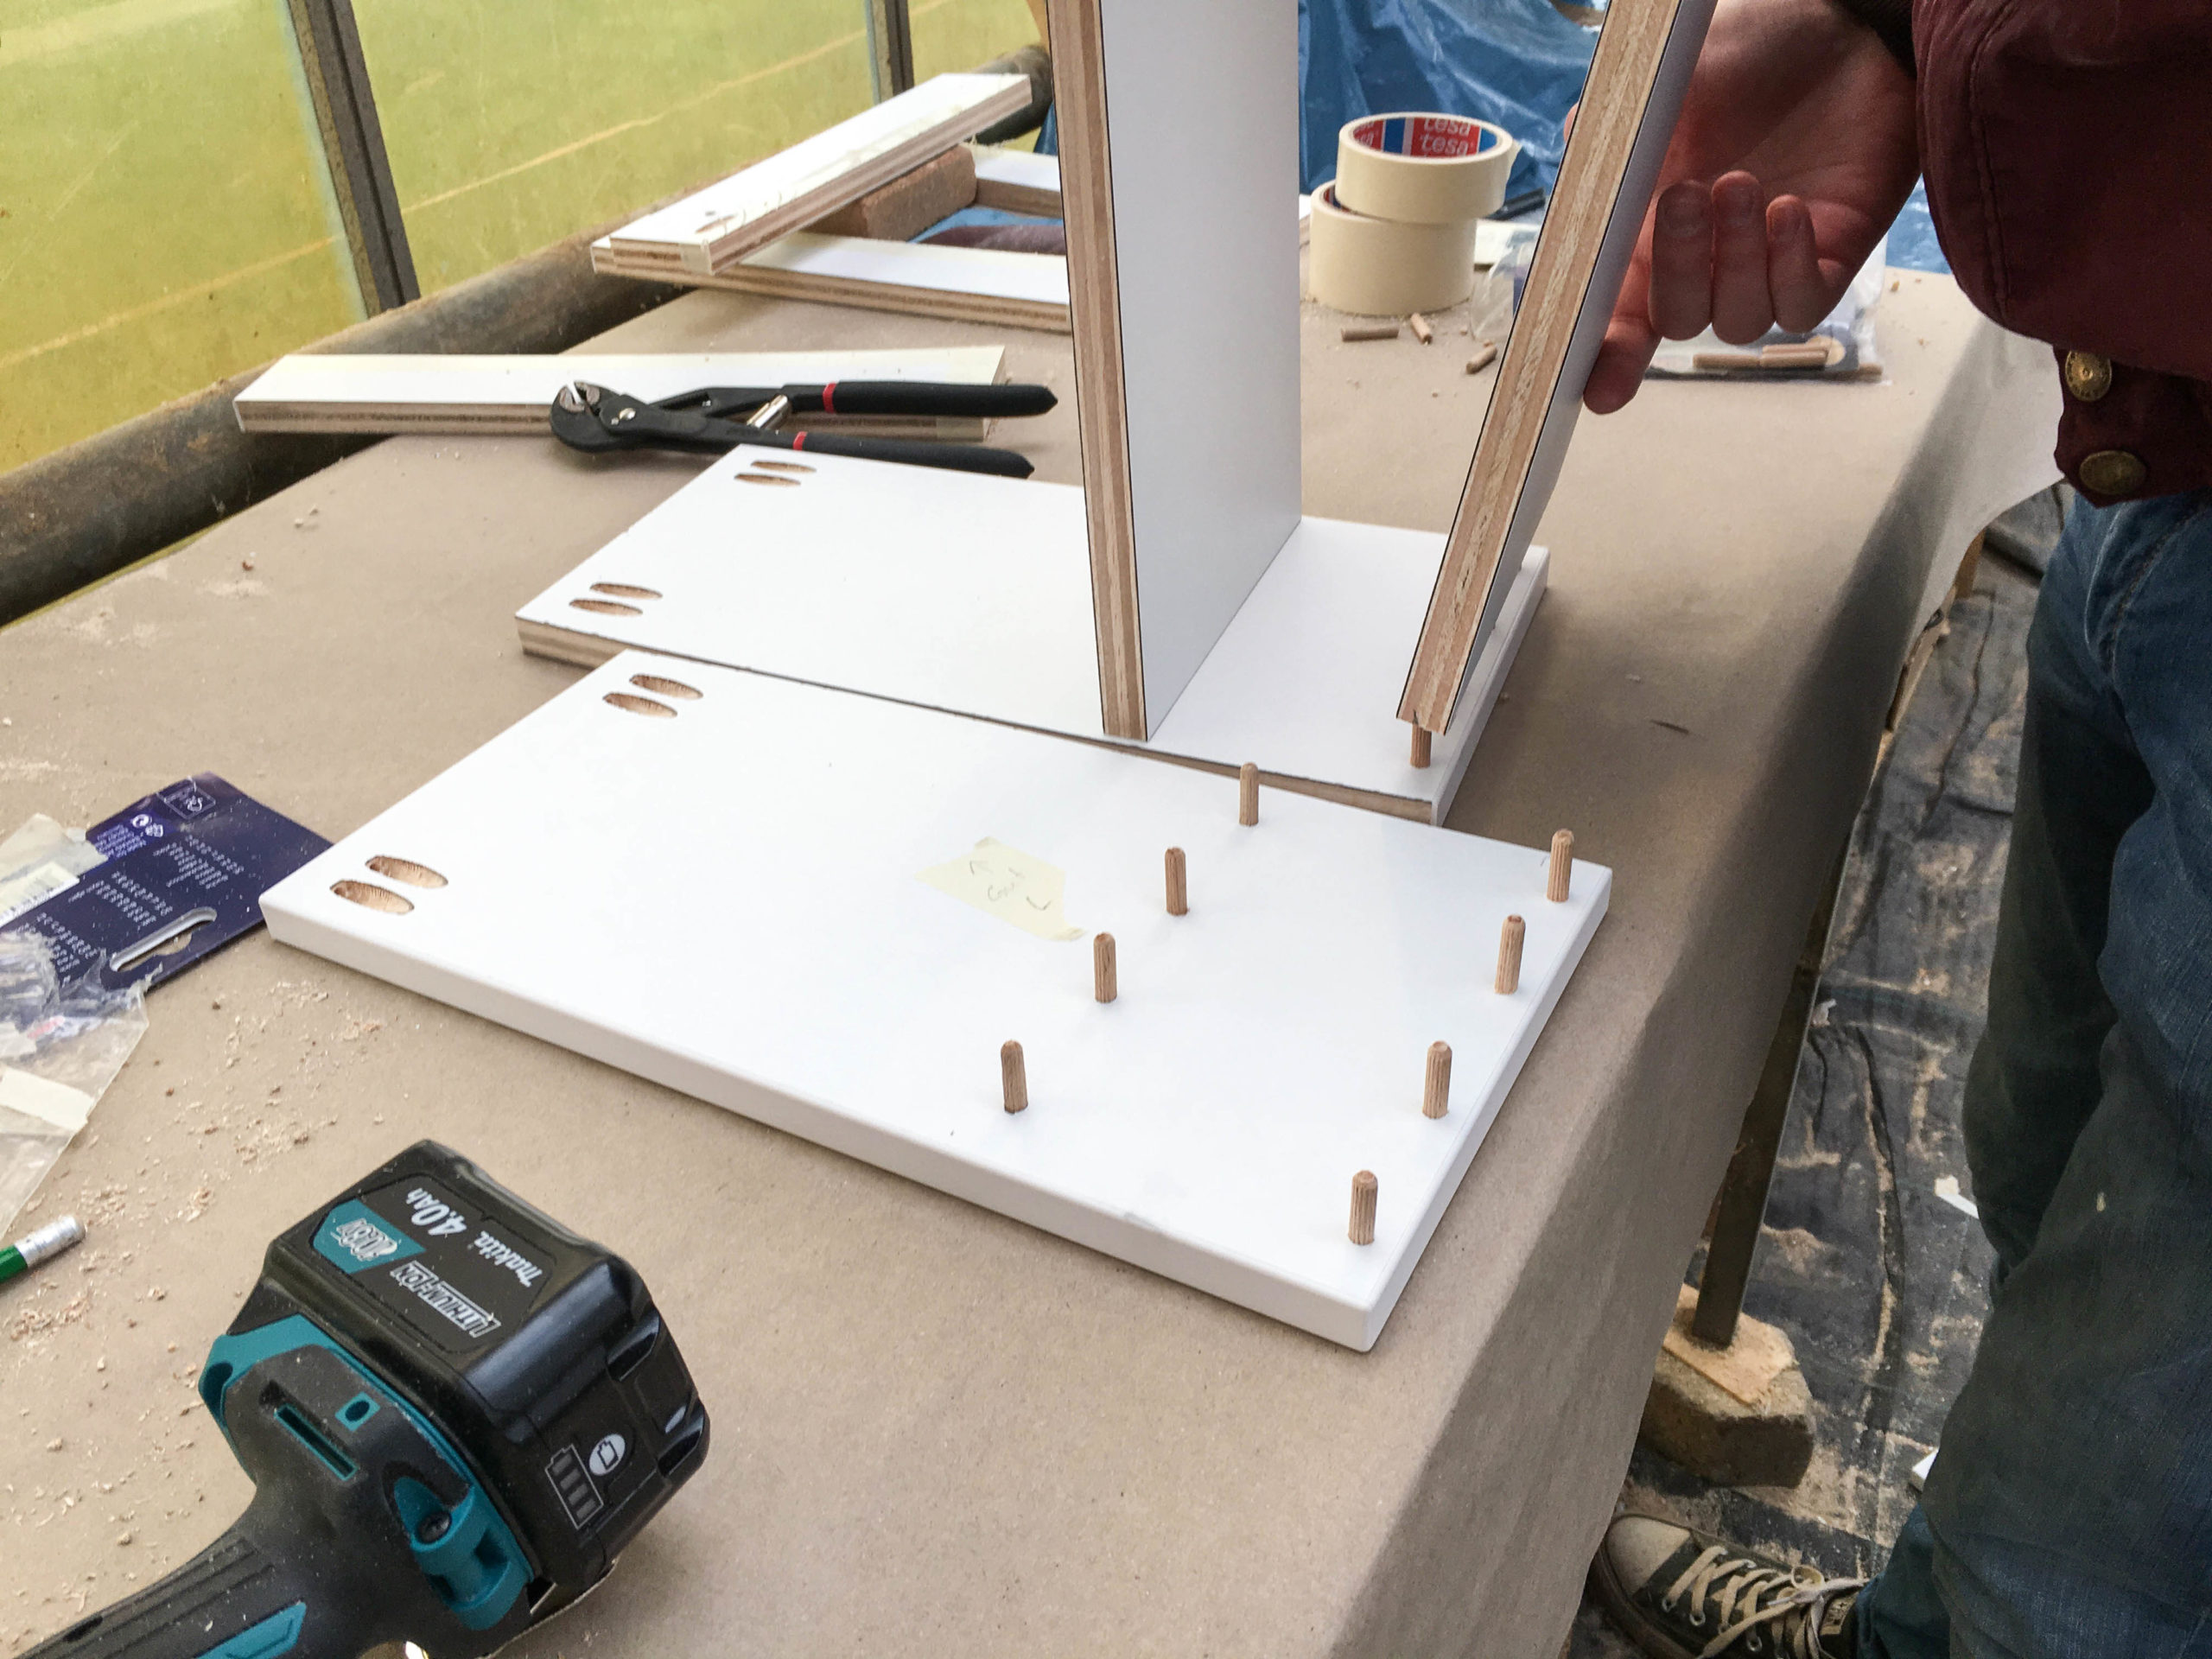
To later mount the top plate (made of teakwood, just like the shower grid) to the body we made pocket holes using the Kreg Jig.
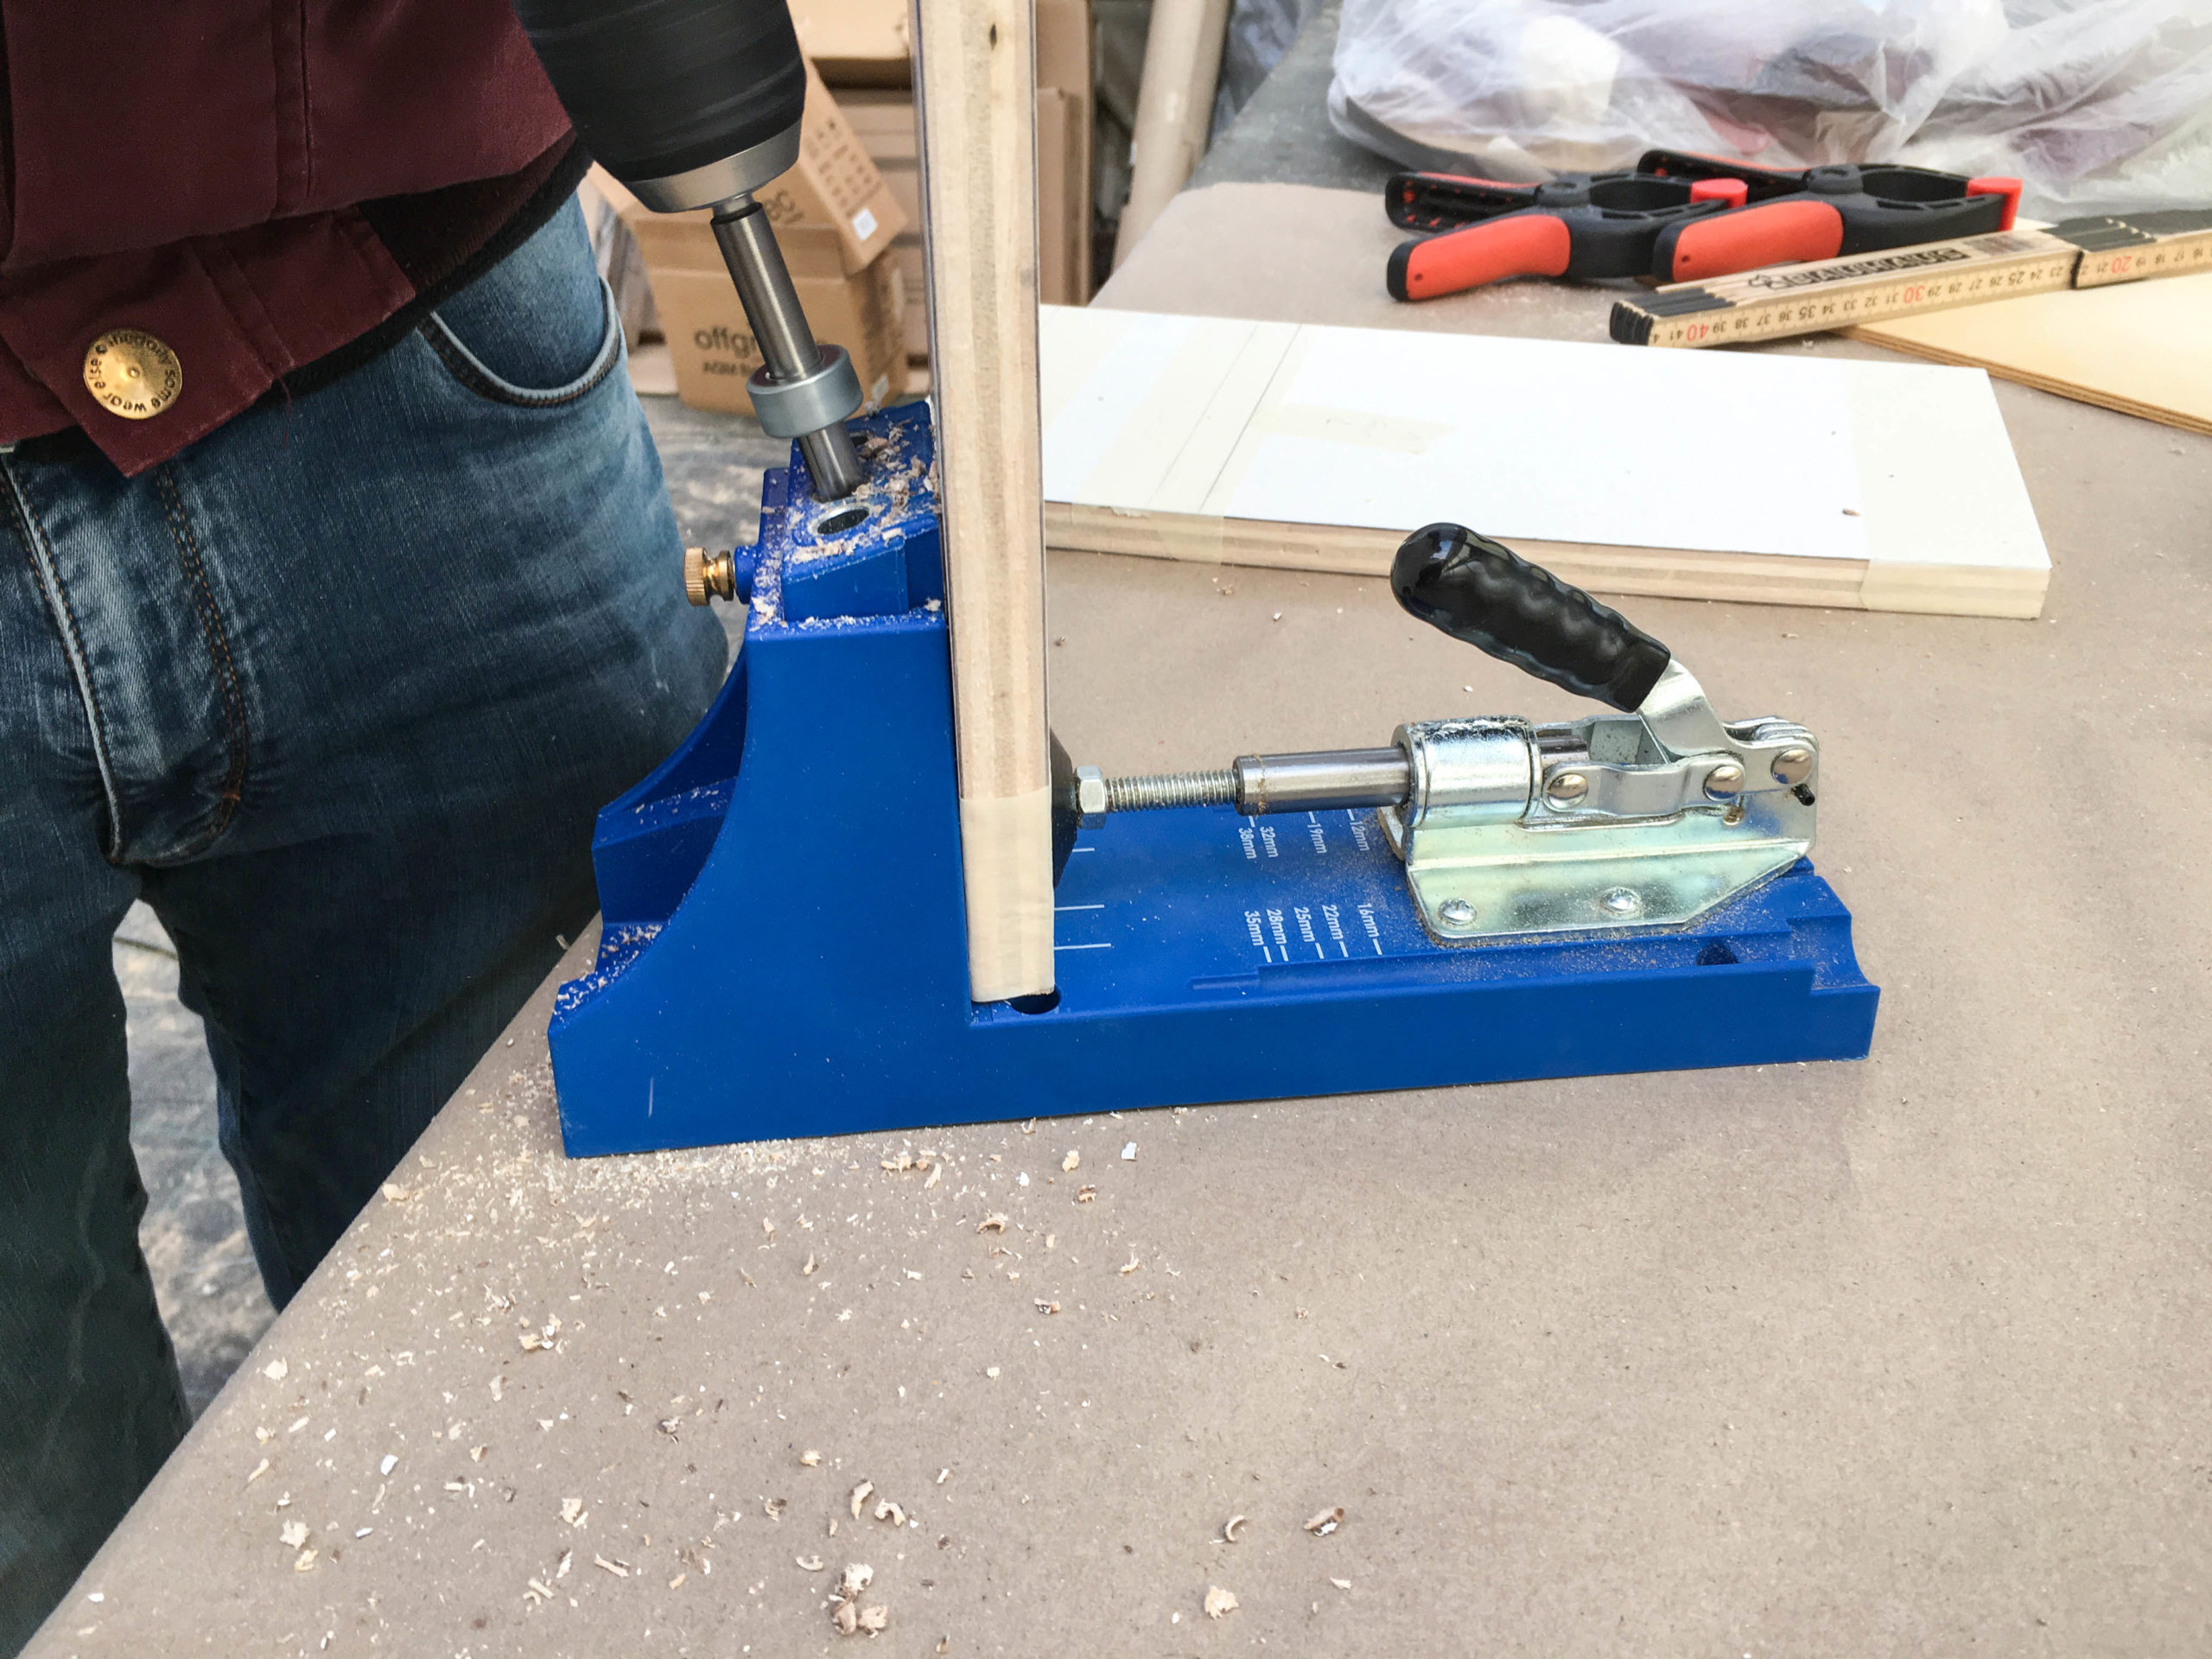
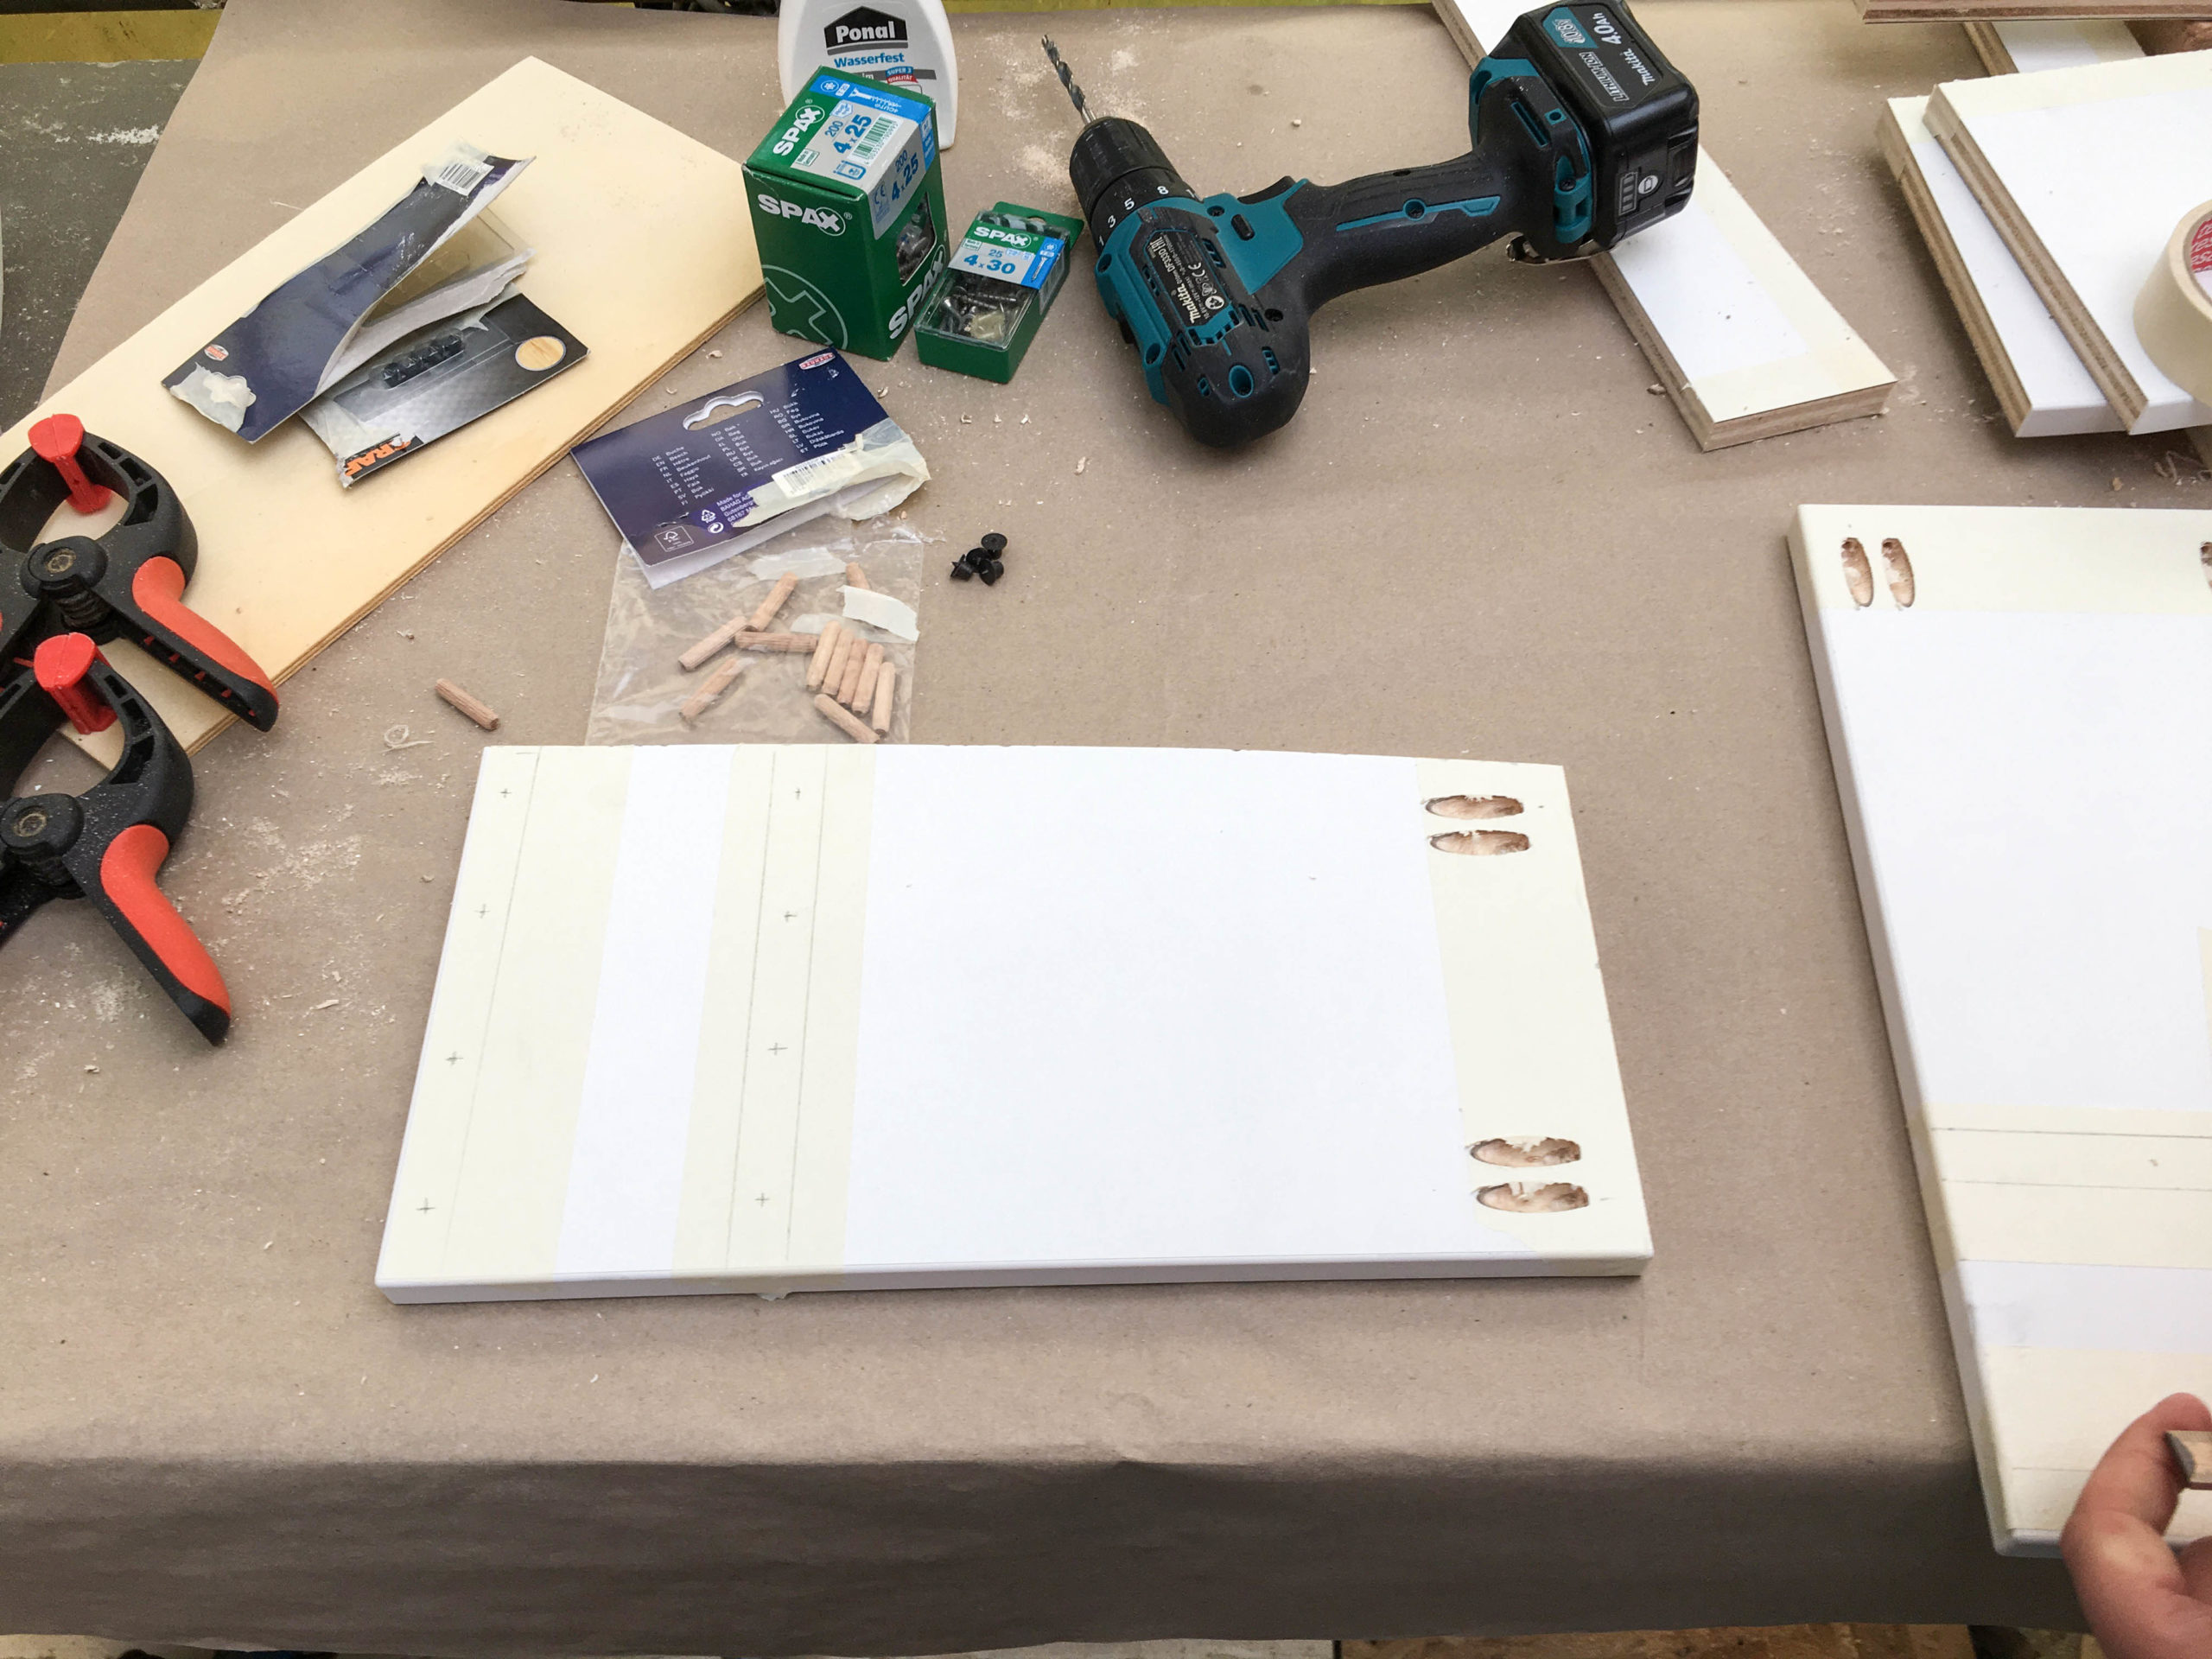
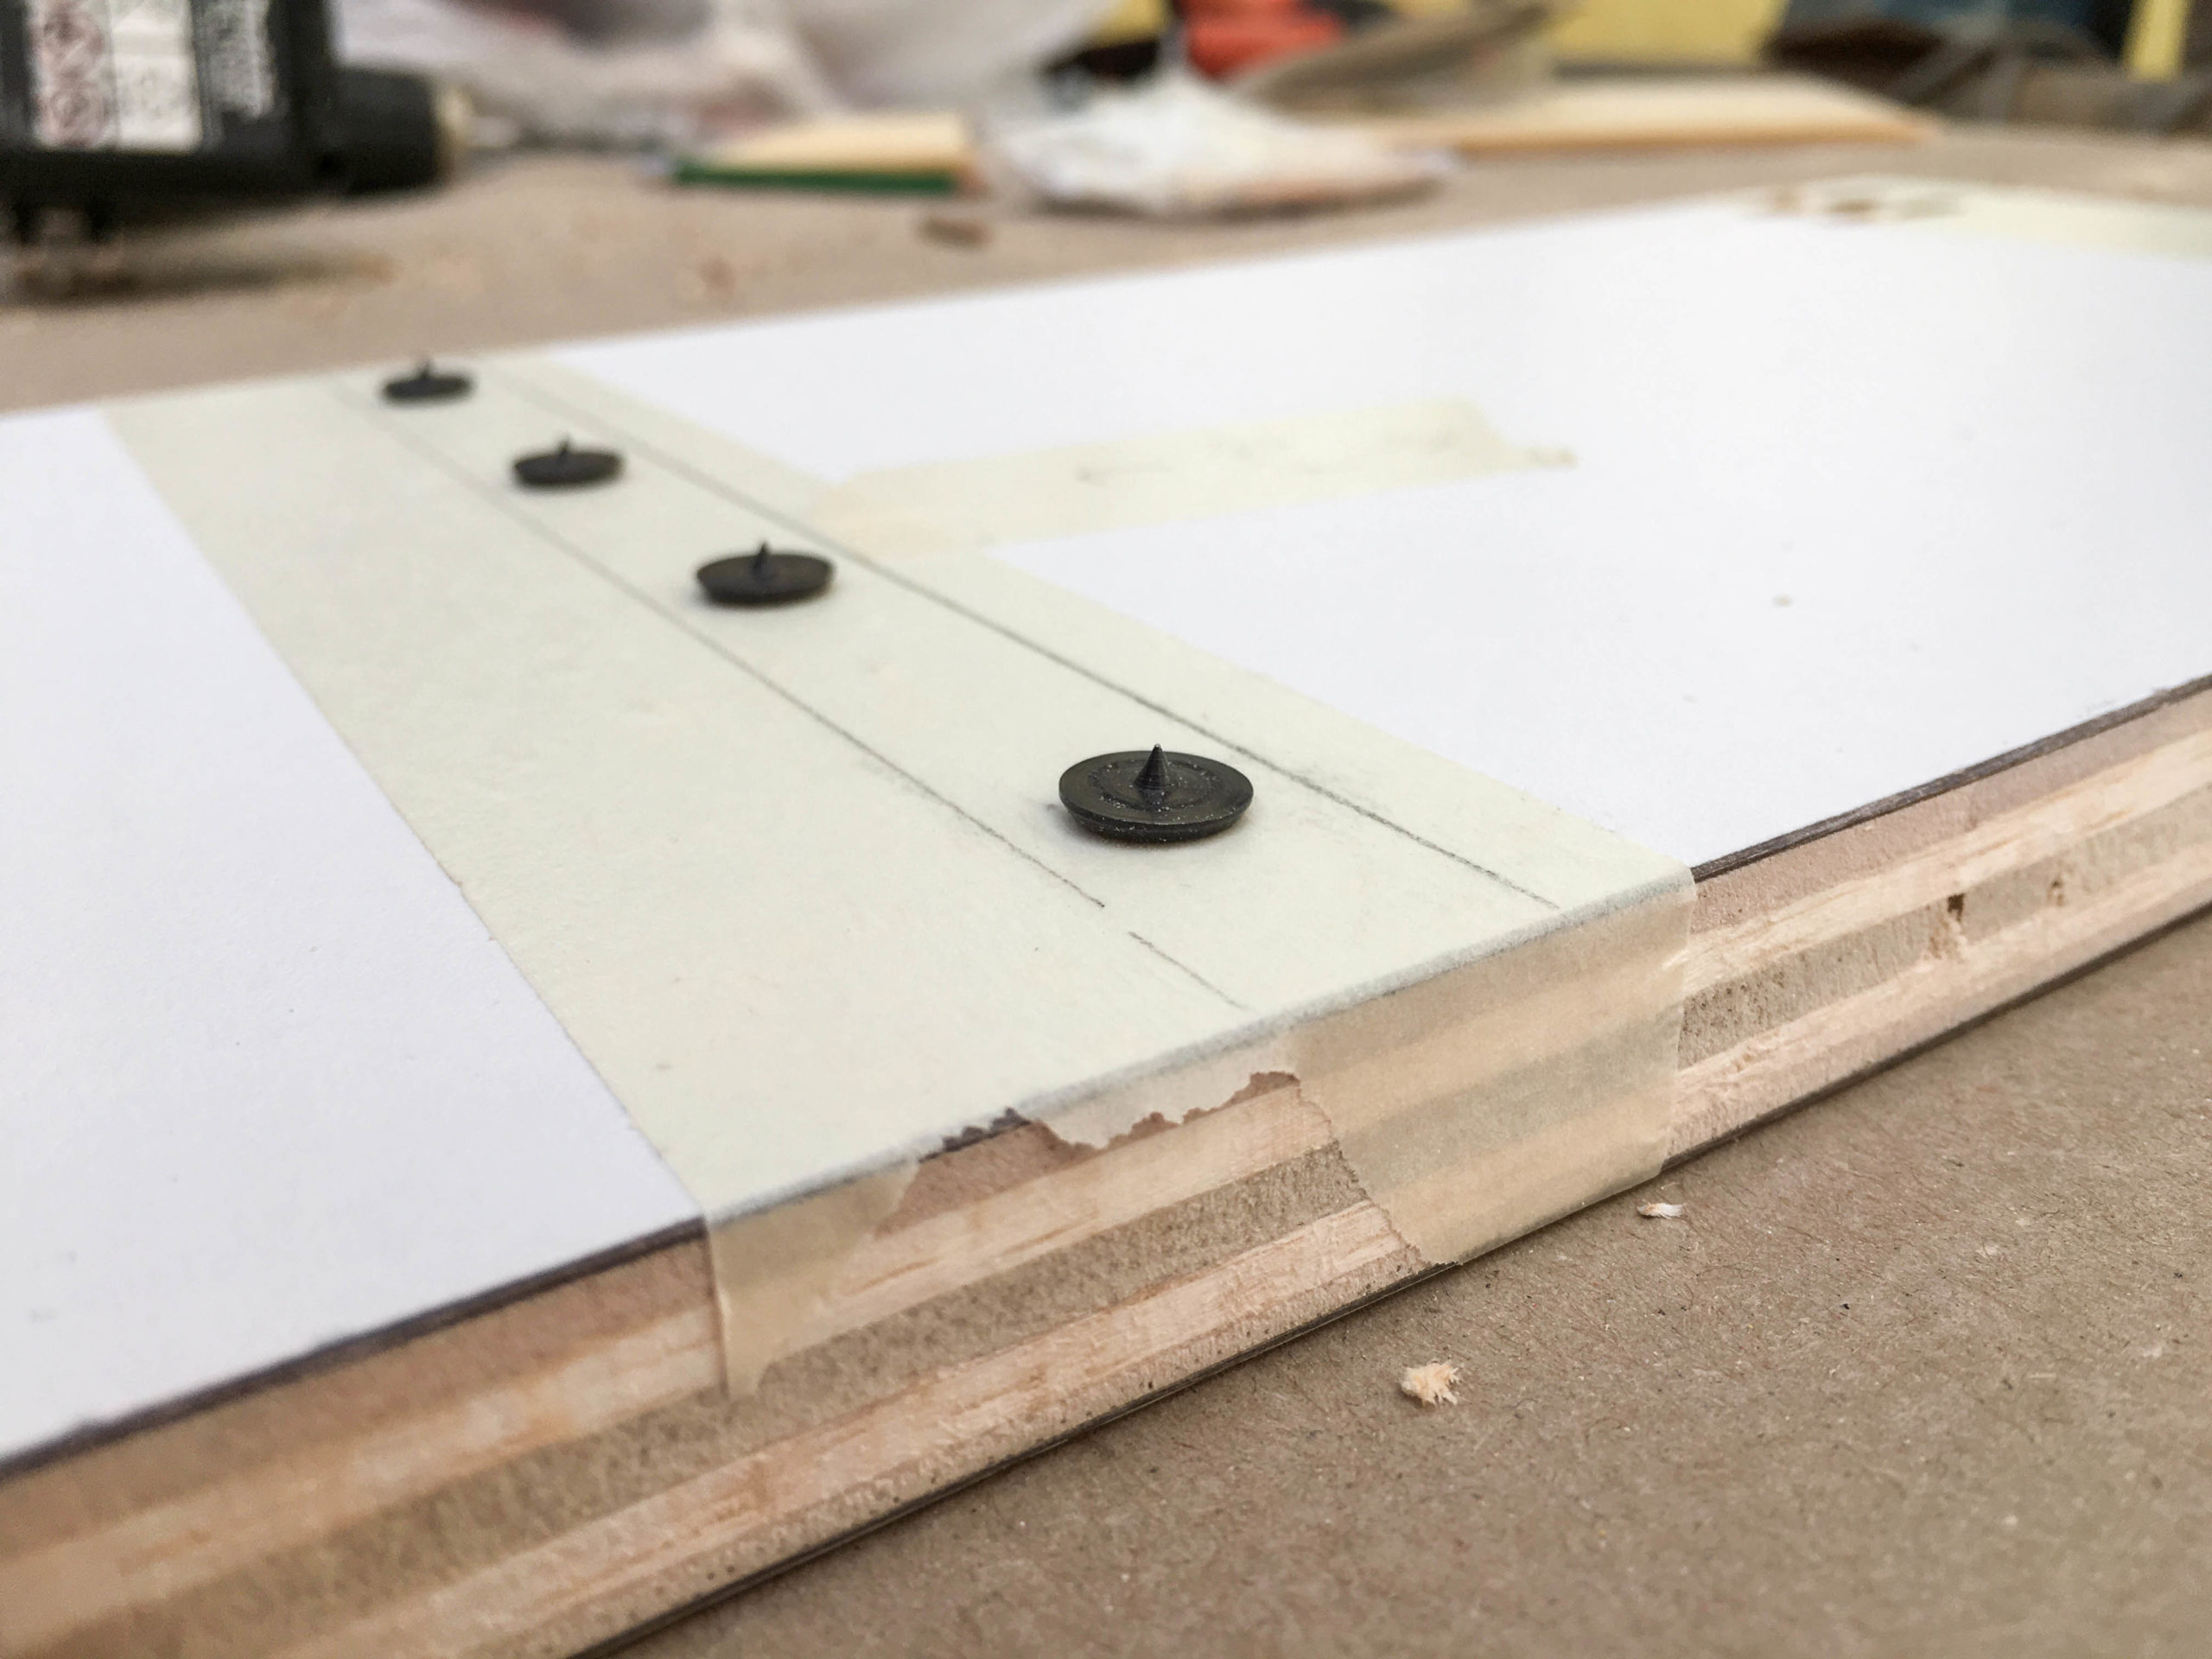
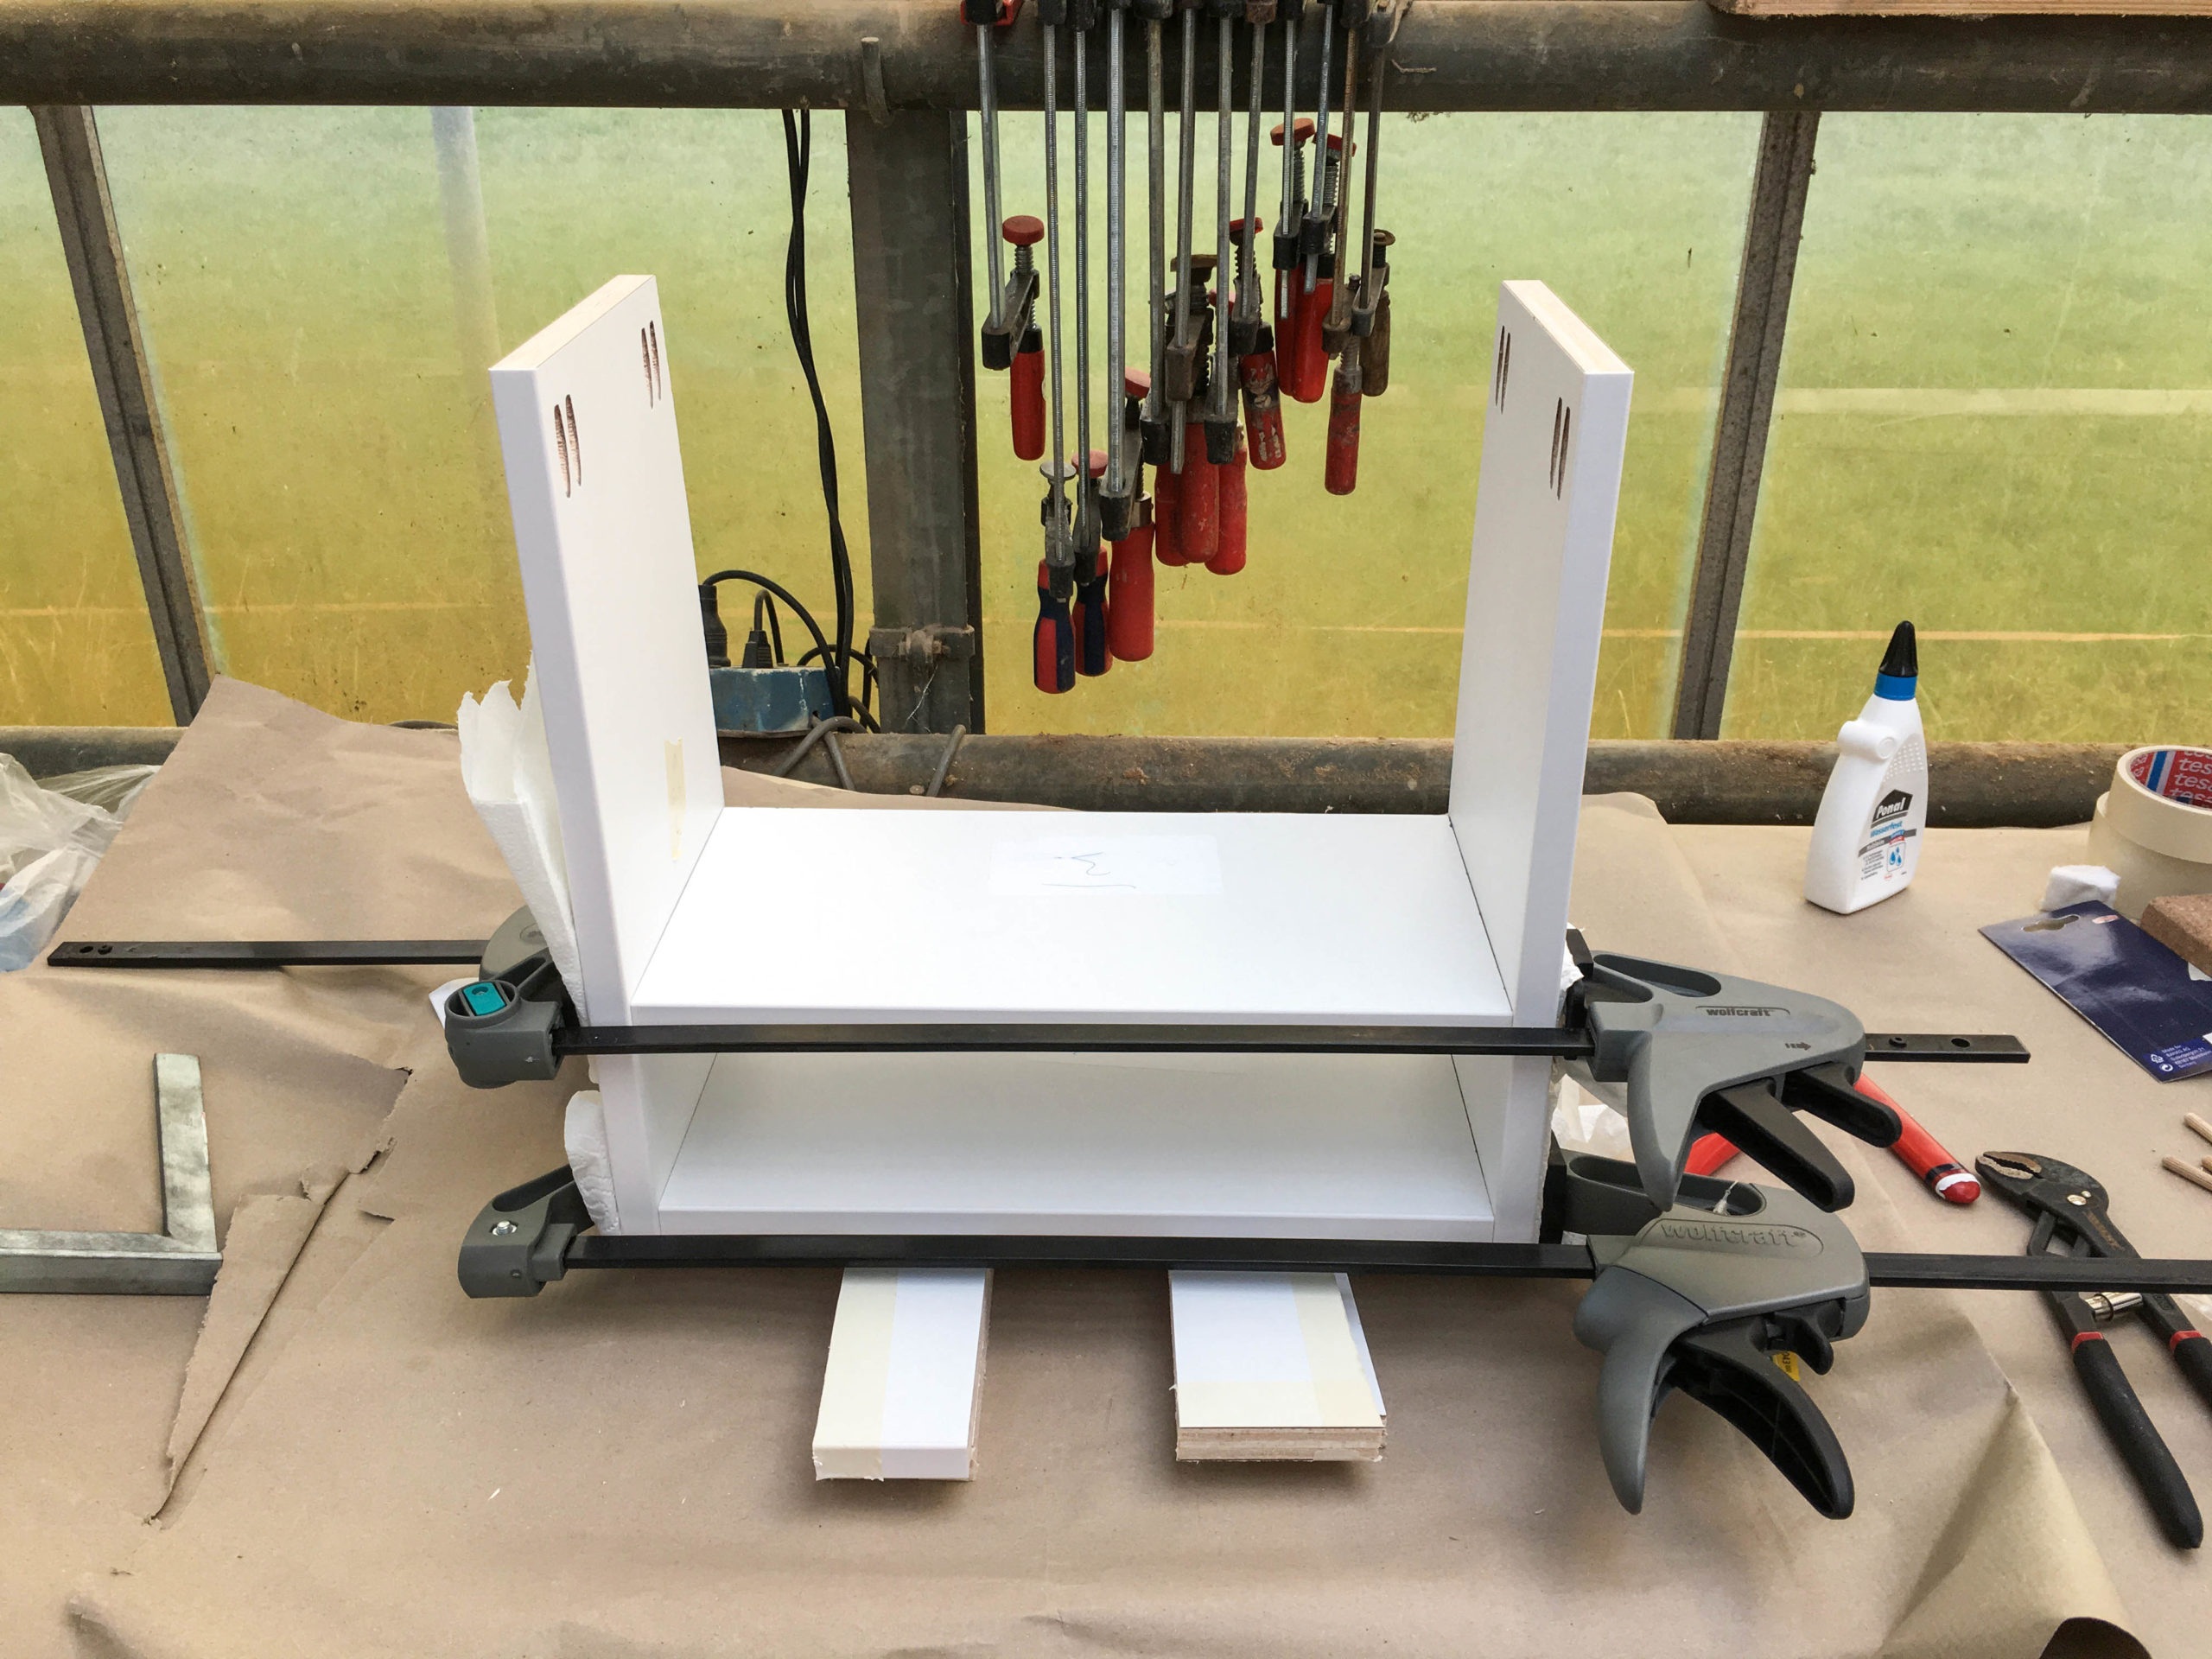
We marked the position of the shelves beforehand and marked them on tape. Then we drilled the holes as well as the counter drill with the help of dowel setters. After this was done we mounted the selves with wooden dowels and glue.
For drying we stabilized it with clamps.
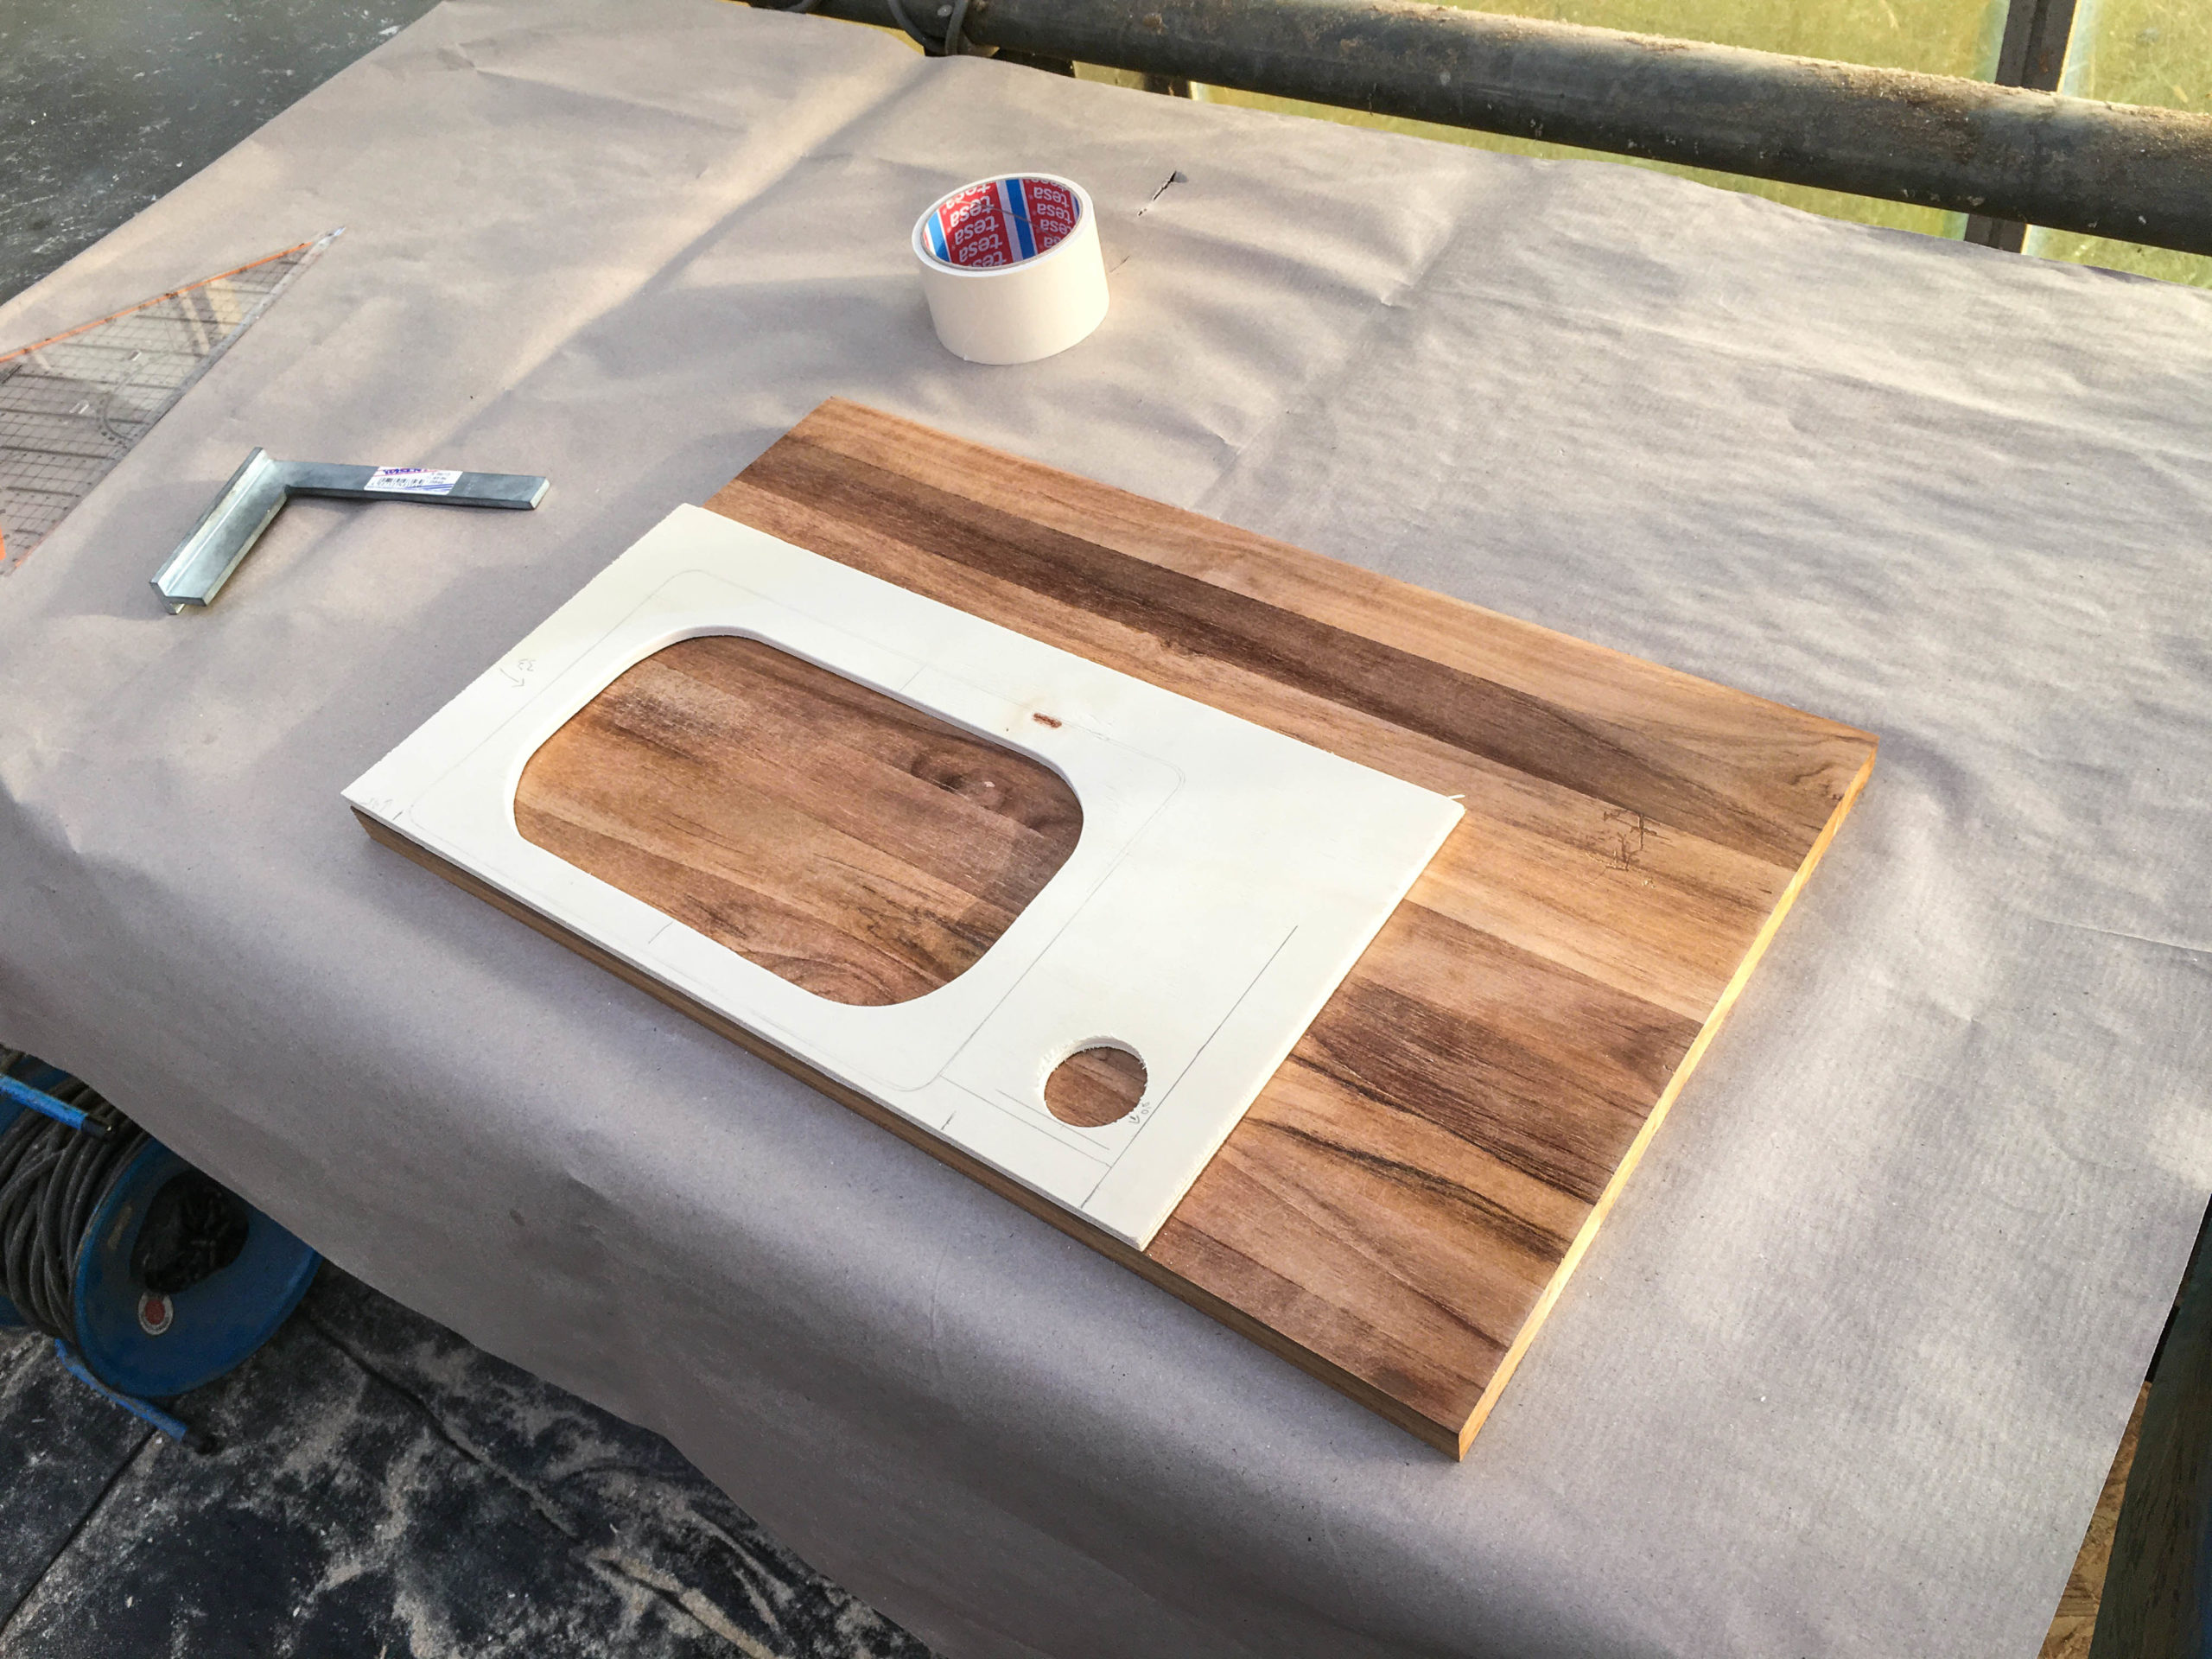
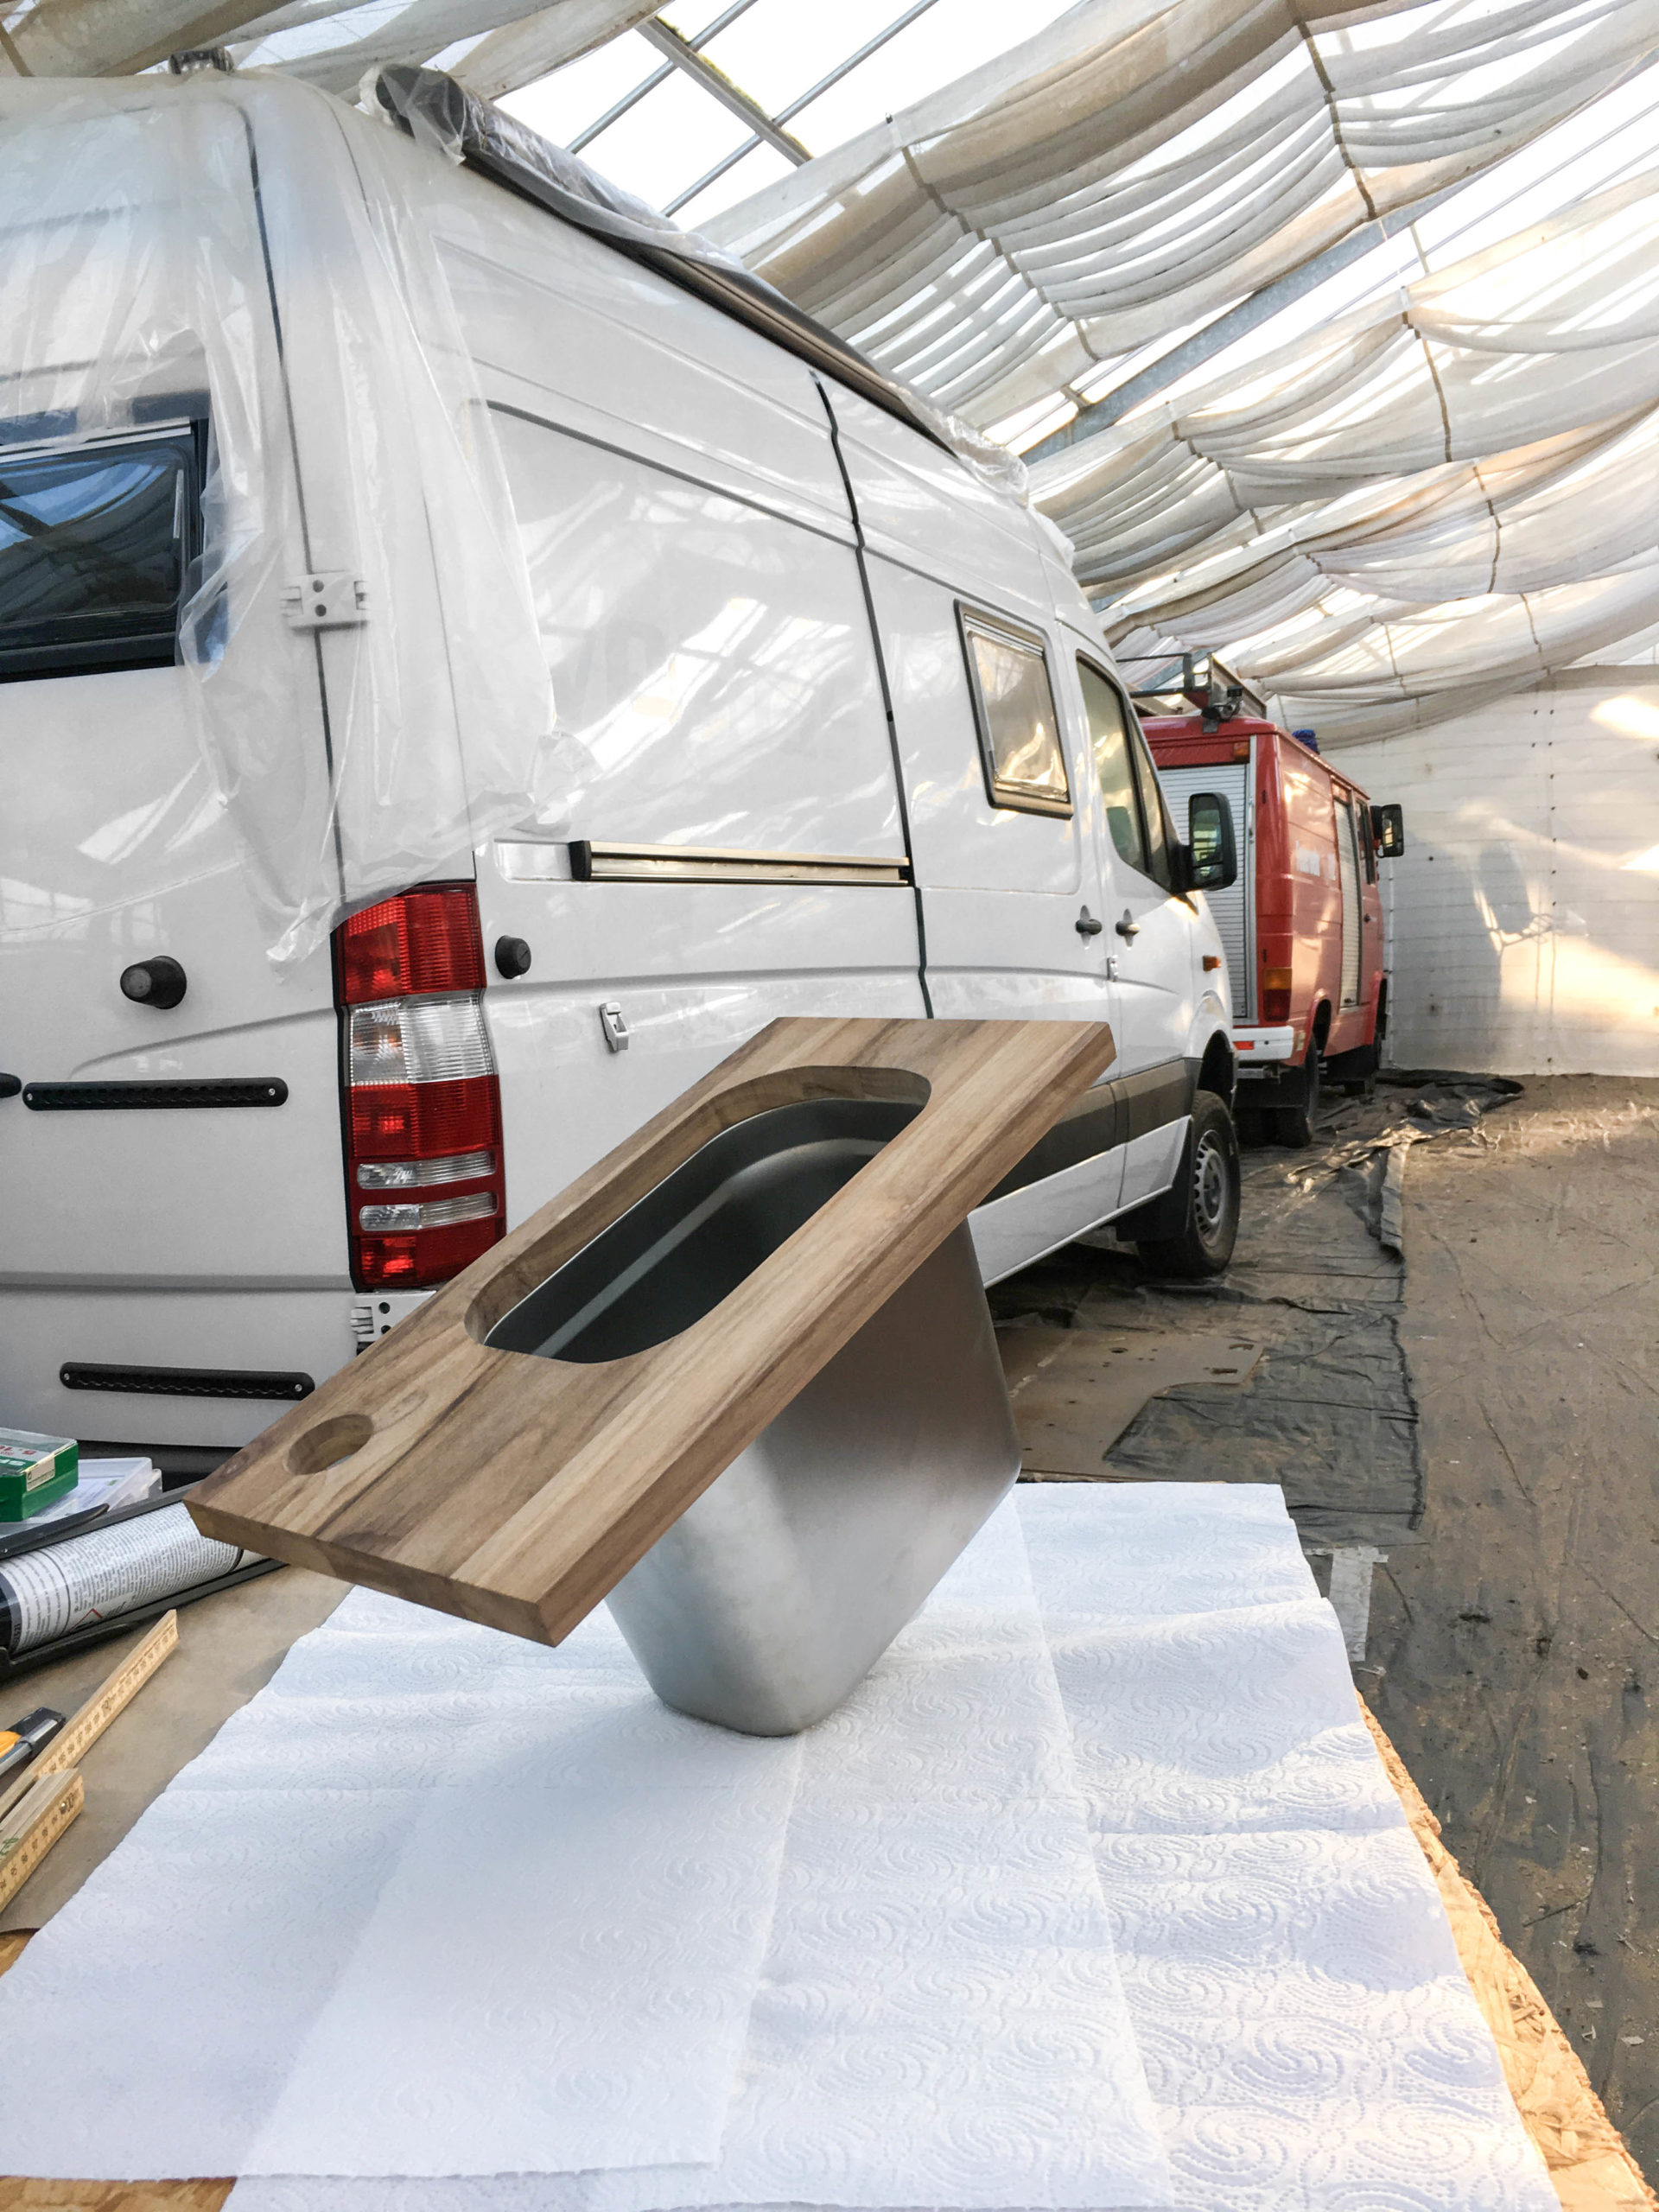
In the meantime we made a template of poplar plywood for the top plate of the washbasin. To do this, we determined the position of the sink and the faucet with the extendable shower head.

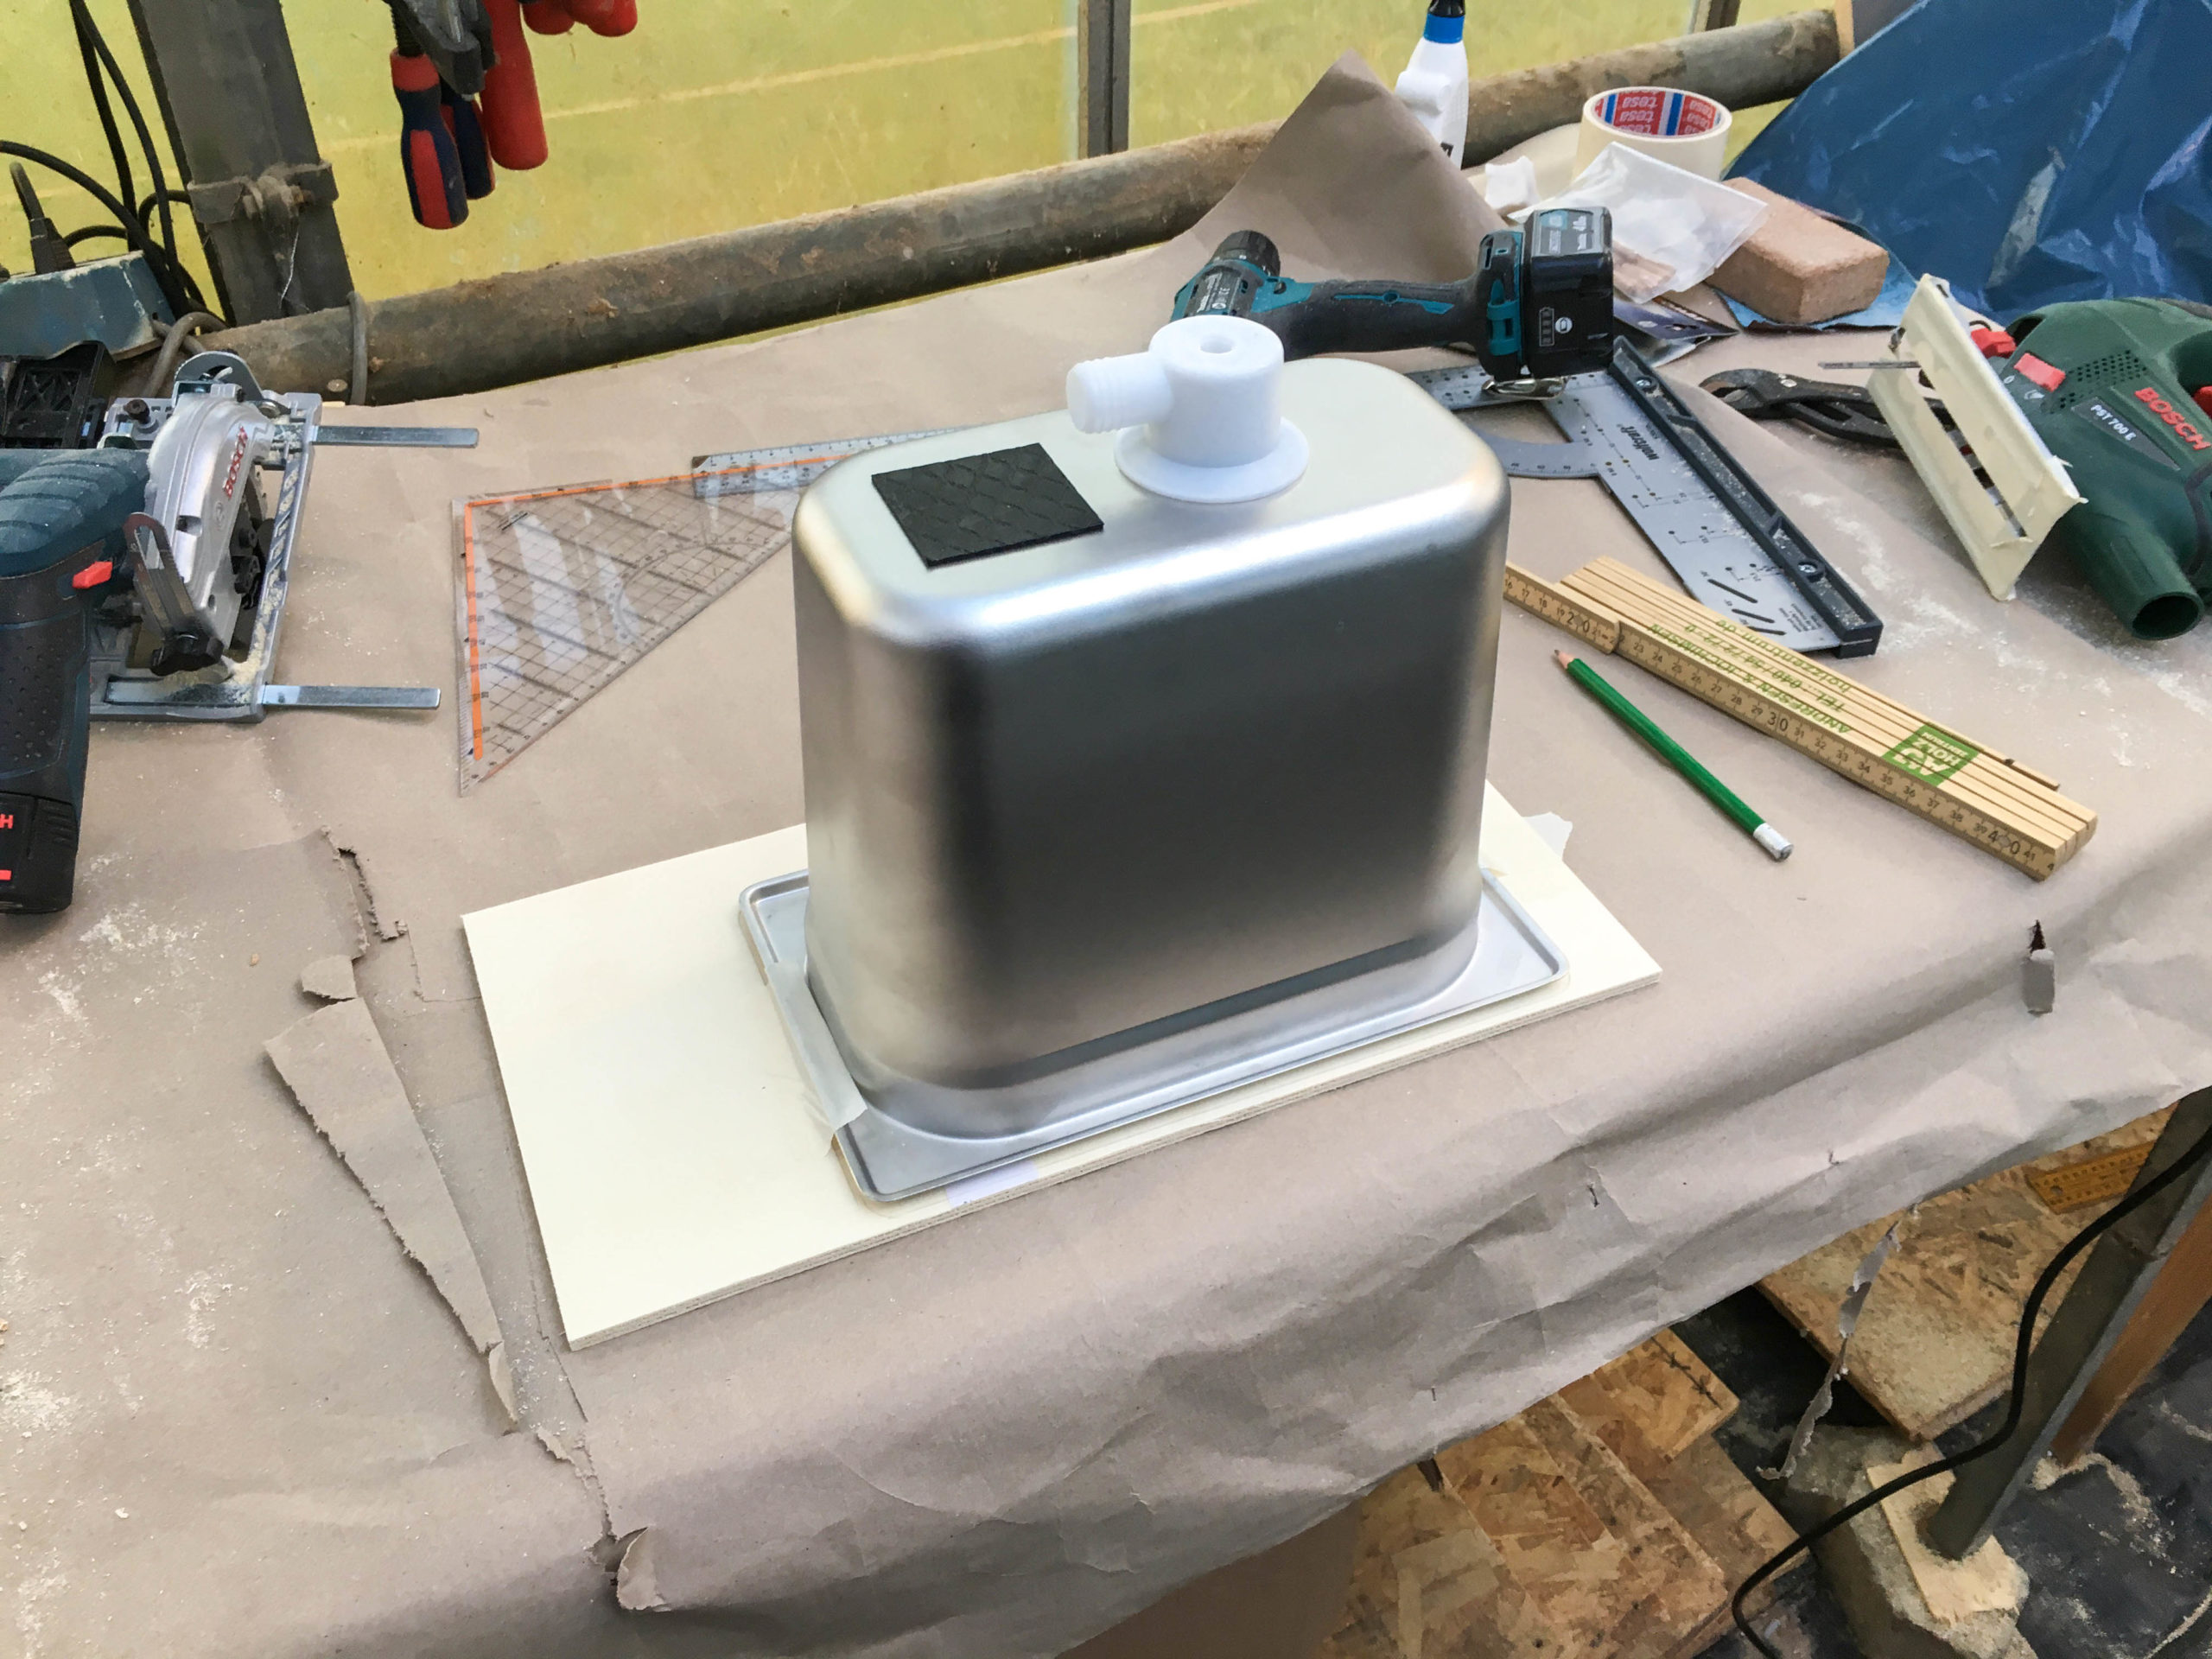
Then we adjusted the template 😉
When we had the perfect template we transferred it to the final plate made of teakwood.
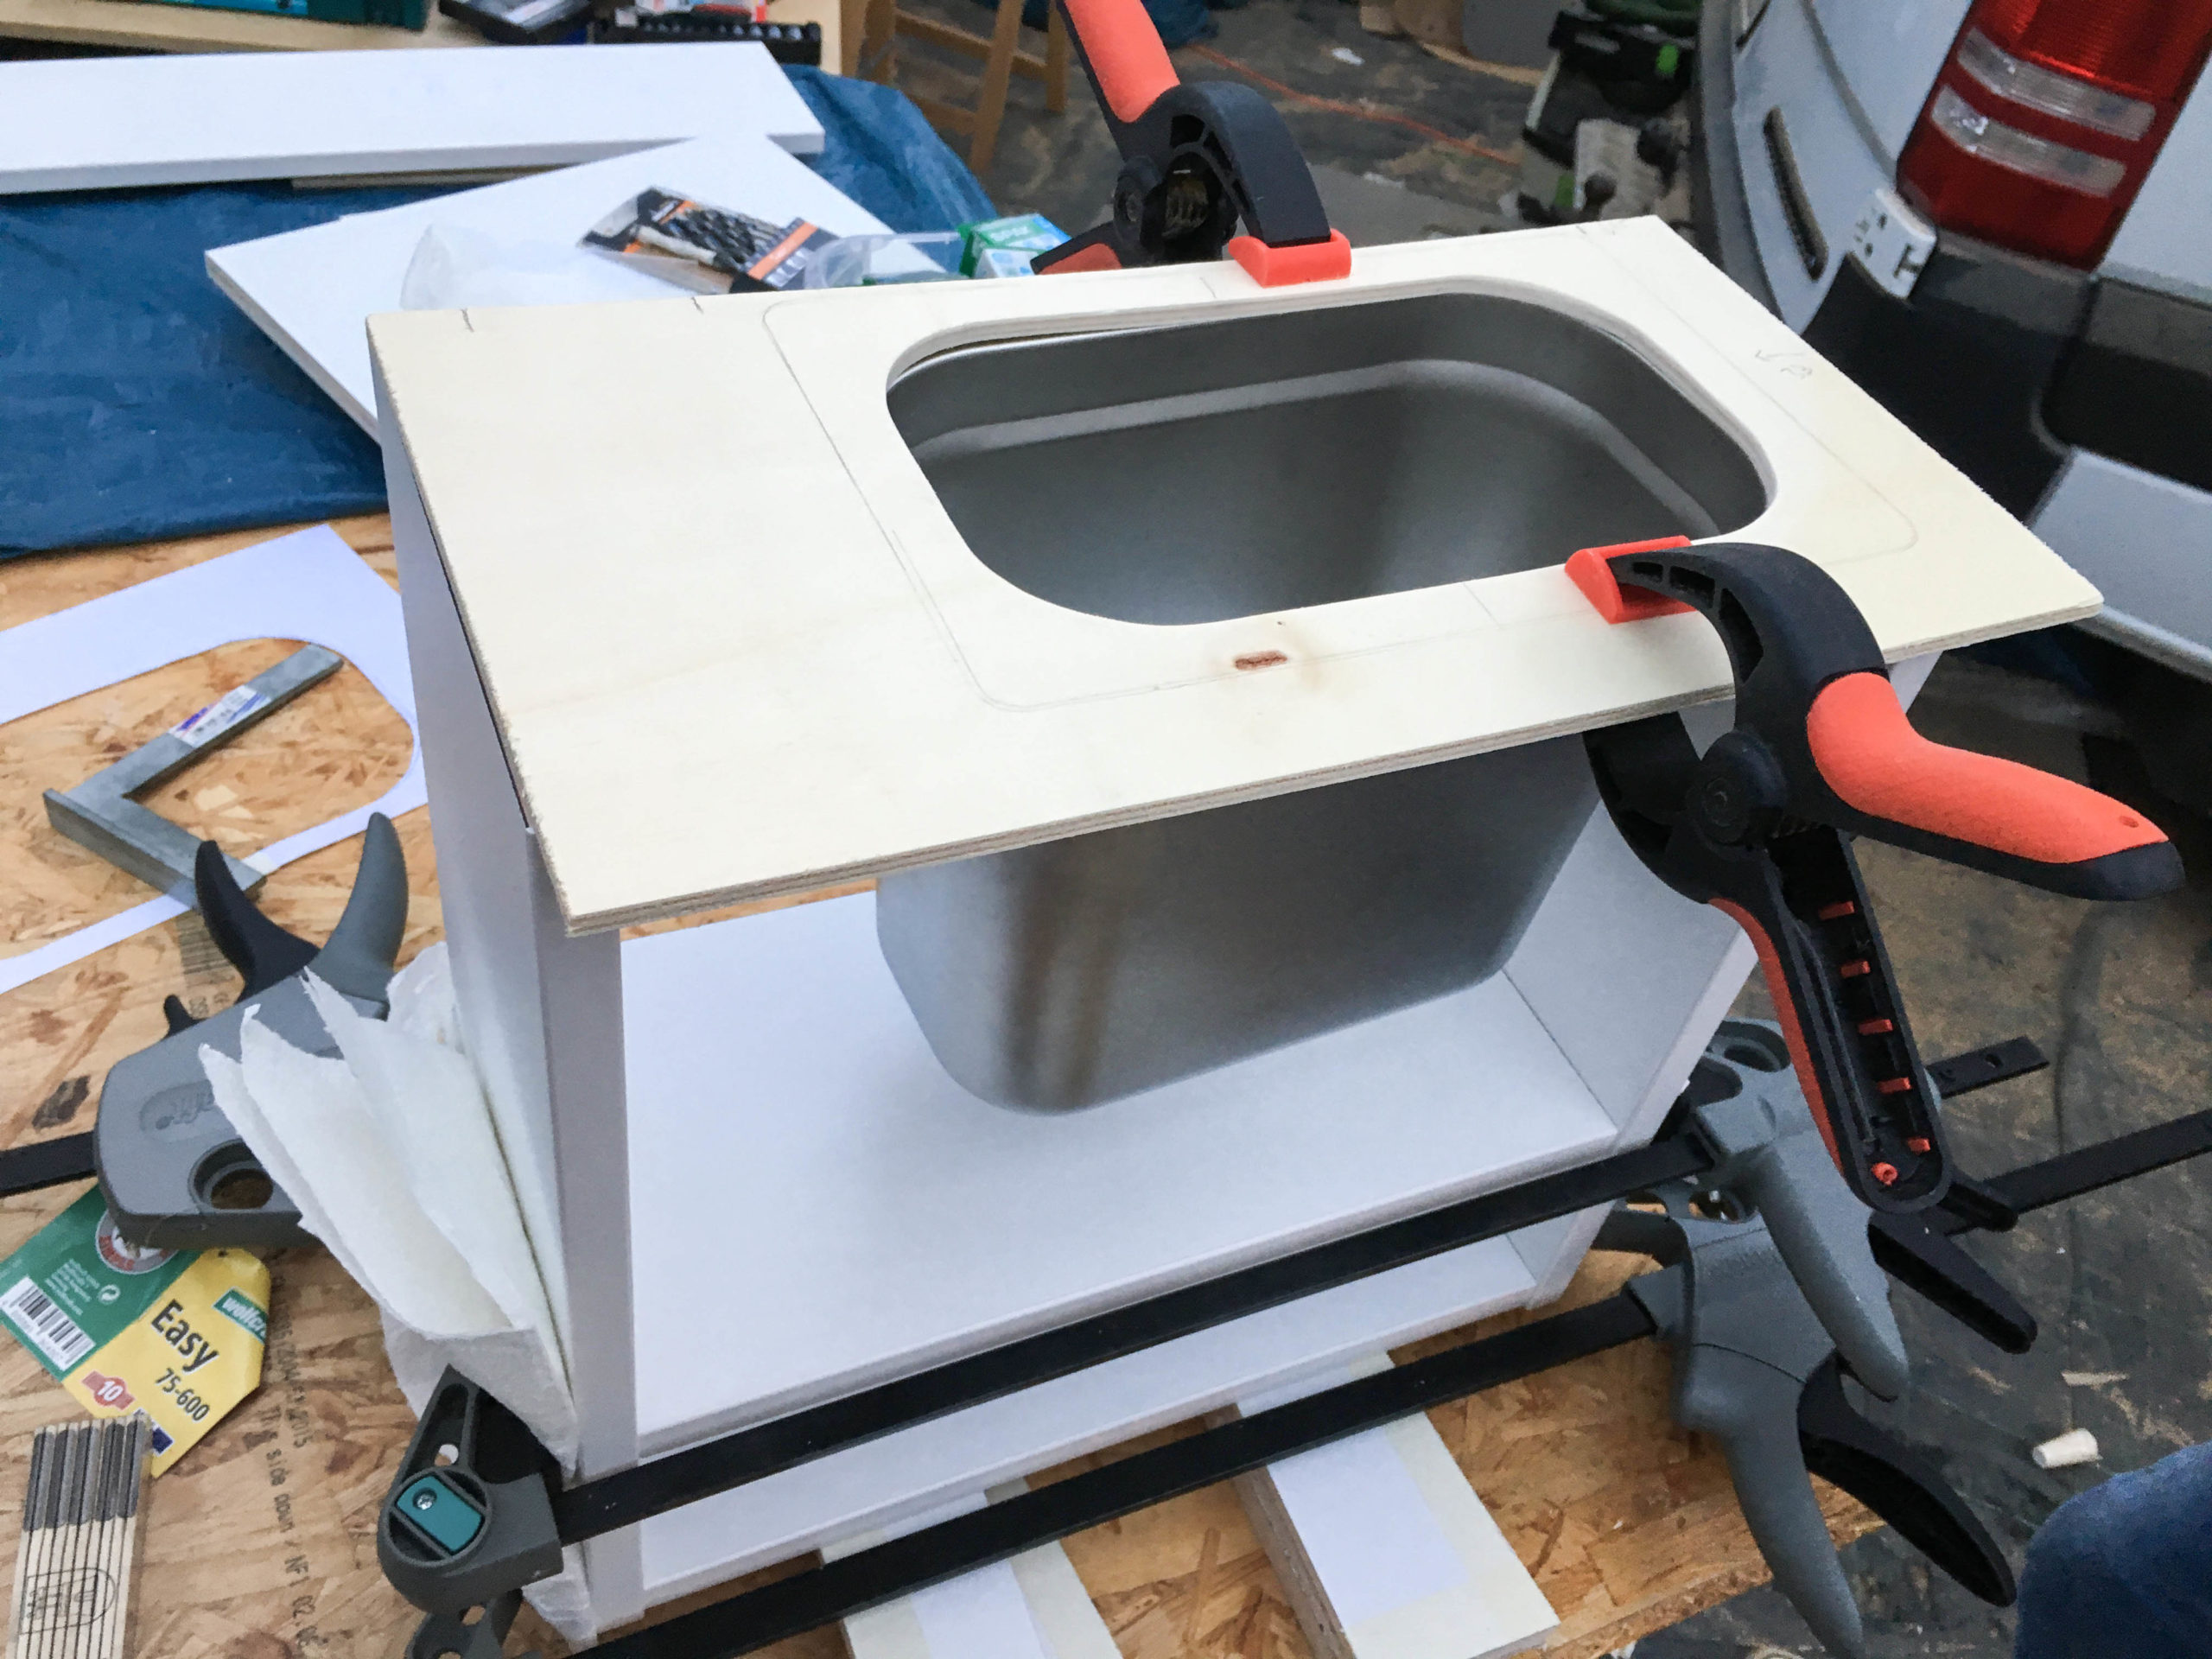
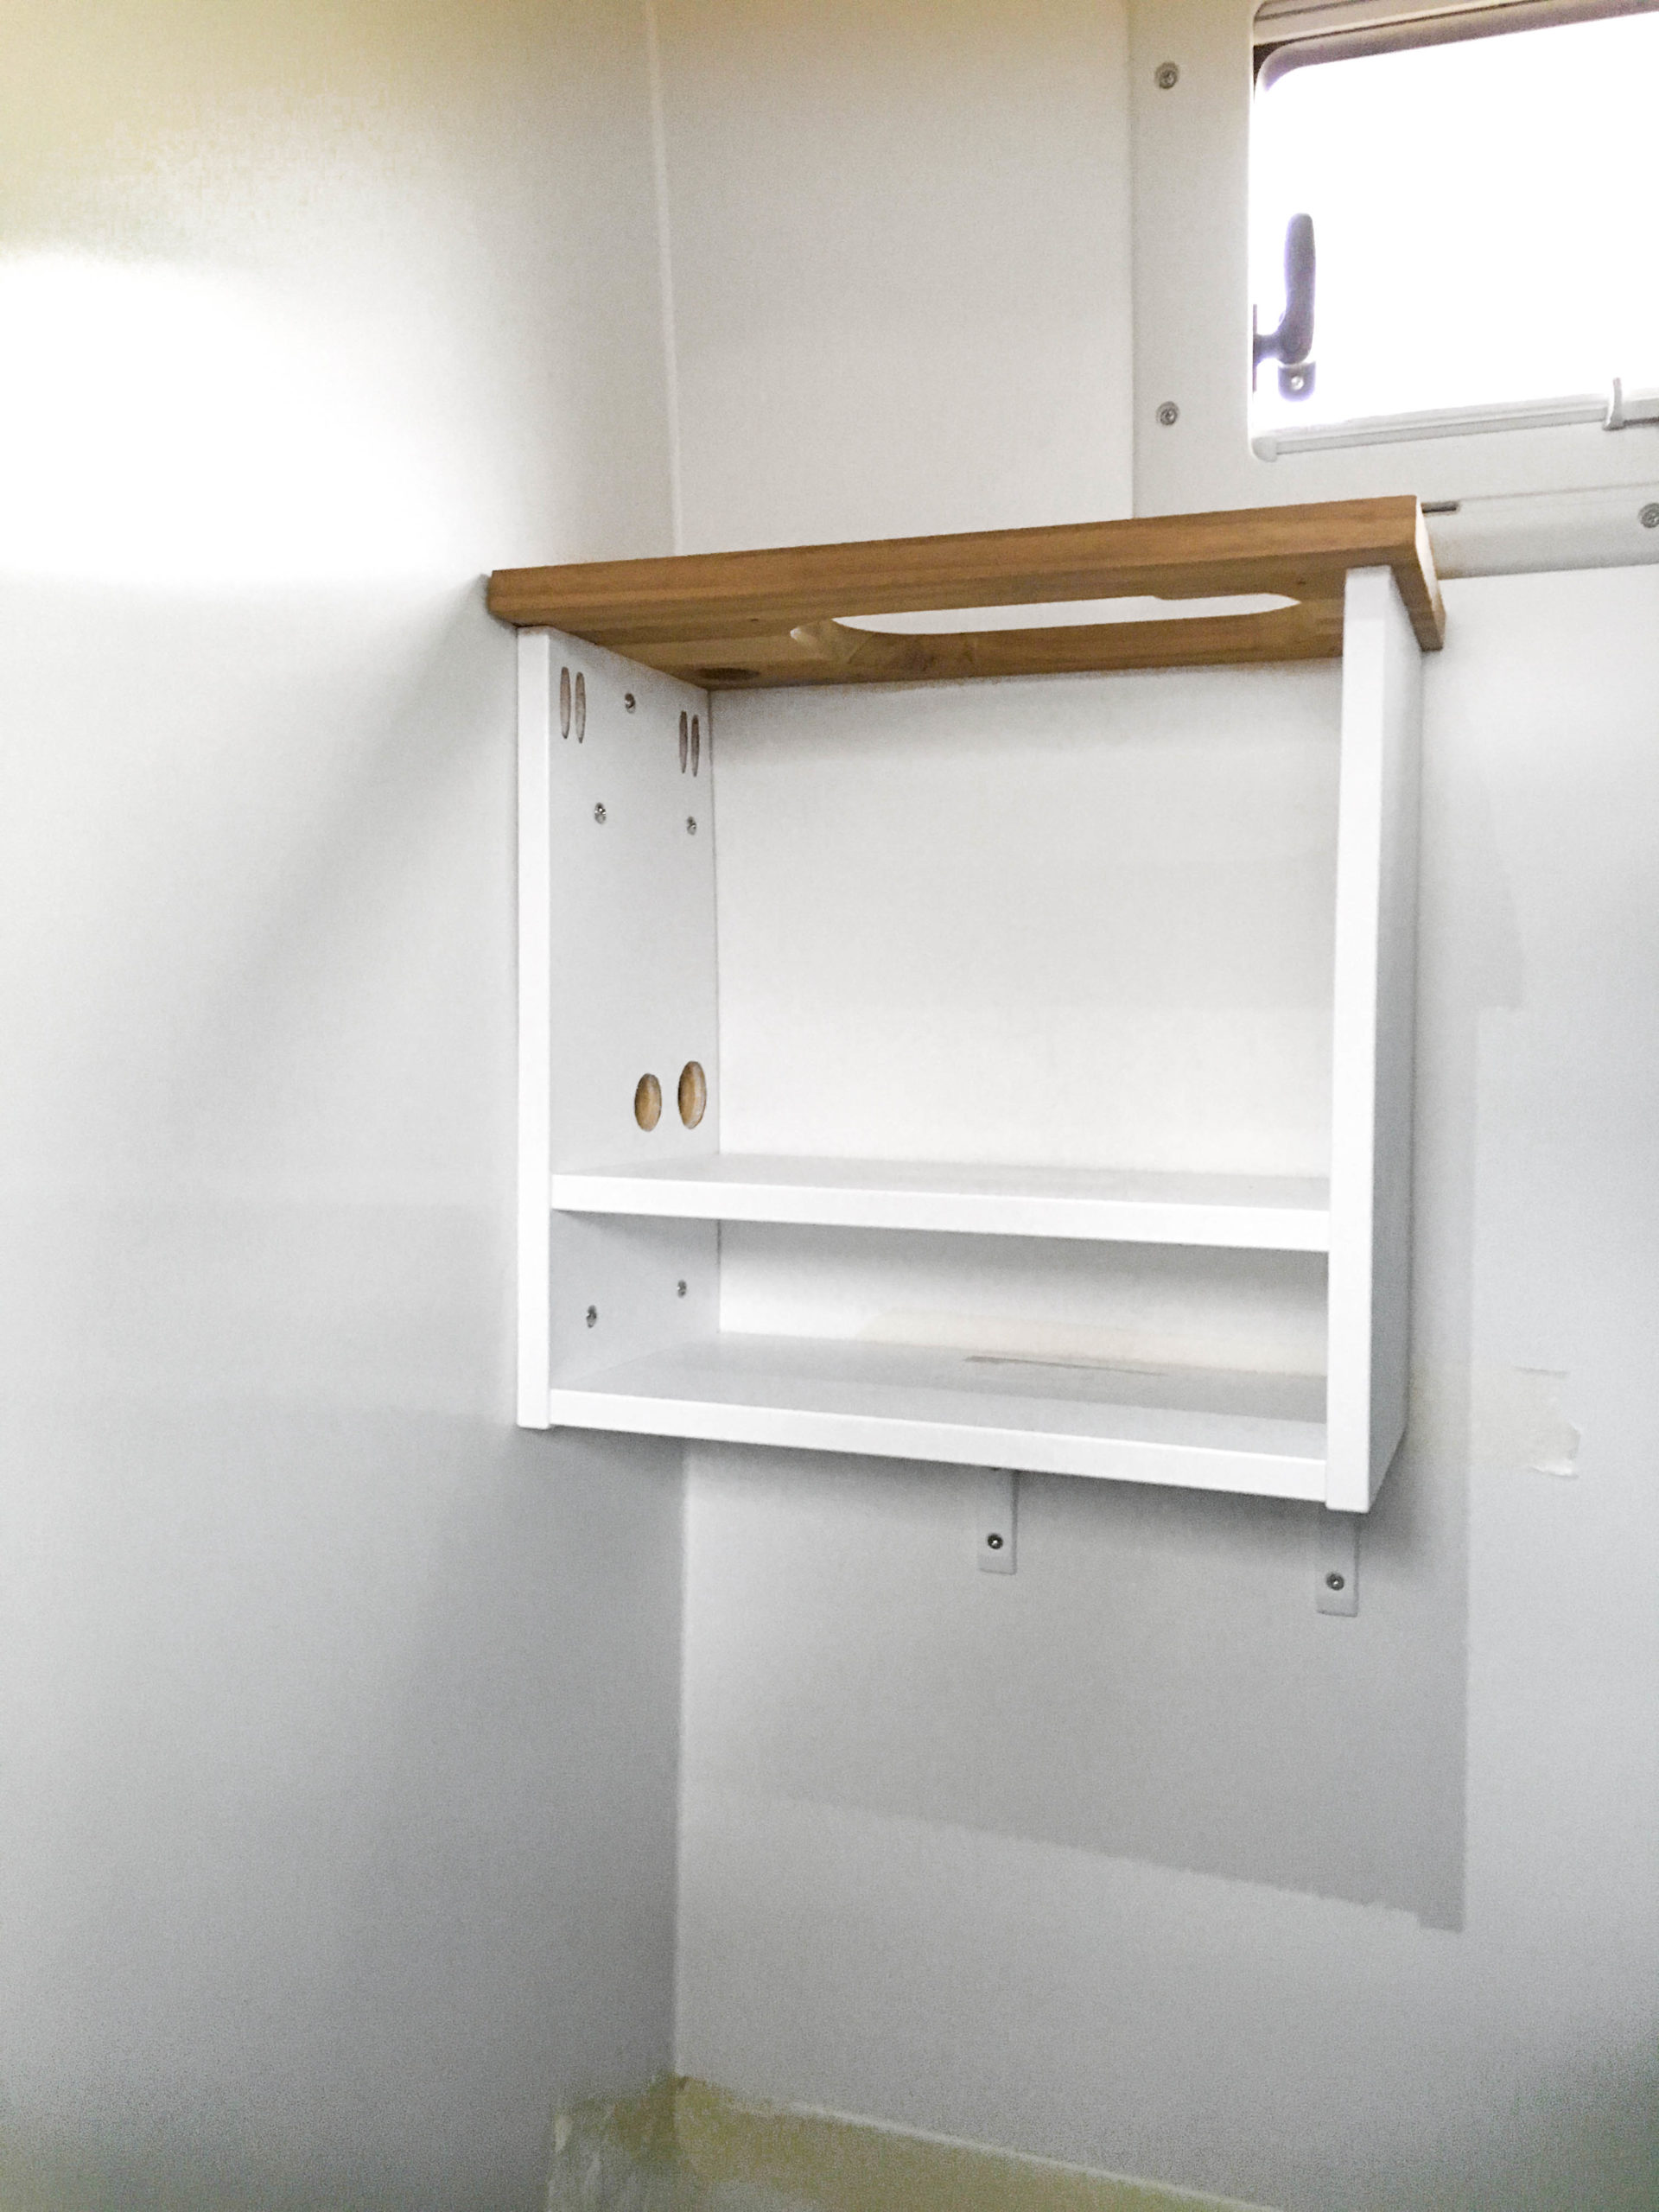
Now you can already get a first impression of how it will look in the bathroom when it’s build in!

So the washbasin or base cabinet is not only fastened to the side wall, we installed elbows for more stability. These were fastened with rivet nuts into the bars of the Sprinter. We also already sawed the holes for the cold and hot water supply with hole saws.

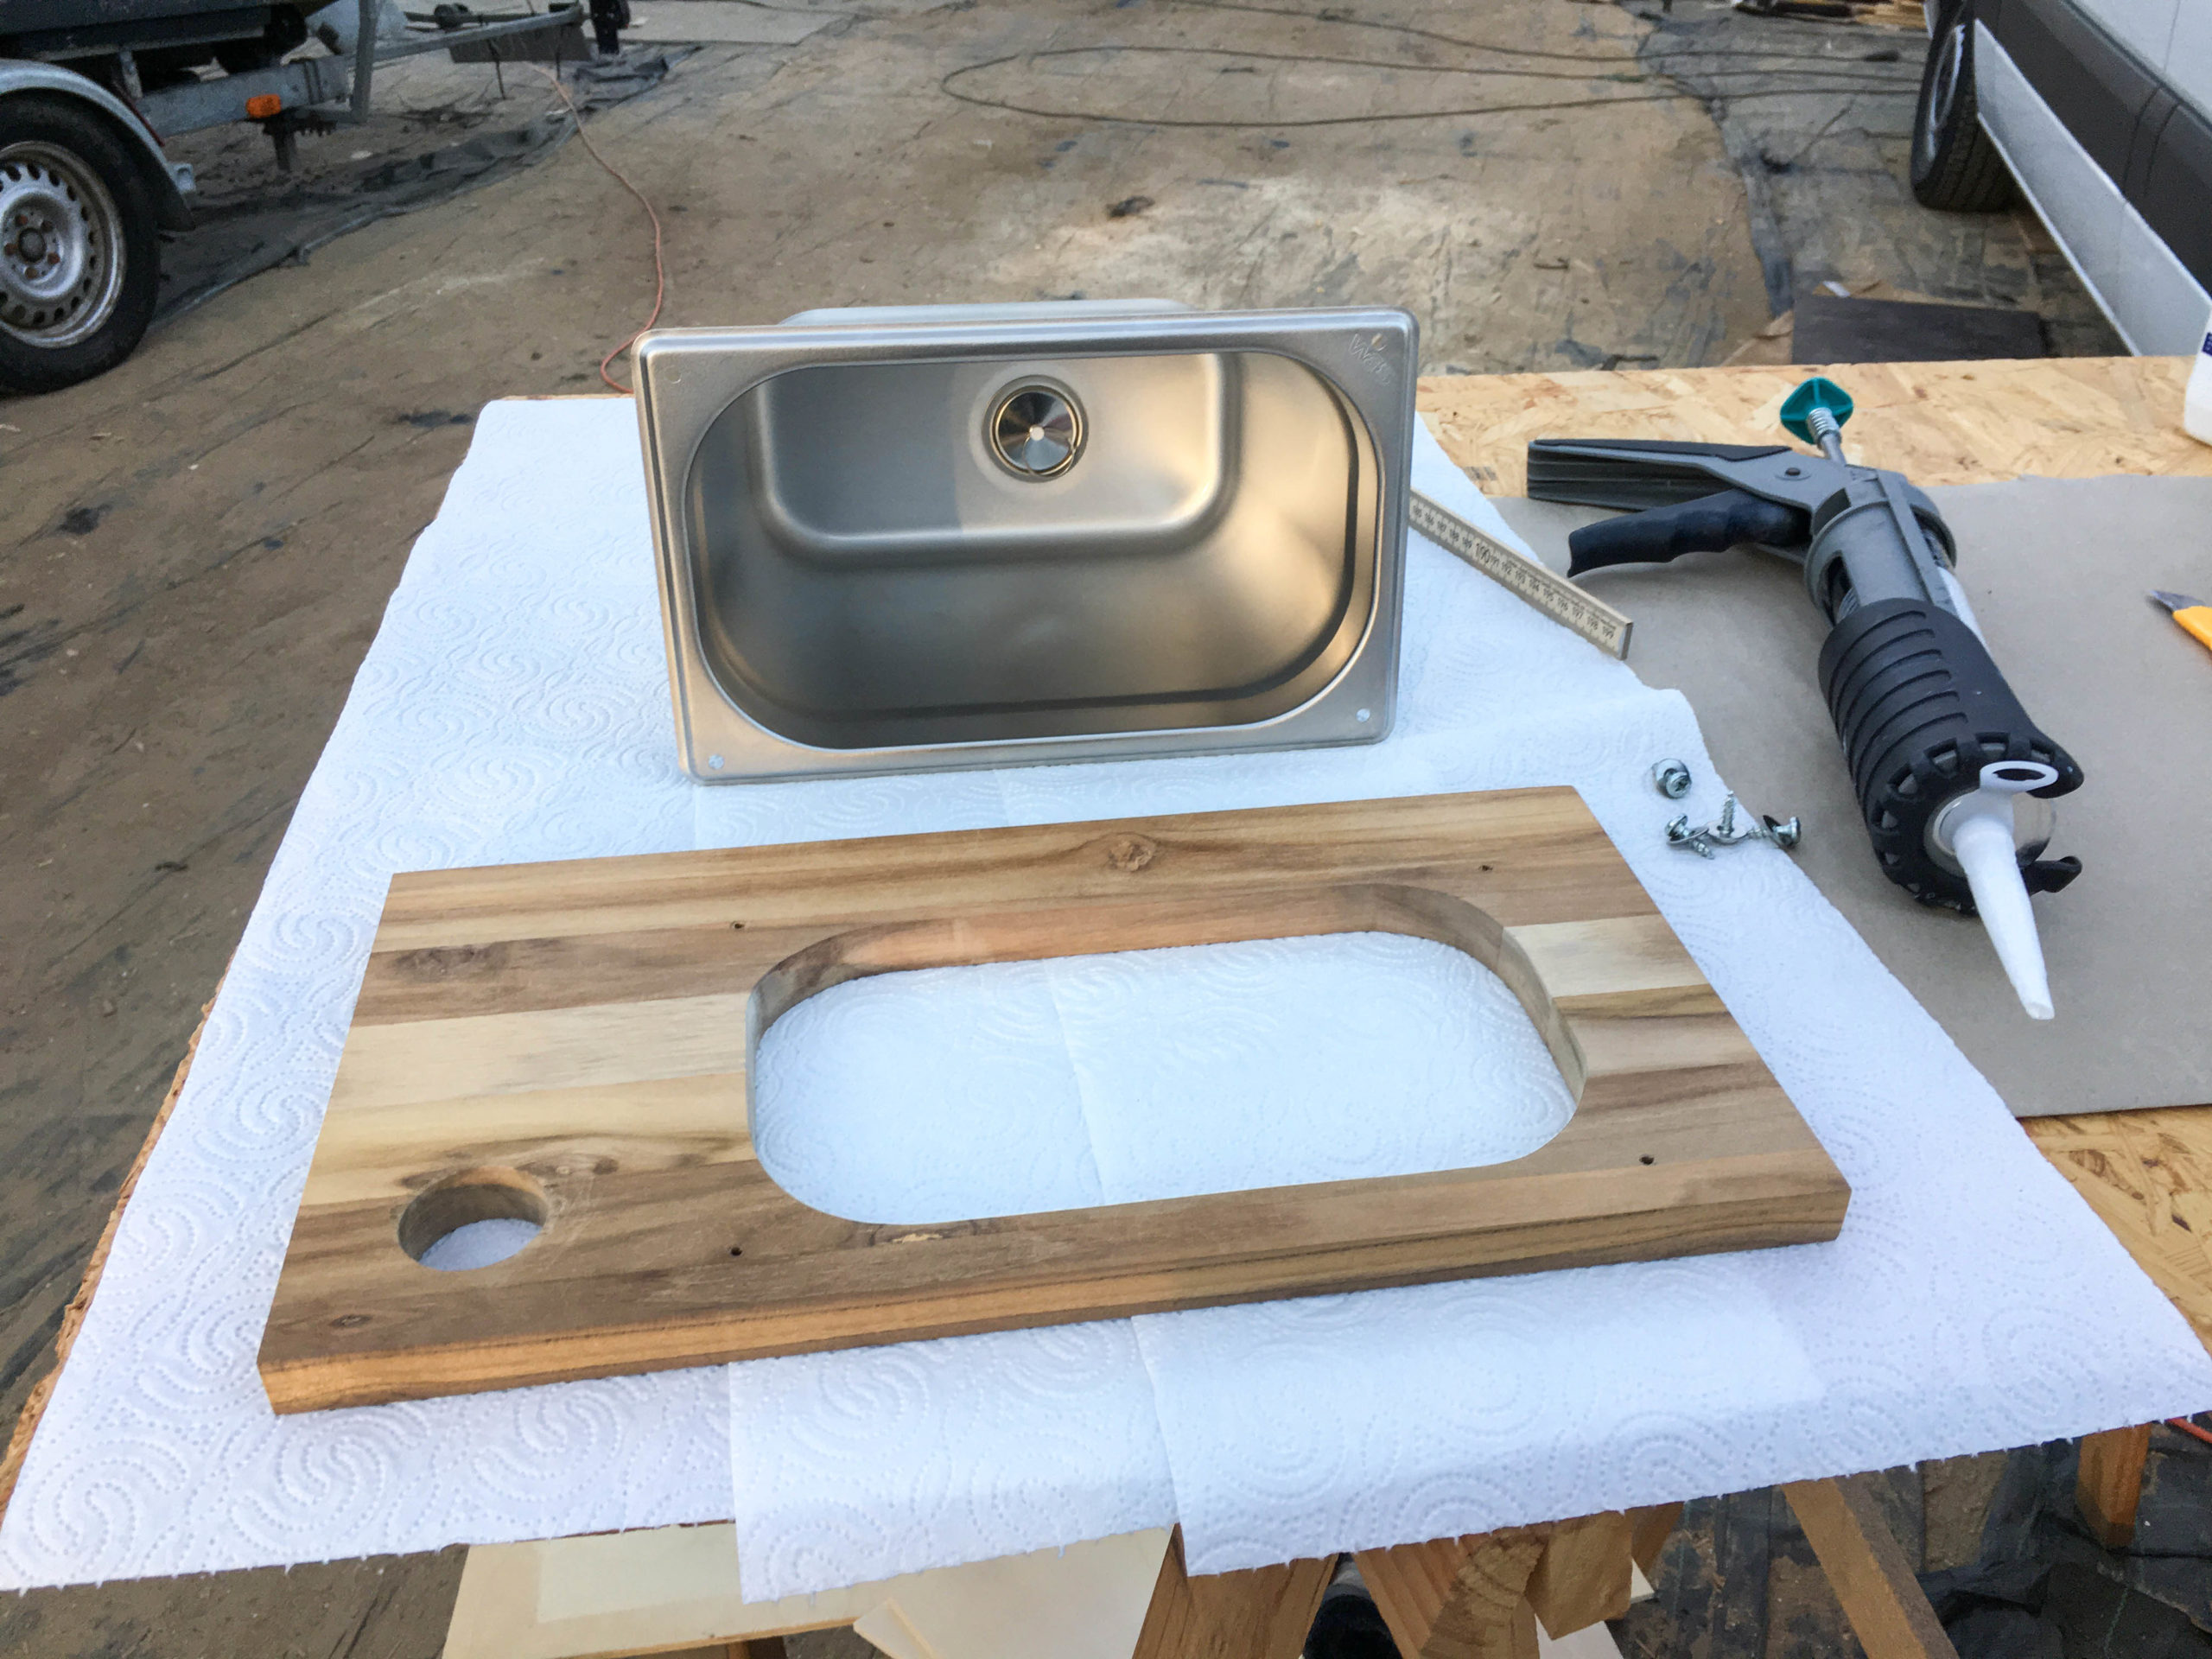
Only when everything fit, we connected the sink and the top plate using screws as well as Sikaflex 252i.
The shower head is extendable so we can shower inside as well as outside. You can pull the shower head through the open window and then hang it on the lashing tracks (in the future).
The compartment in the cabinet is for the hose of the faucet. More space can be used for e.g. towels.
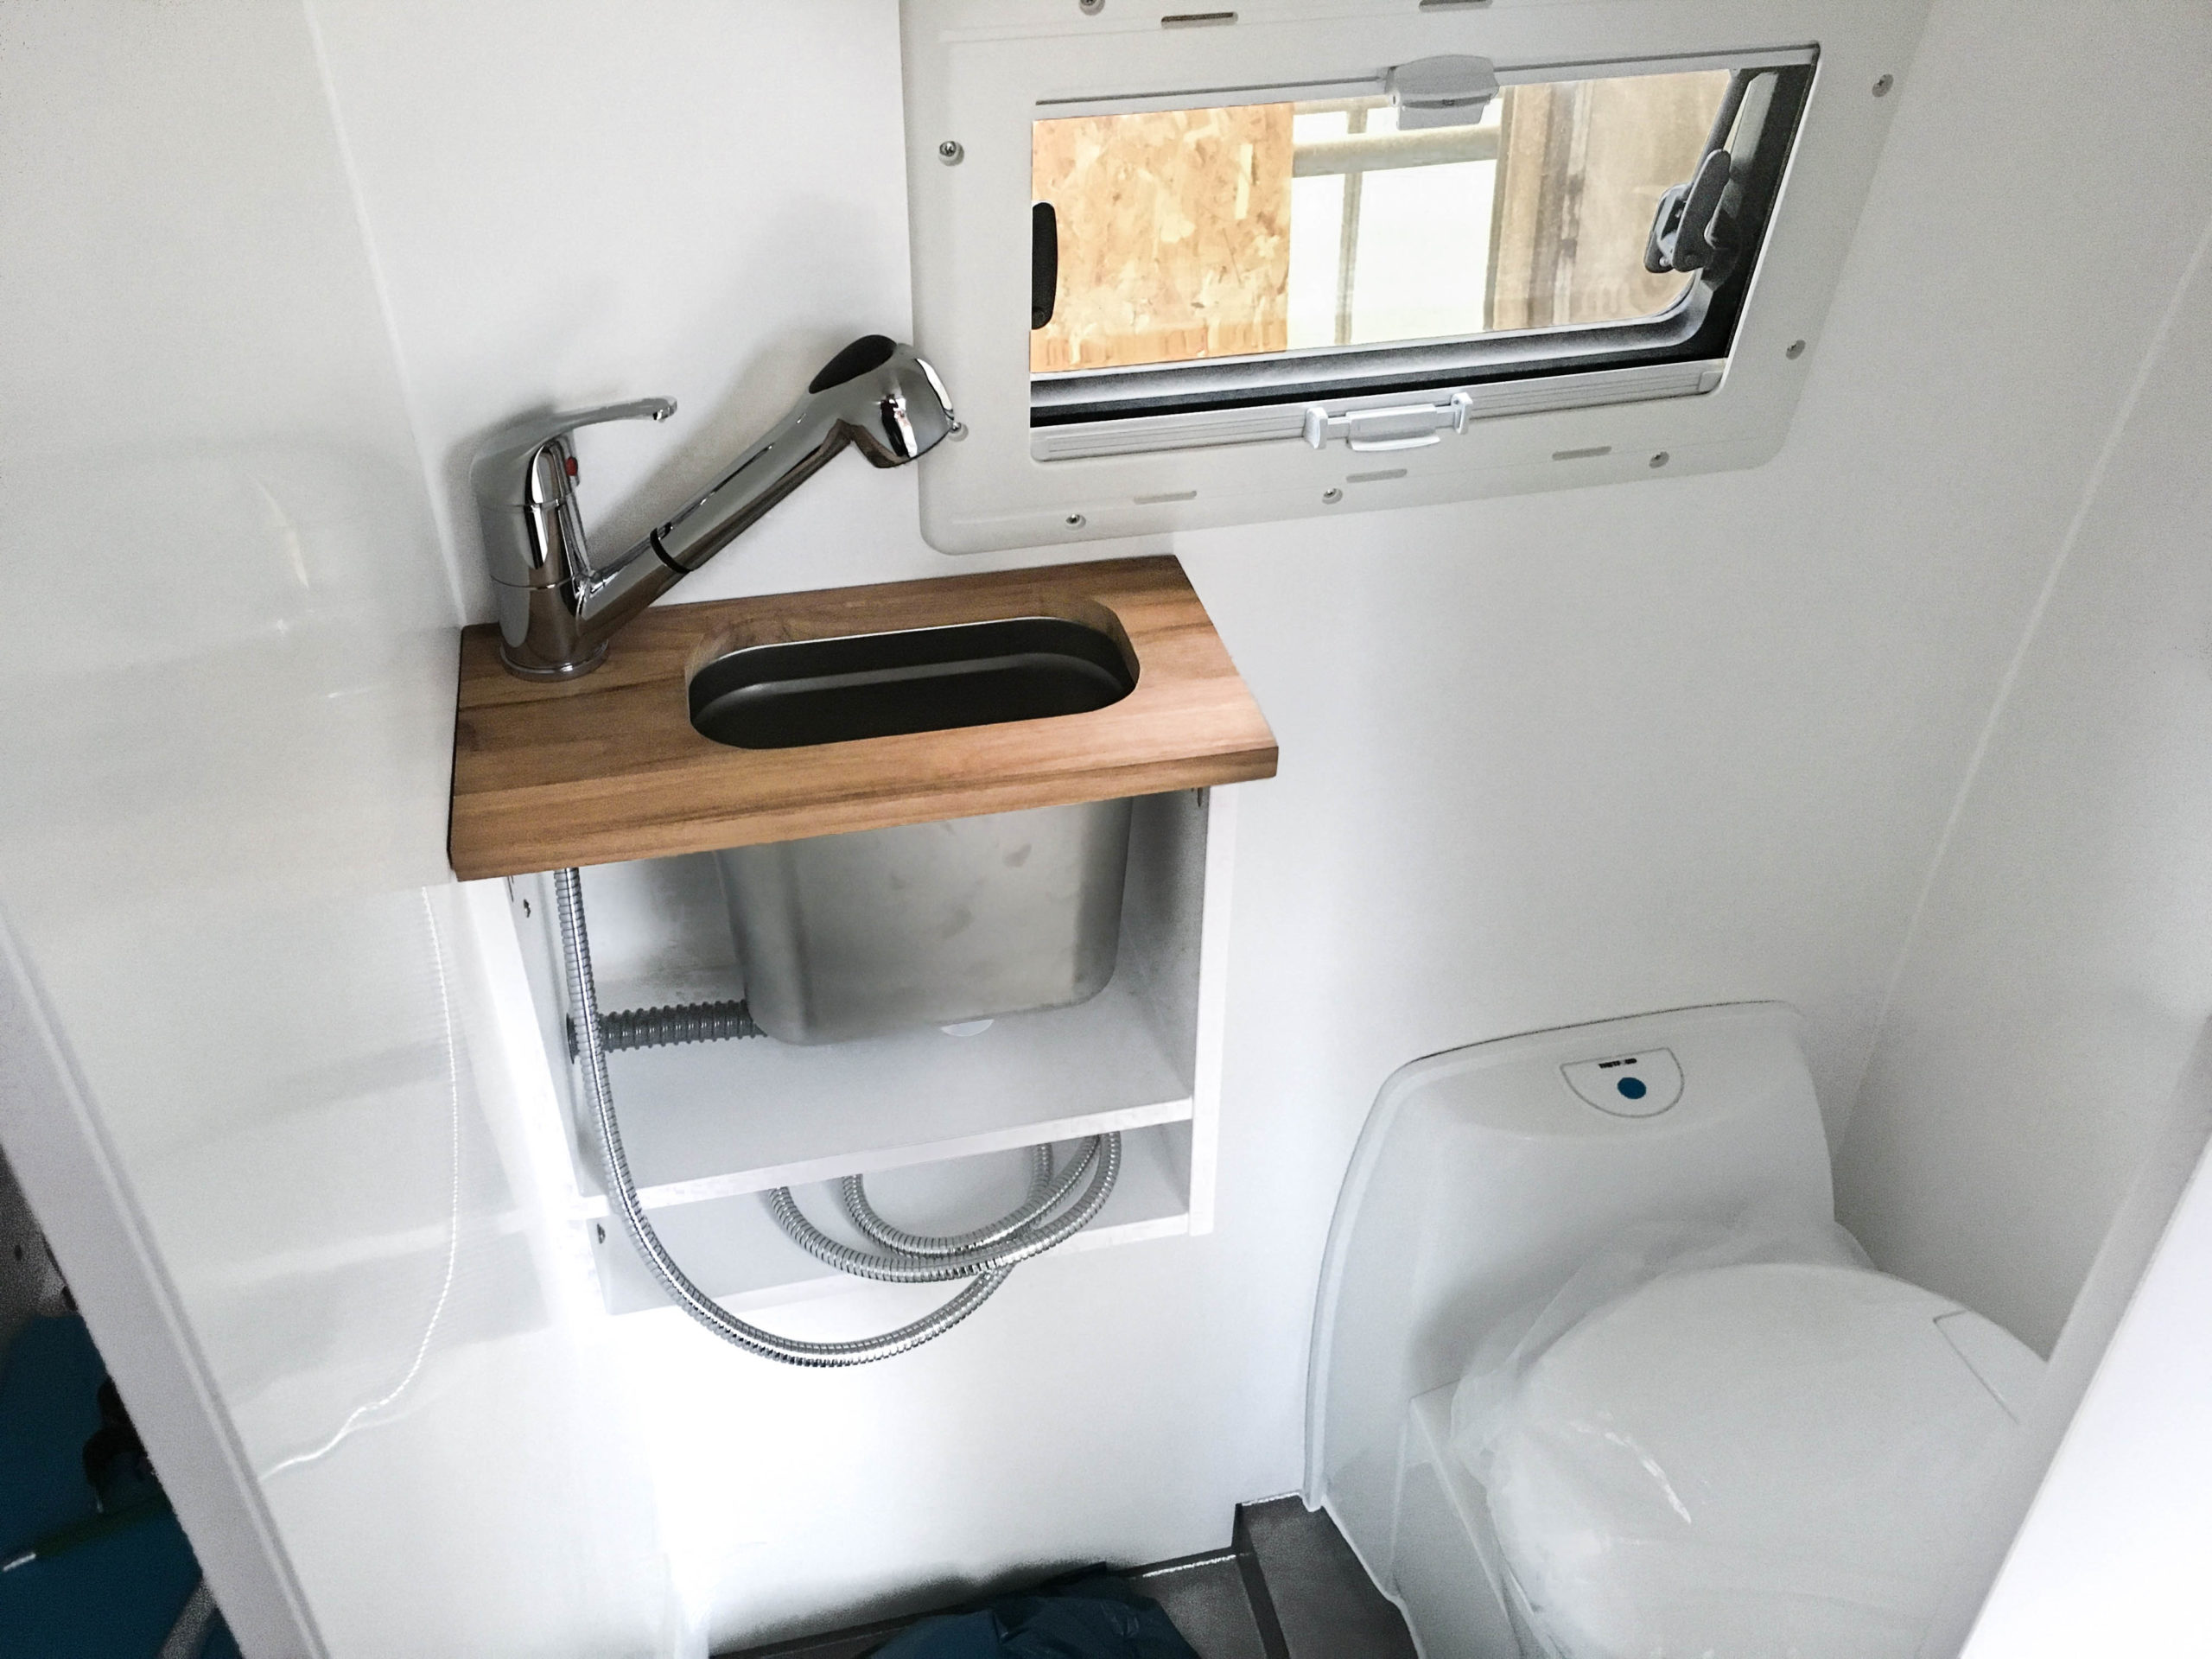
Everything has to be waterproof, so we sealed every edge and corner and spot that bears the risk of water getting under the HPL-coating with silicone. Then we rounded the cabinet off with a door made of HPL-coated poplar plywood and a push locker.
Read more about the bathroom in a Camervan here!