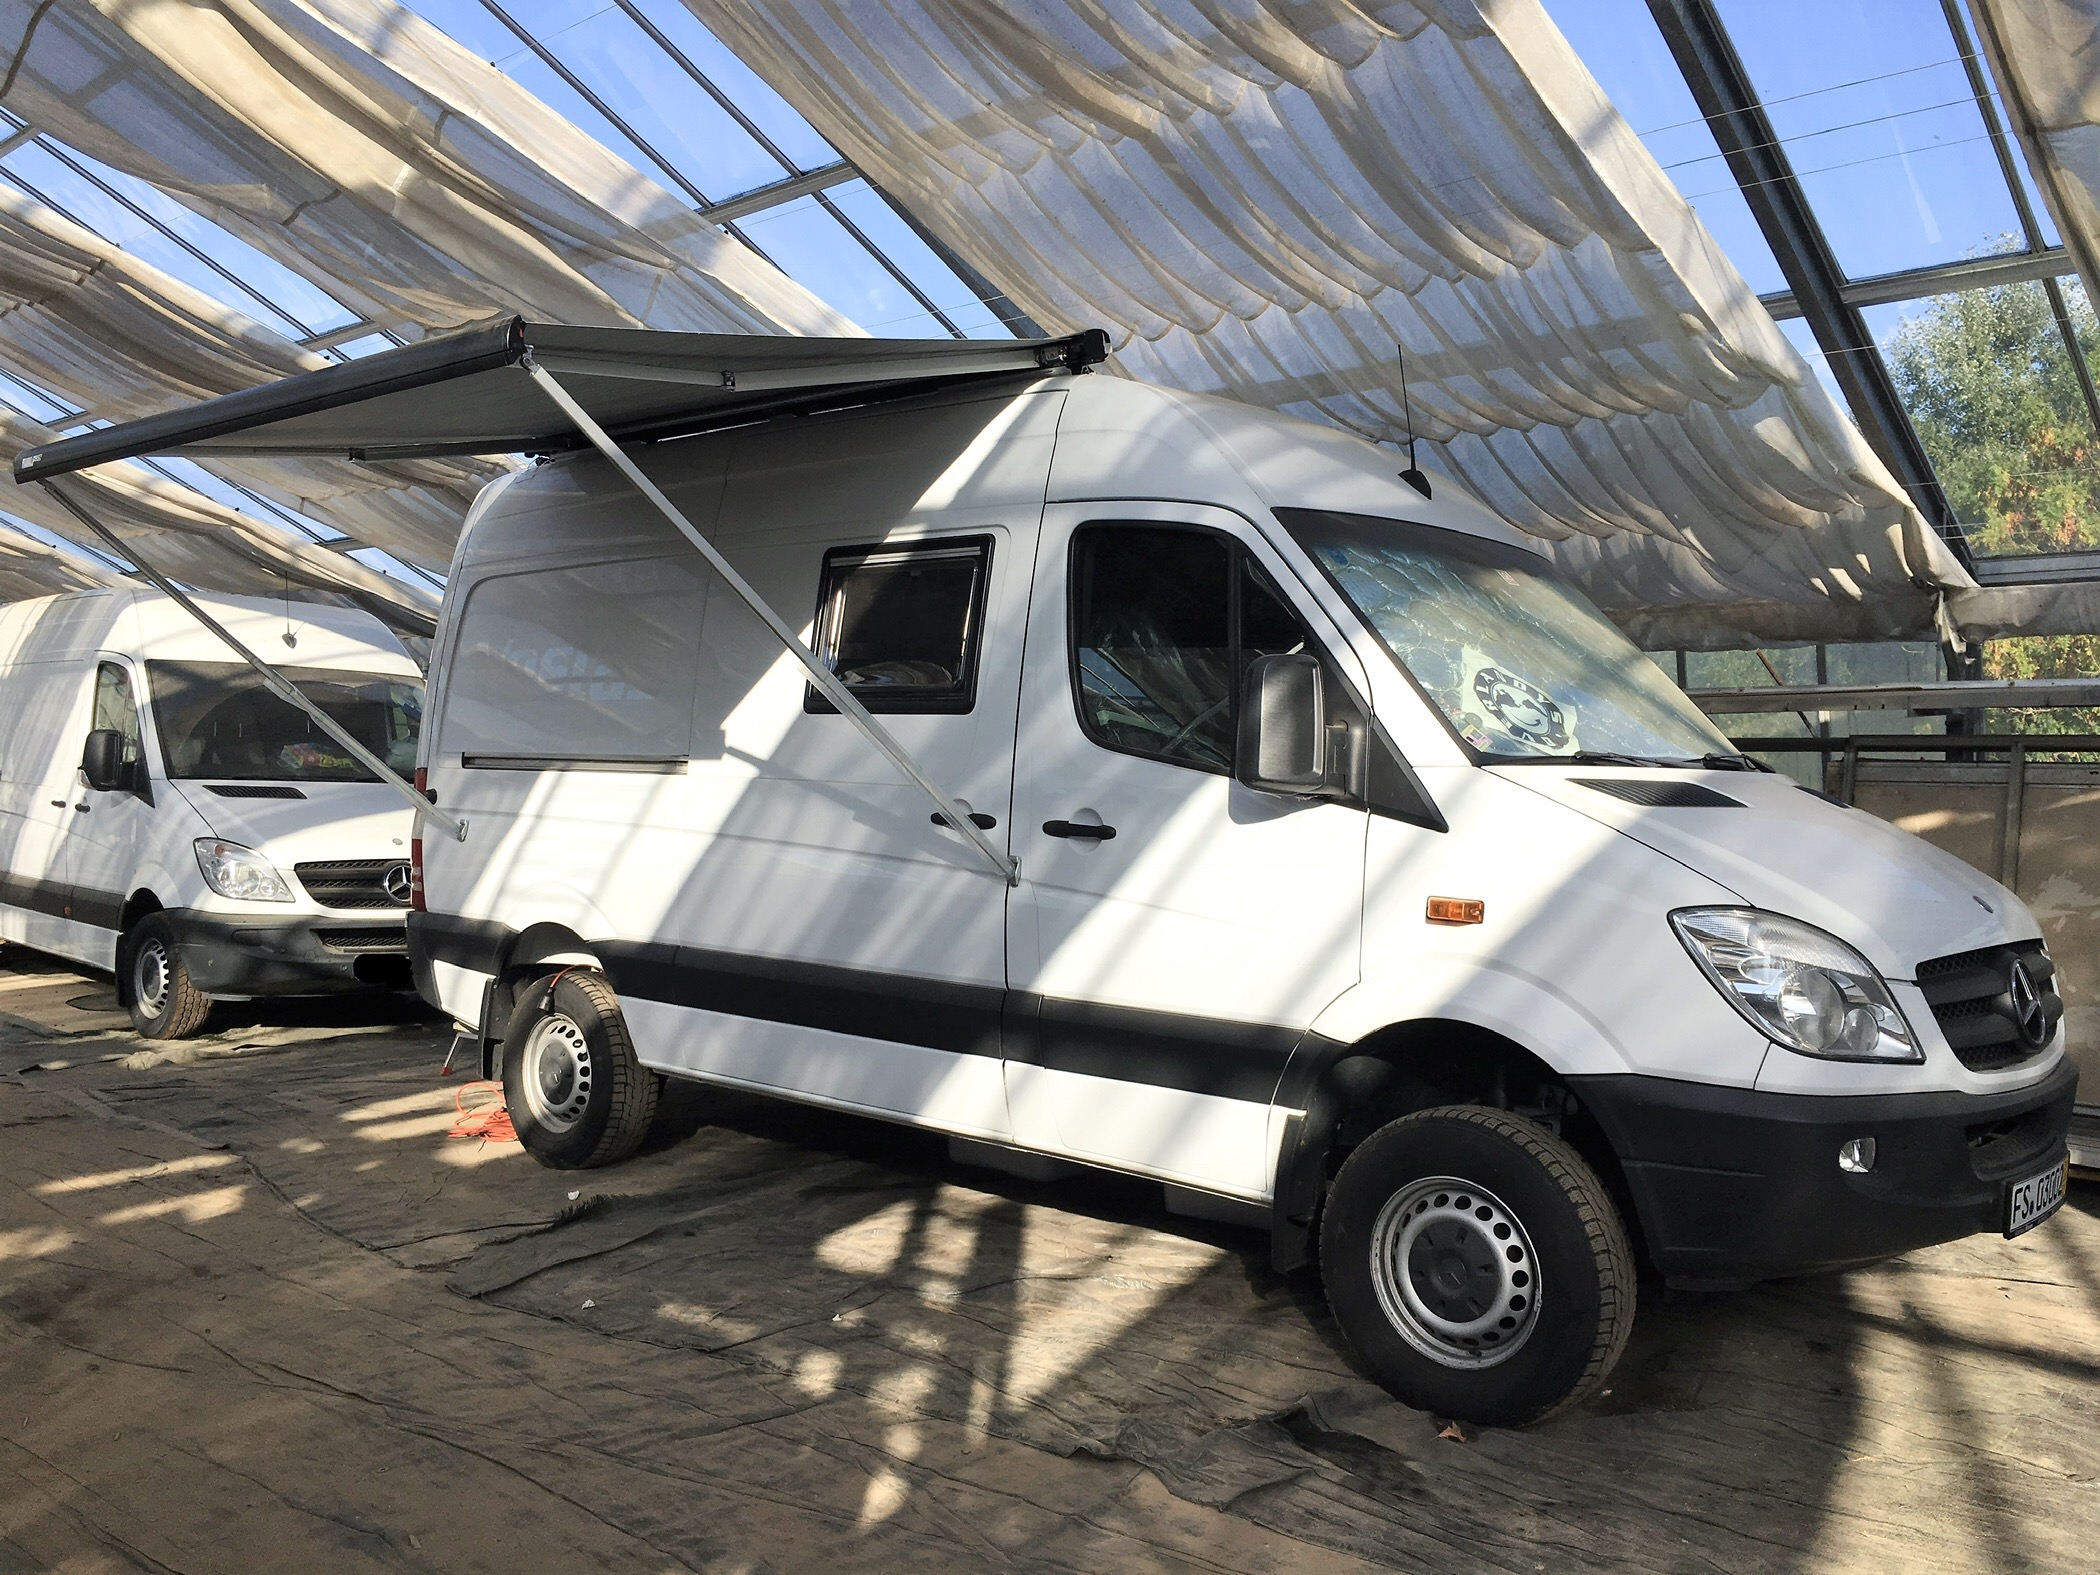
Because of the height of our 4WD Sprinter, the supporting legs of the awning Fiamma F65 S do not reach the ground! That’s why we installed the brackets to the wall of the vehicle.
To protect the awning itself as well as the vehicle, the supporting legs of the awning should be secured to the ground with the pegs after pulling out about 1 meter of the fabric before it is completely opened. But: our Sprinter is higher than a regular Campervan, so the supporting legs do not even reach the ground! The vehicle does have lots of offroad capability 😉 So we mounted the brackets to the vehicle to but the supporting legs there.
To install the front bracket to the B-pillar we had to remove the interior paneling. First, the cover of the clothes hanger was removed to then loosen the screw. In some cases the eyelet of the lashing device has to be loosened, the handle removed and the seatbelt separated from the seat – but in our case this was not necessary, or rather did we not want to remove the seatbelt completely. The paneling could then be clipped off easily and can be just as easy clipped back on later.
Now we measured the position of the brackets, marked them with tape, marked the drilling holes, drilled the holes, applied primer and then screwed and glued (again with Sikaflex 252i) the brackets to the vehicle. Done!

Check Part 1 to read about how we mounted the awning and learn more on how to use Sikaflex. Which accessory we installed will follow in Part 3.
These are the products we used:


